

Page 1

Installation & Operation
Instructions
CARRIER REFRIGERA TION OPERA TIONS
CHEST FREEZERS
BUNKER MODELS B5, B7,B7P, B9, B13, B15, B18
An Important Message for Installers and Operators
These instructions include information which is intended to
assure the operator of correct installation, operation and
service. Before attempting installation, adjustment or maintenance, be certain of the following:
1. That you have read and fully understand the instructions.
2. That you have all tools required and are trained to use them.
3. That you have met all installation and usage restrictions and
are familiar with the functions and operation of the unit.
4. That you follow all instructions exactly as given.
All fittings, measurements, procedures and recommendations
are significant. Substitutions and approximations must be
avoided. Improper handling, maintenance, installation and
adjustment, or service attempted by anyone other than a
qualified technician, may void the future warranty claims and
cause damage to the unit and/or result in injury to the operator
and/or bystanders.
Important information is contained in
these instructions which should be
retained in a convenient location for
future reference.
Model No.
Serial No.
Installation Date
Invoice Date
Start-up Date
Telephone for Service
Part No. 51-0177-00 Rev. 6
Record for Service
BE SURE TO INSPECT THE CABINET FOR SHIPPING DAMAGE
BEFORE AND AFTER UNCRATING IT.
REFRIGERATION OPERATIONS
707 Robins St. • P.O. Box 4000
Conway Arkansas 72032 • (501) 327-8945
P/N 216774400 (0011)
Page 2
If additional information is necessary , call Carrier Refrigeration headquarters.
Our toll free number is 1-800-558-7627. Technical assistance
engineers are willing to assist you in any way possible. Office
hours are from 7:30 am to 5:00 pm Central Standard Time.
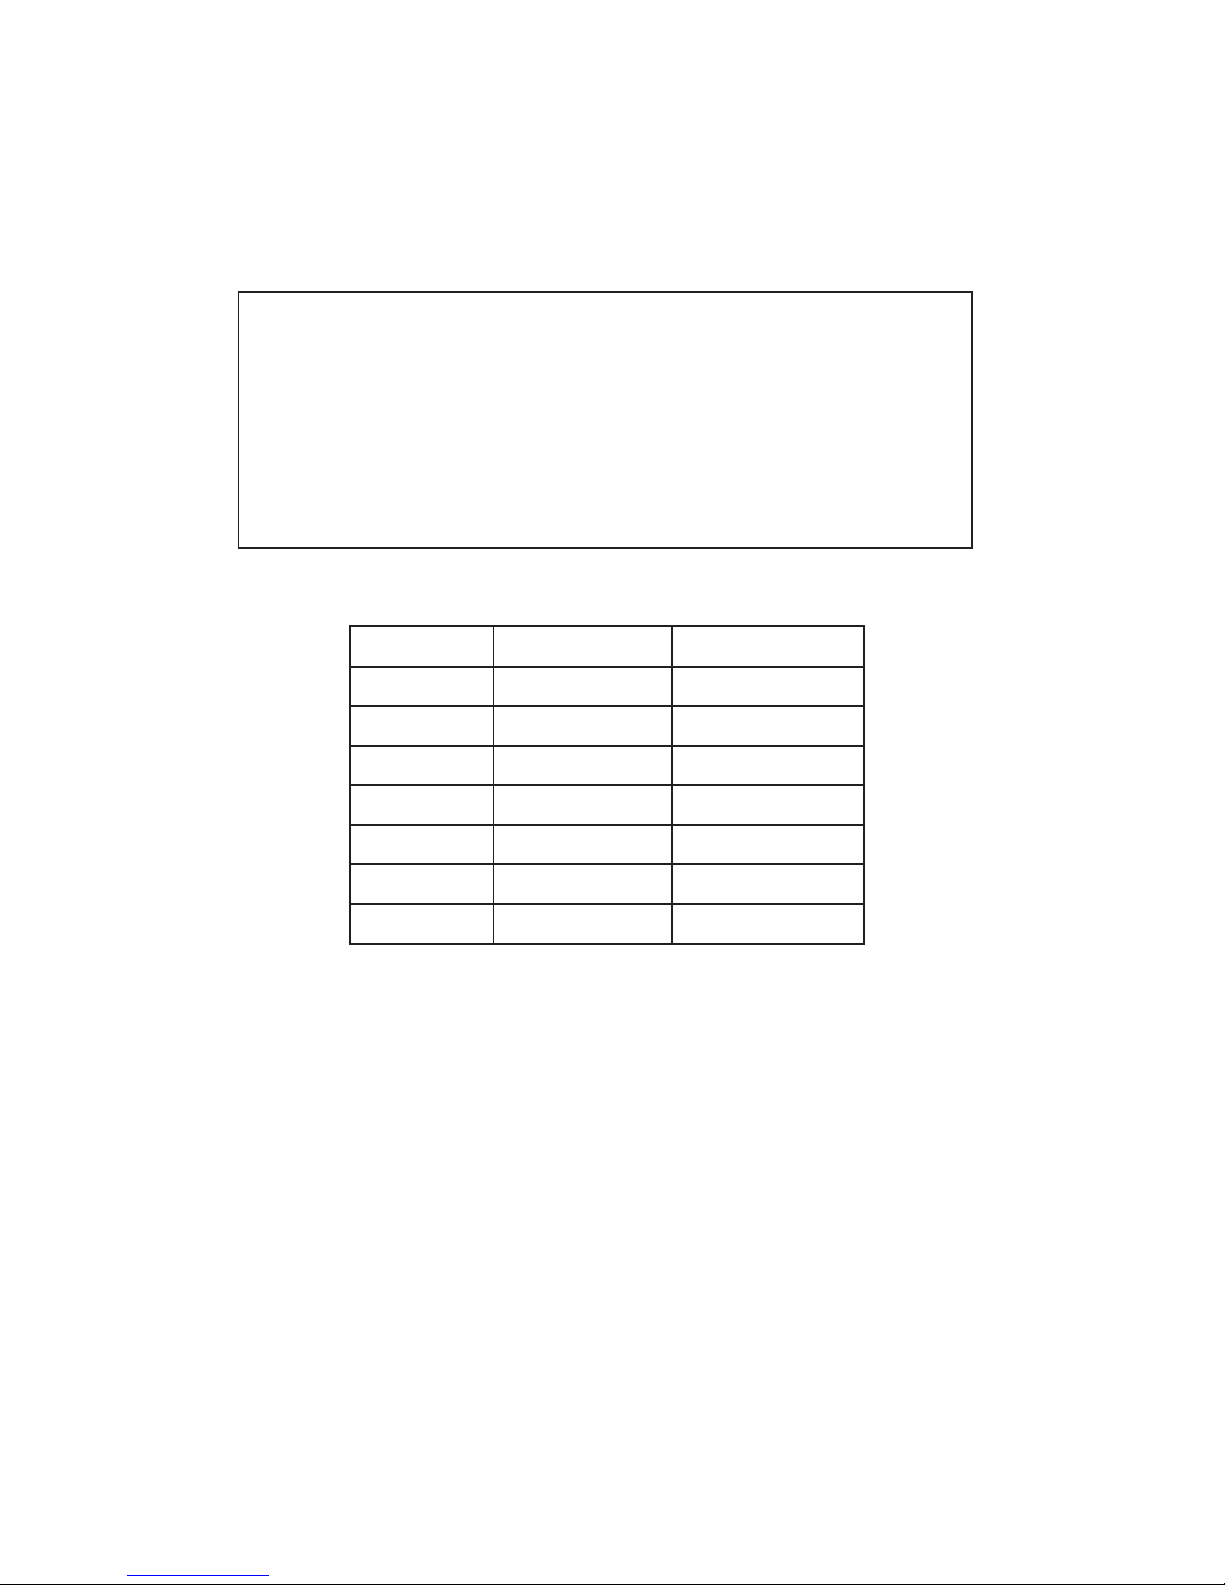
LEDOM#TRAPNOITPIRCSED
5B50-0020-54FC5REZEERF
7B70-0020-54FC7REZEERF
P7B70-8520-54FC7REZEERF
9B90-0020-54FC9REZEERF
31B31-0020-54FC31REZEERF
51B510020-54FC51REZEERF
81B81-0020-54FC81REZEERF
ALL DATA AND INFORMATION IN THIS MANUAL IS SUBJECT TO CHANGE WITHOUT NOTICE.
2
Page 3

Important Safety
Read all instructions before using this freezer.
Instructions
Proper Disposal of Your
Refrigerator/Freezer
Risk of child entrapment.
Child entrapment and suffocation are not
problems of the past. Junked or
abandoned refrigerators or freezer are
still dangerous — even if they will sit for
“just a few days.” If you are getting rid of
your old refrigerator or freezer, please
follow the instructions below to help
prevent accidents.
BEFORE YOU THROW AWAY YOUR
OLD REFRIGERATOR/FREEZER:
•Remove doors.
•Leave shelves in
place so children
may not easily
climb inside.
Avoid fire hazard or
electric shock. Do not use an extension
cord or an adapter plug. Do not remove
any prong from power cord.
For Your Safety
Do not store or use gasoline or other flammable vapors and liquids in the vicinity of
this or any other appliance. Read product labels for flammability and other warnings.
Child Safety
• Destroy carton, plastic bags, and any exterior wrapping material immediately after
the freezer is unpacked. Children should never use these items for play. Cartons
covered with rugs, bedspreads, plastic sheets or stretch wrap may become airtight
chambers and can quickly cause suffocation.
• A child might suffocate if he crawls into a freezer to hide or play. Remove
the door of a freezer when not in use, even if you plan to discard the
freezer. Many communities have laws requiring you to take this safety precaution.
Electrical Information
These guidelines must be followed to ensure that safety mechanisms in the
design of this freezer will operate properly.
• Refer to the serial plate for correct electrical rating. The power cord of the
appliance is equipped with a three-prong grounding plug for protection against
shock hazards. It must be plugged directly into its own properly grounded threeprong receptacle, protected with a 15 amp time delay fuse or circuit breaker. The
receptacle must be installed in accordance with the local codes and ordinances.
Consult a qualified electrician. Receptacles protected by Ground Fault Circuit
Interrupters (GFCI) are NOT RECOMMENDED. DO NOT use an extension cord
or adapter plug.
• If voltage varies by 10 percent or more, freezer performance may be affected.
Operating the freezer with insufficient power can damage the motor. Such damage
is not covered under the warranty. If you suspect your household voltage is high
or low, consult your power company for testing.
• To prevent the freezer from being turned off accidentally, do not plug unit into an
outlet controlled by a wall switch or pull cord.
• Do not pinch, knot, or bend power cord in any manner.
Other Precautions
• Never unplug the freezer by pulling on the power cord. Always grip the plug firmly
and pull straight out from the receptacle.
• Turning the control to OFF turns off the compressor, but does not disconnect power
to other electrical components.
3
Page 4

Set-Up
Instructions
Figure 1
Figure 2
Before starting the freezer, follow these important first steps:
Inspection for Damage
• Inspect the freezer and packaging for damage such as a fork truck can cause, or
look for bent corners from dropping the cabinet. If hidden damage is found after
uncrating, immediately call the delivery carrier and request an inspection. Retain
all packaging and crating materials until the inspection is complete.
Uncrating and Set-Up
• Using a utility knife with a sharp, short blade, cut along the perimeter of the carton
as indicated.
• Lift the carton off the freezer.
• Using a pair of wire cutters, carefully snip the cable tie from the basket. Set the
basket to the side.
• Remove the cardboard box containing the glass lid and casters from the freezer.
This box will contain the following items:
• One (1) wrench
• Sixteen (16) screws
• Four (4) casters
• One (1) upper glass lid
• One (1) lower glass lid
Casters:
• With an assistant, tilt the freezer until it is resting on its back. Take care to protect
the back from being scratched during this process.
• Using the wrench provided and the sixteen (16) screws (Figure 1), install all four
(4) casters in the tapping holes in the bottom of the unit. Tighten securely.
• With an assistant, tilt the freezer back up onto the casters.
• Return the wire basket to the unit, resting it on the side rails of the freezer.
Lock
Lower Glass Lid
Flexible Vinyl
Seal
Upper Track
(4) Round Retainer
Studs
Lock Plate
Key
Figure 3
Lower Track
Upper Glass Lid
Lower Track
(2) Round
Retainer Studs
Upper
Track
Glass Lid:
• There are two glass lids, a smaller one that fits in the lower track of the freezer and
a larger one that fits in the upper track. The lower track has two (2) round retaining
studs and the upper has four (4) round retaining studs (Figure 2).
• Install the lower glass first. Again, the lower glass is the smaller of the two. It has
a flexible vinyl seal (Figura 4) and a lock plate. The flexible seal should be facing
up and positioned on the end away from the two (2) round retaining studs. Place
the panel in the center and slide along the lower track until it is secure under the
two retaining studs.
• Place the upper glass panel over the lower panel already in place. Slide it over the
lower lid past the flexible seal. You will notice a slight resistance with the lower lid
gasket. Slide the upper panel under the four (4) studs on the upper track of the
frame.
• When properly installed, there is a seal formed by the flexible vinyl seal between
the two glass lids.
Lock:
• To lock the glass lid, simply insert the key and lock into the lock plate. Turn key
clockwise. Remove key and store in safe place.
Figure 4
4
Page 5

Set-Up
Instructions (continued)
Setting the
Installation
• Roll the unit to the place where it will be installed. If the floor is not flat and level,
the unit may tip from side to side. If it does tip, take the time to level the unit.
• Choose a place that is near a grounded electrical outlet.
• For the most efficient operation, the freezer should be located where surrounding
temperatures will not exceed 110°F (43°C). Temperatures of 32°F (0°C) and below
will NOT affect freezer operation. Additional compressor heaters are not recommended.
• Locate the freezer out of direct sunlight.
• Allow space around the unit for good air circulation. Leave a 3 inch (75 mm) space
on all sides of the freezer for adequate circulation.
Cleaning
• Wash any removable parts, the freezer interior, and exterior with mild detergent
and warm water. Wipe dry. DO NOT USE HARSH CLEANERS ON THESE
SURFACES. DO NOT WASH REMOVABLE PARTS IN A DISHWASHER.
• Do not use razor blades or other sharp instruments, which can scratch the appliance
surface when removing adhesive labels. Any glue left from the tape can be
removed with a mixture of warm water and mild detergent, or touch the residue
with the sticky side of tape already removed. DO NOT REMOVE THE SERIAL
PLATE.
Temperature Control
Cool Down Period
Once the appliance has been located in its permanent location, check to be certain
the proper power and grounding have been provided. For safe storage, allow 4 hours
for freezer to cool down completely. The freezer will run continuously for the first
several hours.
Temperature Control
The temperature control is located inside the freezer on upright models, and on
the left outside wall on chest models. The temperature is factory preset to provide
satisfactory food storage temperatures. However, the temperature control is
adjustable to provide a range of temperatures for your personal satisfaction. If a
colder temperature is desired, turn the temperature control knob toward COLDEST
and allow several hours for temperatures to stabilize between adjustments.
5
Page 6

Freezer
Features
Defrost Drain
The defrost drain provides a method of draining water during defrosting and cleaning.
See "Defrosting" in the Care and Cleaning Section.
Sliding Basket (Some Models)
Makes locating and retrieving stored items easier. Helps segregate food items into
groups. Baskets are epoxy powder coated. This finish is extremely durable and will
not chip, crack or discolor in freezing temperatures. Won't stain and can be easily
cleaned (Figure 5).
Lock
Allows the unit to be locked for safety and protection (Figure 6).
Casters
Allows the unit to be easily rolled out of the way for cleaning or moving.
Figure 5
Key
Lock
Lock Plate
Figure 6
6
Page 7

Care and Cleaning
DEFROST
DRAIN PLUG
DRAIN
PLUG
Figure 7
PAN
Between Defrostings
To avoid frequent defrosting, occasionally use a plastic scraper to remove frost.
Scrape with a pulling motion. Never use a metal instrument to remove frost.
Defrosting
It is important to defrost and clean freezer when ¼ to ½ inch of frost has accumulated.
Frost may tend to accumulate faster on upper part of the freezer due to warm, moist
air entering the freezer when the door is opened. Remove food and leave the door
open when defrosting the freezer.
To use the defrost drain, place a shallow pan beneath the drain outlet (Figure 7). Pull out the
drain plug inside the freezer, and pull off the outside defrost drain plug (Figure 8). Defrost
water will drain out. Check pan occasionally so water does not overflow. Replace the
drain plugs when defrosting is completed.
If the frost is soft, remove it by using a plastic scraper. If the frost is glazed and hard,
fill deep pans with hot water and place them on the freezer bottom. Close the freezer
door. Frost should soften in about 15 minutes. Repeat this procedure if necessary.
Cleaning
After defrosting, wash inside and outside surfaces of the freezer with a solution of two
tablespoons of baking soda in one quart (1.136 litres) warm water. Rinse and dry.
Wring excess water out of the sponge or cloth when cleaning in the area of the
controls, or any electrical parts.
Figure 8
Power Failure
Do not open freezer lid
unnecessarily if freezer is
off for several hours.
Energy Saving Idea
Wash the removable parts with the baking soda solution mentioned above, or mild
detergent and warm water. Rinse and dry. Never use metallic scouring pads, brushes,
abrasive cleaners, or alkaline solutions on any surface. DO NOT wash removable
parts in a dishwasher.
If a power failure occurs, pack seven or eight pounds of dry ice into the freezer
every 24 hours. Look in the Yellow Pages under "Dry Ice," "Dairies," or "Ice Cream
Manufacturers" for local dry ice suppliers. Always wear gloves and use caution when
handling dry ice.
The freezer should be located in the coolest area of the room, away from heat
producing appliances or heating ducts, and out of direct sunlight.
Replace parts and food.
7
Page 8

CARRIER REFRIGERATION OPERATIONS
REPLACEMENT PARTS
zH06STLOV511
eziStcerroCroF.oNtraPotstigiD)2(ddA++
REBMUNTRAPNOITPIRCSED5B
1++-5020-54diLssalGreppU10202030405060
2++-6020-54diLssalGrewoL10202030405060
310-7020-54kcarTteksaB
320-7020-54kcarTteksaB
330-7020-54kcarTteksaB
340-7020-54kcarTteksaB
350-7020-54kcarTteksaB
410-8020-54teksaB
420-8020-54teksaB
5++-9020-54etelpmoC-emarF10202030405060
600-0120-54)roiretxE(gulPniarD
700-1120-54)1(retsaC
810-2120-54ssenraHlacirtcelE
820-2120-54ssenraHlacirtcelE
910-3120-54rosserpmoC
•••••
•••••••••••••••
•••••••••••••••••••••••••••••••••••
•••••••••••••••••••••••••••••••••••
••••••••••••••••••••
••••••••••••••••••••
B
7
•••••
B
P7
B
9
••••••••••
B
31
•••••••••••••••
•••••••••••••••
B
51
•••••
B
81
•••••
930-3120-54rosserpmoC
0100-4120-54roticapaCnuR
3100-8220-54pilCgnirpS
3120-7120-54pilCgnirpS
4100-7620-54bonKlortnoC
5110-8620-54lortnoC
5120-8620-54lortnoC
6110-0220-54rosserpmoC-lenaP
6120-0220-54rosserpmoC-lenaP
7100-1220-54kcoL
8100-2220-54yeK
9100-3220-54)roiretnI(gulPniarD
0230-8020-54rediviD
1200-7220-54rellortnoC
1200-3620-54rellortnoC
•••••••••••••••
•••••••••••••••••••••••••••••••••••
••••••••••••••••••••
•••••••••••••••
•••••••••••••••••••••••••••••••••••
••••••••••••••••••••
•••••••••••••••
••••••••••••••••••••
•••••••••••••••
•••••••••••••••••••••••••••••••••••
•••••••••••••••••••••••••••••••••••
•••••••••••••••••••••••••••••••••••
••••••••••••••••••••••••••••••
••••••••••••••••••••
•••••••••••••••
8
Page 9

Page 10

IMPORTANT SAFETY NOTICE
The information provided herein is designed to assist qualified repair personnel only.
Untrained persons should not attempt to make repairs due to the possibility of
electrical shock. Disconnect the power cord before servicing.
ELECTRICAL CIRCUIT
WIRING DIAGRAMWIRING DIAGRAM
Run
Capacitor
Compressor
Controller
C10
Yel
Wh
IMPORTANT
If any green grounding wires are removed during servicing, they must be returned to their original
position and properly secured.
10
Page 11

REFRIGERATION OPERATIONS
B7P
11
 Loading...