

CarpMadness Phantom 2020 Assemble Instructions
Assemble Instructions
Carp Madness Phantom
Baitboat 2020

We are pleased, that you have chosen the construction set of a CM bait
boat.
The individual parts are selected high-quality components, some of them
are specially made for these boats.
The hull is made of ABS, therefore it is very light and dimensionally stable, it can be easily
glued or repaired.
These instructions are intended to facilitate the assembly, but must be implemented by an
experienced modeler. Partly it can be that components are modified due to tolerances or
have to be installed otherwise. These instructions are only intended as a suggestion. There
are several ways to complete the boat.
All parts have been tested for their function before shipment. It is important to pay
attention to the correct connection of the individual components. In addition, the
instructions for use of the components must be read carefully and implemented right to
ensure the correct a use. For damages that are due to a non-professional use, we assume
no warranty.
Please read these instructions and later the operating instructions
carefully and completely before starting to work.
Generally, it makes sense to provide all screws with a screw lock.
But now nothing should get in the way anymore:
Assembly of the hull:
1. Installation of the jet drive and the engine
The opening for the jet engine is already pre-milled.
First, the herb screen should be glued from the inside into the hall. As with all our bait
boats, we recommend as glue a MS polymer, special adhesive silicone available in almost
every hardware store, e.g. Sikaflex.
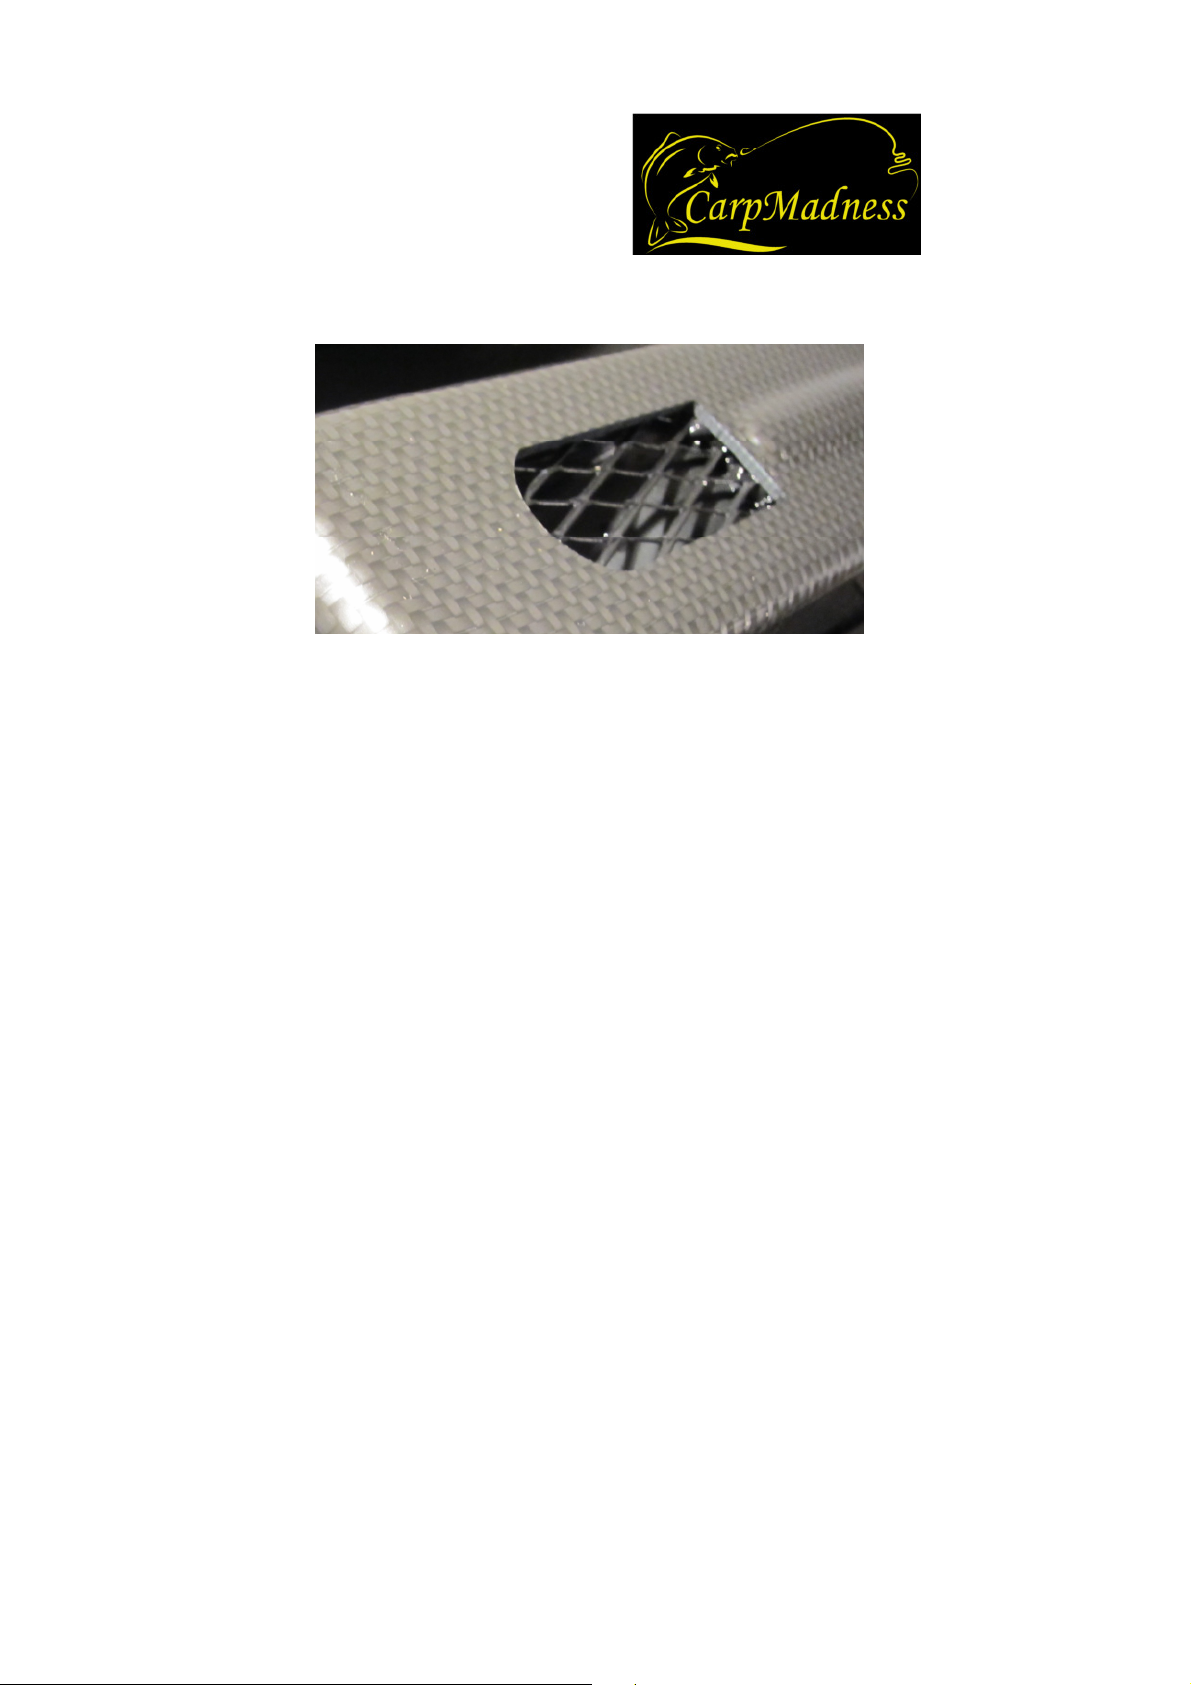
Apply enough glue around the opening in the hull to push in the grid. To harden it is best
to place a correspondingly large and heavy piece of wood or something similar on it.
Wet this previously with soapy water, so the silicone adheres only to the grid / hull. It's
best to let it dry for one day. Now fit in the jet. This one should be very easy to insert. If
he fits perfectly, remove it again and, as with the grid, put enough glue around the
opening. Put on the jet and let it stand out through the round opening at the back.
It is best to fix the jet (at the outlet) immediately with superglue and the counter plate
with the 2 small openings (attach externally to the flange) and guide through the two
outer openings a short piece of Bowden cable. So the jet is optimally fixed and can dry. Of
course, a straight seat is important.
After drying, it is important to check the tightness of the complete jet. To do so, immerse
the hull in water and suppress.
There must be no water in the interior of the hull. A leak can be corrected only very
difficult later.
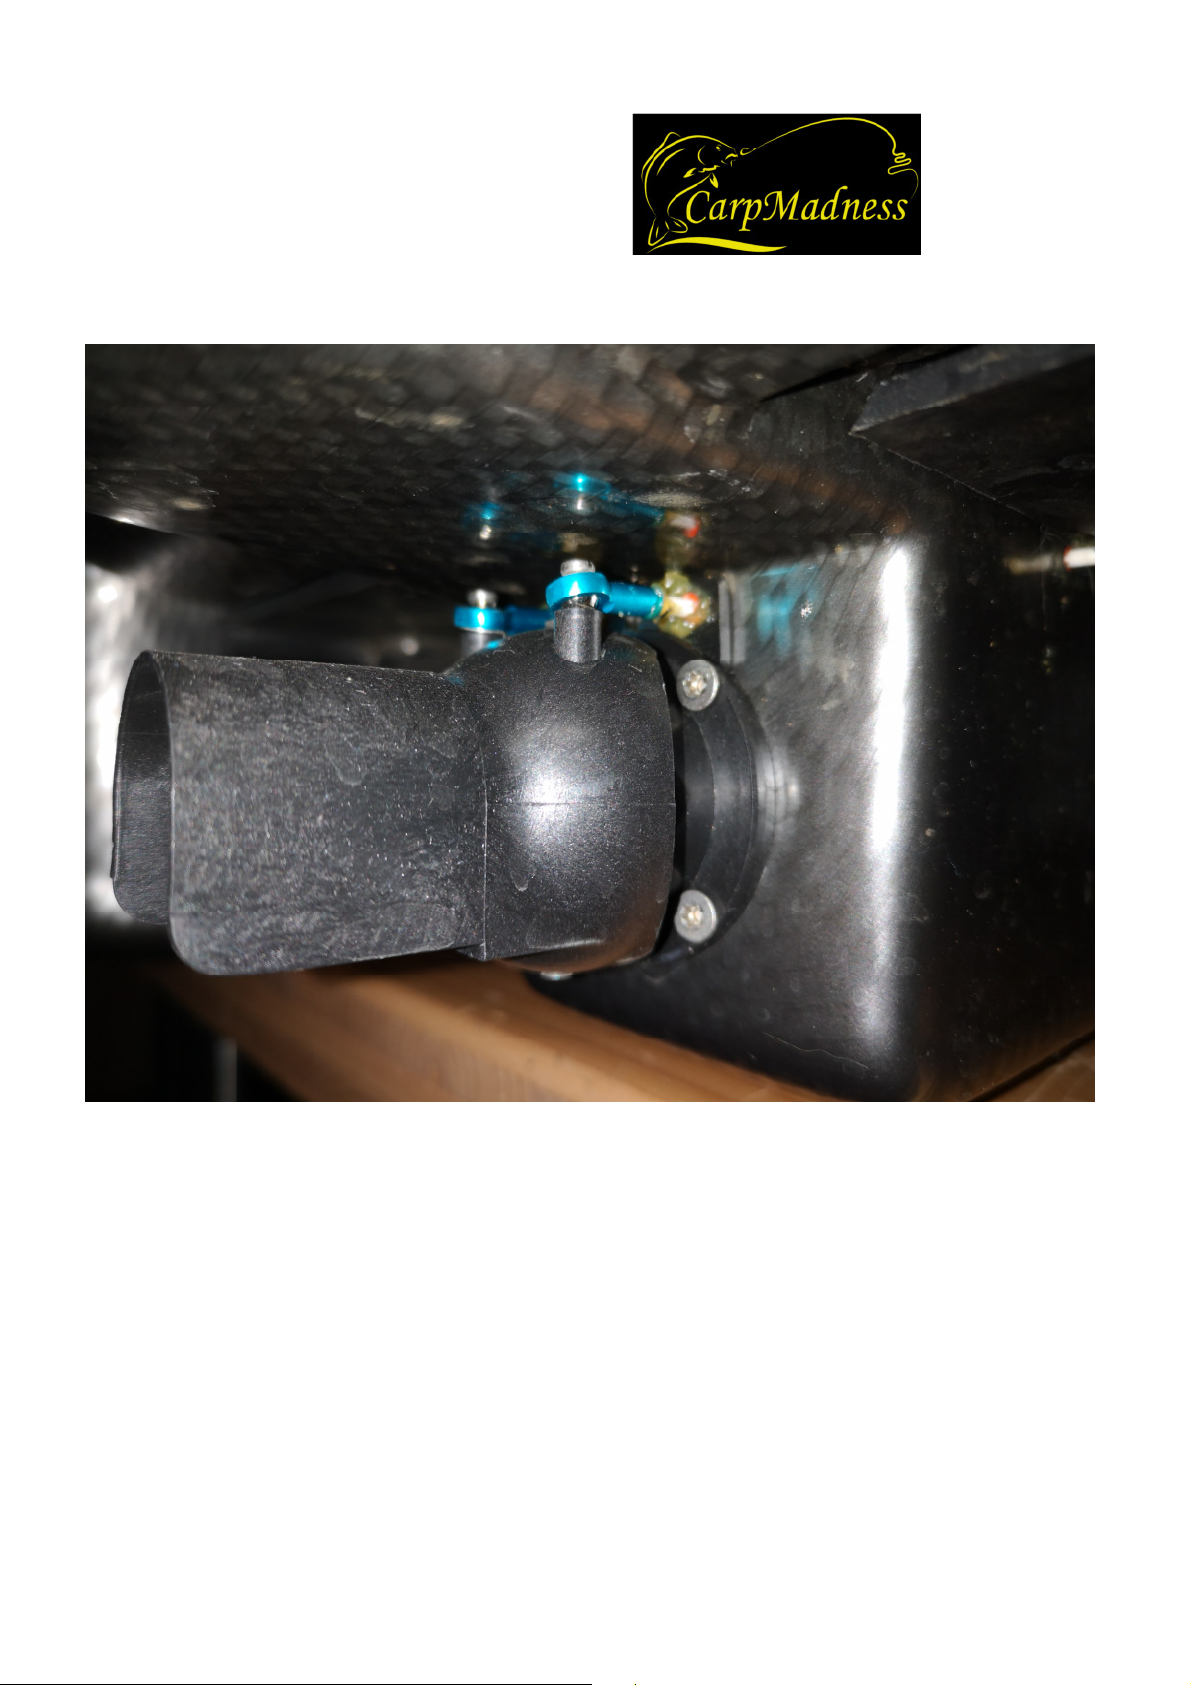
Finally, the steering and return unit has to be installed on the outside of the jet. This was
already pre-assembled by us.
First, the 2 Bowden cables must be glued into the receptacle, greased well and then
screwed onto the steering and return unit.

So the complete jet is put on from behind and firmly screwed. (The bowden cables with
the gray cover are inserted into the 2 openings).
complete jet
.
In the picture you can see the jet with mounted engine, but for gluing you should not
screw the engine yet, only when the jet is really tight, you can screw the engine. But as a
burden for drying the glue you can put them already in the jets.
Caution: always carry out the bonds with enough glue, do not save on the glue, epoxy
resin can be made thicker with a little bit of baking soda for example. However, we
recommend Sika Flex or a good adhesive silicone, e.g. Bostik MS.

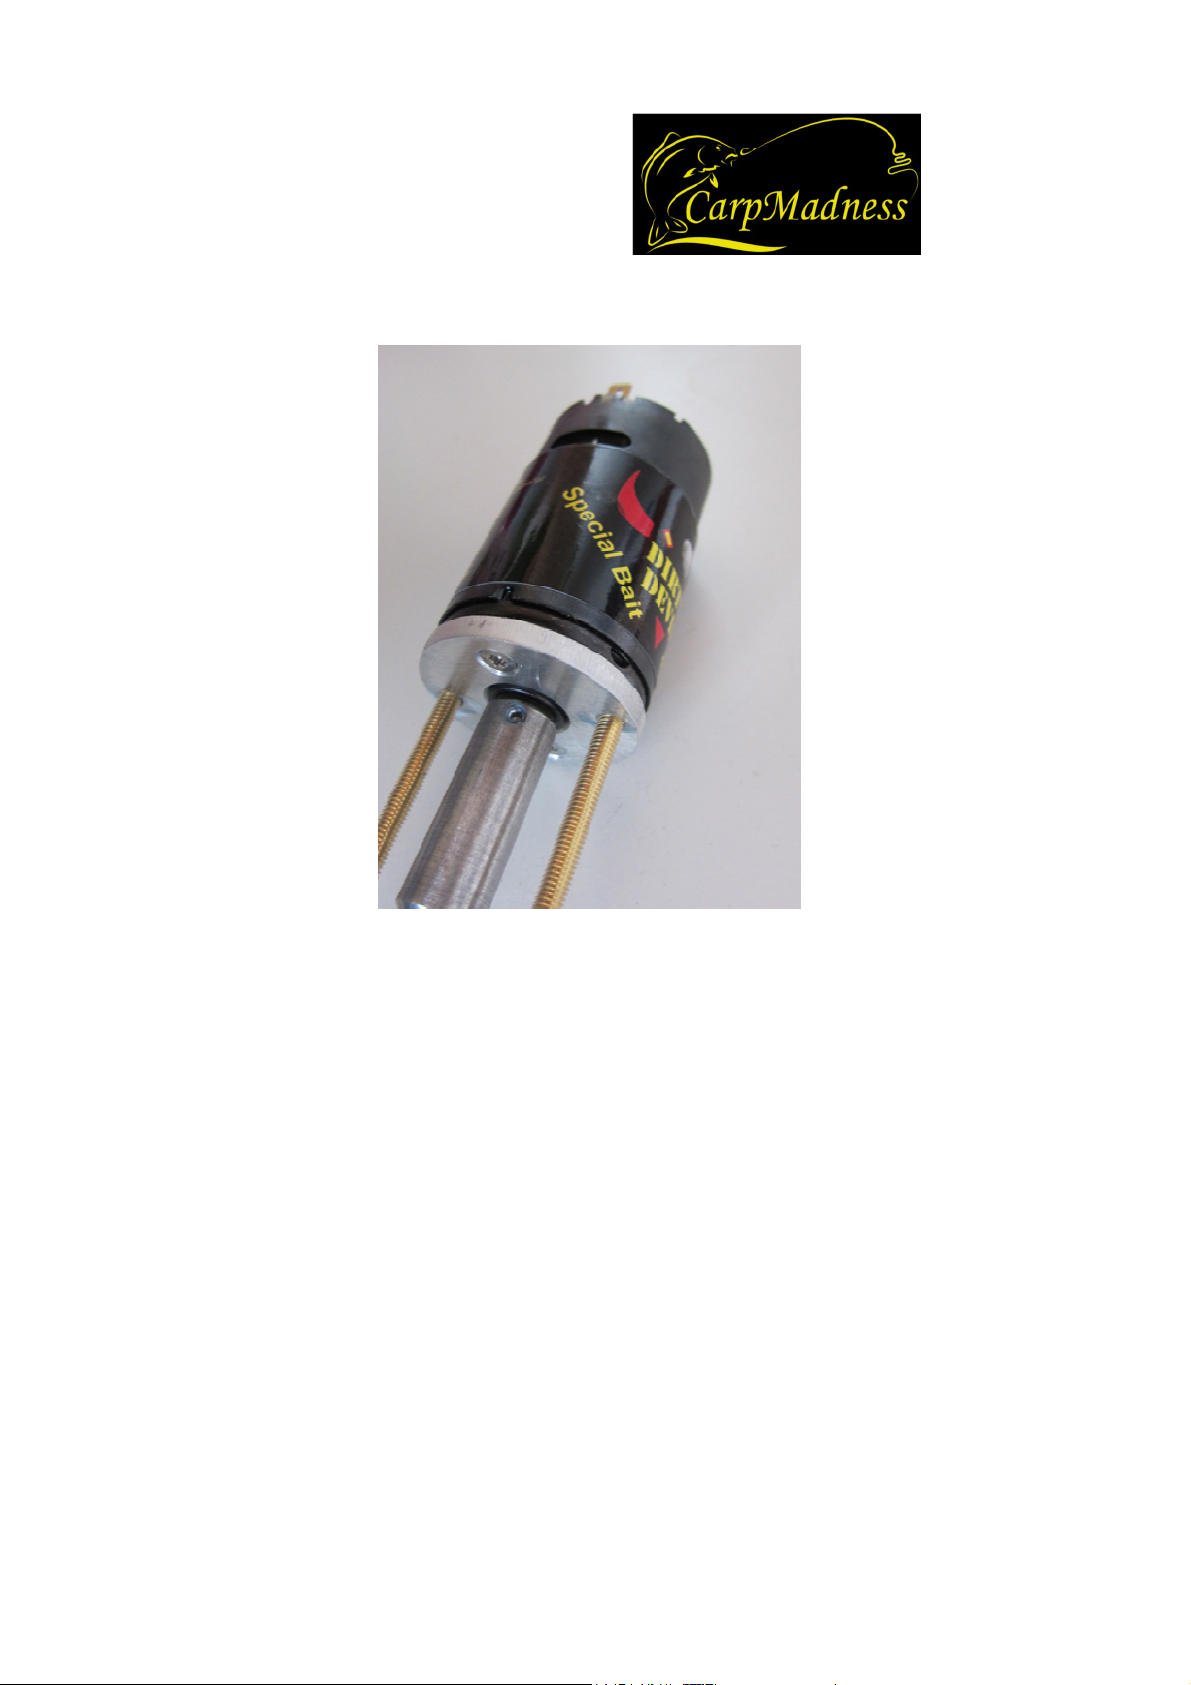
Before the engine can be screwed on, it must be equipped as follows.
Glue all screws, also the threaded rods with screw locking! The connecting sleeve must
have a small distance (about 1-2 mm) to the motor.
Now you can screw the engine on the jet. It is important that it is sitting straight on the
jet shaft, to this the nuts on the two threaded rods are to tighten crosswise.
It is important that the jet shaft sits completely in the jet, this must be held against from
behind.
Now you can put on the engine and screw.
Use the enclosed piece of wood to create a guide for the 2 Bowden cables. These
correspond to the arrangement drill, attach and also stick together.
It is important to lead it as deep as possible and close to the engine (2-3 mm of air is
sufficient), otherwise the battery holder will later no longer fit. The middle bowden cable
has to sit slightly higher.
Finally, the 2 bushings are sticked together and sealed from the inside. Let everything dry
again.
Check tightness again.
Now the controller is to be soldered to the engine. Solder the cables as close as possible to
the engine so that they can go up space-saving on the engine. To do this, extend the
regulator cable. The controller should later sit behind.
Prepare the servo plate with the servo.
Now adjust the servo plate with the servo's to the hull. (the supplied servos may vary in
color)
 Loading...