

CAROLINA BIOLOGICAL 591157, 591158, 591160 Directions For Use Manual
Wolfe Beta Elite Microscopes
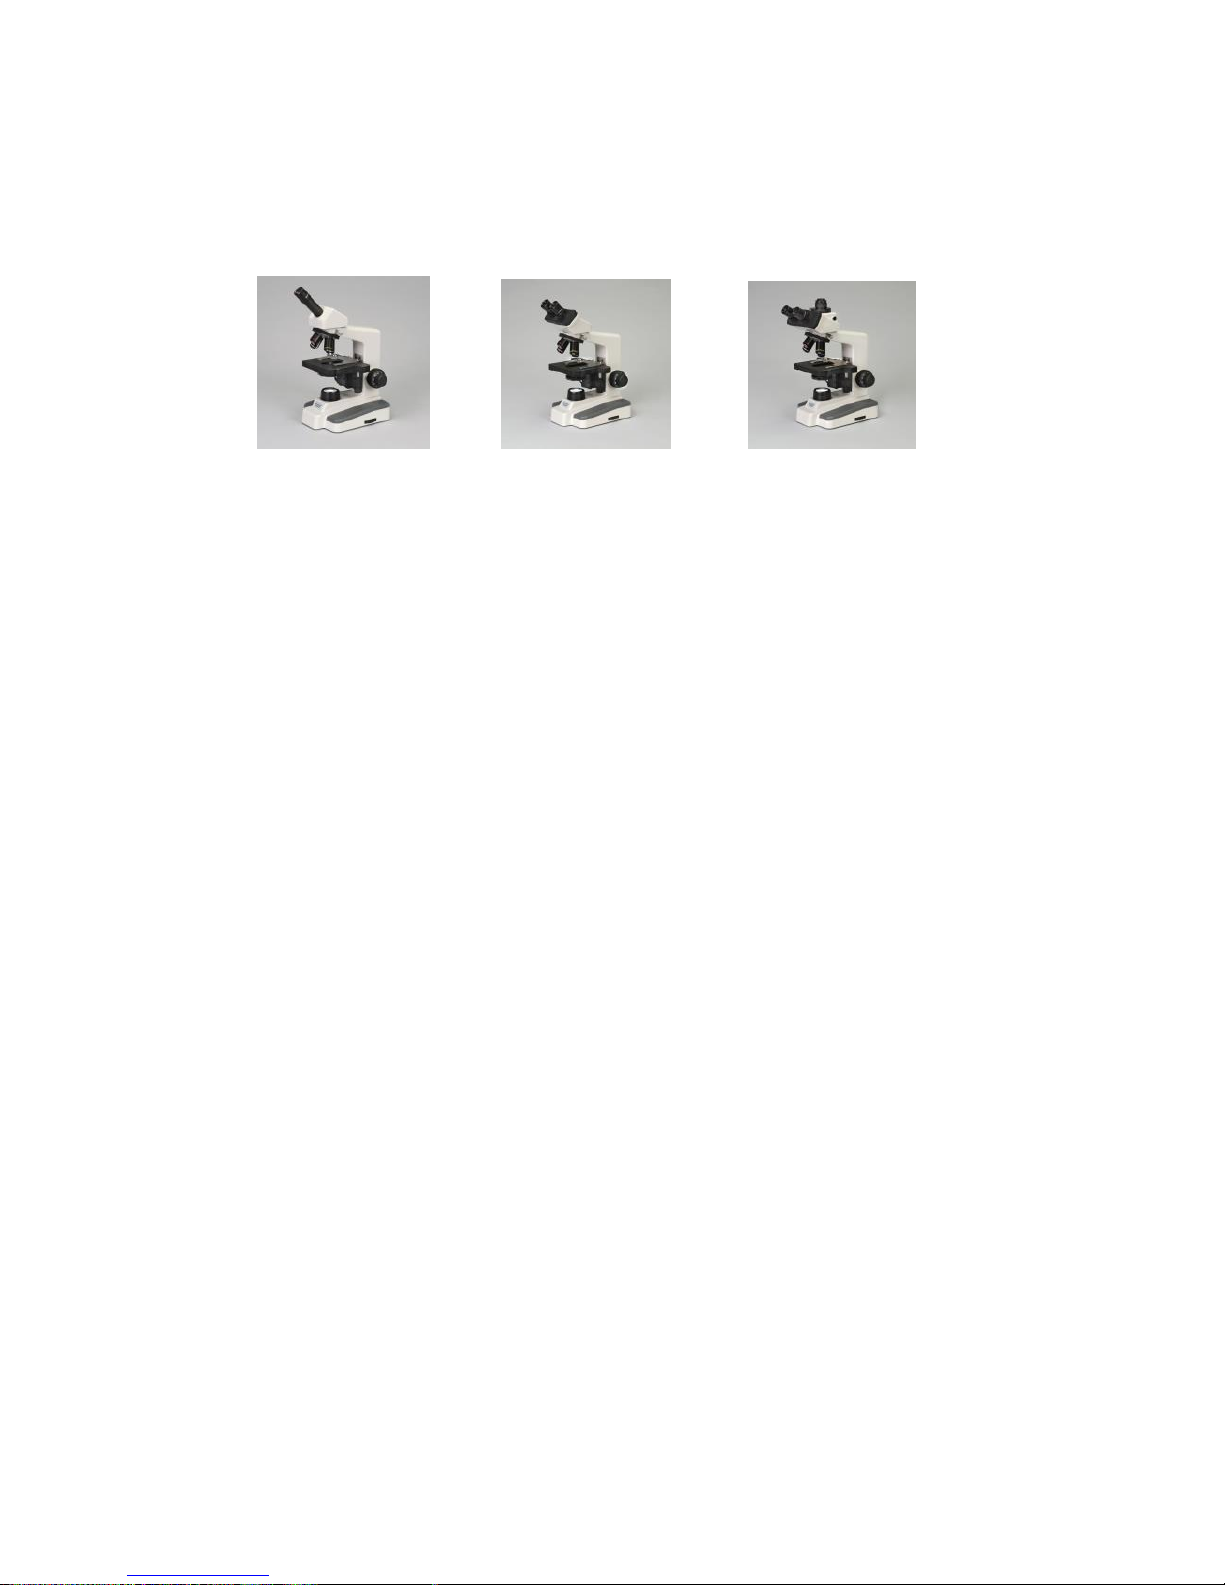
Models # 591157, 591158, #591160
DIRECTIONS FOR USE
Your purchase of a Wolfe Beta Elite microscope represents an investment.
Properly used and cared for, it will provide years of uncompromising service. While
this manual assumes a basic knowledge of the compound microscope, it highlights
and reemphasizes key attributes and procedures to ensure the greatest benefit
from its design. Be sure to read and understand this guide before and after setting
up your microscope to maximize the usefulness and ease in interpreting the
information it provides. If, on any point, these features or techniques seem
unclear, the Microscope Department of Carolina Biological Supply Company stands
committed to answer your technical concerns and suggestions.
In order to properly use the microscope, an outlined series of steps follows, which
will become routine as they are repeated:
▪ Be certain the microscope Power Cord is connected to a grounded
electrical service. The use of a surge protector will also help in
preventing any possible power surges that could cause damage to
the electronics in the microscope.
▪ Rotate the 4X objective into place, perpendicular to the
microscope stage. Provision has been made that the objectives
“click” into the correct position.
▪ Using the course-focus adjustment, position the stage so that it is
at the upper limit of its range of travel.
▪ Place a slide on the stage securely, beneath the spring-loaded
clips, or the mechanical stage clip centering the specimen over the
hole in the stage.
▪ Adjust the iris diaphragm so that the largest opening coincides
with the opening in the stage. This maximum aperture is generally
used at the lowest magnification. With the diaphragm lever you
can open or close the Iris to regulate the amount of light coming
up through the condenser. In conjunction with the Iris Diaphragm
you can regulate the amount of light with the dimmer dial located
on the lower right hand side of the base.

▪ While looking through the eyepiece and using the course-focus
adjustment, slowly move the stage/specimen AWAY from the
objective until the image is clear.
▪ Rotate the 10X objective into place. While looking through the
eyepiece and using the fine-focus adjustment, clearly focus the
image, that now appears enlarged compared to that observed
through the 4X scanning objective. You will notice, increasing
magnification decreases the field-of-view or relative observable
area of the specimen.
▪ At this point, it may be beneficial to diminish the amount of light
entering the specimen. Decreasing the aperture of the iris
diaphragm will reduce glare and increase contrast in the image.
Use of the iris diaphragm will require experience. It is important to
select both the magnification and the degree of contrast that
renders the optimum detail in the observed specimen. You may
also need to regulate the amount of light with the Dimmer Dial.
▪ Rotate the 40X objective into place and repeat the steps taken for
the initial magnification increase. The objectives of the microscope
are parfocal, meaning that the gross image will remain in focus
when changing through the objectives. It should only be necessary
to use the fine-focus adjustment once the initial image is clearly
viewed at low magnification. With the 40X it is necessary to be
careful not to touch the slide or any liquid specimen. The 40X is
not sealed against liquid and could be damaged. If the specimen
will not focus, make sure that you are using the correct thickness
of slides.
▪ In order to obtain maximum resolution of the 100x oil immersion
lens, it is necessary to apply immersion oil to the top of the cover
glass on the slide. Use the smallest amount possible. A tiny drop
goes a long way in use. It is extremely important that the oil from
the 100x is not transferred to the other objectives. The oil will
damage the non-oil immersion lens.
1. Use a very small amount of Immersion oil. Immersion Oil can
be purchased from Carolina. # 853311 15ml bottle.
2. After viewing with the 100 x lens, clean the oil from the glass
surface and anywhere the oil has come in contact with the
objective. It is important to clean all the oil from the slide as
well so that the oil does not damage the other objectives.
▪ It will be useful to repeat these procedures until they become
second nature. Your familiarity with them will add to the
usefulness of the microscope and to the ease in interpreting the
information it provides.

NOTE: If, at any or all magnifications, it is not possible to establish a clear image,
verify: that the power supply is on; that all optical surfaces are clean; that the
diaphragm is properly set to allow light to pass through the specimen; the
objective is in the correct position; and that the stage stop has been correctly set
according to the procedure outlined further in this manual.
FEATURES
WIDEFIELD EYEPIECE: The 10X eyepiece, furnished with this microscope, is
removable so that it can be cleaned and can be used with or without the rubber
eyecups that are provided.
Diopter Adjustment: On the Binocular and Trinocular models you will find the
round dials located at the base of the eyepiece tubes. These Diopter adjustment
dials are for focusing the user’s eyes for more accuracy. When not in use, leave the
dials on the ‘O” position. The Monocular model does not use this correction
feature.
MONOCULAR HEAD: Your Wolfe Beta microscope is equipped with an angled
head. The inclined angle will promote user comfort when viewing slides for
extended periods. The Head can mounted and unmounted by loosening the
locking screw found at top right of the Nosepiece. You can also move the position
of the head by loosening the screw and moving the head to the desired angle.
Always leave the screw tightened when you have made your adjustment.
When setting up the scope for viewing, you can view the image with either eye.
BINOCULAR HEAD: Your Wolfe Beta microscope is equipped with an angled,
Binocular head. The inclined angle will promote user comfort when viewing slides
for extended periods.
When setting up the scope for viewing, you may need to adjust the distance of the
eyepieces for individual use. The distance between the eyepieces will vary from
person to person. You can push the eyepieces together or pull them apart to allow
the distance to match the user’s eye width distance. Once the distance is aligned,
you may also need to adjust the critical focus adjustment on each eyepiece tube.
This can be done once you have started viewing a specimen. Normally the diopter
adjustment dials can remain at the “0” setting. It may be necessary to remove
eyeglasses in order to get a “combined” image with both eyes.
TRINOCULAR HEAD: Your WolfeBeta Trinocular is much like the Binocular version
with the addition of a top port that comes with a “C” mount camera adapter. This
port is made so that when used, you will need to extend the black tipped rod
located on the right side of the prism head. Pushed in the scope will view the
image with the eyepieces. When the rod is extended you will be able to bring the
image up through the adapter and into the camera source.
NOSEPIECE AND SEMI-PLAN OBJECTIVES: The objectives are installed in a revolving,
ball bearing nosepiece. By convention, they are arranged in clockwise order.
Starting from 4X, clockwise rotation of the nosepiece increases the magnified
image. The objectives are corrected to eliminate color distortion in the image that
results from a magnifying lens’s tendency to separate light much like a prism.
Because the objectives are the primary “eyes” of your microscope, they should only
 Loading...