

Page 1
User Set-Up Guide
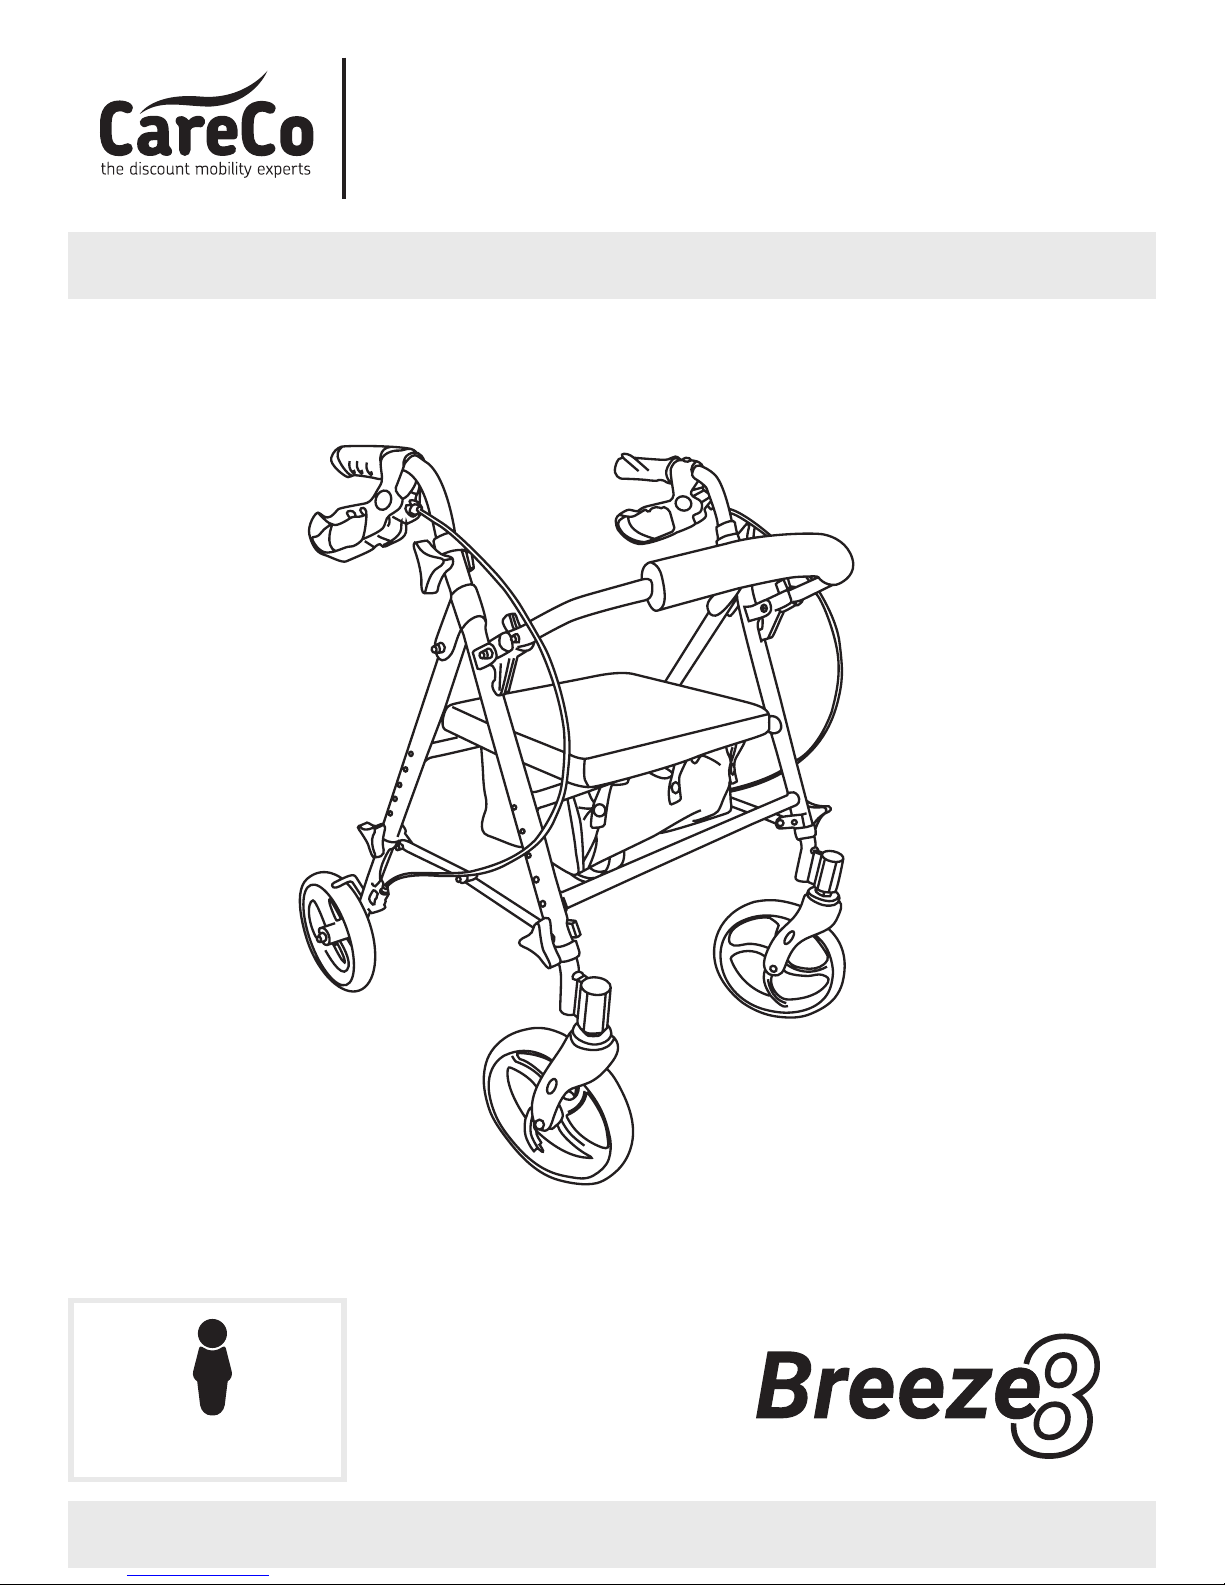
Breeze 8 - Rollator
Product Code: WA01066
www.careco.co.uk
1 Person Assembly
CareCo, Hubert Road, Brentwood, Essex, CM14 4JE
Page 2
Breeze 8 - Rollator
General Warnings
Specification
www.careco.co.uk CareCo, Hubert Road, Brentwood, Essex, CM14 4JE
01
• Make sure that you understand all instructions before installing or using this product for the first time.
• If you do not understand the warnings, cautions and instructions in this user guide check with your
dealer or consult a healthcare professional, to avoid any risk of injuries or damages.
• Take advice from your doctor or therapist to determine the most appropriate use for your needs.
The Breeze 8 should be used as a walking aid only. If you use it in any other way, you
may cause an accident or damage to the product.
!
Overall Length: 700mm
Overall Width: 630mm
Overall Height: 780-1030mm
Folded Width: 300mm
Seat Width: 350mm
Seat Height: 600mm
Diameter of wheels: 8’’ PP wheels Product
Weight: 7.3 kg
Max. User Weight: 300 lbs (135kg)
Material: Aluminium, TPR, PVC, PP, PA
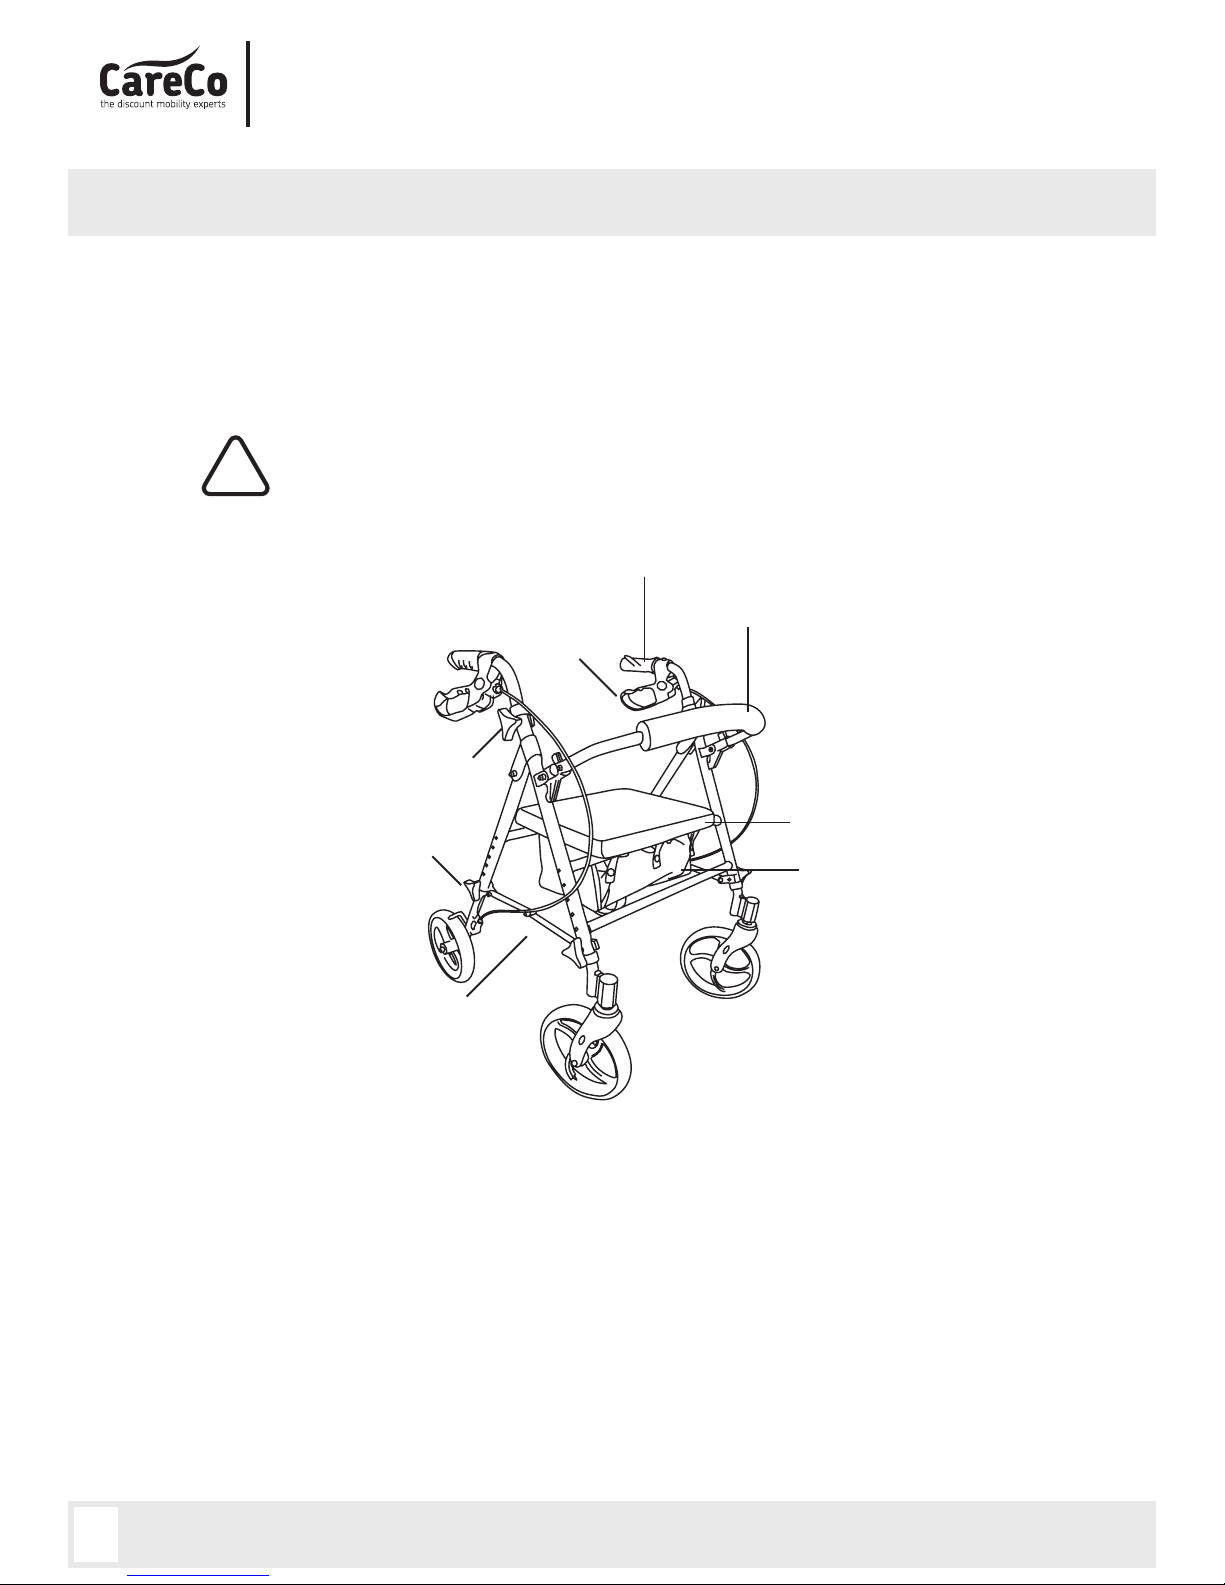
Backrest
Folding Hinge
for Portability
Handle Height
Adjustment
Leg Height
Adjustment
Ergonomic Hand Grips
Loop Hand
Brakes
Seat
Bag
Compartment
Frame
Large comfortable seat
Backrest
Basket
2 back legs with wheels
+ 2 loop lock brake systems with handles
2 front legs with wheels (no brakes)
Box Contents:
Page 3
Assembly Instructions
Operating Information
www.careco.co.uk CareCo, Hubert Road, Brentwood, Essex, CM14 4JE
02
Breeze 8 - Rollator
1. Remove all contents from carton.
2. Open frame and place upside-down on the floor. Attach one front leg (no brake) onto front of
Rollator. To do this, loosen the tightening knob anti-clockwise, located on the outside of the front of
the frame. Then slide the leg into the tube provided by pushing the button. You can now adjust the
height of the seat to your liking. Next, re-tighten the tightening knob with the button on the outside
of the frame, in order to secure everything in place. Repeat the process with the other front leg (no
brake) to assure that both legs are set to the same height.
3. Attach back legs (with brakes) using the same process, making sure the wheels are on the outside of
the Rollator and are at the same height as the front wheels. Affix brake cable to the black portion of
the leg using the “S” shaped clamp provided.
4. Insert handle tube into frame and set to desired height. Secure in place using tightening knob,
threading the knob in from the outside. Repeat for second handle, making sure both are set to the
same height.
5. Attach padded backrest by depressing the black thumb buttons and sliding into the black bracket.
Note that back rest can be folded up when not in use.
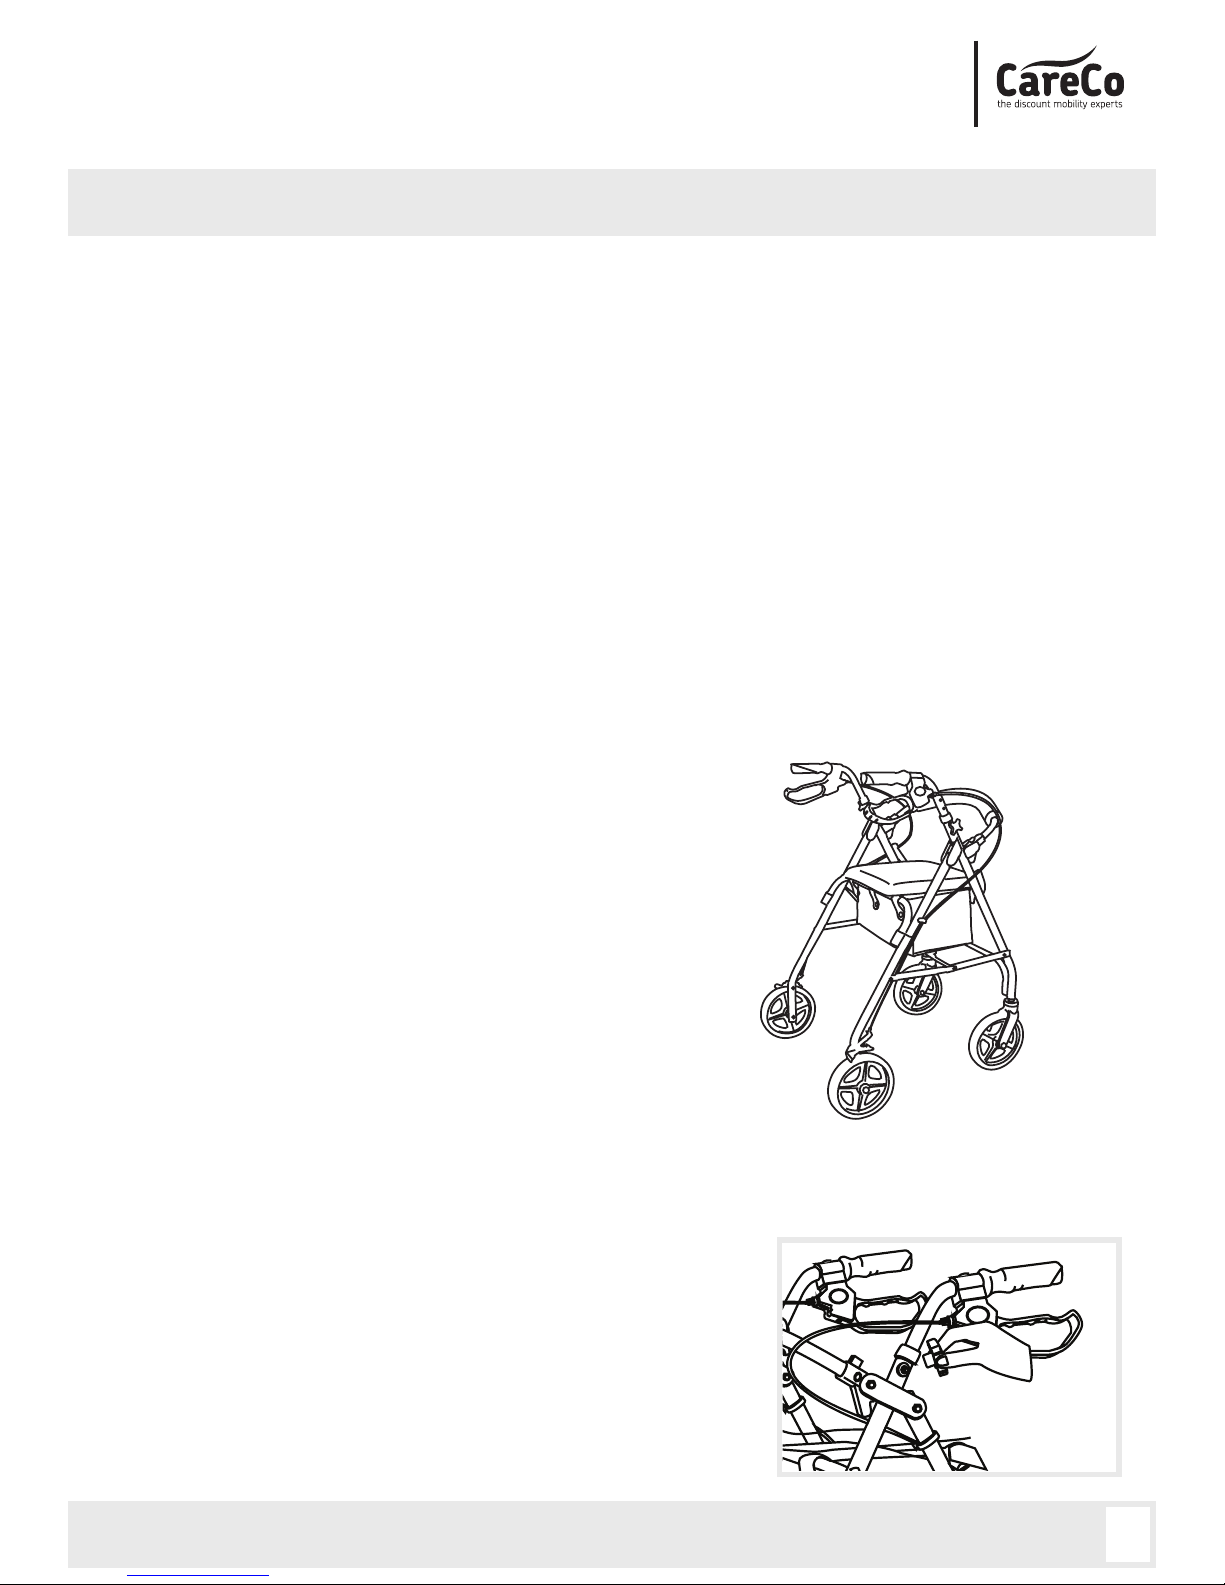
• Fully unfold the walker until the folding hinge under
the seat is locked in the open position.
• When the walker is fully unfolded, the seat can be
pulled down into position.
• Fold the backrest down before use.
• The height of the Rollator can be adjusted in two ways to accommodate many different users.
1. Remove tightening knob from handle.
2. Set handle to desired height.
3. Replace tightening knob into handle, making sure to insert
knob from outside.
4. Repeat for second handle, making sure both handles are set
to same height setting.
Unfolding the Rollator:
Height Adjustment
Handle Height Adjustment
Page 4
Breeze 8 - Rollator
Operating Information
www.careco.co.uk CareCo, Hubert Road, Brentwood, Essex, CM14 4JE
03
1. Remove tightening knob from leg.
2. Depress pushpin and slide leg to desired height.
3. Replace tightening knob into leg, making sure to insert knob
from outside.
4. Repeat for second, third and fourth legs, making sure all are
set to same height setting.
1. Place the rollator at a comfortable arm’s length in front of your body.
2. Grip the handles firmly before and while walking.
3. Take smaller steps when turning, in order to maintain your balance.
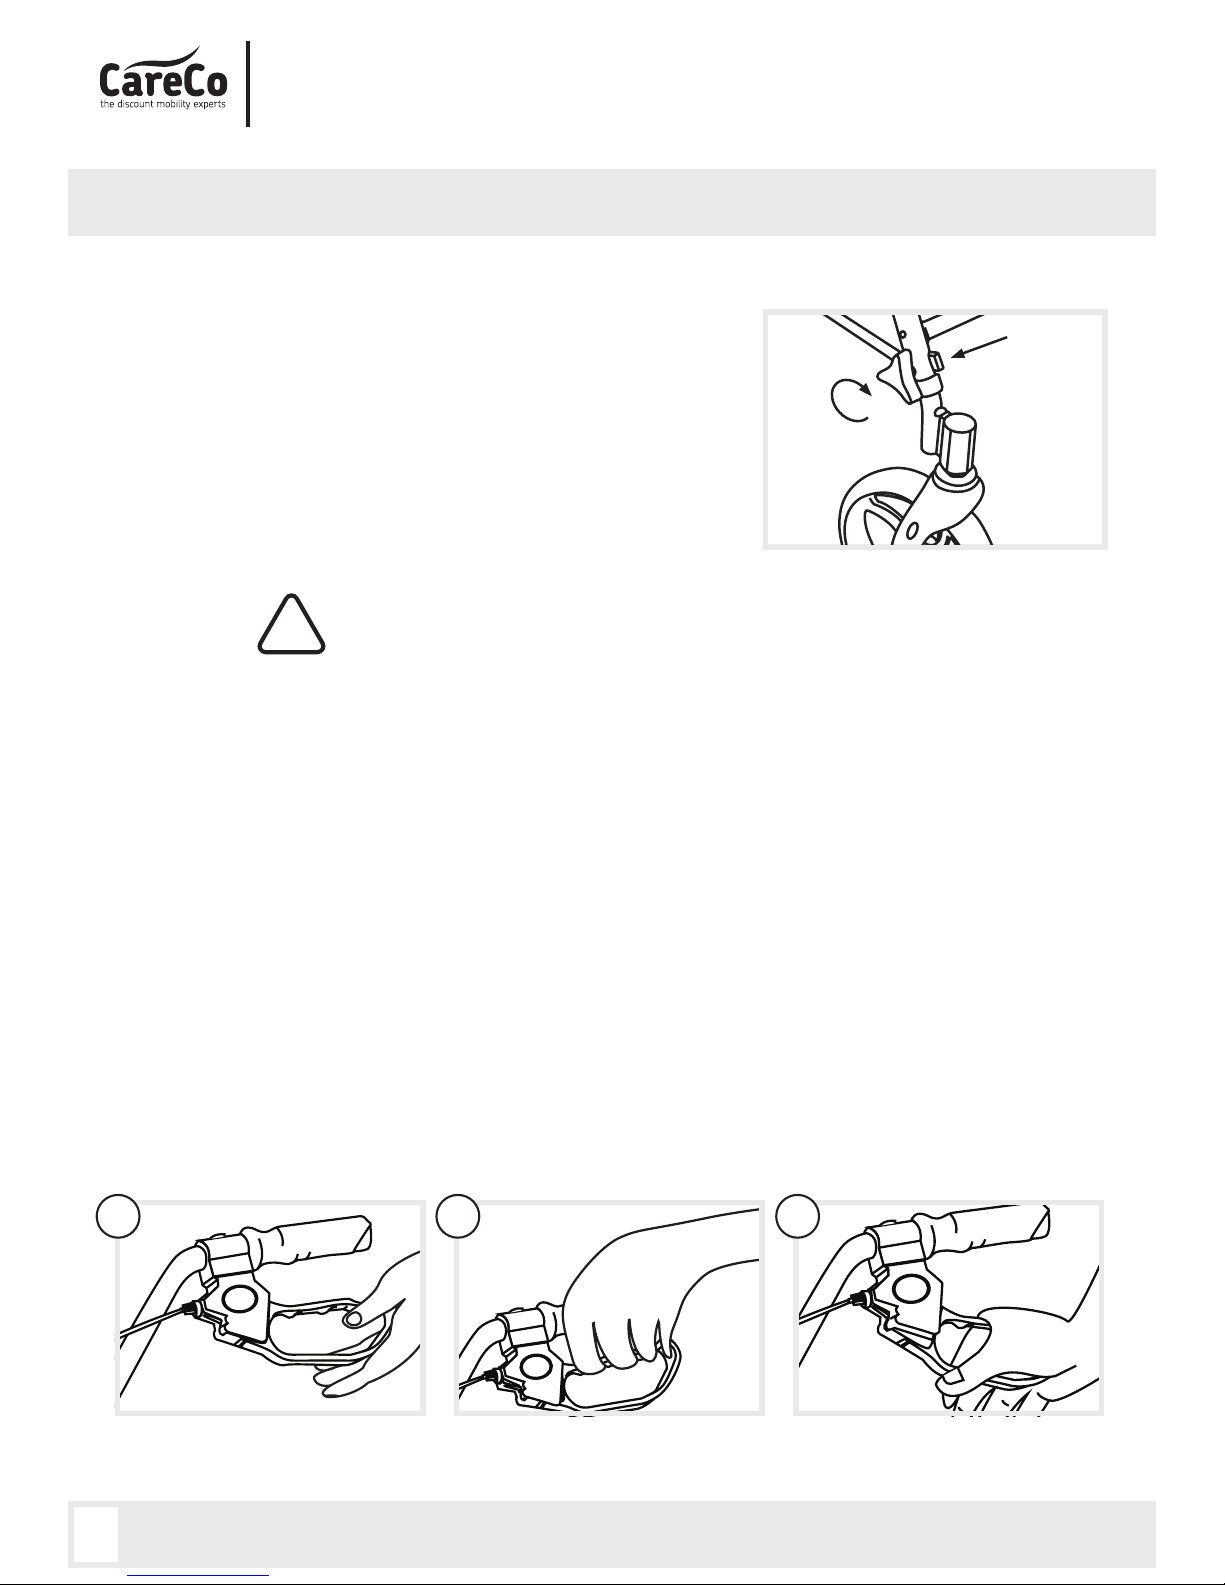
1. To slow down or temporarily stop, squeeze brake handles up slowly.
2. To temporarily lock the wheels in position, press down on both loop brake handles until you hear a
“click,” which indicates the wheels are locked.
3. To release the wheel locks, push up on both loop locks to original position.
Please make sure the tightening knobs are firmly locked.
!
Handle Height Adjustment
Handle Height Adjustment
Loop Lock Operation
1 2 3
Page 5
Operating Information
www.careco.co.uk CareCo, Hubert Road, Brentwood, Essex, CM14 4JE
04
Breeze 8 - Rollator
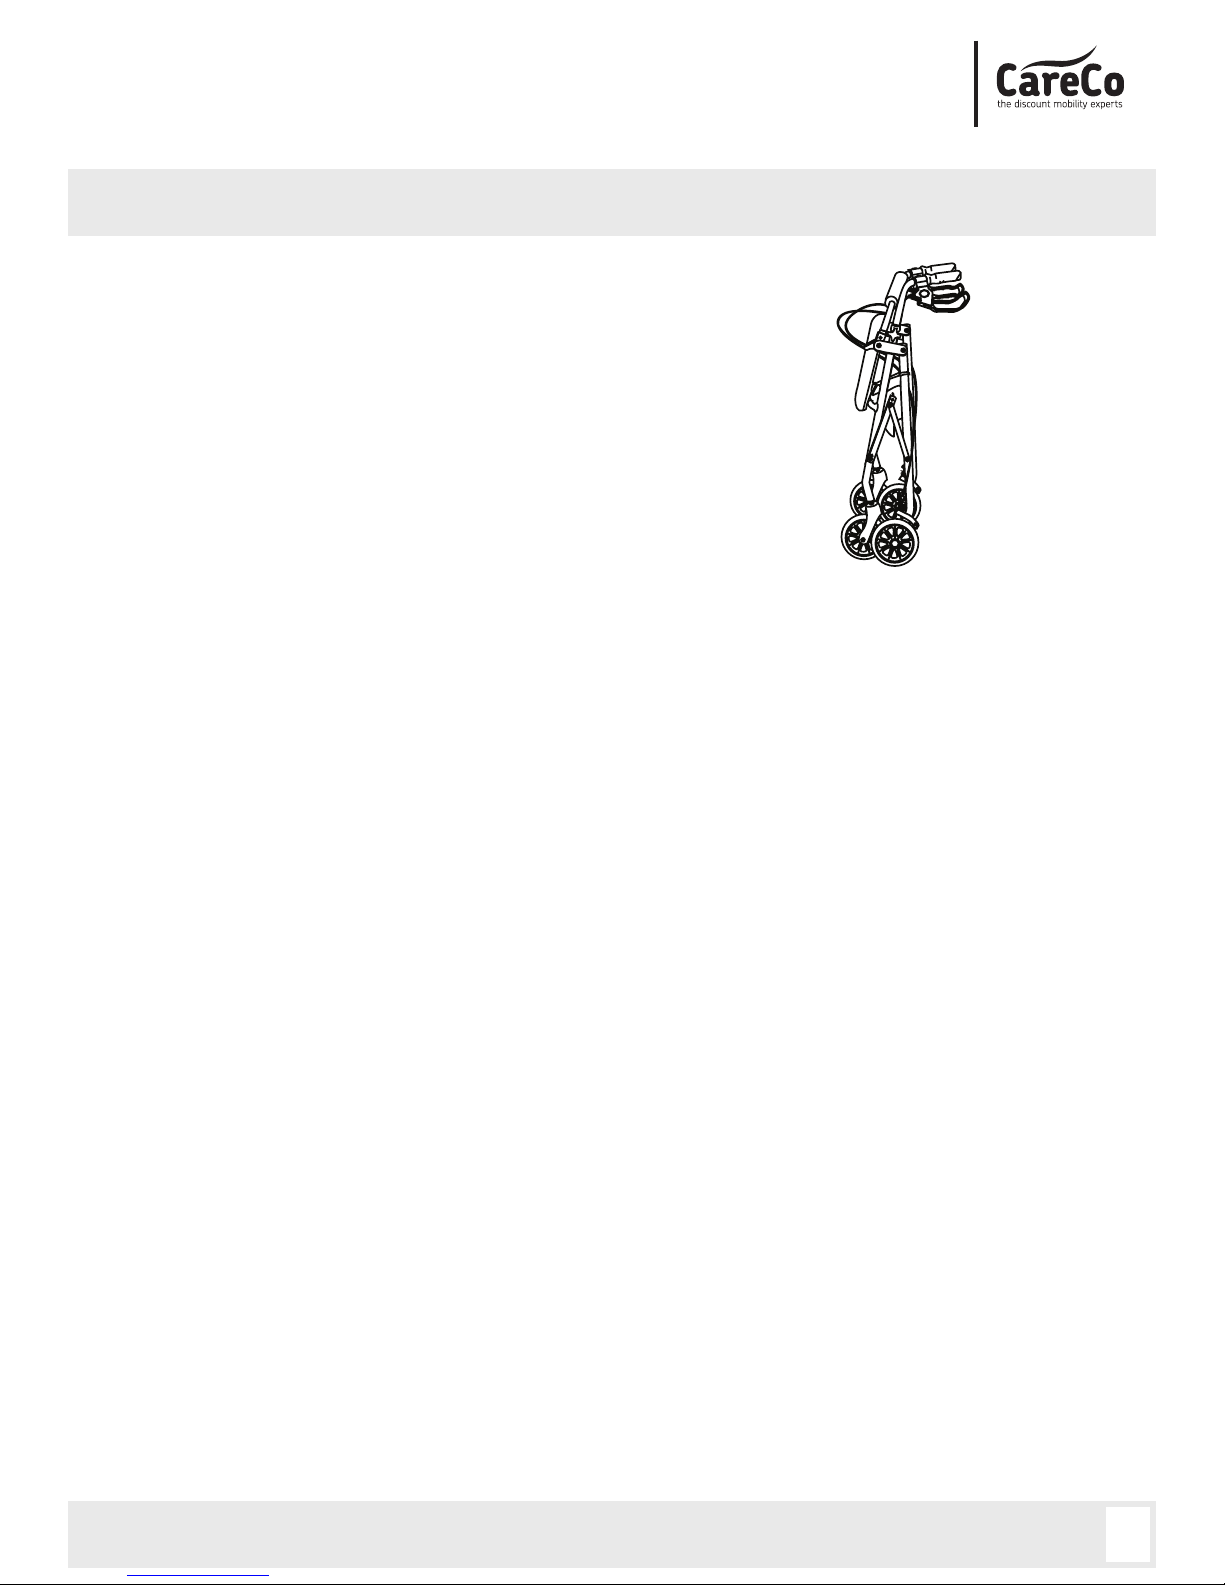
1. Lock the wheels.
2. Pull up the padded seat and fold the bars under the seat.
3. The walker will fold easily with the pouch bag attached.
4. Fold the backrest up to minimize storage space.
1. Make sure the Rollator is fully open, the seat is down and the folding bar under the seat is locked in
the down position.
2. Make sure that both knobs are fully tightened and at equal heights. Test Rollator for stability before
applying full weight to hand grips.
3. Test the loop locks before operating the Rollator. When wheels are locked (see illustrations for
locking and releasing locks below), the lock bar on the rear wheels should prevent wheels from
turning. If the wheels turn while the brakes are locked, please take the unit back to the seller for
adjustment. When the locks are released, the wheels should turn freely.
4. Always lock the loop locks before sitting. Do not use seat when unit is on an incline or uneven surface.
5. Replace wheels when significantly worn or damaged.
6. Do not have anyone push you while you are seated on the Rollator. This is a walking aid only and is
not to be used as a transportation device.
7. Seat is only to be used for temporary rest, not for long periods of time.
8. Do not stand on the rollator.
Folding for Storage
Safety Precautions
Page 6

Breeze 8 - Rollator
www.careco.co.uk CareCo, Hubert Road, Brentwood, Essex, CM14 4JE
05
Page 7

Your CareCo branded product is under warranty to be free from defects in material and workmanship for
one year from date of receipt. This warranty expresses our confidence in the workmanship and materials
used for our products.
In the event of a defect covered by this warranty, CareCo will, at our discretion, replace the product
or supply parts to remedy. This warranty does not cover device failure due to owner misuse or
negligence, or due to normal wear and tear. The warranty does not extend to non-durable parts, such
as rubber accessories, castors and grips, which are subject to normal wear and tear and require periodic
replacement.
If you have any queries please contact CareCo.
The manufacturer reserves the right to alter without notice any weights, measurements or other
technical data shown in this manual. All figures, measurements and capacities shown in this manual are
approximate and do not constitute specifications.
Warranty
www.careco.co.uk CareCo, Hubert Road, Brentwood, Essex, CM14 4JE
06
Breeze 8 - Rollator
Safety & Maintenance
Initial use
Check that the product components are in good condition and intact before first use .If this is not the
case, refrain from using the product and take it to an authorised service centre for repair.
Maximum user weight
You MUST not exceed the maximum user weight supported by this product (135 kg).
Regular checks
Regularly check the condition of the product. If there are missing, damaged or worn components, they
should be replaced immediately by an approved agent.
Recommended use
Only use this product on a stable and horizontal surface. Users are advised to exercise caution when
using this product on wet or slippery surfaces.
Regular cleaning
• Clean regularly with a damp sponge and mild soap.
• Wipe with a soft, dry cloth.
• Do not use a brush, an abrasive product or scouring powder.
• To disinfect in a hospital environment, check with the quality manager of the establishment.
Page 8

www.careco.co.uk CareCo, Hubert Road, Brentwood, Essex, CM14 4JE
 Loading...