

Page 1

Instruction manual for frost free fridge freezer
Contact Caple on 0844 800 3830 or for spare parts www.4caple.co.uk
Model code:RI736
Page 2

Instruction Manual
1
1. Protecting the environment and advice for disposal------------------------------------------------ -----------------2
2. Deciding where to locate your fridge freezer----------------------------------------------------------- ----------------2
3. Installing your appliance/Danger warnings------------------------------------------------------------------------- ----2
4. Rating plate --------------------------------------------------------------------------------------------- -3
5. Connecting your appliance to the mains----------------------------------
-----------------------------------------------3
6. Using your appliance----------------------------------------------------------------------------------------------------------3
7. Starting up the freezer---------------------------------------------------------------------------------------------------------3
8. Freezing/Storing of fresh food-----------------------------------------------------------------------------------------------3
9. Cleaning and maintenance-----------------------------------------------------------------------
----------------------------4
10. Using your fridge----------------------------------------------------------------------------------------------------------------5
11. Troubleshooting guide---------------------------------------------------------------------------------------------------------6
12. Getting your appliance in a fitted kitchen---------------------------------------------------------------------------------7
Please read these user instructions carefully to understand quickly and thoroughly, how to use your new
fridge/freezer. Underline any parts you consider particularly important. Look after this document so that
you may
consult it in future or pass it on to any future owners.
You have purchased a reliable appliance which will serve you for many years if it is used and maintained
properly. The detailed illustrations can be found on the last pages of this user manual. The performance data on
the rating plate refer to a room temperature within the range of +10℃ to 38℃.
Important!
This appliance is designed for domestic use only.
The appliance has been tested against leakage in compliance with the relevant legal safety standards.
Should you have bought your new fridge / freezer to replace an old appliance, please make sure that all existing
latch or bolt-locks on the old appliance are destroyed before you dispose of it. This will ensure that a child can
not get trapped inside.
Please have the old appliance ecologically disposed of by a company specialized in environmental protection,
since the appliance may contain harmful components in the refrigerant and this must be removed with special
equipment. Please check with your dealer or your local authority.
Make sure that the refrigerating system containing the refrigerant , especially the condenser at the back of the
appliance is not damaged during transportation to the disposal site. So that you can be sure that the refrigerant
does not leak out .Details of utilized refrigerant and insulation propellant are on the rating plate affixed to the
appliance.
Page 3
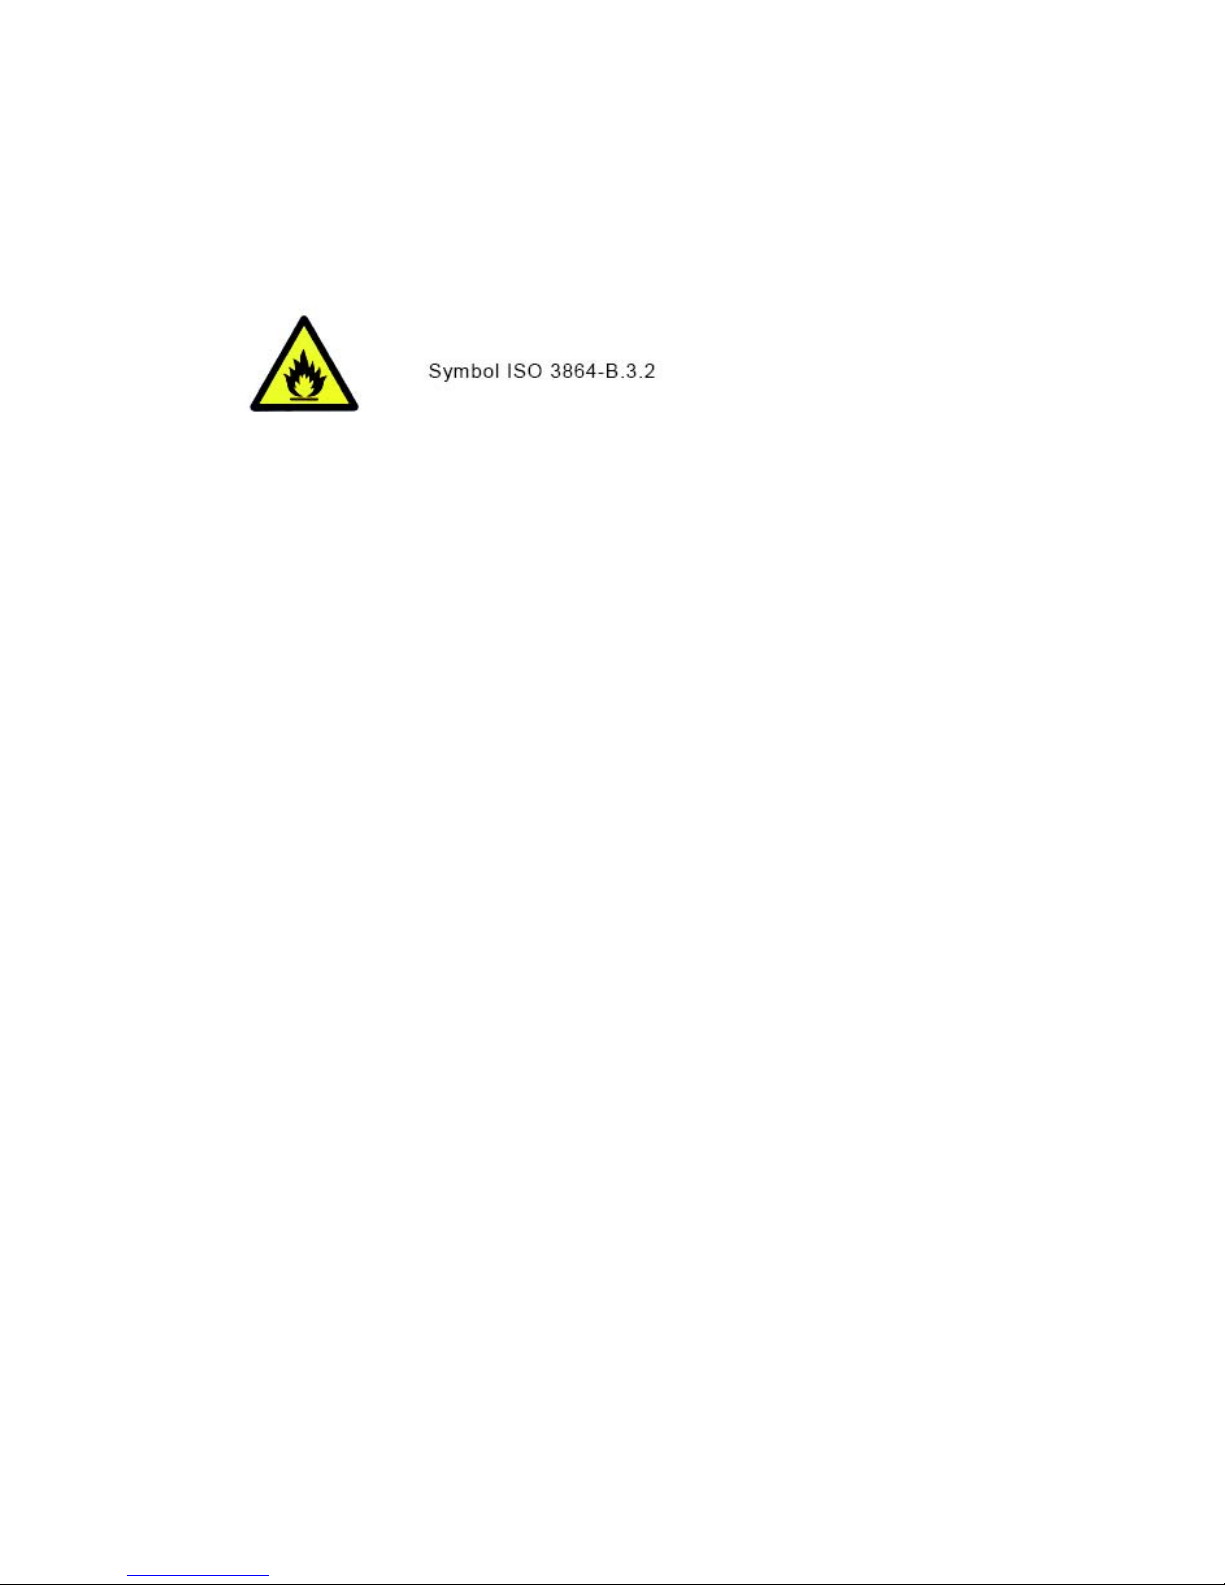
1. Compression-type appliances which use flammable refrigerants shall be marked
with the
symbol “Caution: risk of fire”.
The height of the triangle in the symbol “Caution: risk of fire” shall be at least 15 mm.
2.
– WARNING: Keep ventilation openings, in the appliance enclosure or in the built-in
structure, clear of obstruction.
– WARNING: Do not use mechanical devices or other means to accelerate the defrosting
process, other than those recommended by the manufacturer.
– WARNING: Do not damage the refrigerant circuit.
– WARNING: Do not use electrical appliances inside the food storage compartments of the
app
liance, unless
they are of the type recommended by the manufacturer.
Do not store explosive substances such as aerosol cans with a flammable propellant in
this appliance.
3.
If the supply cord is damaged, it must be replaced by a special cord or assembly available
from the manufacturer or its service agent.
This appliance is not intended for use by persons (including children) with reduced physical,
sensory or mental capabilities, or lack of experience and knowledge, unless they have been
given supervis
ion or in
struction concerning use of the appliance by a person responsible for
their safety.
Children should be supervised to ensure that they do not play with the appliance.
Caution:risk of fire
Page 4

Instruction Manual
2
The user instructions apply to several models, for this reason
there may be some differences in the details given, according to
the type of the appliance.
1. Protecting of environment / advice for disposal
Packing serves to protect the appliance during transportation and
recyclable materials have been used for packaging. Corrugated
board/ cardboard (mainly from waste paper)
Shaped parts in PS( foamed CFE-free Polystyrene)
Foils and bags in PE (Polyethylene)
Strapping tapes in PP( Polypropylene)
Please hand over all packaging to the nearest official collection
point, so that all the different materials can be reused or recycled
as f
ar as possible and any illegal depositing of such materials is
thus avoided.
2. Deciding where to locate your appliance
In order to avoid any damage or injury to persons or things, the
appliance should be unpacked by two people and placed in the
chosen location. Before positioning it, check that your new
appliance has no visible outer damage . On no account should
you start up your appliance if it is damaged. Check the appliance
carefully for:
Damage to the packaging which might indicate that
the appliance has been mishandled during
transportation.
Damage to the outer case.
Any visible damage to the cable / plug.
If in any doubt let the customer service department check the
appliance. It must be at all costs be avoided,that any
environmentally damaging refrigerant leaks out by starting up
the appliance.
3. Installing your appliance
a) Unpack the appliance
b) In order not to waste necessary raw materials, the h
andles
have not been mounted on to the separate part of the
appliance. Mount the door handles and at the same time
any other enclosed parts according to the relevant
instructions enclosed if applicable.
c) Remove any objects from inside the appliance
d) Carefully remove all film and adhesive tape from the case.
e) Remove any polystyrene pieces from around the
compressor(if it exists)
f) Remove all documents and accessories inside
g) Clean the inside of the appliance with lukewarm water and
vinegar and dry it thoroughly with a soft cloth.
Make sure that the pipes for the circulation of the
refrigerant are not damaged in any way during installation.
The appliance must only be used for the purpose for which
it is intended.
The appliance must be placed on a firm, level surface. This
is the only way to ensure that the refrigerant can circulate
freely and thus ensure that your appliance will work
efficiently.
If possible, place your appliance in a cool, well aired dry
room.
Do not place your appliance in direct sunlight, nor in a room
at high temperature.
Do not place your appliance in the vicinity of any sources of
direct heat such as heating, ovens, cooking stove etc.
If installation near a direct heat source can not be avoided, we
recommend fitting a suitable distance from the heat source
From cooker: 3cm
From Oven: 30cm
Never obstruct the ventilation
Always pull out t
he plug, not pull the cable when cutting the
appliance off from the mains supply.
Warning: Leave the appliance standing in its final position
for at least 1 2 hours before switching it on, so that the
circulation of the refrigerant stabilizes and no operational
problem occur.
Before connecting up the appliance, make sure that it is
absolutely dry inside.
Any inexpert interference might well create a fire hazard.
Make sure nothing mechanically effects the circulation of
the refrigerant, nor in particular the accessible parts around
the compressor.
Warning: Depending on its composition , the refrigerant can
be easily inflammable, the refrigerant circuit has been
hermetically sealed and has been tested many times for
possible leaks.
Only professional experts should intervene on the
refrigerating system. Any refrigerant spilling out can injure
your eyes .In the event of eye contact with the refrigerant,
wash your eyes instantly with plenty of water and consult a
doctor immediately.
The appliance according to its climate category, is meant for use
at certain room temperatures lower than 38
℃
Page 5

Instruction Manual
4.Rating plate
The rating plate with the technical data is located on the side of
the appliance inner or outside, on the rear side of the unit.
Take a note of the technical data
Copy below the technical data from the rating plate so that
it is easily accessible without having to move out the appliance.
Model number:------------------------------------------------ Gross capacity:------------------------------------------------ Net capacity:---------------------------------------------------- Operation voltage:-------------------------------------------- Maximum input power:-------------------------------------- Safety fuse:----------------------------------------------------- Energy consumption:----------------------------------------- Freezing capacity:----------------------------------------------
5. Connecting your appliance to the mains
Your appliance m
ust be connected only to a earthed power
socket which complies to relevant standards and has been
installed by an authorised specialist. Before your plug in your
appliance to the power socket, make absolutely sure that the
voltage and the safety fuse for the main fuse box stated on the
appliance rating plate match your electrical supply. If these do
not match, please notify the nearest service department or your
dealer immediately. The appliance must not be connected to an
inverse rectifier (i.e. solar
panels)
6. Using your appliance
Switching on / off and selecting levels on the thermostat
To switch on:
Turn the temperature dial to the right
The appliance has been switched on.
The compressor is activated until the set temperature inside the
appliance has been reached
The temperature must be set according to:
The appliance’s room temperature
Quantity of the food
How often the appliance is opened
We recommend a medium setting. You will soon learn, through
observation, which is the m
ost suitable setting for your
requirements.
Switching off:
Turn the dial as far to the left as possible, The compressor
has now been switched off
7. Starting up the freezer
1. Switch on the freezer by turning the temperature dial to the
right
2. If equipped with a super freeze switch, turn it on.
3. Do not open the door of the freezer compartment for about 4
hours, so that the temperature in the freezer can drop to the
necessary level.
4. You can now fill the freezer with any amount of frozen
food(Food which h
as been bought ready frozen).
5. If you want to freeze fresh, chilled food, consult the
chapter ”freezing / storing fresh food.
Warning:
Do not store any bottle liquids in the freezer. Liquids
expand when frozen and the bottle may explode.
Never keep explosive substances or aerosol cans with
inflammable propellants such as butane, propane, pentane
etc. in the freezer. Any escaping gases could be ignited by
electrical components. Such aerosol cans can be
recognized by the list of contents or by the inflammable
symbols printed on the can itself.
When storing ready frozen food, you must follow the
manufacturer’s instructions on the food packaging.
Deep frozen ice-cream must not be eaten until a few
minutes after being taken from the freezer to avoid injury to
lips and tongue. For the same reason, avoid touching the
frozen inside walls of the freezer with wet hands.
Defrosted or slightly frozen products should be used
immediately. As a rule, such products are not suitable for
re-freez
ing.
Packaging should be dry to avoid things freezing together.
Ready frozen foods should be stored so that they do not
come into contact with newly added foods which have not
yet frozen.
7. Instructions for the fridge
Relevant instructions can be found in one of the following
chapters.
8. Freezing / Storing fresh food
Almost all fresh products are suitable for freezing and storing in
the freezer. For the most common of these products, a storage
guide with details of acceptable storage times a
nd the most
suitable packaging is provided.
Label fresh products clearly as they are not easy to identify
when deep frozen in transparent freezer bags. We recommend
using commercially available labels for frozen foods.
Pack fresh products in portions suitable for your needs to avoid
defrosting quantities that are too big for you to use up in one day.
Label the portions with at least the following information
Product name, weight of the portion, quantity, freezing date and
best dat
e for using.
3
Page 6

Instruction Manual
Then continue as follows:
a) Berries, fruits with peel, herbs etc. should be laid out loose for
freezing
in the freezer drawer and
then put into freezer bags after about 12 hours. Store the filled
freezer bags in one of the available drawers. Fresh food should
be placed in the top drawer and moved down to one of the lower
drawers after approx 24 hours. Avoid putting fresh foods directly
in contact with deep frozen food. The deep frozen food could
defrost and may not last out
the normal storage time.
b) Within a period of 24 hours fill up the freezer only with the
adequate quantities of fresh food for the freezing capacity of
your freezer. Consult the information on the rating plate)
c) If your freezer is equipped with a super freeze switch, switch it
on. This is not strictly necessary when filling up with already
frozen foods.
Warning! Switch off the super freeze switch after 24 hours
at the latest.
d) Set the temperature dial to a medium to high setting.
e) Keep the tem
perature in the freezer under control preferably
by placing a suitable thermometer with a scale range of up to
-26.The storage temperature must always be at least -18
Refilling the freezer compartment with fresh foods
Make sure that you wait at least 24 hours before refilling with
fresh food, in adequate quantities for the freezing capacity of
your freezer.
Maximum capacity
In order to ensure correct storage of frozen food, never fill the
drawers up to the top.
Set the temperature dial strictly according to the filling capacity.
To s
ave energy in normal room temperatures we recommend
setting the temperature dial to a medium setting.
Storage time
The storage time for ready deep-frozen products depends on the
type of the products and on its ingredients. For this reason, you
should strictly follow the producer’s instructions on the
packaging.
When you want to freeze fresh foods yourself, consult the
FOOD STORAGE GUIDE AT THE BACK OF THIS MANUAL.
Once frozen foods have been defrosted, they should be used up
within 12-24 hours.
Do not eat any food beyond its storage time, this
could lead to food poisoning.
Precautions and advice
Whenever cleaning or defrosting remove the power plug
or switch off the main fuse.
After closing the freezer door, do not open it immediately
and do not force it open under any circumstances. The
vacuum created by the sealing of the door is dispersed
after about 1-2 minutes, so that the door can be opened
normally again.
To prevent condensation and ice forming, allow cooked
food to cool down to room temperature before closing the
lid of the dish and b
efore storage.
Leave the freezer door open as briefly as possible to avoid
wasting energy and to prevent and excessive amount of ice
forming in the freezer.
Never use a screwdriver or any other sharp edged metal
tool to remove the layers of ice. The inside walls are very
delicate and can be easily damaged by sharp edges. Use
only plastic or wooden scrapers with no sharp edges
.
9. Cleaning and maintenance
As a firm rule, unplug the power plug or switch of
f at the
mains.
For the upkeep of the external appearance of your fridge /
freezer, clean the outside every now and again with furniture
polish or with an enamel protecting product. Clean the door seal
with warm water now and again but do not use any cleaning
products.
Clean your appliance regularly.
The various parts inside the fridge / freezer are generally
not suitable for dishwasher. These should be washed by
hand with warm water and a little washing up liquid. Never
use the cleaning agent neat and on no account use any
abrasive or acid, i.e. chemical cleaning agent is
recommended.
The rating plate should not be damaged and should never
be removed , this is essential for servicing. Make sure
when cleaning, that no water runs onto any electrical parts
inside the appliance.
If there is a heat exchanger, called condenser, on the back
of your appliance, this should be cleaned regularly. Dust
and dirt impede the relea
se of heat from the inside and
considerably increase energy consumption. For best
results, use a soft brush or a duster to remove dust from
the condenser.
Special tips for cleaning the fridge
Clean the drain hole in the fridge from time to time with for
example, cotton buds, in order to keep it clear.
4
Page 7

Instruction Manual
5
Switching off the appliance
If your appliance is going to be switched off for longer periods, it
should be left opened to prevent odours from building up inside.
If your appliance has a lock, set the lock in the “closed” position
with the doors open and keep the key well away from small
children to prevent accidents.
Ice and frost layers which build up to a certain thickness on the
inside wall act as insulation and prevent the dispersion of the
coldness. These m
ust be removed from time to time. To remove
the layers of ice from the inside walls, use a plastic or wood
screaper with no sharp edges. When doing this, remove the
drawers and lay a cloth on the bottom of the appliance to catch
the ice as it is scraped off so that it can be easily removed.
The method least likely to damage your appliance when
removing the layers of ice is to defrost it.
Defrosting
In normal circumstances the freezer compartment should be
defrosted once or twice a year. The fridge compa
rtment is
defrosted automatically.
Danger Warnings:
Never use electrical appliances to defrost your appliance,
such as a hair dryer, fan heater, dehumidifiers, de-icing
sprays or anything with a naked flame.
The plastic inside of your appliance could melt and the
escaping gas or foam could be ignited by sparks or by the
naked flame
On no account should a steam cleaning device be used to
defrost the layers of ice in the appliance (great risk of an
electric shock)
Proceed as follows to defrost your appliance
1. Provide a suitable non-metallic container
2. Make absolutely sure that you remove the plug from the
power socket.
3. Dry your hands thoroughly to prevent skin damage from t
he
contact with ice
4. Remove all frozen food from the freezer and roll it firmly in
newspaper place it in the container already prepared and
place the container in a cool, dry room.
5. Cover the container all around with a thick blanket.
6. Remove the drawers by pulling them as far out as possible
and then raising them slightly.
7. As described previously, scrape the thickest ice carefully from
the freezer and put it in the kitchen sink.
8. If your appliance is equipped with a drip duct at the bottom,
p
ull it out and place a bowl to catch the dripping water
underneath.
9. If necessary, speed up defrosting by placing a large bowl of
warm water on the bottom of the appliance and close the door.
10. If your appliance is not equipped with a drip duct, place an
absorbent cloth underneath the front of the appliance and wipe
up the defrosting water with a sponge.
11. Thoroughly clean the inside, wipe it out with warm water and
a little vinegar and then rinse it out with c
lear water.
12. Dry it thoroughly with a soft cloth and air it for 3-4 minutes.
13. Close the door and plug the appliance back in
14. Reset the temperature dial to the maximum setting.
15. Now refill the drawers with the frozen food, the oldest items
at the top.
To prevent the frozen food from defrosting, carry out the
steps described above within two hours at the most.
10. Using the fridge
Switch on / off and selecting the temperature
The appliance is switched on automatically when it is plugged in
and the
power is switched on.
Temperature settings:
Turn dial left to Lowest setting = slight cooling
Turn dial right to highest setting = lowest temperature. The
temperature must be set according to :
Room temperature
Quantity of stored foods
How often the appliance is opened
We recommend a medium setting. You will soon learn, through
observation, which is the most suitable setting for your
requirements.
Internal lighting:
For those models equipped with internal lighting, a switch has
been built in. When the fridge door is opened, t
he light
automatically comes on and automatically goes off when the
door is closed. The light bulb is protected by a transparent cover.
Spare bulb should be Max.15W
When replacing the light bulb, follow the instructions given on
the separate sheet or the illustration on last page of this user
manual.
Page 8

Instruction Manual
Changing the light bulb:
Never use a stronger light bulb than indicated above. The
voltage indicated on the bulb must , in any case, comply with the
relevant data marked on the rating plate of your appliance.
Unplug the appliance from the main fuse.
Remove the transparent lamp cover
Remove the old bulb by unscrewing it and screw in the
replacement bulb.
Fit the lamp cover back in place.
Temperature range:
Thanks to the natural air circulation in the fridge there is a range
of different temperatures which are suitable for the storage of
different foods. The coldest areas are directly over the salad
crisper, in the lowest part of the fridge and against the back wall,
the warmest areas are in the front upper part and on the door.
Arrange the foods according to the following table and store it
not too tightly packed so that the air can circulate freely.
Storing food in the fridge (from the top to the bottom)
1. Door storage compartments
a) Butter, cheese
b) Eggs
c) Small jars or bottles, tins, seasonings
d) Larger bottles, tins
2.
Fridge compartment(shelves and crisper)
a) Preserves
b) Pastries, ready cooked foods
c) Dairy / meats and sausages
d) Vegetables, fruits and salad
Kept in sealed containers or the packaging
recommended overleaf.High proof spirits should be
stored tightly closed.
Vegetables, fruits, salad can be stored unpacked in
the salad crispers.
Plastic and aluminium foils which can be reused, are
suitable for packing food, as are metal or glass
containers.
Hot foods and drinks should always be allowed to
cool down out of the fridge.
11. Troubleshooting guides:
H
igh quality manufacturing processes and the use of latest
refrigerating and freezing technology will basically ensure the
trouble free functioning of your appliance. If you suspect any
fault, before contacting your nearest service department directly
or via your dealer, make sure that you have followed all
instructions and advice given in this user manual.
Please note:
In unheated rooms and in cold weather conditions, condensation
can build up on the outer walls of t
he appliance. This does not
mean there is fault and it will disappear when the temperature
increases.
Only call the service department if after analysis of the possible
fault factors, you can not find any cause for the defect or you are
able to eliminate the fault.
a) The appliance does not function ( it is not running)
Is the plug in good order and is it plugged in the
socket properly?
T
est: place a sheet of paper between the seal and the casing
and close the door. It should be diff
icult to pull out the paper on
In the event of a fault or of a power failure, the insulation of
the appliance walls provides 2 to 5 hours storage time for
the frozen foods after the beginning of such failures.
Considerably more time is granted in specially insulated
appliances. Ask your dealer what is the relevant “ Storage time
in an emergency.”
If it takes longer to eliminate a problem, the frozen food in the
appliance begins to defrost. Therefore , take prompt action to
eliminate the problem and, if neces
sary, move the frozen food to
another freezer (perhaps to another refrigerator)
b) Your appliance is not cooling sufficiently. The freezing process
is taking too long and the compressor is running too often
Please check:
Did you make sure that the fridge / freezer was left to stand
for at least 12 hours before switching it on? ( To stabilize the
circulation of the refrigerating fluid) see “ starting up”
If not, unplug your appliance and lift it to one side, with the door
closed, for a s
hort while, i.e. tilt it and then place it back down on
its feet again. After 12 hours plug it back in. Do not open the door
again for about 12 hours.
The door does not close tightly and it not sealing properly.
Is the electricity coming through? (check this by
possibly plugging in a small appliance)
Is the appliance switched on? ( temperature dial
should not be set to “ 0 “ )
6
The compressor must not operate
by a thermostat with which you set temperatures. It is perfectly
normal to hear noise from the compressor when the refrigeration
system is running.
Page 9

Instruction Manual
7
One or more sides, call your nearest service department.
Heavy ice forming on the inside walls of the freezer ( see
“ cleaning and maintenance)
The appliance is exposed to direct sunlight or it sited near a
direct heat source.
Protect the appliance against direct sunlight / check the
distance from the heat source / place an insulation plate
between the appliance and the source of heat. ( see
“ choosing where to install your appliance” )
The freezer has been filled up with a quantity of fresh food
which does not comply with the freezing capacity indicated
on the rating plate
Is the ventilation working properly , is the ventilation grill
covered or is the condenser on the outer rear wall full of
dust?
c) Your appliance is excessively noisy:
Please check:
Is the cabinet standing level and steady are any nearby
objects or items of furniture being vibrated by the cabinet?
M
ake sure everything at the rear is free, carefully bend
back any parts touching.
Note: Slight bubbling noises are normal for this type of
refrigeration system.
Warning:
On no account should you undertake any technical
interventions or attempts at repair on your appliance.
12. Getting your appliance serviced:
Any repairs or interventions on the appliance should only
be carried out by your nearest service department, as
otherwise the user may run considerable risks and the
guarantee may not longer be valid.
Consult the enclosed guarantee card or the separately enclosed
list of after sales centers, to see which company is responsible
for servicing your applian
ce.
If there is no indication of the nearest service department in the
documentation provided., then contact your dealer.
Repairs by the service department to eliminate faults which
have occurred because of non-adherence to the information and
advice given in this user manual, cost will be charged to the
customer and are not covered by the guarantee.
In order to receive immediate help, make sure your have
the following essential data t
o identify your appliance.
Model number
Date of purchase
Name and place of your dealer
Description of the fault
13. Guarantee:
The general terms and duration of the guarantee are those
stated on the guarantee card or indicated
14. Building in the appliance
Relevant instructions are included among the other appliance
documentations
As these products are subject to continual improvement,
they are subject to change without prior notice.
Page 10

Instruction Manual
8
STORAGE TABLE
Approx. Storage time in weeks
Fresh food Suitable packaging
2-3 4 6 8 10-12
Mincemeat > Polyethylene bag > ●
Sausages > Polyethylene bag > ●
Small fish > Polyethylene bag > ●
Heart / liver > Polyethylene bag > ●
Ice cream > Plastic container > ●
Fruit > Plastic container > ●
Cheese > Polyethylene bag > ●
Bread > Polyethylene bag > ●
Large fish > Polyethylene bag > ●
Cake / Biscuits > Glass container > ●
Pork > Aluminium foil > ●
Beef > Aluminium foil > ●
Lamb > Aluminium foil > ●
Mushrooms > Polyethylene bag > ●
Asparagus > Polyethylene bag > ●
Vegetables > Polyethylene bag > ●
Strawberries > Polyethylene bag > ●
Flans > Aluminium foil > ●
Chicken > Aluminium foil > ●
Turkey > Aluminium foil > ●
Duck > Aluminium foil > ●
Goose > Aluminium foil > ●
Cauliflower > Polyethylene bag > ●
Beans > Polyethylene bag > ●
Pepperoni > Polyethylene bag > ●
Preserves > Glass container > ●
Preserved fruit > Glass container > ●
Ice Lollies > Aluminium foil > ●
Remarks: The above data are only for reference, not suitable for all occasions.
Page 11

9
Refrigerator Diagram
① Control panel and lamp ② Food shelf
③ Fresh food container ④ Drawers
⑤ Bottle holder
This diagram may very slightly with the layout of the refrigerator you have just
purchased due to technical improvements.
Page 12

Installation guide for built-in refrigeration
Please carefully read this guide before installing the appliance.
Page 13

x
xx
y
yy
z
zz
Page 14

2
Model X Y Z XX YY ZZ
RI734 540 1773 - 1778 540 550 - 560 1774 - 1782 560 2
RI733
550 1773 - 1778 540 560 1774 - 1782 560 2
RIR177
RI555 540 1773 - 1778 540 550 - 560 1774 - 1782 560 2
RI554 540 1773 - 1778 540 550 - 560 1774 - 1782 560 2
RIL177 540 1773 - 1778 540 550 - 560 1774 - 1782 560 1
RIF177 540 1773 - 1778 540 550 - 560 1774 - 1782 560 1
RIL122 540 1222 - 1224 540 550 - 560 1225 - 1233 560 1
RIF122 1
RIL88 540 873 - 875 540 550 - 560 874 - 882 560 1
RIF88 540 873 - 875 540 550 - 560 874 - 882 560 1
1
1
2
540 1222 - 1224 540 550 - 560 1225 - 1233 560
540 1773 - 1778 540 550 - 560 1774 - 1782 560
Page 15

3
Model
RI734
20 2 - 4 - 1 1 1,8m 411 1
RI733
20 2 - 4 - 1 1 1,8m 411 1
RIR177 20 2 - 4 - 1 1 1,8m 411 1
RI555 20 2 1 4 - 1 1 1,8m 411 1
RI554 20 2 1 4 - 1 1 1,8m 411 1
RIL177 20 2 1 4 - 1 1 1,8m 4 1 - -
RIF177 20 2 1 4 - 1 1 1,8m 4 1 - -
RIL122
14 2 1 4 - 1 1 1,3m 2 1 - -
RIF122
14 2 1 4 - 1 1 1,3m 2 1 - -
RIL88
12 214 1 - - 0,9m 2 1 - -
RIF88
12 214 1 - - 0,9m 2 1 - -
Page 16

4
3
4
5
2
1
Page 17

5
6
Page 18

6
7
 Loading...