

Page 1
Instruction manual for Conventional hood
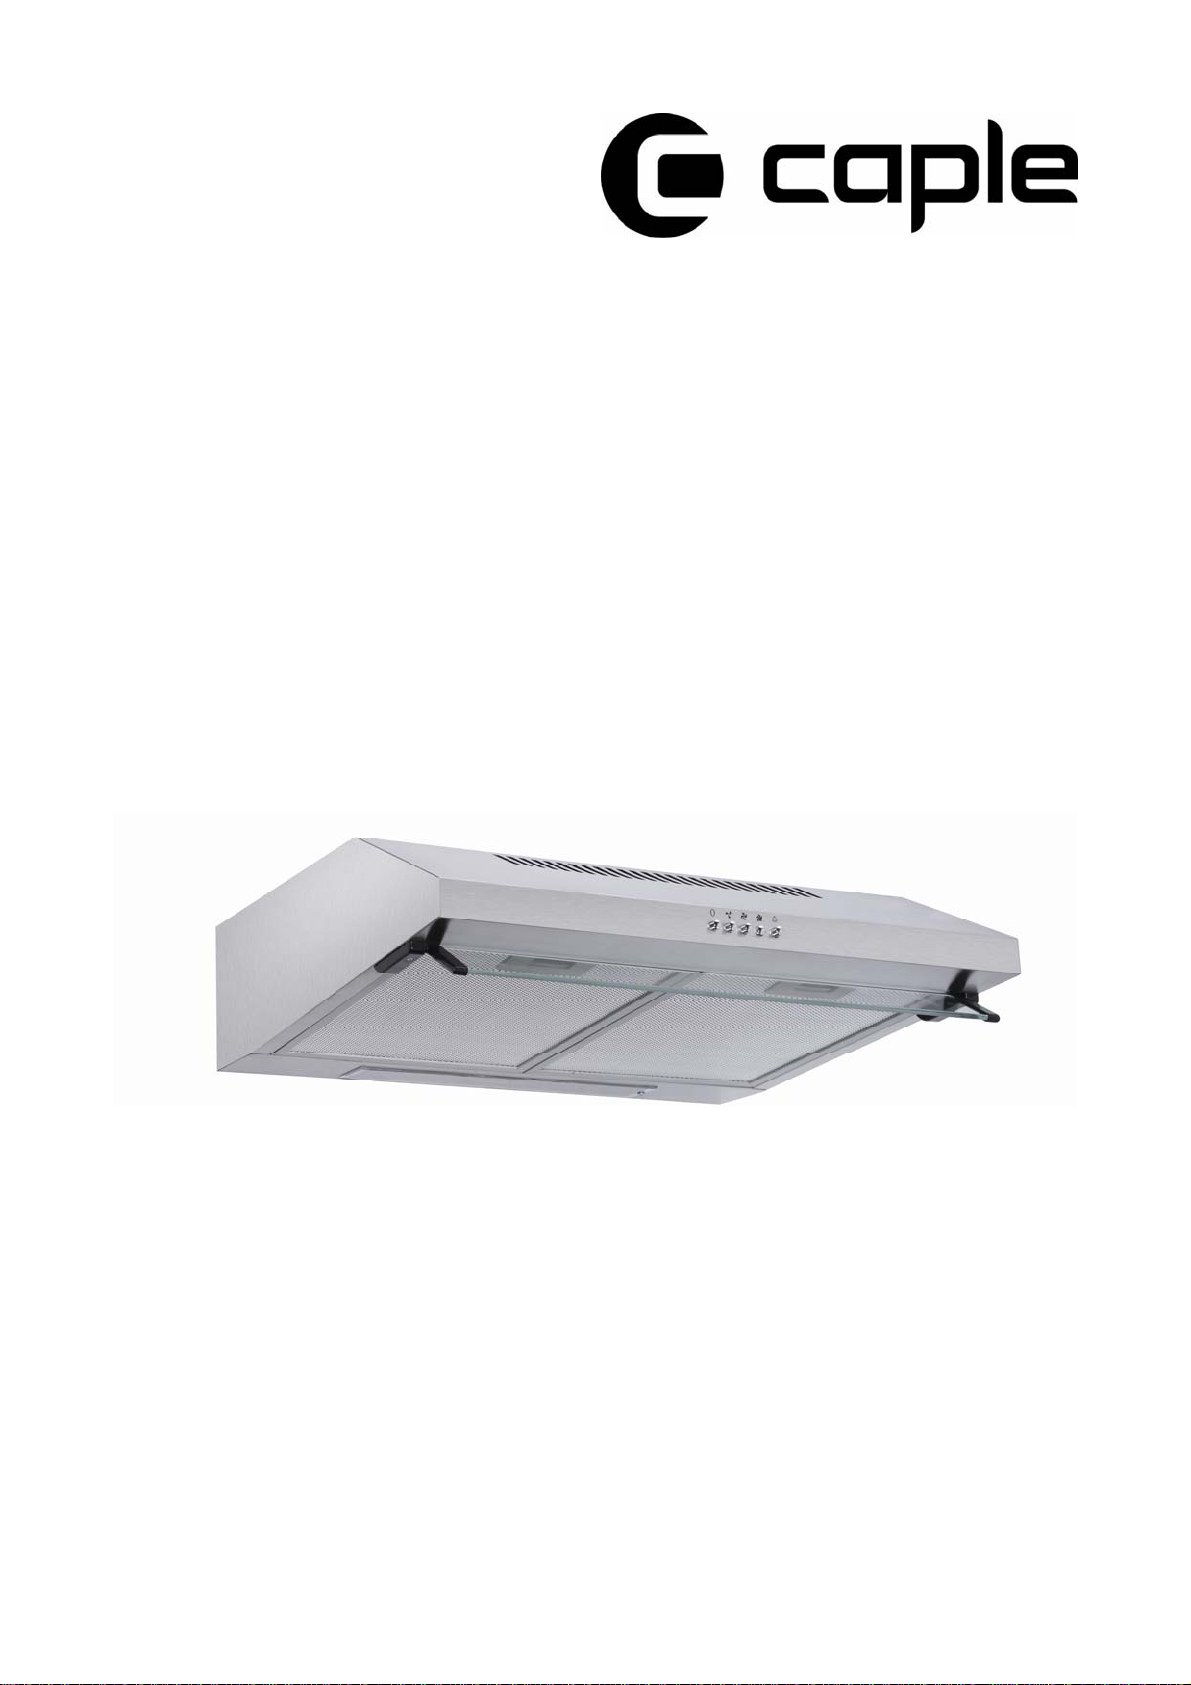
Model code: FSCHW6 & FSCHSS
Contact Caple on 0844 800 3830 or for spare parts www.4caple.co.uk
Page 2

Warning
Your cooker hood is for domestic use only, not suitable commercial use.
Keep children from using the cooker hood.
Any installation work must be carried out by a qualified electrician or
competent person.
The cooker hood and its filter mesh should be cleaned regularly in order to
keep in good working order.
Before cleaning, always ensure that you have switched your cooker hood off.
Clean the cooker hood according to the instruction manual and keep the
cooker hood from the danger of burning.
Do not use fire for drying your cooker hood.
If there is any fault with your cooker hood, please call the service department
appointed by Caple.
Please keep the room ventilated when your cooker hood and gas hob are
working.
Do not exhaust the cooker hood through the same heated flue which is used
for the gas hob or other kitchen appliances.
Thank you for purchasing this Caple cooker hood. Please read the instruction
manual carefully before you use the hood, and keep it in a safe place.
· The installation work must be carried out by a qualified electrician or competent
person. Before you use the cooker hood, make sure that the voltage (V) and the
frequency (Hz) indicated on the cooker hood are exactly the same as the voltage
(V) and the frequency (Hz) in your home.
· The manufacturer and the agent will not bear any responsibility for the damage
caused by inappropriate installation and usage.
Function and Feature
1. The cooker hood is made of high quality materials perfect your kitchen.
2. It is equipped with a high power low noise electric motor and centrifugal leaf,
it produces strong suction, low noise. Includes a non stick grease filter and
easy to clean.
3. The grease filter is easy to remove and clean, and only wipe the motor and
other interior parts lightly.
1
Page 3

Installation
Method A
1) The cooker hoods should be placed at a distance of 65-75cm from the
cooking surface for best effect. See Pic 1
2) To install onto the wall, drill 4 holes of Ø 8mm on a suitable place according
with the centre distance of the hole in the back of the cooker hood .See Pic 2
3) Insert the nut into the holes.
4) Insert the screws into the nuts and tighten.
5) Place the cooker hood onto the fixed screws.
6) Then use the attached accessories enclosed to turn the screws into the two
holes inside the hood, and then fix the screws to tighten the hood onto the
wall.
7) Put the one way valve onto the cooker hood.
Method B See Pic3:
1) Drill 4 holes of Ø 6mm at the bottom of the hanging cupboard
2) Put the one way valve on the air outlet of cooker hood, then install the cooker
hood on the bottom of the cupboard, tighten the cooker hood with enclosed
4 screws.
3) Install the adjusted board on the bottom of the hood in order to keep out the
gap between hood back and cupboard.
2
Page 4

Note: There are 2 methods for ventilation, including ' horizontal ventilation' and '
vertical ventilation'. Please pay attention to the ventilation method when
installation.
Horizontal ventilation: See Pic 4A, please use the cover to seal the outlet on the
top, then the air can be vented from back.
Vertical ventilation: See Pic 4B, please use the cover to seal the outlet on the back,
then the air can be vented from top.
Air ventilation setting
Outdoor air ventilation: Turn the adjuster to outdoor position(pic.5A), install the
outlet, turn on the cooker hood, then the air will be vented from the outside
outlet.
Indoor air ventilation: Turn the adjuster to indoor position (pic.5B), install the
outlet cover, turn on the cooker hood, then the air can be vented from the inside
outlet.
How to use the control panel:
a. Press the button “Stop”, the motor is stopped.
b. Press the button “Low”, the motor is running at low speed.
c. Press the button “Mid”, the motor is running at medium speed.
d. Press the button “High”, the motor is running at high speed.
e. Press the button “Light”, both lights turn on. Press the button again; the
lights are switched off.
3
Page 5

Maintenance
Changing and cleaning the filter
● Removing the filters as the instruction in Pic. 7;
● You can clean the filter as below measure:
1. Soak them for about 3 minute in hot water (40-50 degrees) with a
grease-loosening detergent then brush it gently with a soft brush. Please
do not apply too much pressure, avoid damaging it.
2. It can be put into a dishwasher with detergent, set the temperature at
around 60 degrees.
● Please do not use abrasive detergent for it will damage the hood;
● Make sure that the hood is shut off before cleaning;
hanging the light See Pic 8
C
z Before changing the lights, ensure that the appliance is not live (i.e.,
ensure that you have switched it off at the wall switch).
z Press the handle of the Aluminium filter towards the rear part of the unit
until it is released from the front housing, and remove it by pressing
downwards.
z Change the incandescent bulb using only Max. 40W E14 olive-shaped
bulb
z Replace the Al filter to the original position
4
Page 6

Attention:
·Use 220-240V 50Hz power;
·Cut off the power before cleaning.
·Do not use fire to dry the filter or any other parts.
·Do not dismantle the filters
·If the plug wire or plug become damaged, you must use the specific flexible wire
or contact the Caple service centre on 0844 800 3830
5
Page 7

GUARANTEE CONDITIONS
Caple undertake that if within twelve months of the date of the purchase this built-in appliance or any
part thereof that is proved to be defective by reason only of faulty workmanship or materials, the company
will, at our option repair or replace the same FREE OF ANY CHARGE for labour, materials or carriage on
condition that:
Documentation must be provided BEFORE a guarantee repair is commenced that the extractor is
within the 12 month guarantee period.
The appliance has been correctly installed and used only on the electrical supply stated on the rating
plate.
The appliance has been used for normal domestic purposes only, and in accordance with the
manufacturer’s operating and maintenance instructions.
The appliance has not been serviced, maintained, repaired, taken apart or tampered with by any
person not authorized by us.
All service work under this guarantee must be undertaken by Caple Service Centre.
Any appliance or defective part replaced shall become the property of this company.
Home visits are made between 8.30am and 5.30pm Monday to Friday.
If a service call is made and it is found that the installation has not been carried out correctly or customer
misuse/abuse is involved THE COST OF THE SERVICE CALL HAS TO BE PAID FOR BY THE USER BEFORE
ANY SERVICE WORK IS CARRIED OUT.
EXCLUSIONS
This Guarantee does not cover:
Damage or calls resulting from transportation, improper use or neglect, the replacement of any light
bulbs or removable parts of glass or plastic.
Costs incurred for calls to put right appliances improperly installed or calls to appliances outside the
United Kingdom.
Appliances found to be in use within a commercial environment, plus those which are the subject of
rental agreements.
This guarantee is in addition to your statutory and legal rights.
6
Page 8

Caple Products
Service Centre Tel: 0870 800 3830
www.caple.co.uk
7
 Loading...