

Page 1
Instruction Manual
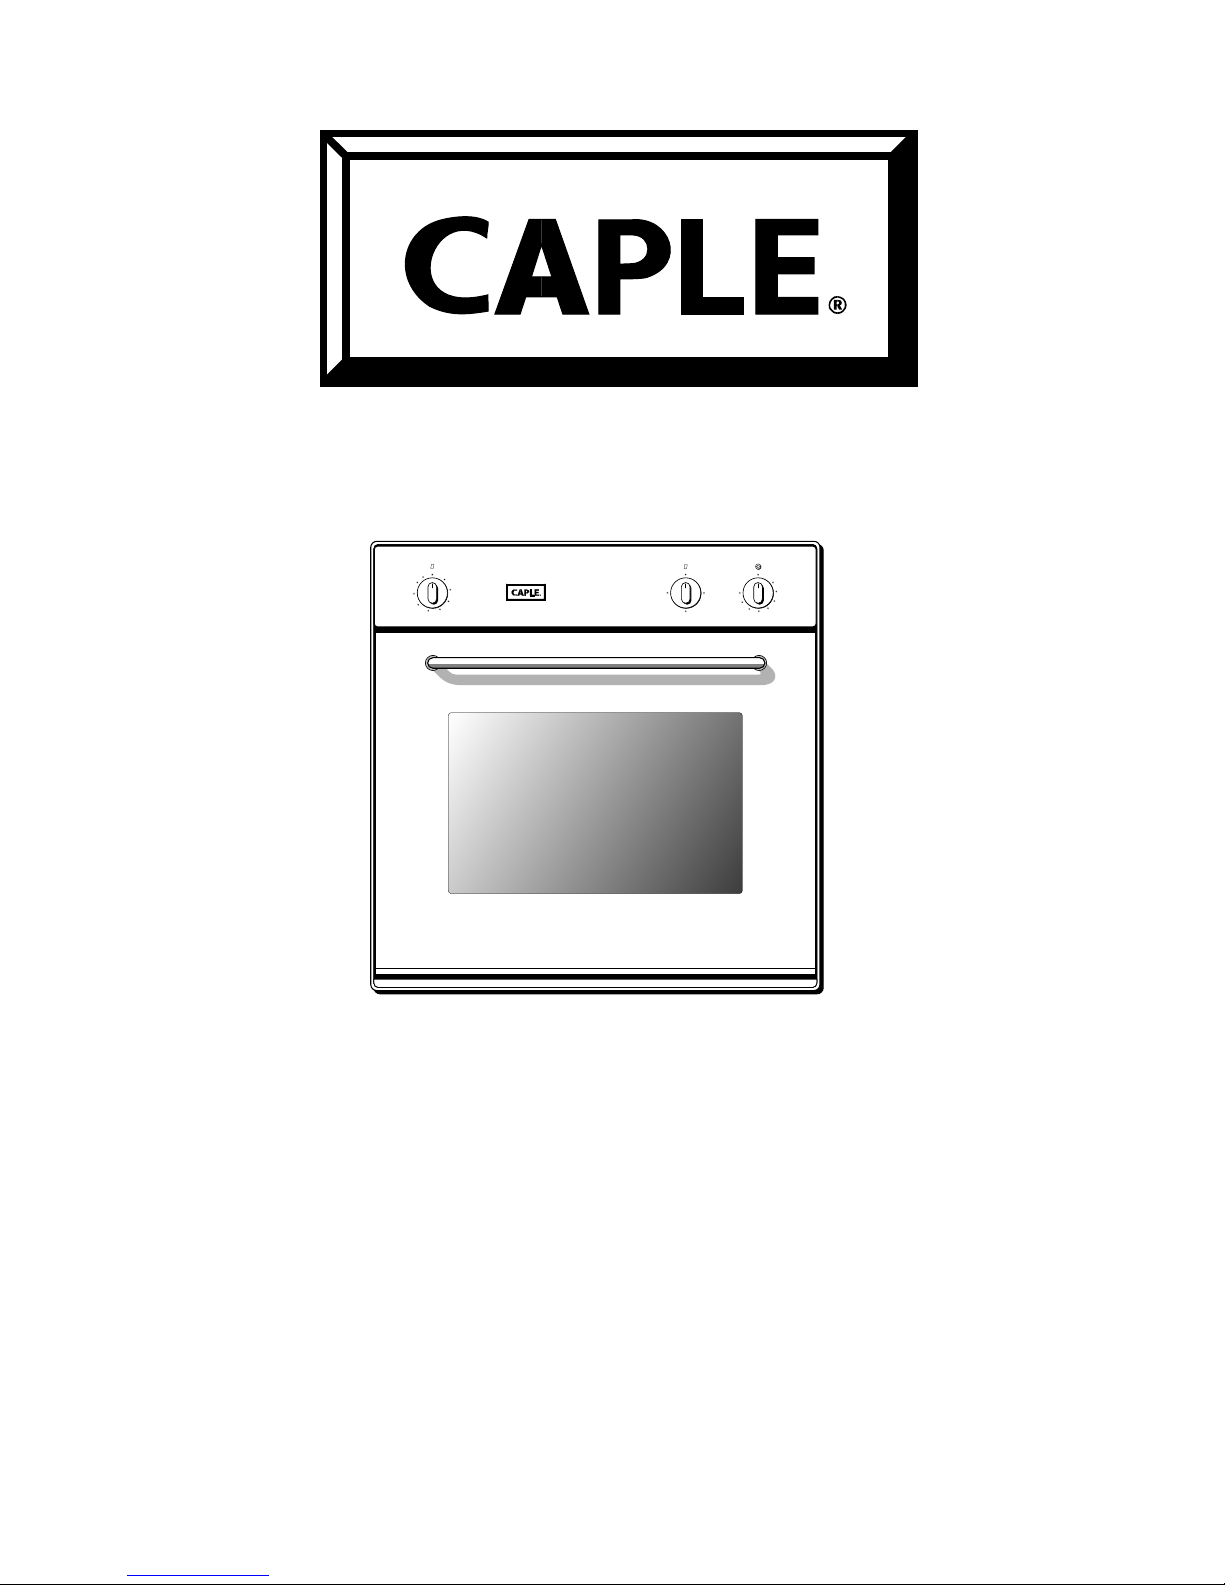
Static Oven
Models: C 100 S/B
C 100 S/W
LIGHT
0
0
OVEN
225
15
30
0
45
60
75
90
105
120
MANUAL
200
175
150
125
100
75
50
FUNCTION
GRILL
TIMER
TEMPERATURE
Page 2

2
Safety Reminders ....................................................................................................3
Electrical Requirements...........................................................................................4
Electrical Installation ................ ..............................................................................5
How To Install Your Oven ......................................................................................6
How To Use Your Oven .........................................................................................7
Helpful Advice ........................ ..............................................................................10
Cooking Guide ......................................................................................................11
Your Guarantee ..................... ...............................................................................12
Thank you for buying your new CAPLE Built-Under Oven. To ensure that you get
the best results from your new CAPLE oven, we strongly suggest that you read this
instruction manual thoroughly before use. This manual contains installation advice,
cleaning tips and a cooking guide, as well as other important facts about your CAPLE
oven. If treated with care, your CAPLE oven should give you years of trouble-free
cooking.
For Spare Parts, Technical Advice
or Product Service call the
CAPLE HELPLINE on 01245 322770
(Answerphone outside office hours)
Page 3

3
DO NOT line the oven, grids, trays etc.
with aluminium foil as this could adversely affect the heating elements and it
could also damage the interior surfaces.
DO NOT place flammable materials in
the oven.
Faults
Do not continue to use this appliance if
it appears to be faulty.
After Use
Switch the oven controls off.
Always switch off at the isolating switch
before cleaning the appliance, or attempting any maintenance task, or when not
in use for long periods (when on holiday).
CAPLE Service
To ensure the continued safe and efficient operation of this appliance, we
recommend that any servicing or repairs
are carried out only by an authorised
CAPLE SERVICE ENGINEER.
Safety Reminders
Instruction Book
This appliance should only be used for
it’s intended purpose as described in
these instructions.
Ensure that you fully understand these
instructions before operating this
appliance.
Space Requirements
Ensure that the specified ventilation
space around the appliance is not
obstructed.
Food Splashes
Always wipe clean the oven after use.
Food splashes can carry on cooking next
time and may become a fire hazard.
Hot Surfaces
It is important to remember that the surfaces of cooking appliances get hot
during use and retain the heat for some
time after switching off.
It is therefore advisable to keep small
children away from the appliance.
The Grill and Top oven
element
are exposed, so take great care when
placing food in the oven or removing it.
Use the grill pan handles or gloves.
Page 4

4
This Installation should be carried out by
a competent electrician in accordance
with current l.E.E.
Regulations.
This CAPLE product must be connected
to an electricity supply at the voltage
shown on the rating plate. Connection
must be made via a double pole isolating
switch with a contact separation of at
least 3mm.
Use supply cable, having a minimum
conductor cross-sectional area of
1.25 mm
2
.
Where both hob unit and an oven are
to be installed adjacent to each other,
both appliances may be supplied via
the same double pole isolating switch
using separate supply cables. Check that
the total loading of the installation is
within the capacity of the double pole
isolating switch and the supply circuit.
Allow sufficient length in the supply
cable(s) for removal of the appliance(s)
for any subsequent servicing. Ensure
that this extra cable is not trapped and
is not in contact with the underside of
any hob when fitting the appliance(s) in
position.
As with all electrical appliances aIways
switch off the electricity supply when not
in use for long periods (when on holiday)
and before attempting any maintenance
task.
Fitting Into position
Your new CAPLE oven is designed to fit
into a kitchen unit which is at least 550
mm deep.
Before proceeding with the installation,
check that the oven will fit into the space
intended for it, appropriate ventilation
slots are provided as per installation
instructions on page 5 and that all
packing material has been removed.
IMPORTANT
Materials used to build the oven housing
must be capable ot withstanding temperatures of up to 100°C and the housing
must be firmly fixed in position.
Before Use
Check that all accessories have been
removed from the oven interior.
Set the temperature to 225°C using
the temperature control knob.
Leave on for approximately 30 minutes. This will burn off any protective
coating applied to the oven during
manufacture.
The kitchen should be well ventilated
during this time as there may be an
odour given off.
When cool, wash the accessories and
the oven with warm water and mild
detergent.
WARNING!
ELECTRICITY CAN BE
EXTREMELY DANGEROUS.
THIS APPLIANCE MUST BE
EARTHED.
Electrical Requirements
Page 5

5
Electrical Installation
This appliance must be connected to a
double pole isolating switch (fig. 1) and
to the terminal block in the oven (figs. 2
& 3) using the following guide:
FUSE
DOUBLE POLE SWITCHED
FUSED SPUR OUTLET
USE A 13 AMP FUSE
ON
Fig. 1
1) The wire which is coloured brown
must be connected to the terminal
marked L (Live), or coloured Red.
2) The wire which is coloured blue
must be connected to the terminal
marked N (Neutral), or coloured
Black.
3) The wire which is coloured green
and yellow must be connected to
the terminal marked E (Earth)
or coloured Green.
IMPORTANT: These connections must
be carried out by a qualified electrical
engineer.
Fig. 2 Fig. 3
Page 6

6
How To Install Your Oven
The oven is designed to fit into a cabinet
600 mm wide. The oven can be built-in
or built-under the kitchen units.
It is essential that the oven housing
is well ventilated.
If the oven is being installed into a fully
enclosed built-under oven housing (fig. 4) it
may be necessary to cut a small slot in the
top of the plinth panel fitted under the unit.
Cut a section 400 mm wide and a minimum
of 15 mm high to allow air to pass under
the unit. Also ensure that the front rail the
top of the unit is not installed as it could
restrict ventilation.
If the oven is being built in to a kitchen
unit (fig. 5) ensure that the oven is ventilated with a 50 mm space at the top of
the kitchen unit.
Failure to allow adequate ventilation for
the appliance may result in over heating
or damage to adjacent units.
Caple does not accapt any responsibility for any damage caused due to noncompliance with these instructions.
To install the oven into a kitchen unit (fig.
5) first ensure that the oven housing is
firmly secured to the wall and/or adjacent
fittings.
Lift the oven carefully into position on the
shelf, taking care NOT to lift it by the
door handle.
If you lower the oven door, you will see
four screw holes, two on each side of the
oven.
The oven should then be secured to the
housing by fitting screws into these
holes.
Fig. 4 - Built under
Fig. 5 - Built in
560
591
594
594
540
20
555
min.
550
560
50
585
Dimensions
(mm)
Height
Width
Depth
596
596
540
585
Built in
585
Built Under
560
550
Housing
Oven
You need the following housing area to
fit your oven correctly.
Page 7

7
How To Use Your Oven
Fig. 6
You will find the following items delivered
with your oven; grill pan and 1 x handle,
2 wire side frames, 2 shelves, instruction
booklet and guarantee card.
The rating plate can be found on the
bottom right hand side of the inner door.
Before using the oven for the first time
we recommend that you clean it with
soapy water. Rinse carefully and heat for
30 minutes at maximum temperature.
A slightly unpleasant smell may be
produced, caused by grease remaining
on the oven elements from the
production process.
Attach the side frames as shown in fig. 6.
Cooking in a Conventional Oven
The oven has two heating elements, one
on the base and one on the roof of the
cooker. Hot air rises, so the top of the
oven is always the hottest. The
temperature in the middle of the oven is
maintained at the temperature set by the
control knob, and is slightly hotter above
and cooler below.
In a conventional oven, dishes requiring
different temperatures can be cooked in
the oven at the same time - e.g. roast
beef and Yorkshire pudding.
Always pre-heat a conventional oven
before use. The oven indicator oven
before use. The oven indicator light will
go out when the required temperature is
reached. Do not open the oven door
during cooking unless absolutely
necessary.
IMPORTANT: Drip trays, baking trays
etc. must not be left on the base of the
oven as this could damage the
appliance.
Page 8

8
How To Use Your Oven
A. Autotimer
Set the function selector B to “oven” and
set the oven at the required temperature
using temperature selector C. Use the
timer to set cooking time up to 120
minutes. At the end of cooking time, the
oven will switch off automatically.
WHEN NOT IN USE, THE TIMER
SHOULD BE SET TO MANUAL.
B. Function Selector
Cook or grill by turning the knob until the
indicator on it is in line with the function
required.
LIGHT The oven light is switched on.
OVEN Use in conjunction with the
temperature selector C. It is
advisable to pre-heat the oven
until the set temperature has
been reached ie: when the
indicator light above the temperature selector goes off.
GRILL Grill with the door closed. Set
the function selector B to the
grill position and the temperature selector C to the max.
225°C for 15 minutes, then to
the max. 175°C. The temperature can be varied depending on the food being
cooked.
LIGHT
0
0
OVEN
225
15
30
0
45
60
75
90
105
120
MANUAL
200
175
150
125
100
75
50
FUNCTION
GRILL
TIMER
TEMPERATURE
CB
A
Fig. 7
C.Temperature Selector
The light above this dial will illuminate
when the oven is switched on and turns
off when the oven reaches the correct
temperature.
The light will cycle on and off during
cooking in line with the oven temperature.
Cleaning your oven
The inside of the oven can be easily cleaned with a wet cloth and oven cleaner.
As a safety measure, before you start
cleaning the oven, make sure the electrical supply is switched off.
You should clean the oven when it is cold.
Do not leave acid or alkaline residues
(lemon juice, vinegar, salt, tomato, etc) on
the enamelled surfaces.
Avoid abrasive cleaning products on the
painted parts.
Before using the grill, preheat for about five minutes.
Position the grill pan on the
highest shelf position and
check continually as the
food could easily burn.
Note: it is recommended
that you do not grill for
longer than 30 minutes at
any one time.
Page 9

9
Helpful Advice
Trouble shooting
Problem
Food too brown but not cooked.
Remedy
Turn down the oven temperature slightly
and cook a little longer
Problem
Food cooked but not brown enough.
Remedy
Increase temperature.
Problem
Food baking unevenly.
Remedy
1. The temperature may be slightly high
turn it down
2. Position the food in the centre of the
shelves rather than towards the sides
of tho oven.
3. Rotate the food a half turn in the oven.
4. Try pre-heating the oven for 5-15
minutes prior to baking.
Always remove cooked items as soon as
they are ready and continue cooking the
under-cooked items until they are completely finished.
Changing the Oven Cavity Light Bulb.
If the oven light falls:
1. Turn off the oven by switching the
oven selector to 0, switch off at the
cooker point.
2. When the oven is cool, reach back
and upwards inside the oven, the bulb
is in the top left corner.
3. Unscrew the light glass cover, replace
the bulb with a new one of the same
specification and screw the cover
back until it is hand tight.
NOTE: Oven bulb replacement is not
covered by your guarantee.
Other bulbs cannot be changed by yourself and should be replaced by an authorised CAPLE Service Engineer.
Bulbs other than the oven bulb are covered by the guarantee.
IMPORTANT: Ovens get hot. Keep
children away from this appliance at
all times.
If Your OYen Does Not Work
Before calling a CAPLE service engineer
run through the following checklist.
1. The oven is connected to the power
supply and that the fuse is intact.
2. Make sure the timer control is set to
the manual position, and that the oven
has not been set inadvertently for an
automatic or timed programme.
If you are in any doubt about carrying
out these checks, call the CAPLE
Helpline on 01245 322770.
A charge will be made if the appliance
is found to be in working order, or if it
has not been installed in accordance
with these instructions, or if it is has been
used incorrectly.
Page 10

10
* Shelf positions have been counted
from the top of the oven to the base.
A fan oven creates more even temperature throughout, therefore the shelf positions are not as critical.
Food °C °F Gas Shelf Cooking
Mark Position* Time (approx)
CAKES
Victoria sandwich 190 375 5 2 or 3 20-25 mins
Small cakes/buns 190 375 5 1 and 2 15-20 mins
Maidera cake 180 350 4 2 or 3 20 mins
Fruit cake 170 325 3 3 1
3
/4
hours
Rich fruit cake 150 300 2 3 or 4 2
1
/2
hours
Scones 225 425 8-9 2 8-10 mins
PASTRY
Puff 225 425 8-9 2 10-20 mins
Short crust 200 400 6 2 20-30 mins
Plate tarts 200-210 400-410 6 1 or 2 30-35 mins
Quiches and flans 200-210 400-410 6 1 or 2 40-45 mins
YEAST
Bread loaf 225 425 7-8 2 35-55 mins
Bread rolls 220 425 7 1 or 2 15-20 mins
Pizza dough 230 450 8 2 20 mins
ROAST MEAT
Beef – Medium 190 375 5 2 or 3 20 mins/lb + 20 mins
Lamb 190 375 5 2 or 3 25-30 mins/b + 25 mins
Pork 190-200 375-400 5-7 2 or 3 30 mins/lb + 30 mins
Veal 190 375 5 2 or 3 30 mins/b + 30 mins
Chicken 190 375 5 2 or 3 30 mins/b + 30 mins
Turkey up to 10lb 180 350 4 2 or 3 18-20 mins/b + 20 mins
Stews/casseroles 150-170 300-325 2-3 2 or 3 1
1
/2
2 hours
Recommended cooking temperature
Page 11

11
CAPLE “Built-in” Service
Should you require service at any time,
please contact the Caple Helpline on
01245 322770.
Caple have a nationwide service
network of engineers who will respond
quickly to your call.
YOUR GUARANTEE
CAPLE guarantees all parts of this product for one year from the date of pur-
chase. During that time, should it become necessary CAPLE engineers will
replace or repair all defective parts free of charge, except for parts subject to
fair wear and tear, such as lightbulbs.
Parts and the engineers labour costs are chargeable after the first 12 months.
To qualify for benefits under the guarantee, you must be able to provide proof
of date of purchase and the appliance must have been supplied, installed and
used for domestic purposes only in accordance with CAPLE instructions.
Consequential losses and accidental damage to the product are not covered
by the guarantee.
This guarantee does not affect your statutory or common law rights.
CAPLE cannot be responsible for the results of using this appliance for any
other purposes other than those described in these instructions.
Always replace spare parts with genuine Caple spares. These are available
from authorised Caple Service
Centres or by mail order from our
National Service Stores, simply
telephone 01245 322770.
When ordering parts always quote the
model number and serial number of
your appliance.
Page 12

Ed. 2 - Cod. 110820
Rif. 1323.4
 Loading...