

Page 1
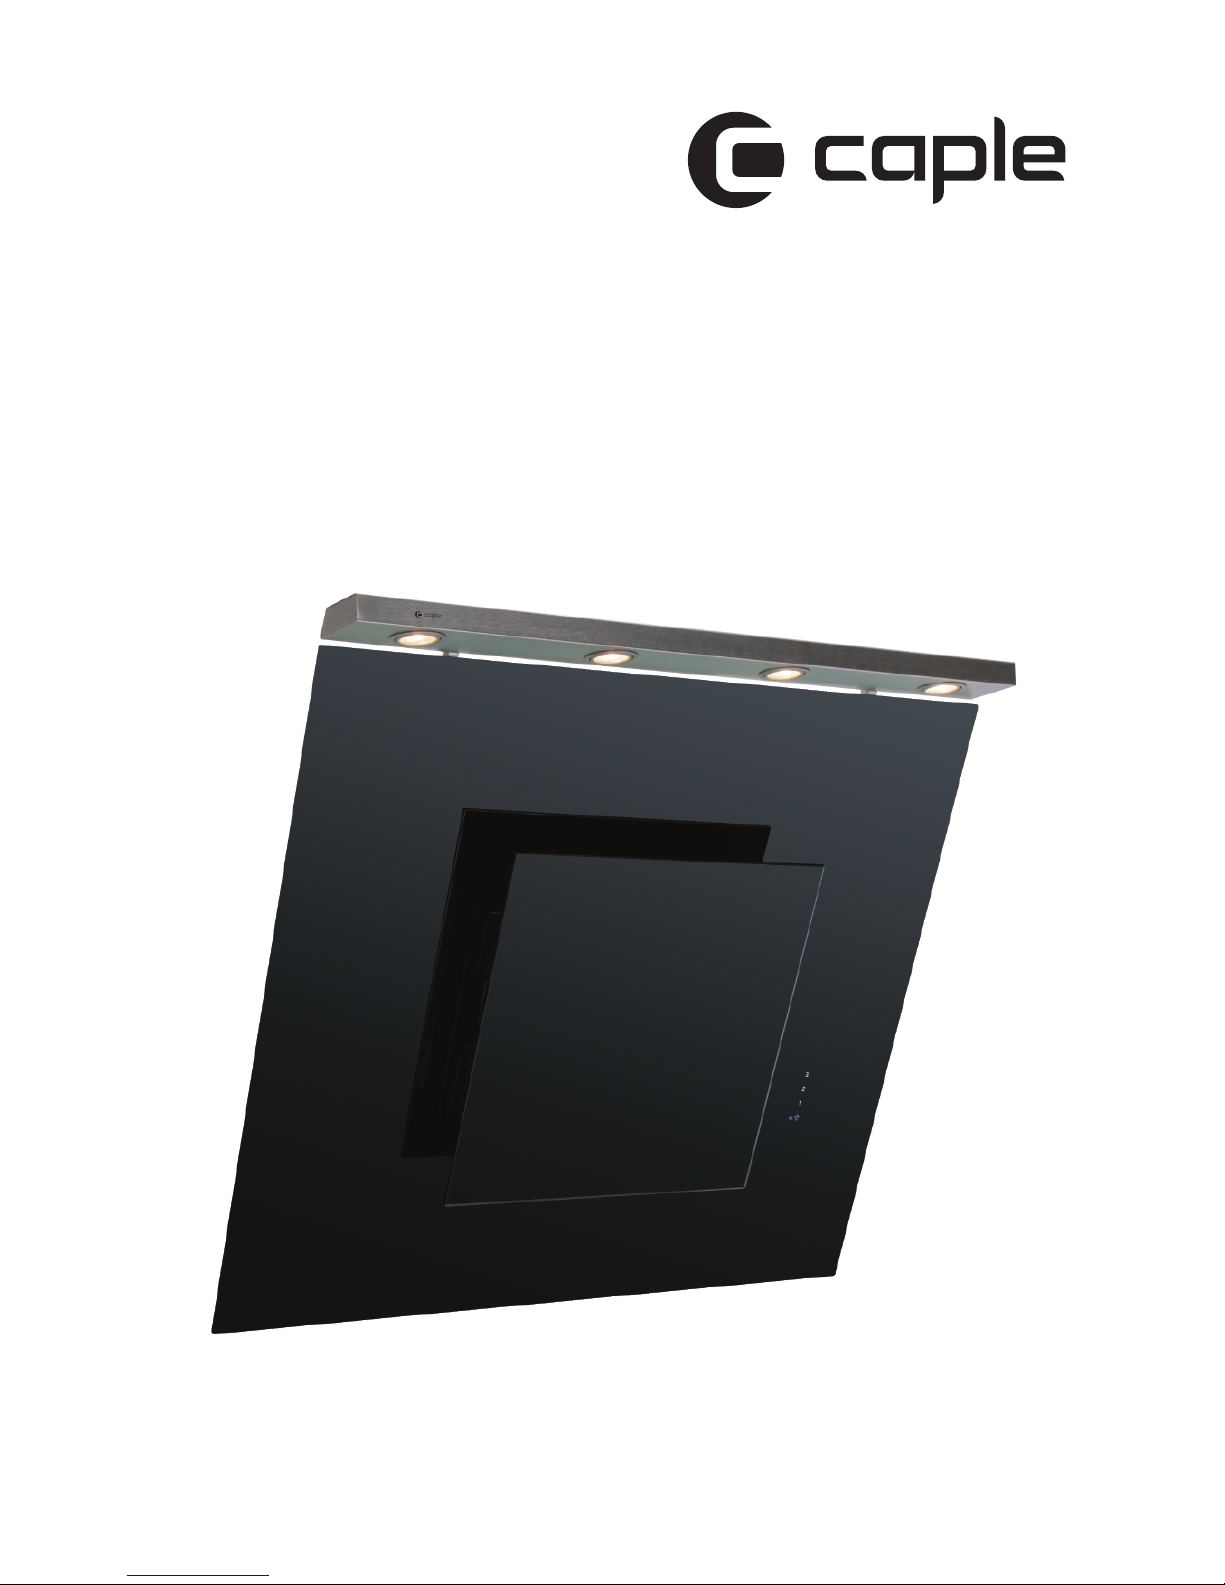
Instruction manual for wall chimney hoods
Model codes: AS610BK / AS910BK
Contact Caple on 0844 800 3830 or for spare parts www.4caple.co.uk
Page 2
Page 3
Page 4
and pulling the cover off.
4. For ease o f installation, the light assembly should be fitted using a magnet ic
screwdr iver before the hood is installed on the wa ll.
5. The plas tic cover is to protect the light assembl y in transit. Onc e the light is
fitted to the hoo d, the plastic co ver is easily removed by slackening the s crews
and pulling the c over off.
Page 5

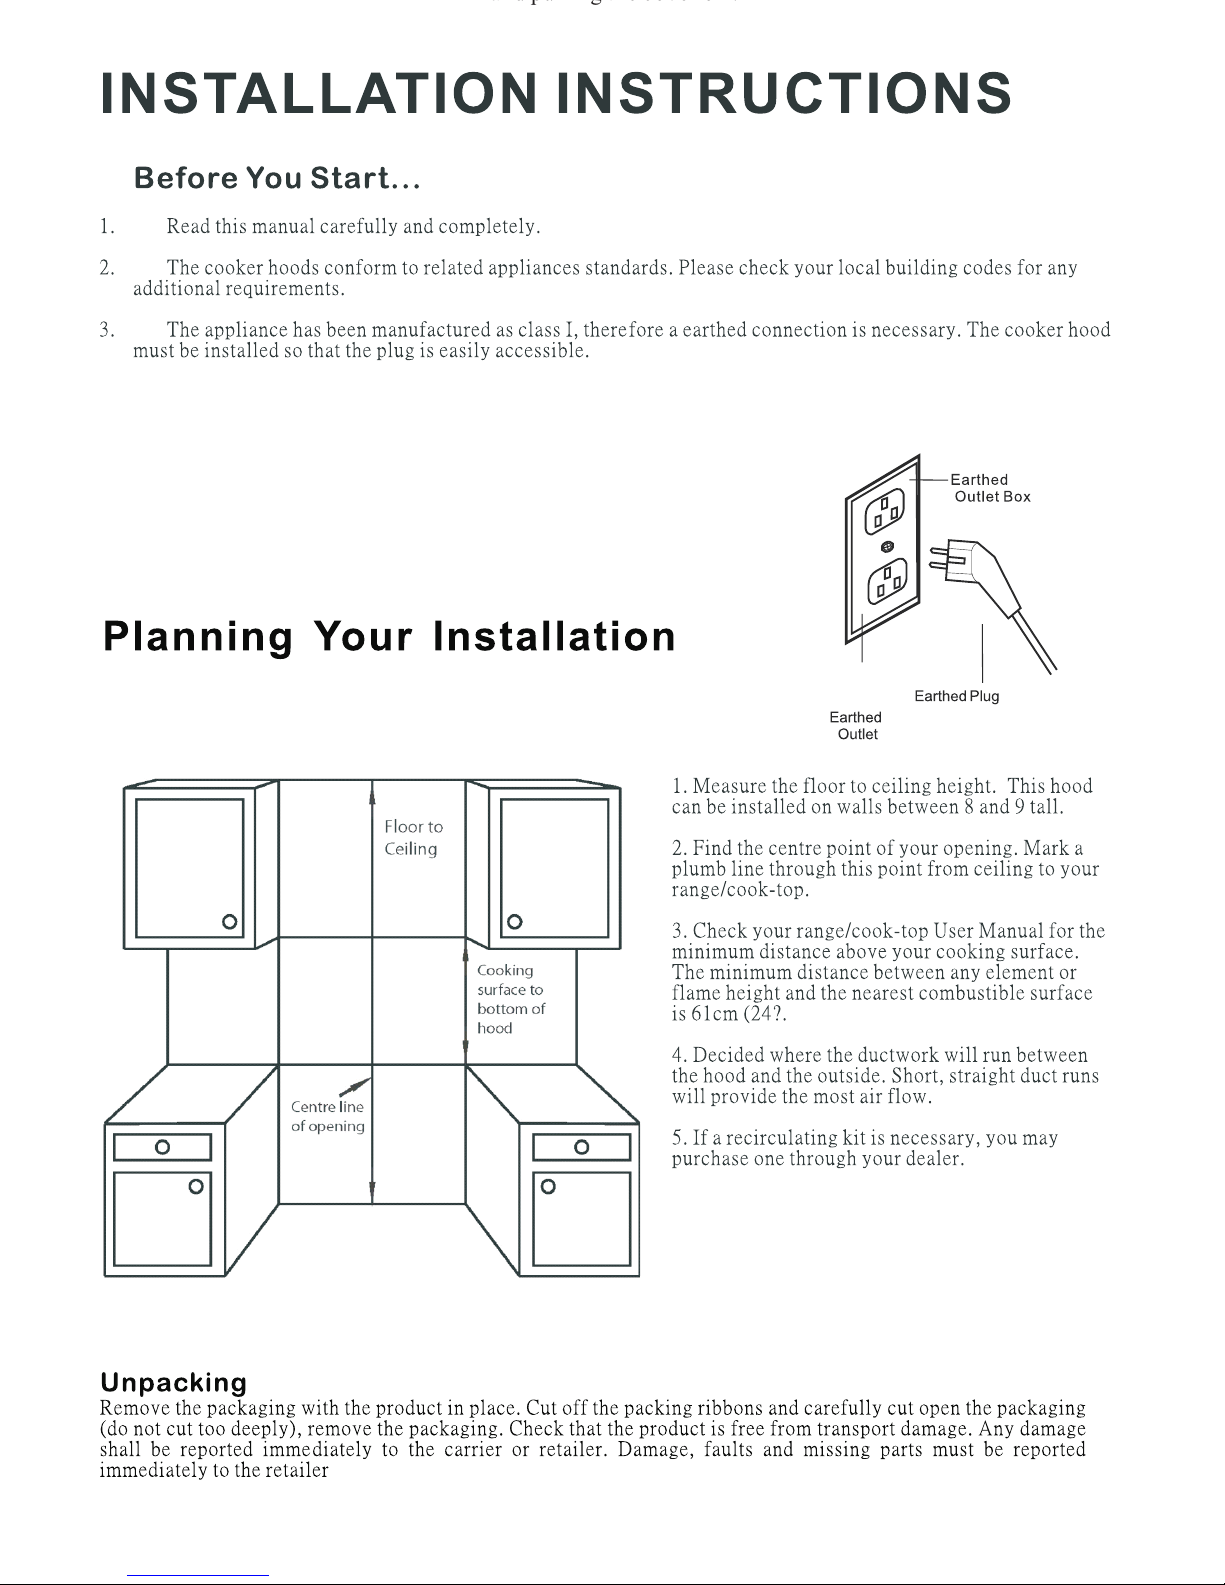
Installing the Ductwork
1. Plan where the ductwo rk will run between the hood and the outside. The
hoods exhaust vertic ally but can be ducted to the r ear behind the chimne y
duct through an outsid e wall or vertically up t hrough the ceiling to t he
roof. A short straight d uct run will produce the most air flow. Length and
elbows will reduce the e fficiency of the blower .
2. Install a roof or wall ca p. Connect a 6 round metal duct to the cap and
work backwards towar d the hood. Ensure joints a re completely sealed
with duct tape.
Fixing to the Wall
1. Before mounting the h ood, plug in and test all functions for correct
operation.
2. Remove the filters fr om the bottom of the hood t o pre vent damage duri ng
the installation.
3. With assistance, hold t he hood temporary in po sition ensuring the bot tom
is above the minimum cle arance for
the cooking surface . Mark on the wall the holes f or the two mounting screws.
4. Drill the holes and ins tall the mounting brack et (1) . Use the appropriat e screws
and screw anchors for your
wall type (e.g. reinf orced concrete, drywa ll,etc.). If necessary, prepare back wall with cross framing for secur e
installation.
5. Mount the hood onto the b racket (2).
Connect a 6 aluminum duct tube (not inc luded) to the exhaust pie ce
using duct tape on all seals. (C)
7 .
to roof ca p
to wall ca p
ho od
decor ative
chimn ey duc t
38
39
40
Mou nting b racke t
Hoo k
1
2
mus hroom t appin g screw
3
6. Install two mushroom tapping sc rew into the wall.
Page 6

Installing Guideline
Wall Mounted-
Duct-out
1
2
0
0~
170
0
m
m
6
5
0
~
70
0mm
Note: The above installation guideline for references only, please contact your local dealer
for a installation service.
Fixing the Decorative Chimney
Flu
1
2
3
.
.
.
Carefully losen but do n ot separate the telesco pic chim ney duct pieces.
Arrange the electric al power supply within th e dimen sions of the
decorative chimney duct.
Adjust the width of the su pport bracket to matc h the upper duct. Fix it
to the ceiling using the s crews (B) so that it is cente red in line with your
hood and at a distance fro m the ceiling indicated .
C
Page 7

Page 8

1. Separate lamp cover and left bracket by unscrewing.
2. Install right bracket to the cooker hood, then tighten the screws.
3. Connect two cables.
4. Re-Install left bracket and tighten the screws.
Page 9

Page 10

Page 11

Page 12

Page 13

 Loading...