

Canyon NavMaster CNR-SW2 User Manual

CNR-SW2 Manual v1.0
Canyon NavMaster
Features
Altimeter
z Altitude Measuring Range : -500 to 9000 meter or -1,600 to
29500 feet
z Resolution of 0.5 meter or 1 feet
z Total Altitude Gain
z Trip timer : 9 hr 59 min 59 sec
z Current ascending or descending Speed
z Average ascending or descending Speed
Electronic Compass
z 3-mode display showing a compass arrow direction, numeric
and cardinal readouts
z with highly accuracy of +-5 degree and a resolution of 1
degree
z a magnetic distortion alerts “Err” when external magnetic
interference occurs
z automatic shut-off
Thermo Alarm Clock
z Perpetual calendar with day of week
z Snooze alarm clock
z Thermometer (-10 degree
to + 50 degree )
z 12/24 hr,
selectable
z Max/Min memory for Thermometer
Battery Installation
Computer Watch
Remove the back cover of the computer with a screwdriver, install
the 3.0V-battery with the positive(+) pole facing up and replace the
cover. Remove the battery and reinsert it if the LCD displays
irregular figures. This will clear and restart the computer’s
microprocessor.
3V-Battery CR2032
Display Icons & Keys Illustration
Icons:
Heading Direction Time mode
Alarm ON / OFF Afternoon
Alarm Snooze Temperature in Celsius
Battery Lo w Temperature in Fahrenheit
Compass mode Maximum memory
Altimeter mode Minimum memory
To wake Up and set your computer
z Press and hold both button A and C until all segments on.
Meter / Feet Selection
Right after all segments on, the “M” digit will start to flicker.
To select M (Meter) or Ft (Feet), press button C and then press
button A to confirm.
Selection
z Right after Meter/Feet selection, the Celsius digit will then
start to flicker
z To select
or , press button C and then press button A to
confirm.
Clock Setting
z Right after selection, the “24H” digits will then start to
flicker, press button C to select 12H or 24H hour format
z Press button A to confirm and then the hour digit s w ill start to
flicker.
z To set hour, press button C to adjust the hour digits to
desired value and then press button A to confirm. Right after
the confirmation, the minute digits will start to flicker.
z To set minutes, press button C to adjust the minute digits to
desired value and then press button A to confirm.
z Repeat the process until you get a desire value of the day of
week, month and the date.
12/24 Hou r Format Hour digit Minute digit
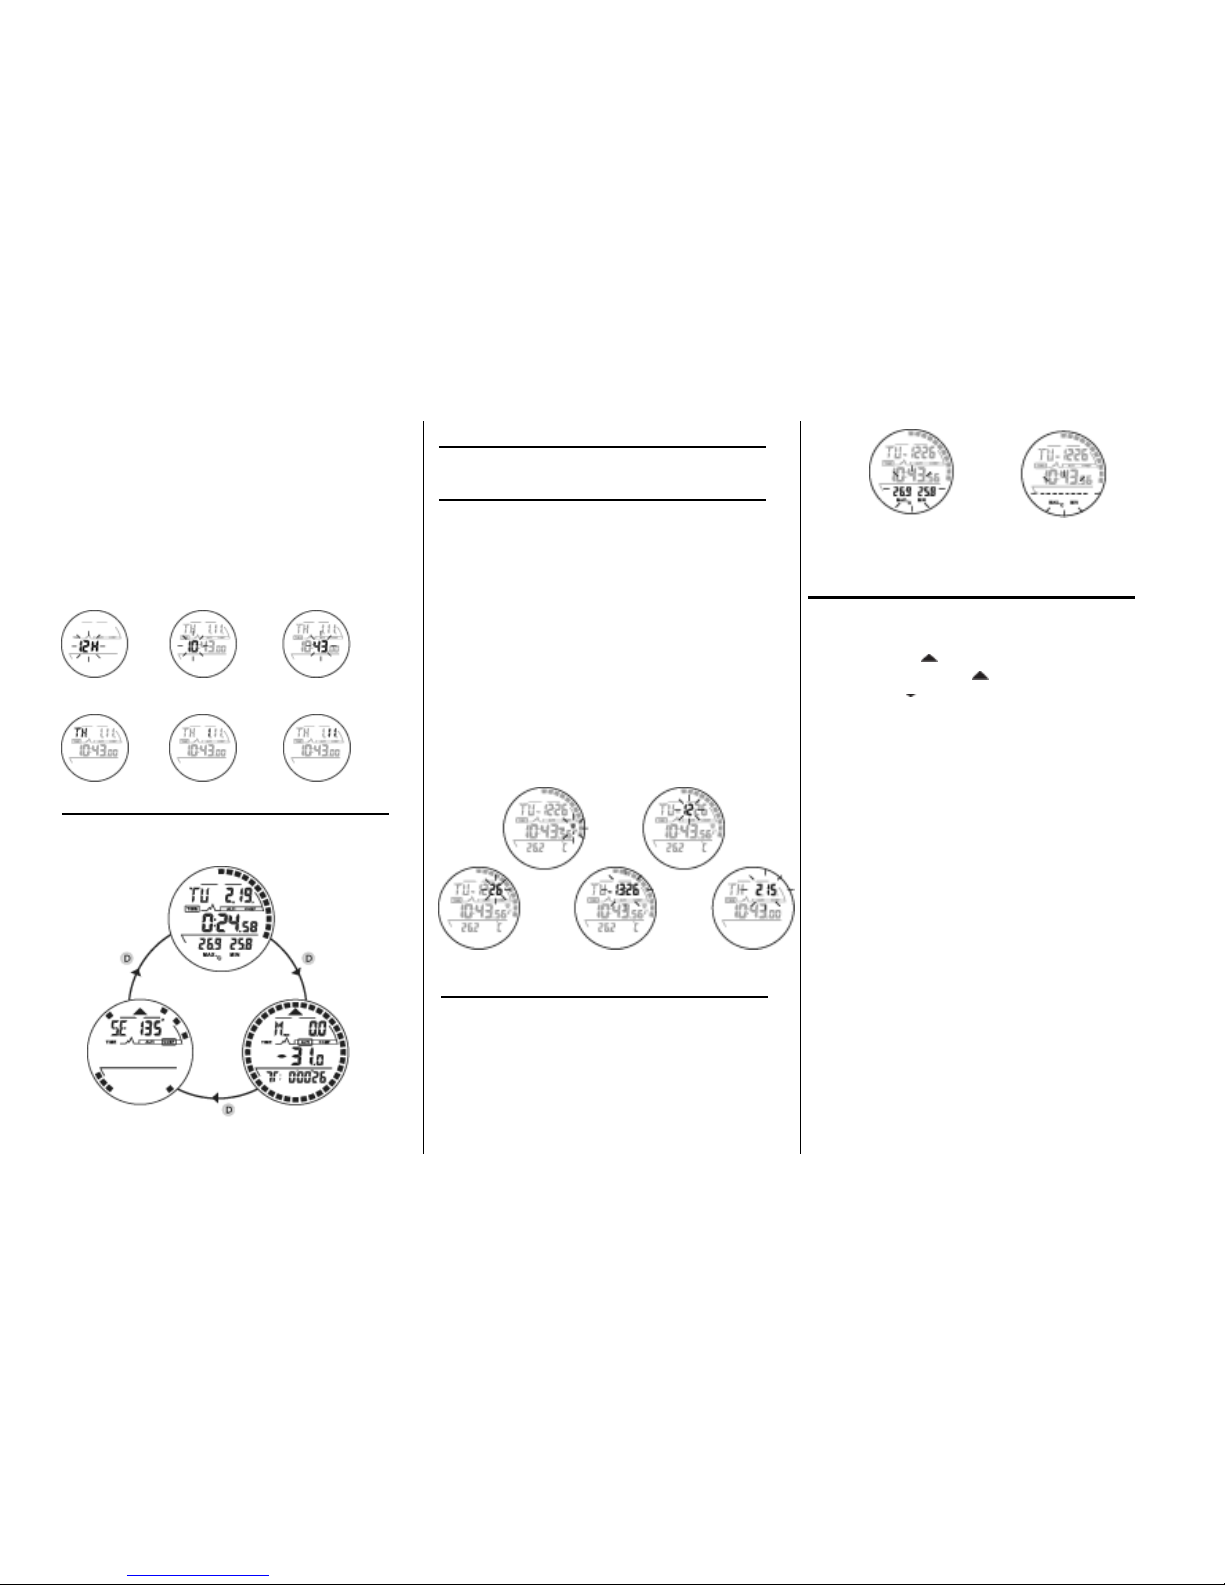
To turn on and display different mode
Press button D to turn on and press button D again to switch to
different modes.
TIME mode
COMPASS mode ALTIMETER mode
Back Light
z Press button B to turn on.
Snooze Alarm
z To set alarm time, in Clock mode, press and hold button A until
the alarm hour digit start to flicker.
z Press button C to adjust the hour digit and then press button A
to confirm.
z Right after the confirmation, the alarm minute digit will start to
flicker.
z Press button C to adjust and then button A to confirm.
z To a snooze alarm (Z Z), it will alarm for 1 minute and repeat
for 3 times with an interval of 5 minutes each.
z To read alarm time in Clock mode, Press button A to select the
alarm time display or the date display format.
Alarm Hour digit
ON/OFF
Minute digit Alarm Display Date Display
Temperature Memory Recall and Reset
z To recall maximum and minimum temperature, in Clock mode,
press button C.
z To reset the memory, press and hold button A right after the
recalling
Maximum and minimum Maximum and minimum
temperature memory temperature memory reset
The Digital Altimeter
z Press button D to enter the Altimeter mode.
z To set the altitude, press button C to enter T (trip timer mode)
first. Press button A to stop the timer and then hold button A
again until the “
” symbol start to flicker.
z Press button C to select “
” for the ascending altitude gain
counting or “
” for the descending altitude loss counting.
z Press button A to confirm and then the first digit of the altitude
will start to flicker.
z Press button C to adjust the digit and then press button A to
confirm.
z Repeat the process until you get the desired altitude reading.
z To reset the altitude to sea level, press and hold button A for 8
seconds until all digits change to zero.
z To start a trip, press button C to enter trip timer mode and then
press button A to start counting and press again to stop.
z To read dif ferent trip information, press button C to toggle (Trip
Timer), d (the total altitude displacement for the gain or the
loss) and AS (average ascending or descending speed).
z To reset trip information, press button C to enter trip timer
mode first. Press button A to stop the timer and then hold
button A again to reset the data.
z Trip timer will be switched off automatically when difference of
altitude is no bigger than 2.5m within 5 minutes.
z Once the trip timer stops running, the altitude trip
measurement will also stop in order to save battery power.
z The only way to restart the altitude trip measurement is to
restart the tip timer again manually.
z In order to save battery power, the trip timer will also
automatically be switched off when the device is switched to
time or compass function.
z User should then restart the trip timer again manually in order
to minimize error.
 Loading...