

1
GSM/GPRS/GPS Tracker
G05 User Manual

2
Contents
◆Quick using ....................................................................................................... 3
◆Installation attentions ........................................................................................ 3
1. Summary ......................................................................................................... 4
2. Main functions ................................................................................................ 4
3.Specs. .................................................................................................................. 4
4. Installation instructions ..................................................................................... 5
5. Wires connection ............................................................................................ 6
6. Function setting ............................................................................................... 7
6.1 Initialization .................................................................................................... 7
6.2 Change Password ............................................................................................ 8
6.3Authorization .................................................................................................... 8
6.4 Set Central Number-Receive Alarm SMS ................................................... 8
6.5 Single Tracking ............................................................................................ 9
6.6 Set Time Interval Upload to Server ............................................................. 9
6.7 Cell ID Tracking. ......................................................................................... 9
6.8 IMEI Checking ............................................................................................. 9
6.9 Cut off the Oil and Power System ............................................................. 10
6.10 Resume the Oil and Power System ......................................................... 10
6.11 Set All Alarm Command ......................................................................... 10
6.12 Switch GPRS & SMS mode .................................................................... 11
6.13 UDP/TCP mode ...................................................................................... 11
6.14 Check the Vehicle State .......................................................................... 11
6.15 Time Setting ............................................................................................ 12
6.16 GPRS Setting .......................................................................................... 12
6.16.1 Set APN .................................................................................................... 12
6.16.2 Set IP(Domain) and Port .......................................................................... 13
6.17 Web platform GPS tracking software ......................................................... 13
7 . Faults & the Solutions ................................................................................. 14
Thank you for purchasing the tracker. This manual shows how to operate the
device smoothly and correctly. Make sure to read this manual carefully before
using this product. Please note that specification and information are subject to
changes without prior notice in this manual. Any change will be integrated in
the latest release.
3
◆Quick using
1)Proper insert GSM SIM card, connect to power supply 12V/24V, Must turn
on small switch to “ON” place.
2)Put device outside, around 45-90s three lights will keep lighting on stands for
device can work normally.
3)Dialing device number, it will hang up and reply tracking message with valid
Long and lat to show location.
4)Track online system need set two SMS as below:
SMS 1: adminip123456 (space)121.201.109.14(space)6969
SMS 2: apn123456(space)APN of operator(space)APN user name(space)APN
password
◆Installation attentions
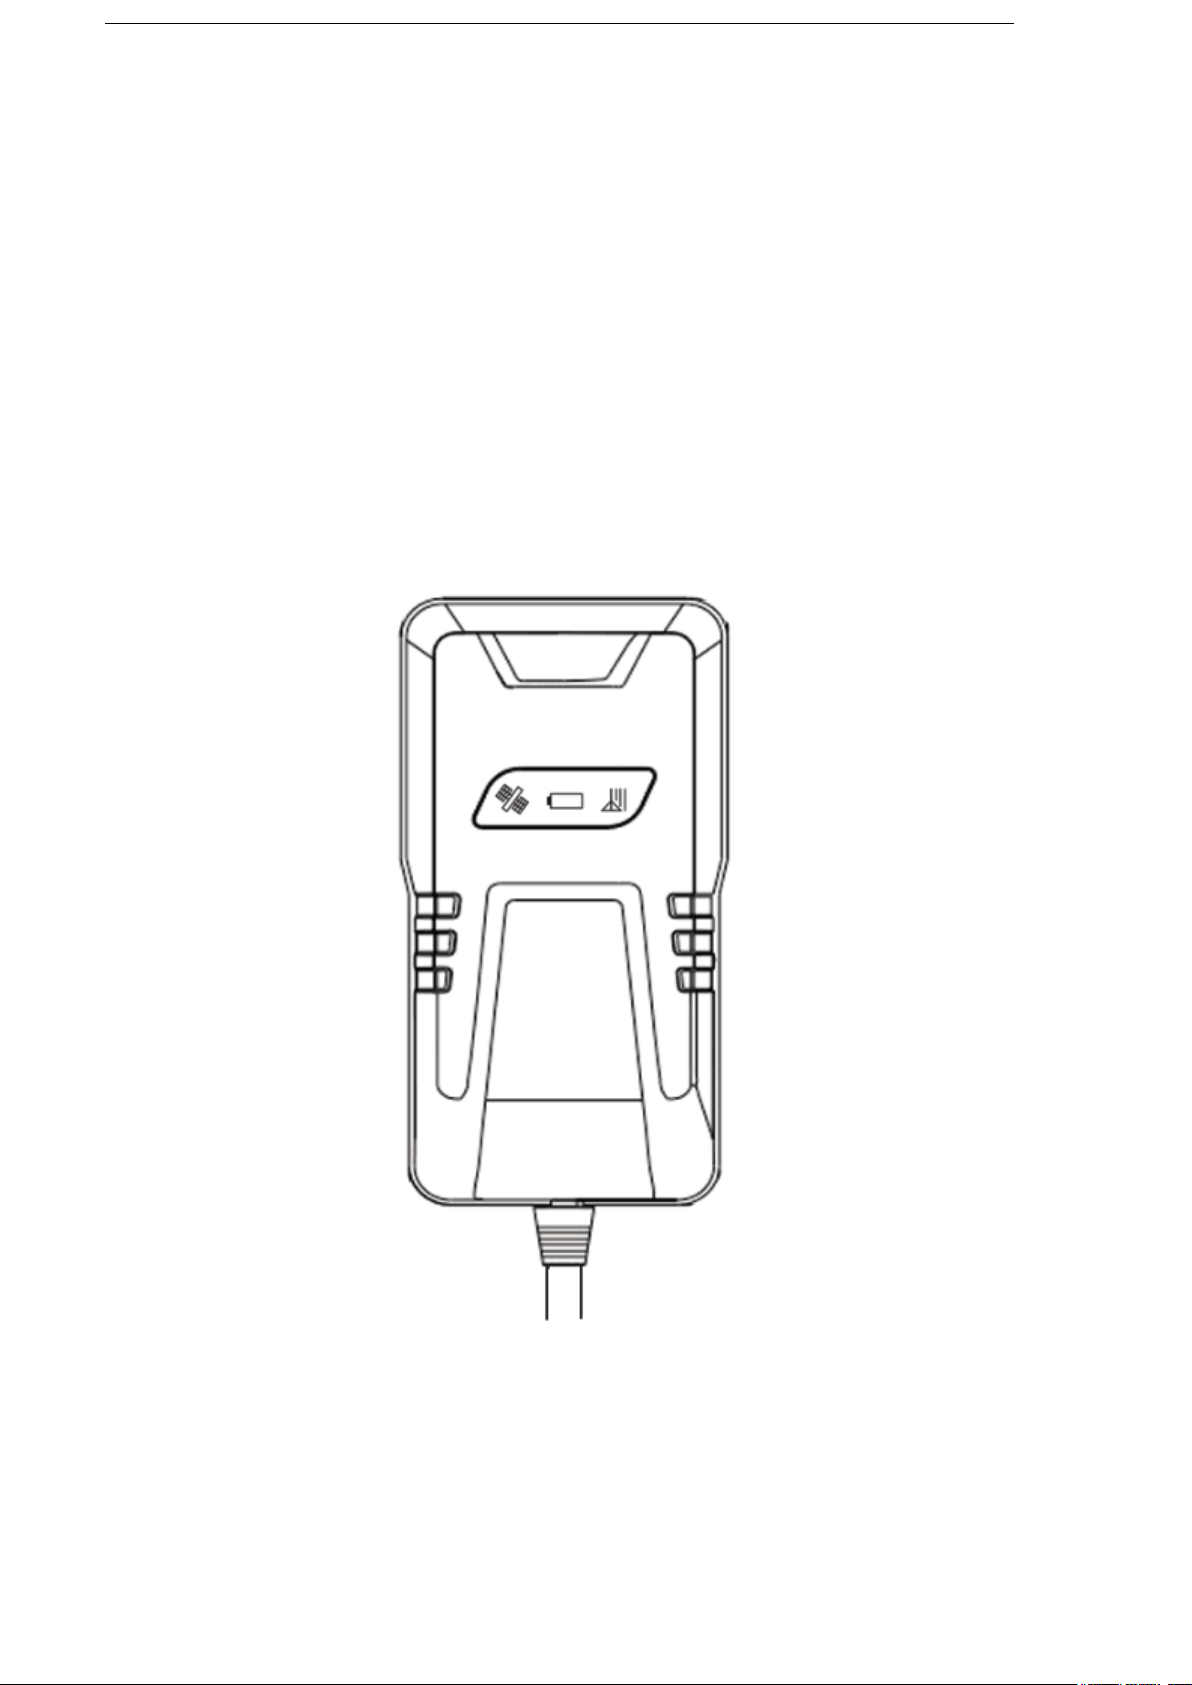
NOTE: device front side towards the sky.
Installation: if the windscreen glued by metal thermal insulation layer or heating
layer, it will reduce the GPS receive signal and lead to GPS work disorder.

4
Content
Specs.
Dim.
90(L)x49.3(W)x16.7(H)
Weight
50g
Network
GSM/GPRS/GPS, TCP/IP
Band
850/900/1800/1900 Mhz
GPS sensitivity
-159dBm
GPS accuracy
5-10m
Time To First Fix
Cold status 45-90s
Warm status 35s
Hot status 1s
Work voltage
12-24V
Storage Temp.
-40°C to +85°C
Operation Temp.
-20°C to +45°C
Humidity
15%--95%
1. Summary
Working Based on existing GSM/GPRS network and GPS satellites, this
product can locate and monitor any remote targets by SMS or GPRS.
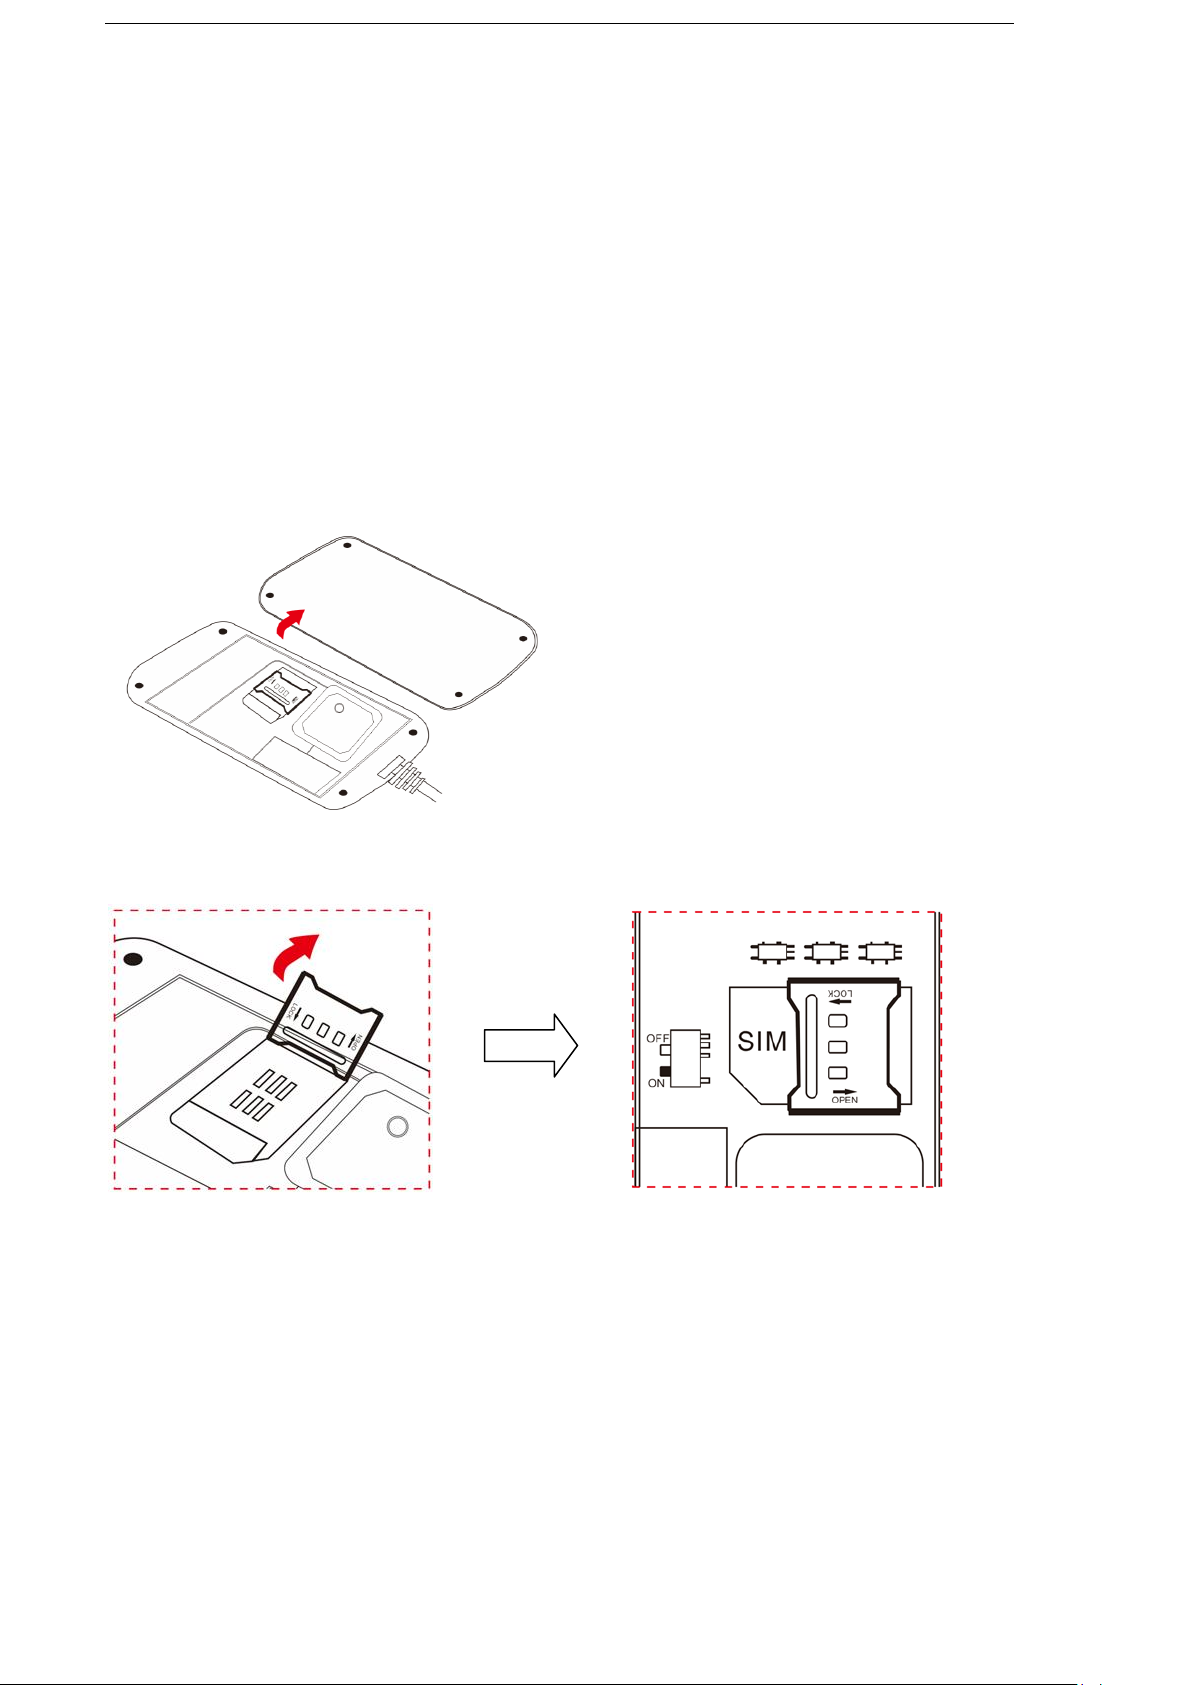
NOTE: Please turn on small switch inside SIM card hole after install SIM card
2. Main functions
· GSM quad-band frequency;
· Real time tracking by SMS/GPRS;
· Ignition ON alarm ;
· Overspeed alarm/Geo-fence alarm;
· Power Cut off alarm;
· Connect external relay to control vehicle oil or circuit (optional);
3.Specs.
5
4. Installation instructions
4.1 Preparation: Choose SIM card, need insert a GSM SIM card into device.
Please insert SIM card before turning the device power switch to on; The
SIM card need open the GPRS function; Please make sure SIM card with full
balance.
● Open back cover → Take out screw as below
● Insert SIM card → Switch button to “ON” place
4.2 Installation
The device is hidden type installation, we suggest the device installing by
professional institution. Please pay attention to the following points:
4.2.2 The device has built-in GSM and GPS antenna, make sure the receive side
upward and there is no metal shielding.

6
Light
Signal
Normal status
Red light
Power
Stable light on
Yellow light
GSM signal
Stable light on
Blue
GPS signal
Stable light on
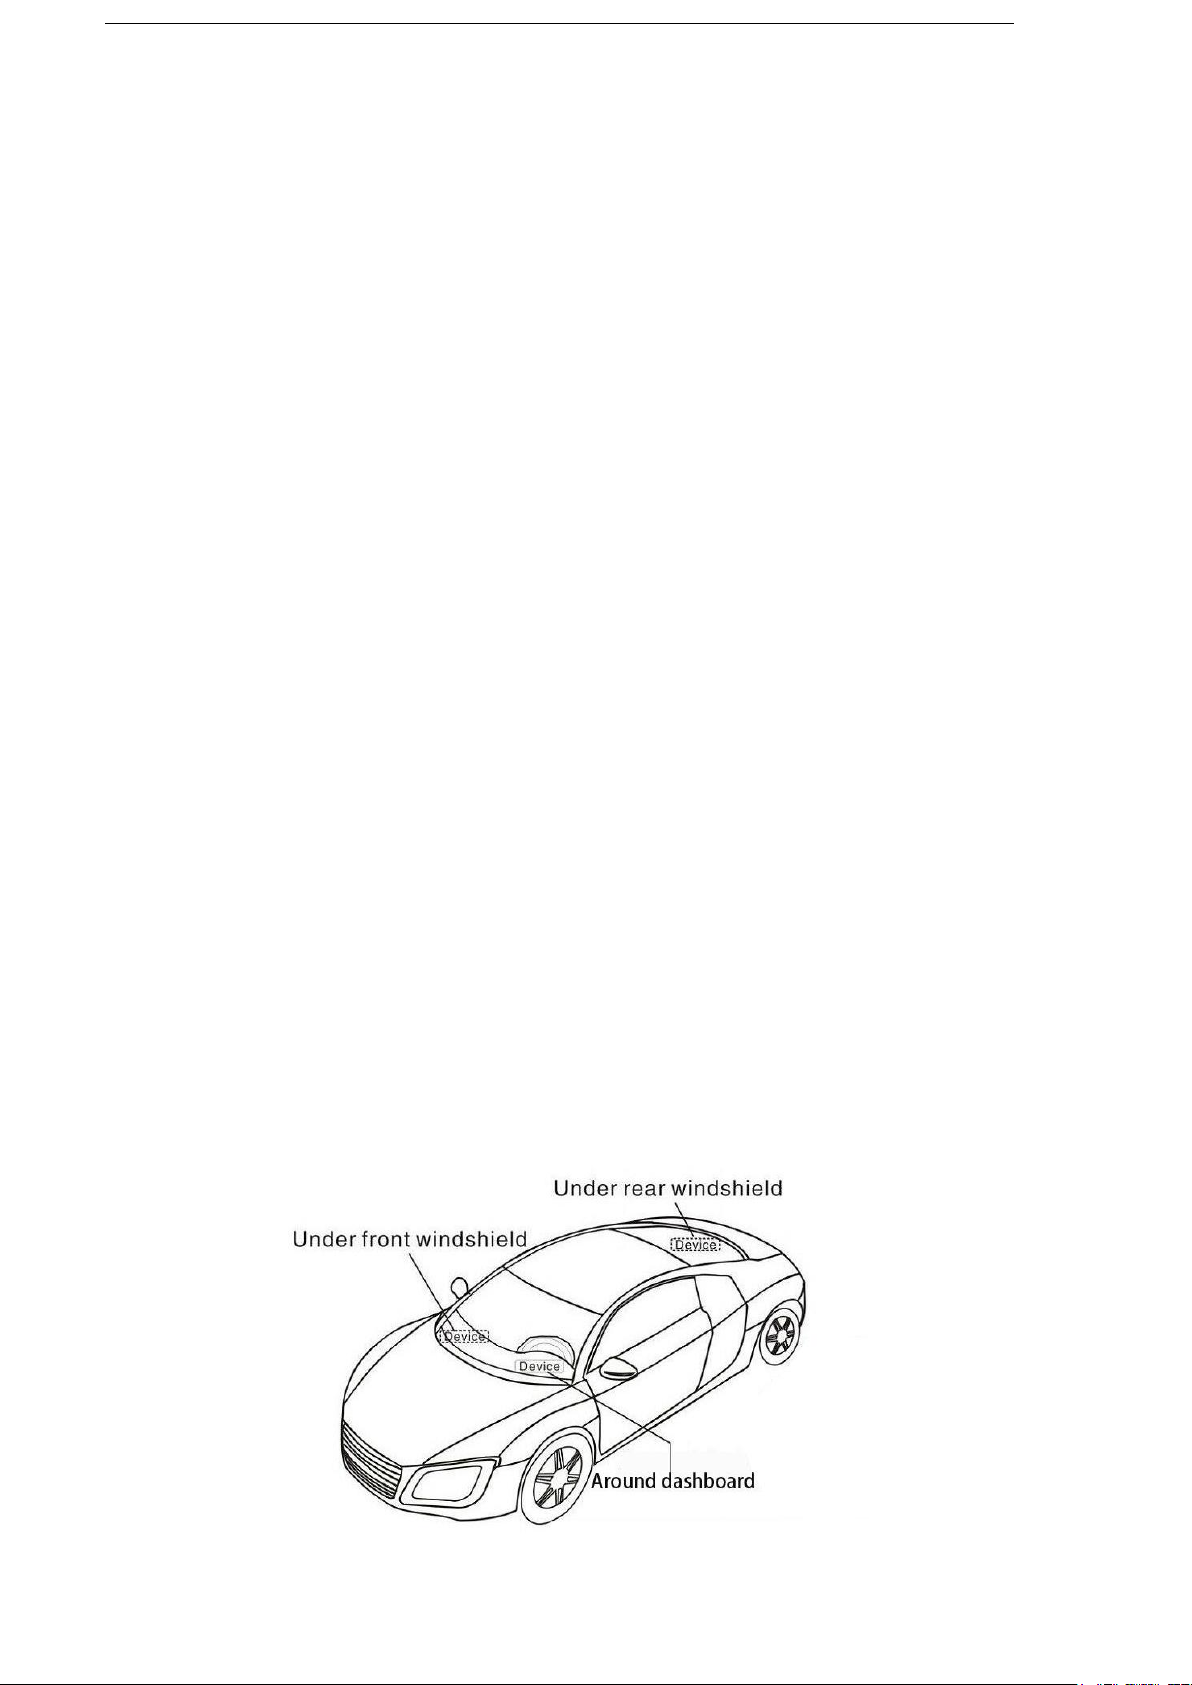
4.2.3 Recommended installation place: ①The hidden place in the board below
the front windscreen; ② The hidden place around former dashboard (nonmetal
material for skin); ③The hidden place in the board below the back windscreen.
Notice: If the windscreen glued by metal thermal insulation layer or heating
layer, it will reduce the GPS receive signal and lead to GPS work disorder, then
please change the installation place.
4.3 Device light description
Note: the three lights must be stable lighting represents device can work normally.
Device will turn into sleep mode with lights off after around 3 minutes, it will wake up if
make a call to device number or detect any vibration.
5. Wires connection
1) Red wire connects to vehicle power anode
2) Black wire connects to vehicle power cathode
3) Yellow wire connects to oil or circuit control wires
4) Green wire connects to ACC ignition wire

7
6. Function setting
6.1 Initialization
Send SMS “begin+password” to the unit, it will reply “BEGIN,CONFIG OK ”
and initialize all the settings to default factory settings.(default password:
123456)
For example: send SMS “begin123456”, it will reply “BEGIN,CONFIG OK ”.

8
The “+” in the command, please don’t type “+”, space means press the
space keyboard on your cell phone.
6.2 Change Password
6.2.1 Send SMS “password+old password+space+new password” to the unit
to change the password.
For example: send SMS “password123456 888888” to the unit. If succeeded,
“PASSWORD,CONFIG OK” will reply to your cell phone from the device
tracker. Make sure the new password is in 6 digits, or else the tracker cannot
recognize the password.
6.3Authorization
There are 5 numbers to be allowed to authorize in the tracker at most.
6.3.1 Authorization: Send SMS“admin+password+space+cell phone number”
to set up an authorized number, the other central number should be set by the
first authorized number, if the number is successfully authorized, the unit will
reply” ADMIN,CONFIG OK” by SMS.
6.3.2 Delete authorization: Send SMS“noadmin+password+space+authorized
number” to delete the authorized number.
6.4 Set Central Number-Receive Alarm SMS
There is 1 number to be allowed to set as central number.
All alarms will be received by central number.
6.4.1 Setup: send command “centernum+password+space+number” to
tracker, it will reply “centernum ok”. After setup monitor center number, the

9
messages of auto track by SMS will be set to this center number, if all alarms
need to be sent to this number too, then this center number must be setup as
authorized number.
6.4.2Cancel: Send “centernum+password” to tracker, it will reply
“CENTERNUM,CONFIG OK”.
6.5 Single Tracking
Make a missed call to device number or Send SMS “smslink+password” to
device number, it will reply a real time tracking message info as below:
6.6 Set Time Interval Upload to Server
Send SMS command “ITV+password+space+upload time interval” to the
tracker device.
For example: send SMS “ITV123456 10” it will report data to server at 10s time
interval when vehicle is moving; device will stop sending GPS location once
vehicle is static.
6.7 Cell ID Tracking.
After configure the APN, send SMS “cell+password” to device, it will reply
cell ID info.
6.8 IMEI Checking
Send SMS command "getimei+password" to the unit. E.g. Send SMS

10
Function
SMS Command
Remark
Set Power Cut alarm
extpower123456(space)1
Cancel Power Cut alarm
extpower123456(space)0
Default mode
Set Geo-fence
stockade123456(space)500(space)1
500:semidiameter is 500
meters
Cancel Geo-fence
nostockade123456
Set overspeed alarm
speed123456(space)80
SPEED,CONFIG OK
Cancel overspeed alarm
speed123456(space)0
Set ignition on alarm
ACC123456(space)1
Cancel ignition on alarm
ACC123456(space)0
Default mode
Cancel vibration alarm
vibrate123456(space)0
Default mode
command "getimei123456" to the tracker device, an IMEI number in 15 digits
will reply to your cell phone.
6.9 Cut off the Oil and Power System
Send SMS command “DY+password+space+1” to the tracker device, it will
reply “DY CONFIG OK” to your cell phone from the tracker device, and stop
your car oil pump or elec as well.
6.10 Resume the Oil and Power System
Send SMS command “TY+password+space+1” to the unit, It will reply
“TY,CONFIG OK” and resume your car oil pump or elec as well.
6.11 Set All Alarm Command
Note: All Alarms only will be sent to Central Number

11
Set vibration level
vibrate123456(space)1
Vibrate Level:1, 2 ,3
Close all alarm
KC123456(space)0
Set SMS alarm
KC123456(space)1
Default mode
Set calling alarm
KC123456(space)2
6.12 Switch GPRS & SMS mode
Send SMS"GPRS +password+space+0" to tracker to close the GPRS function.
Send SMS"GPRS +password+space+1" to tracker to activate GPRS function
Note: default GPRS mode already.
6.13 UDP/TCP mode
Send SMS"UDP+password+space+0" to tracker represents TCP mode.
Send SMS"UDP +password+space+1" to tracker represents UDP mode.
Note: default TCP mode already.
6.14 Check the Vehicle State
Send SMS command “check+password” to the tracker device in the vehicle, it
will reply following SMS:
imei: unique IMEI number for register in tracking platform.
apn: APN info. Of SIM card.
IP: server IP and Port number.
Cnum: central number for receive alarms.
GPS: 1 means GPS working, 0 means searching signal, -1 means GPS sleep for lower power
consumption purpose.

12
GSM: 100 means GSM signal value normal.
ITV: moving time interval is default 20s,static time interval is 500s.
TZ: time zone is default GMT 0.
OS: overspeed alarm, 0 means deactivate, 1 means activate.
GF: 500,1,0: Geo-fence function, 500meters, 0,0 close alarm; 1,0 out fence alarm
Vib: vibration level..
6.15 Time Setting
Send SMS command “timezone123456+space+(timezone*60)” to the tracker
unit.
For example: Send SMS “timezone123456 330”, +5.5 is India time zone, so it is
5.5*60=330; If your country time zone is minus -6, send SMS “time
zone123456 -360”.
6.16 GPRS Setting
User must send SMS via cell phone to set up APN, IP and port before starting
tracking by GPRS on tracking system.
6.16.1 Set APN
1) APN standards for Access Point Name and differs from country to country.
For more information about your local APN, please inquire with your local
GPRS network operator.
2) Send SMS “APN+password+space+local APN+space+APN
name+space+APN password” via a cell phone and if succeeded, the tracker
will return the message “APN OK”.
3) E.g. Send SMS command “APN123456 CMNET”. If succeeded, it will reply
SMS “APN OK”
Notes: CMNET is the APN of one of china GPRS Network Operator (China

13
mobile), it has no APN name and Password.
6.16.2 Set IP(Domain) and Port
Send SMS: “adminip+password+space+IP Address+space+port number”, If
succeeded, it will reply “ADMINIP, CONFIG OK”.
E.g. Send SMS: “adminip123456 121.201.109.14 6969” to the tracker device,
(121.201.109.14 is IP, 6969 is port).
6.17 Web platform GPS tracking software
Web based platform www.secumore1818.com, Use IMEI login, default
password 123456.
Web platform features as below:
◆ Real time tracking
◆ History trace replay
◆ Platform disable oil or recover oil
◆ Multiple user fleet management
◆ Detect vehicle alarms and status
◆ Support Andriod & IOS APP tracking

Faults
Solution
yellow light flashing
Its failed to read SIM card, need re-install SIM card; after inserting
SIM card, then turn on power
blue light flashing
GPS not located, check if working outside not in room; install
place has no metal cover
Three light turn off
Lights will enter sleep after stable lighting on 3 minutes and not
effect GPS working, when calling device again will wake up
lights
Can’t track online
Send SMS“check123456”check IP port ,APN,GPS status.
Device has no reply
Check if already existing admin number; SIM card has balance
7 . Faults & the Solutions
14

15
This device complies with Part 15 of the FCC Rules. Operation is subject to the following two
conditions: (1) this device may not cause harmful interference, and (2) this device must accept any
interference received, including interference that may cause undesired operation.
Changes or modifications not expressly approved by the party responsible for compliance could
void the user's authority to operate the equipment.
NOTE: This equipment has been tested and found to comply with the limits for a Class B digital
device, pursuant to Part 15 of the FCC Rules. These limits are designed to provide reasonable
protection against harmful interference in a residential installation. This equipment generates, uses
instructions, may cause harmful interference to radio communications. However, there is no
guarantee that interference will not occur in a particular installation. If this equipment does cause
harmful interference to radio or television reception, which can be determined by turning the
equipment off and on, the user is encouraged to try to correct the interference by one or more of
the following measures:
-- Reorient or relocate the receiving antenna.
-- Increase the separation between the equipment and receiver.
-- Connect the equipment into an outlet on a circuit different from that to which the receiver is
connected.
-- Consult the dealer or an experienced radio/TV technician for help.
--The distance between user and products should be no less than 30 cm.

16
User Name
Phone
Address
Model No
IMEI No
Purchase Date
Invoice No
Seller Name
Address
Seller Contact
1.Within warranty period, if any damage caused by the product's own quality, user can bring
the purchasing invoice and warranty card to supplier to arrange repair.
2.Those machines that has refitted or added other functions by user own will not be accepted
to repair.
3.Attempt to disassemble the product can damage it and void your warranty.
4.This card and the purchasing invoice are both considered as a receipt for repair, please
reserve it carefully.
Guarantee Card
 Loading...