

Canon BJC-S830D, S830D - S Color Inkjet Printer, Printing with ImageBrowser, S530D, ImageBrowser Application Manual
...Page 1

V2
Page 2

2
Table of Contents
Page 3

3
Table of Contents
Page 4
4
Printing with ImageBrowser
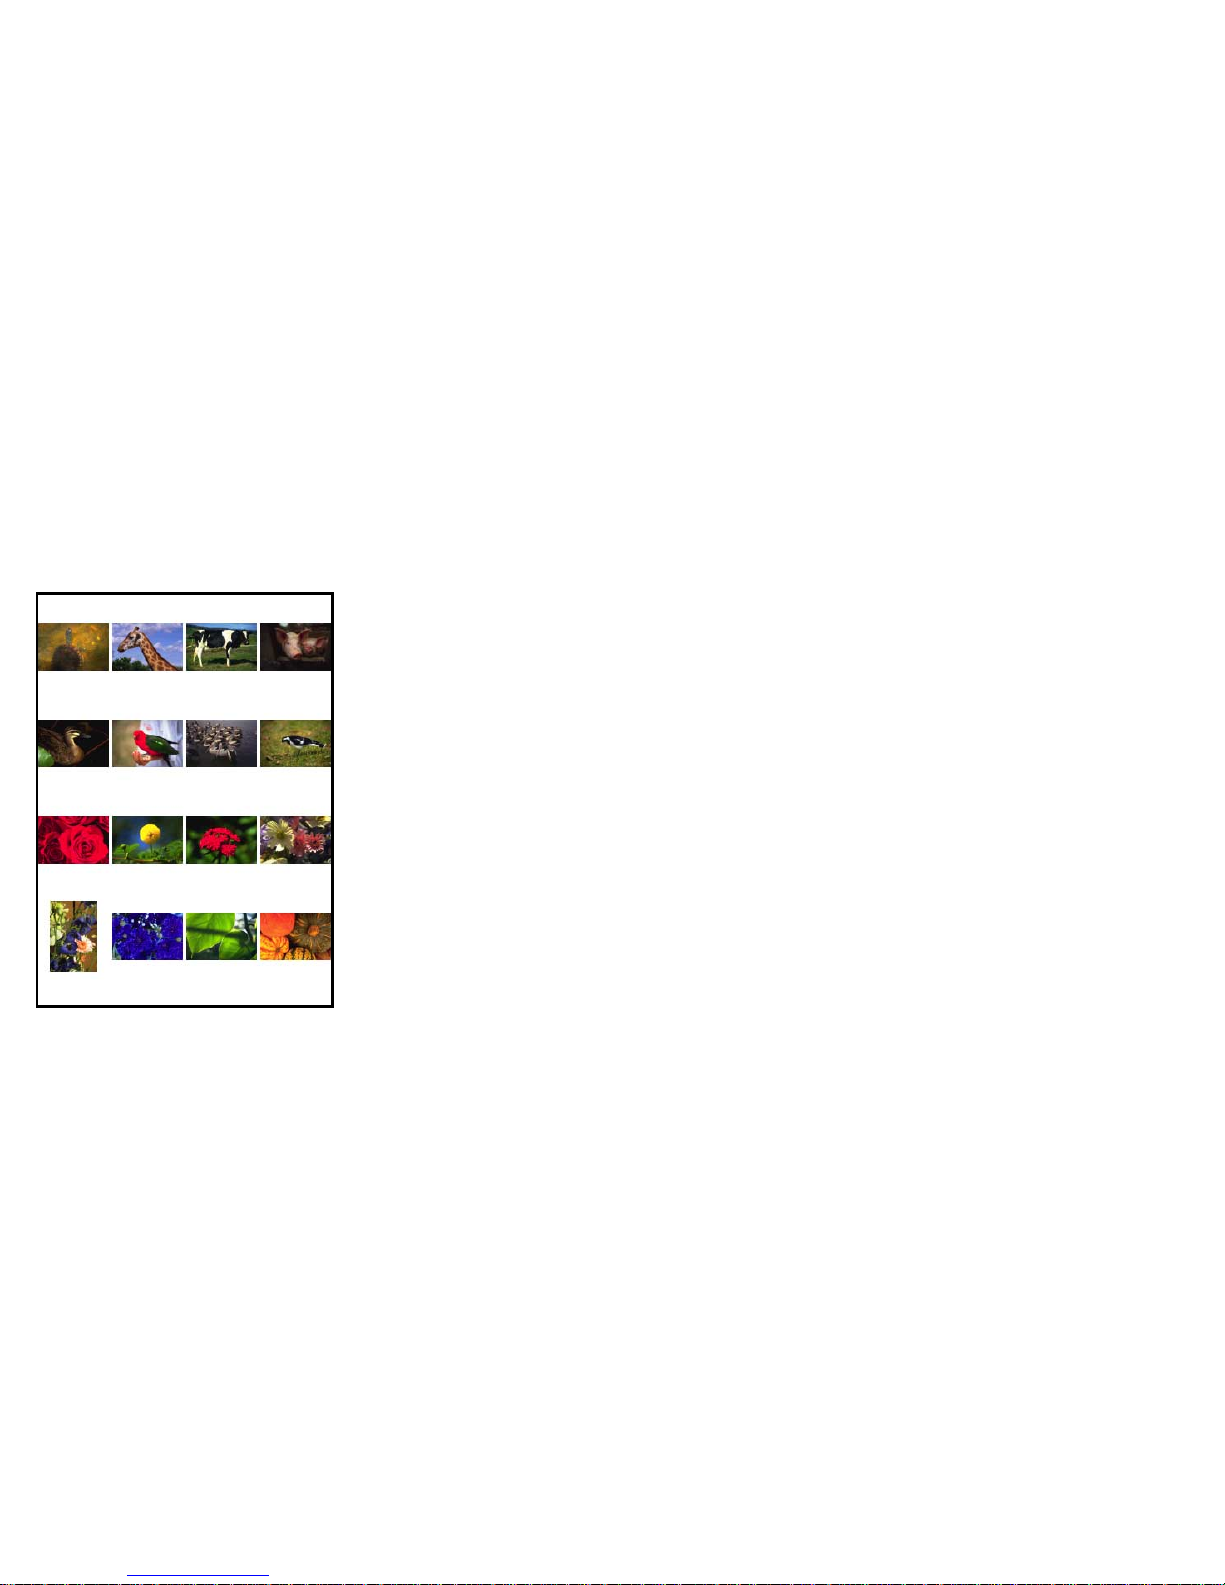
Index Printing
You can print a photo index that contains thumbnails
automatically arranged in a suitable layout for the
selected thumbnail size (large, medium, or small).
Page 5

5
Printing with ImageBrowser
You can print images with no margins around each
image, so that a single image is printed borderless along
the paper edges and multiple images are arranged like
tiles with no space between them (available with BJ
printers that support the borderless printing feature).
Page 6

6
Printing with ImageBrowser
Page 7
7
Page 8
8
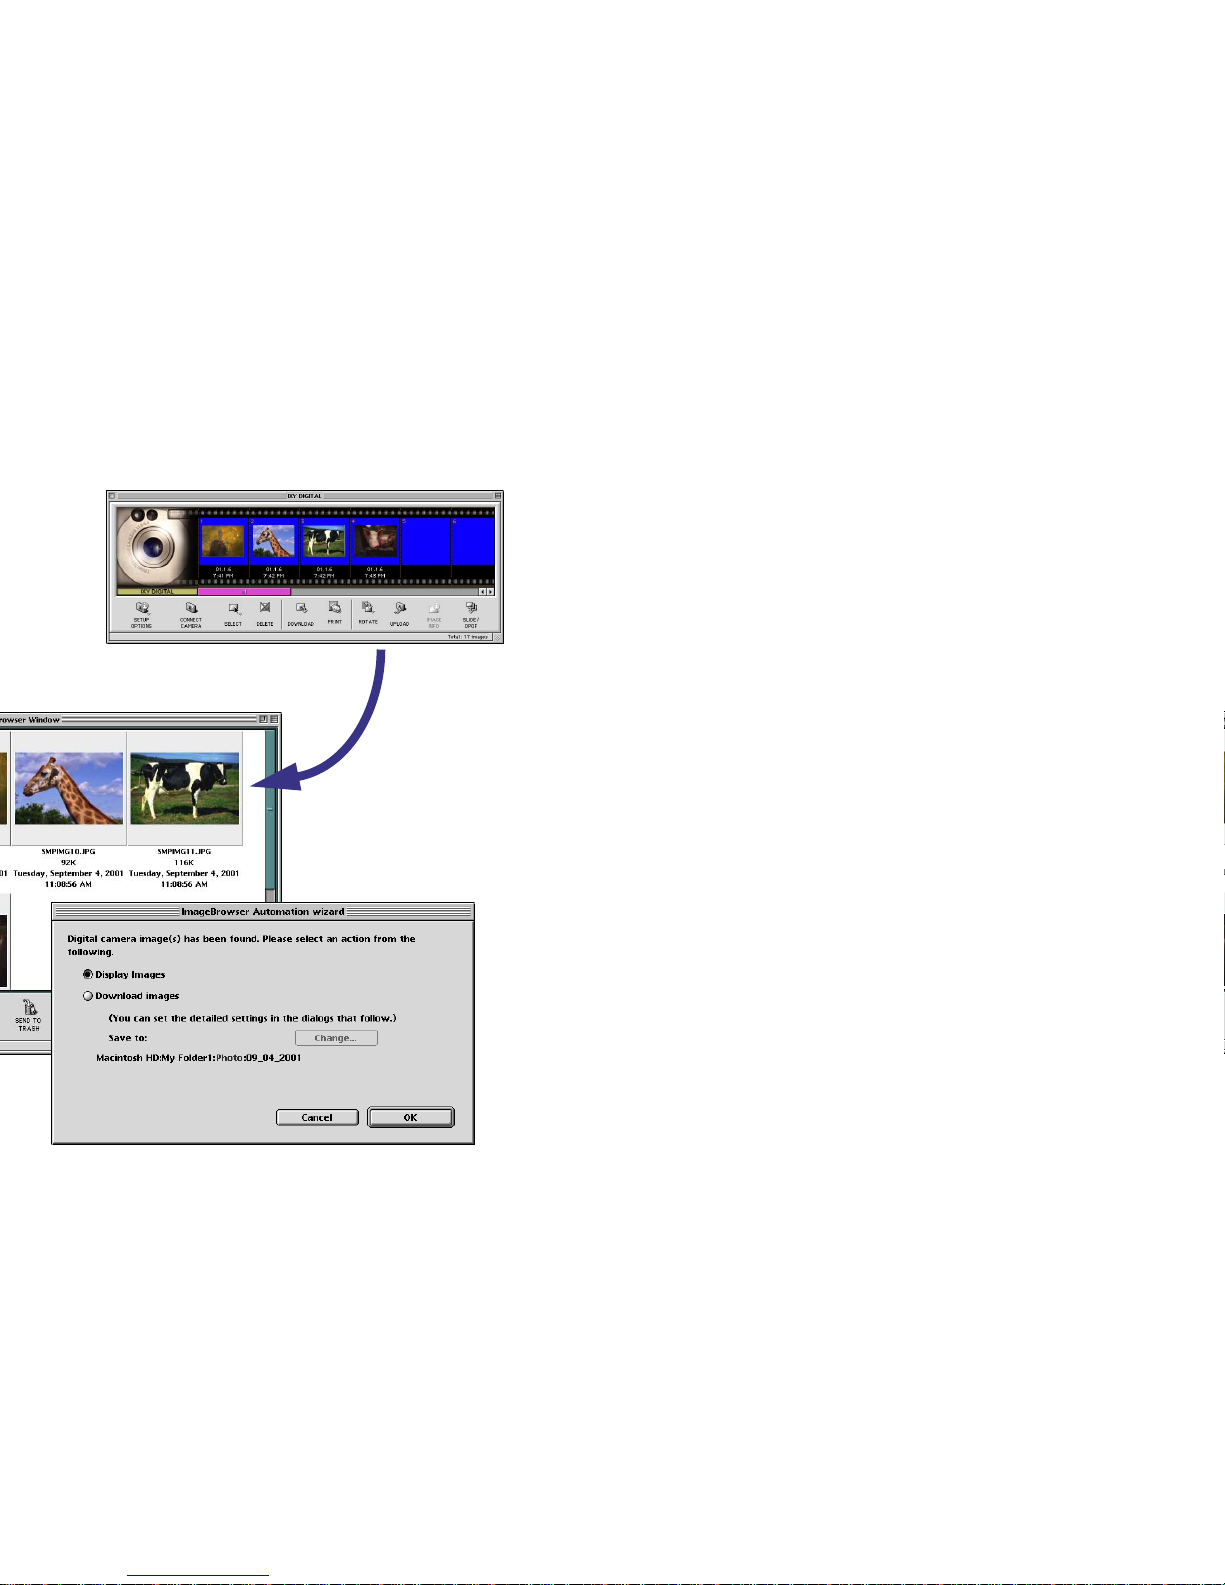
The Automation wizard provides easy means of
importing images.
the digital camera into the Camera Window.
Page 9

9
Page 10
10
Page 11
11
Page 12

12
Page 13
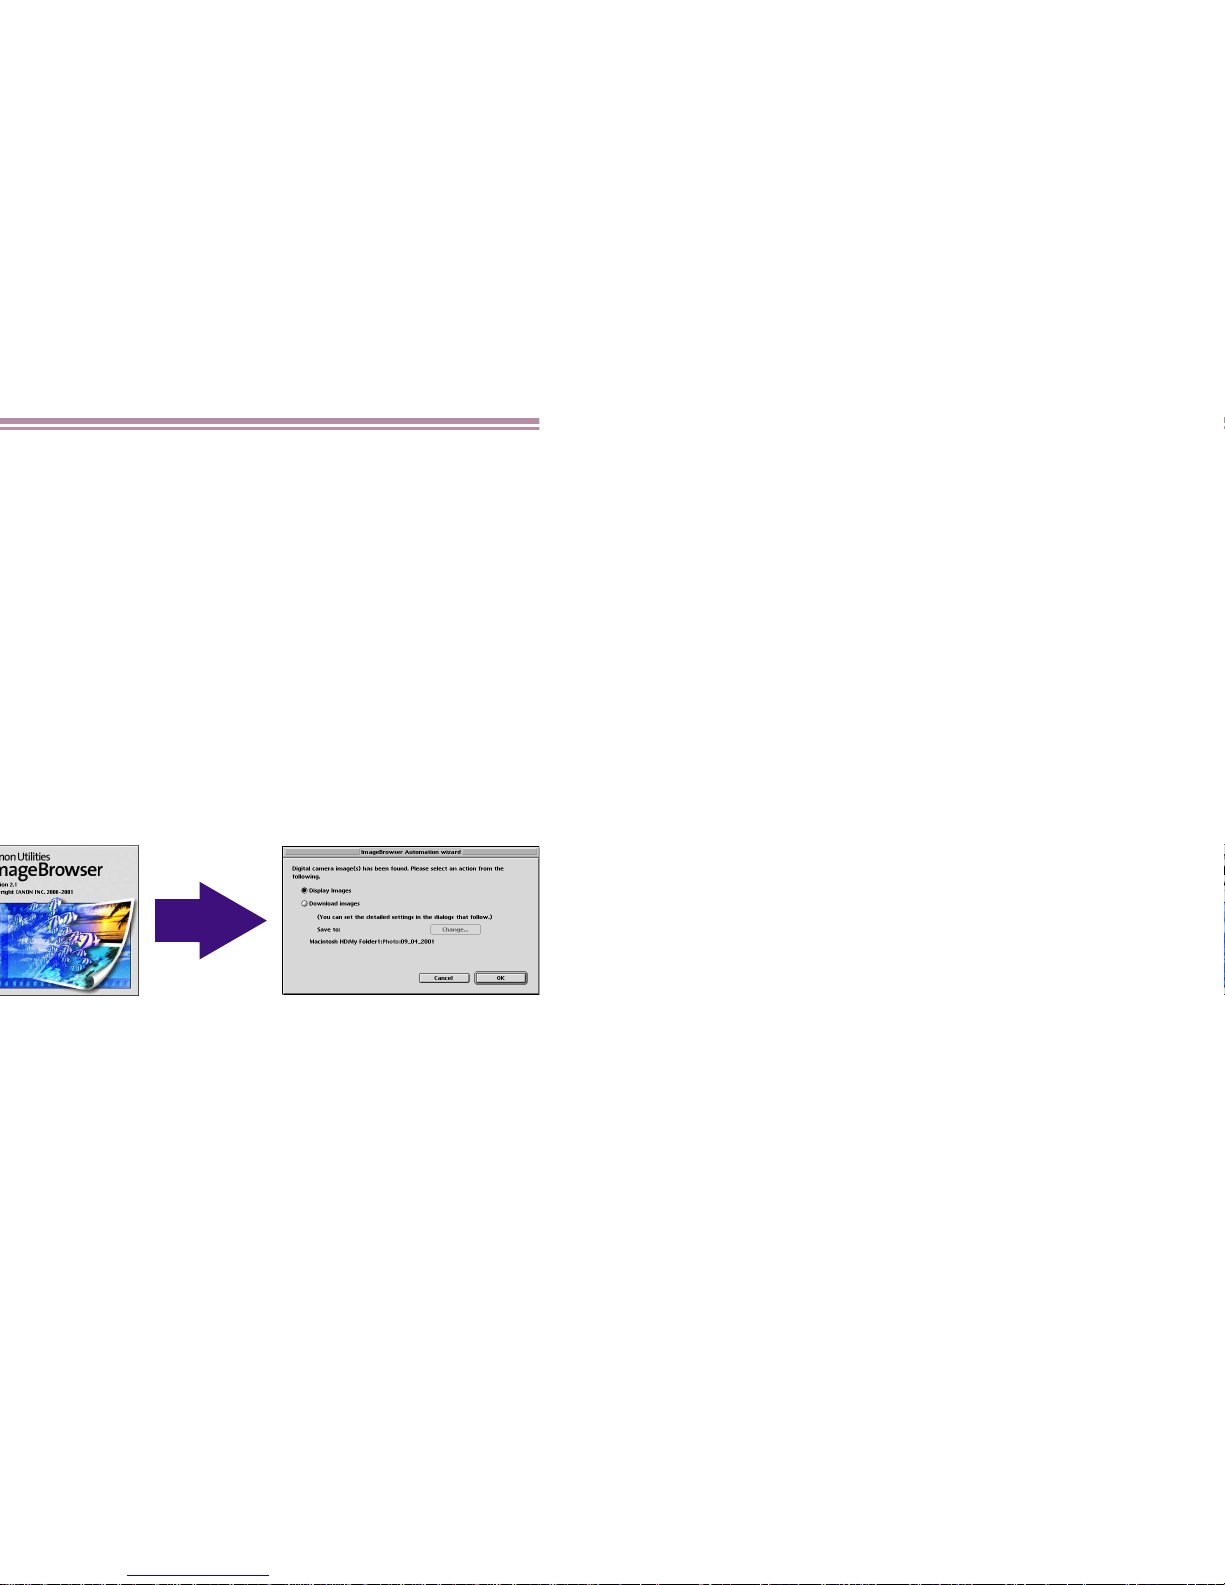
Starting ImageBrowser
13
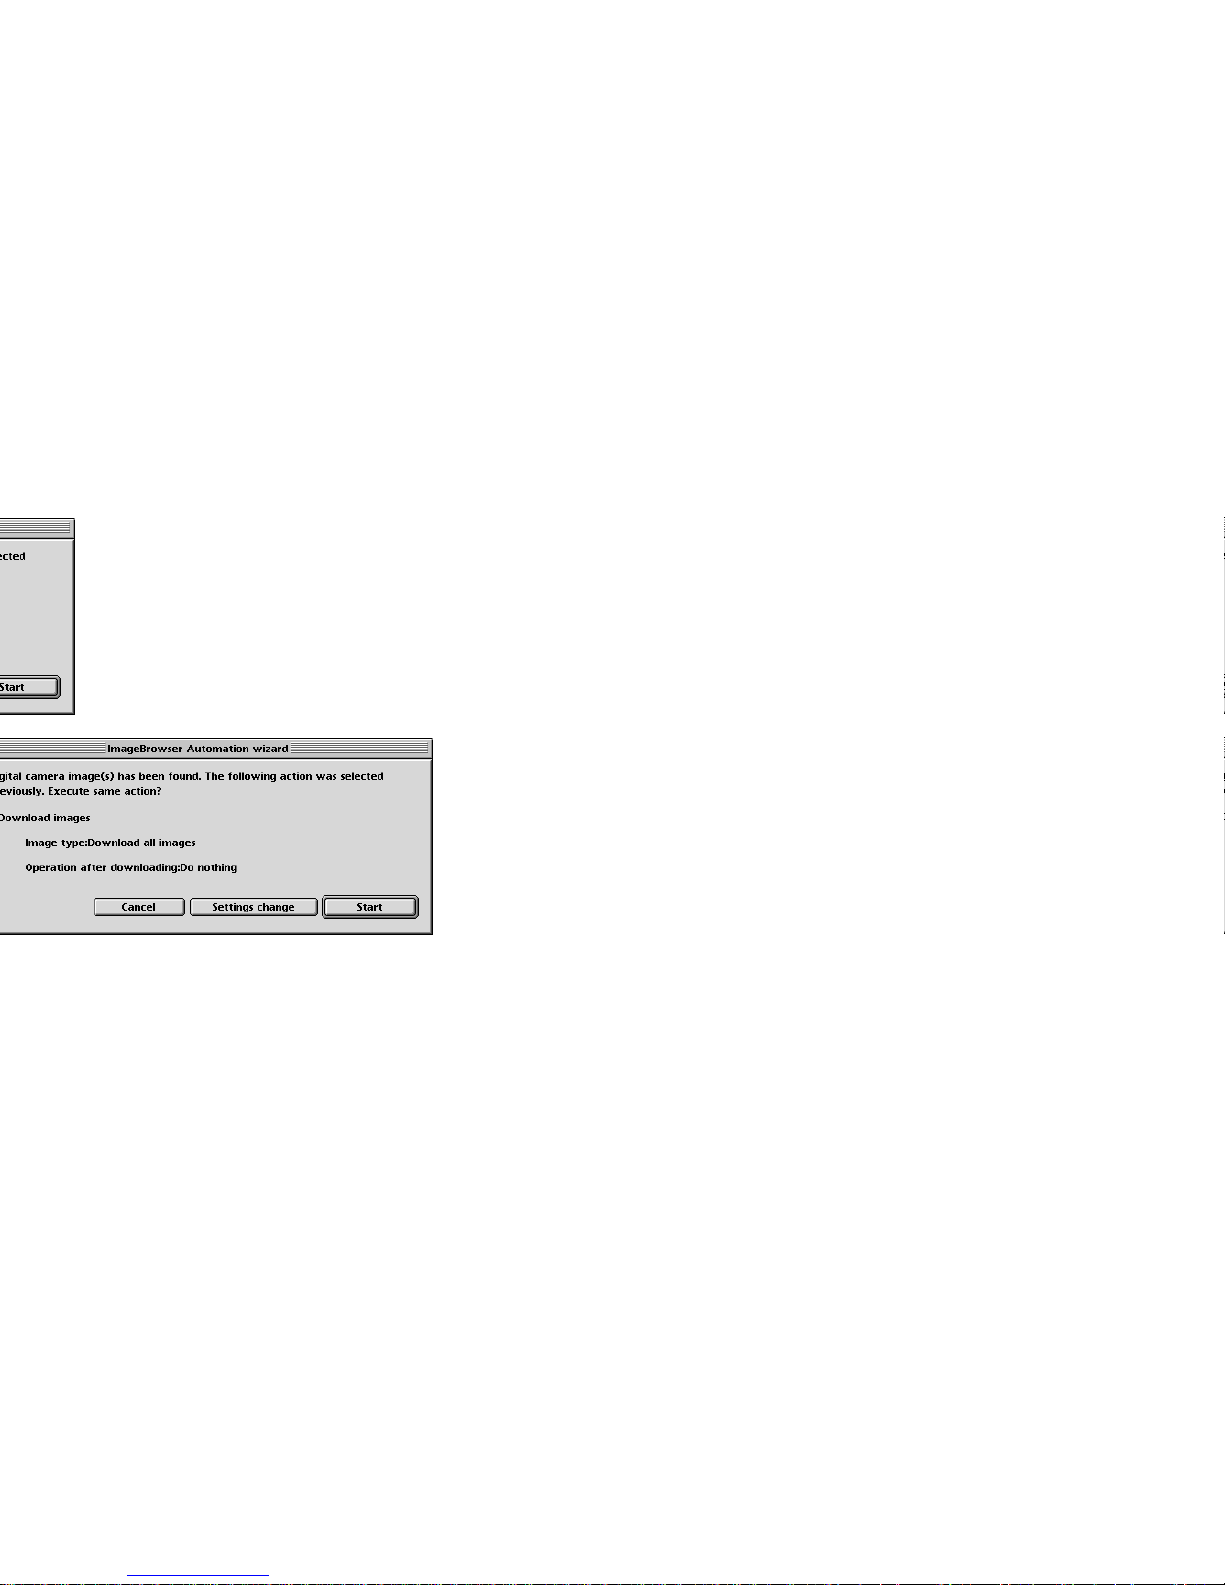
Importing Images with the Automation Wizard
Page 14
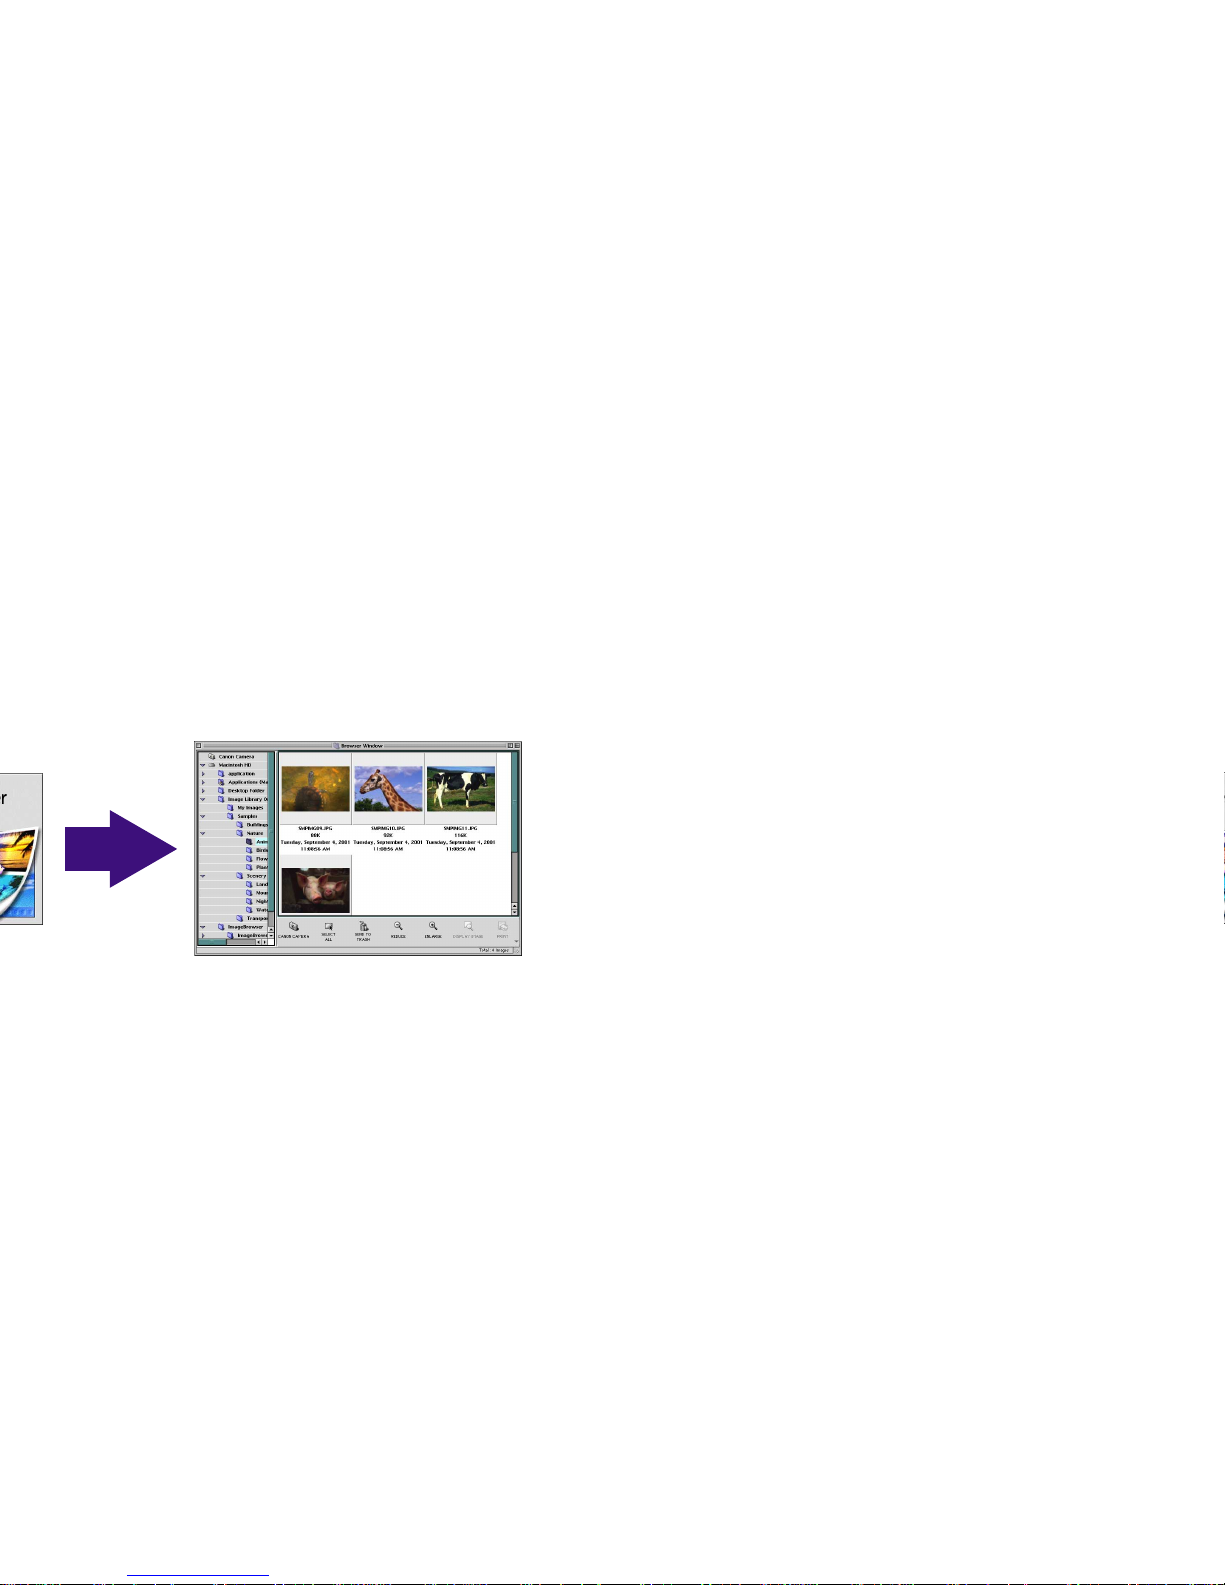
Starting ImageBrowser
14
Page 15

15
Page 16
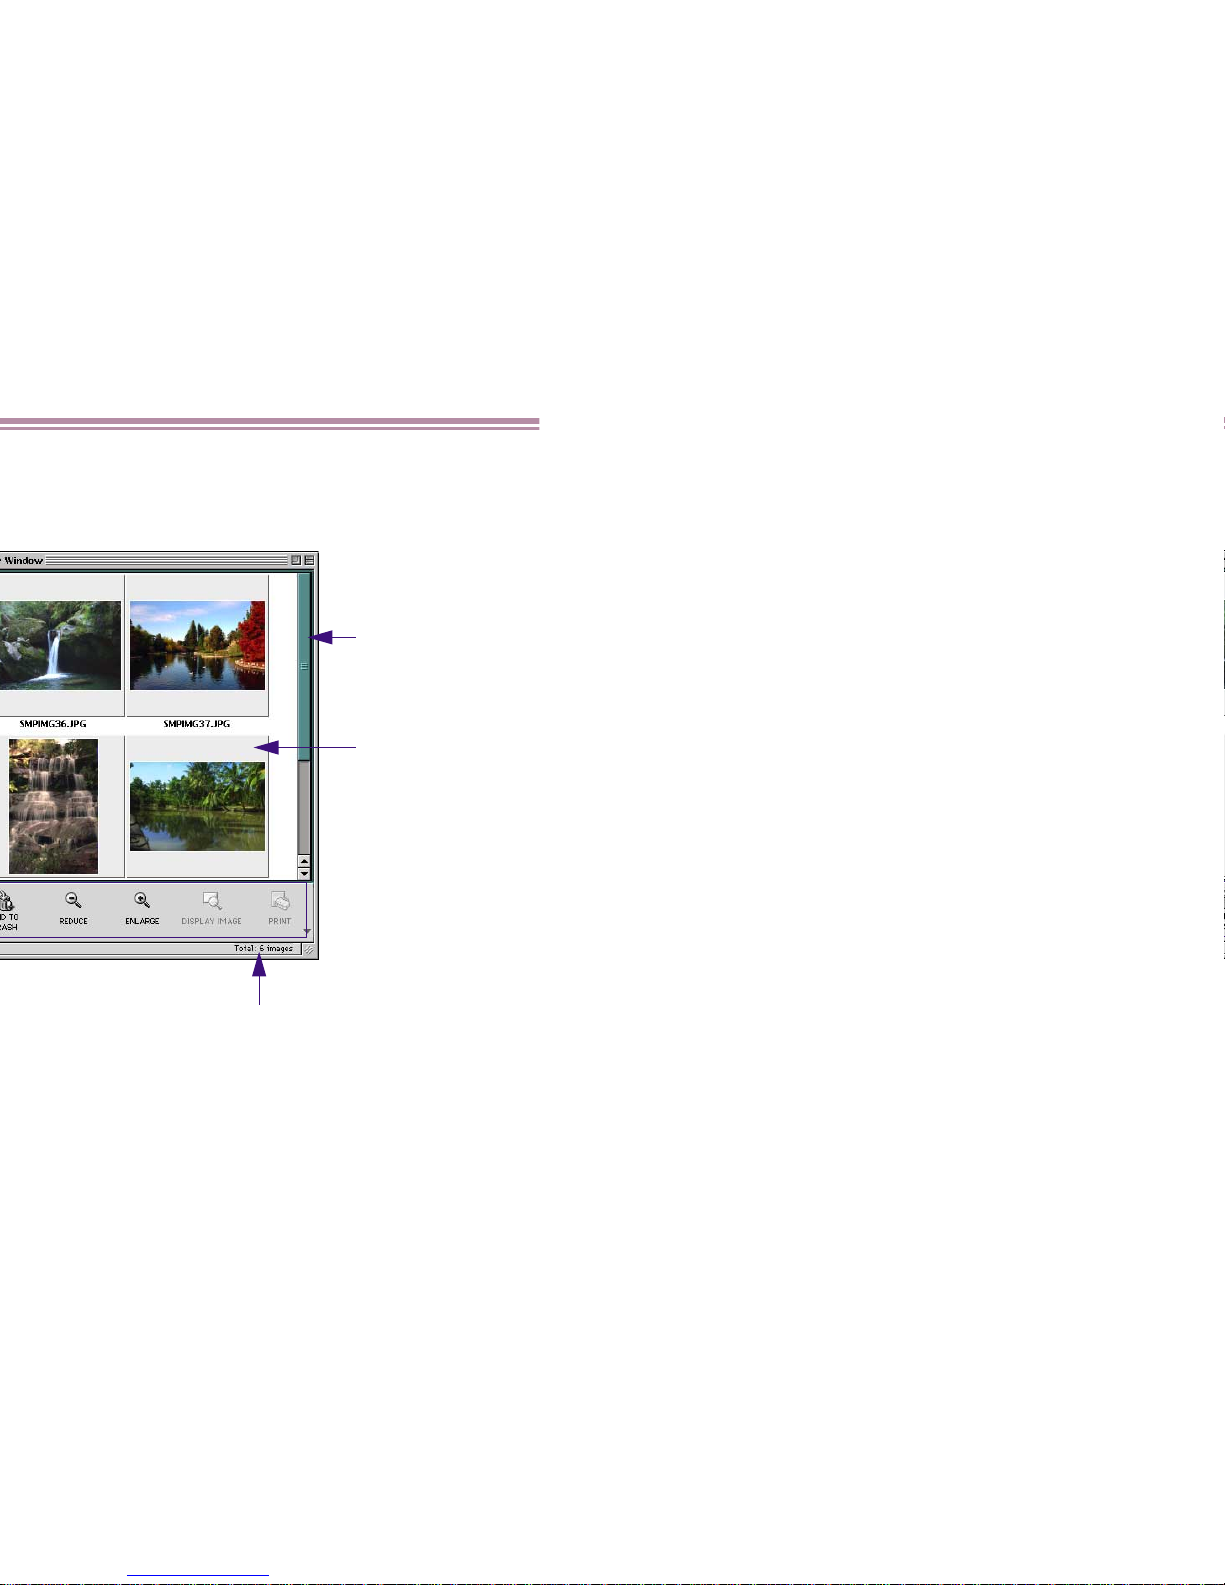
Using the Browser Window
16
(2) Browser
area
(6) The number of images
contained in the folder is
displayed.
(7) Thumbnails
Page 17

Using the Browser Window
17
Page 18
Using the Browser Window
18
View
menu to change the size of thumbnails
View menu to change the size of thumbnails
Layout printing
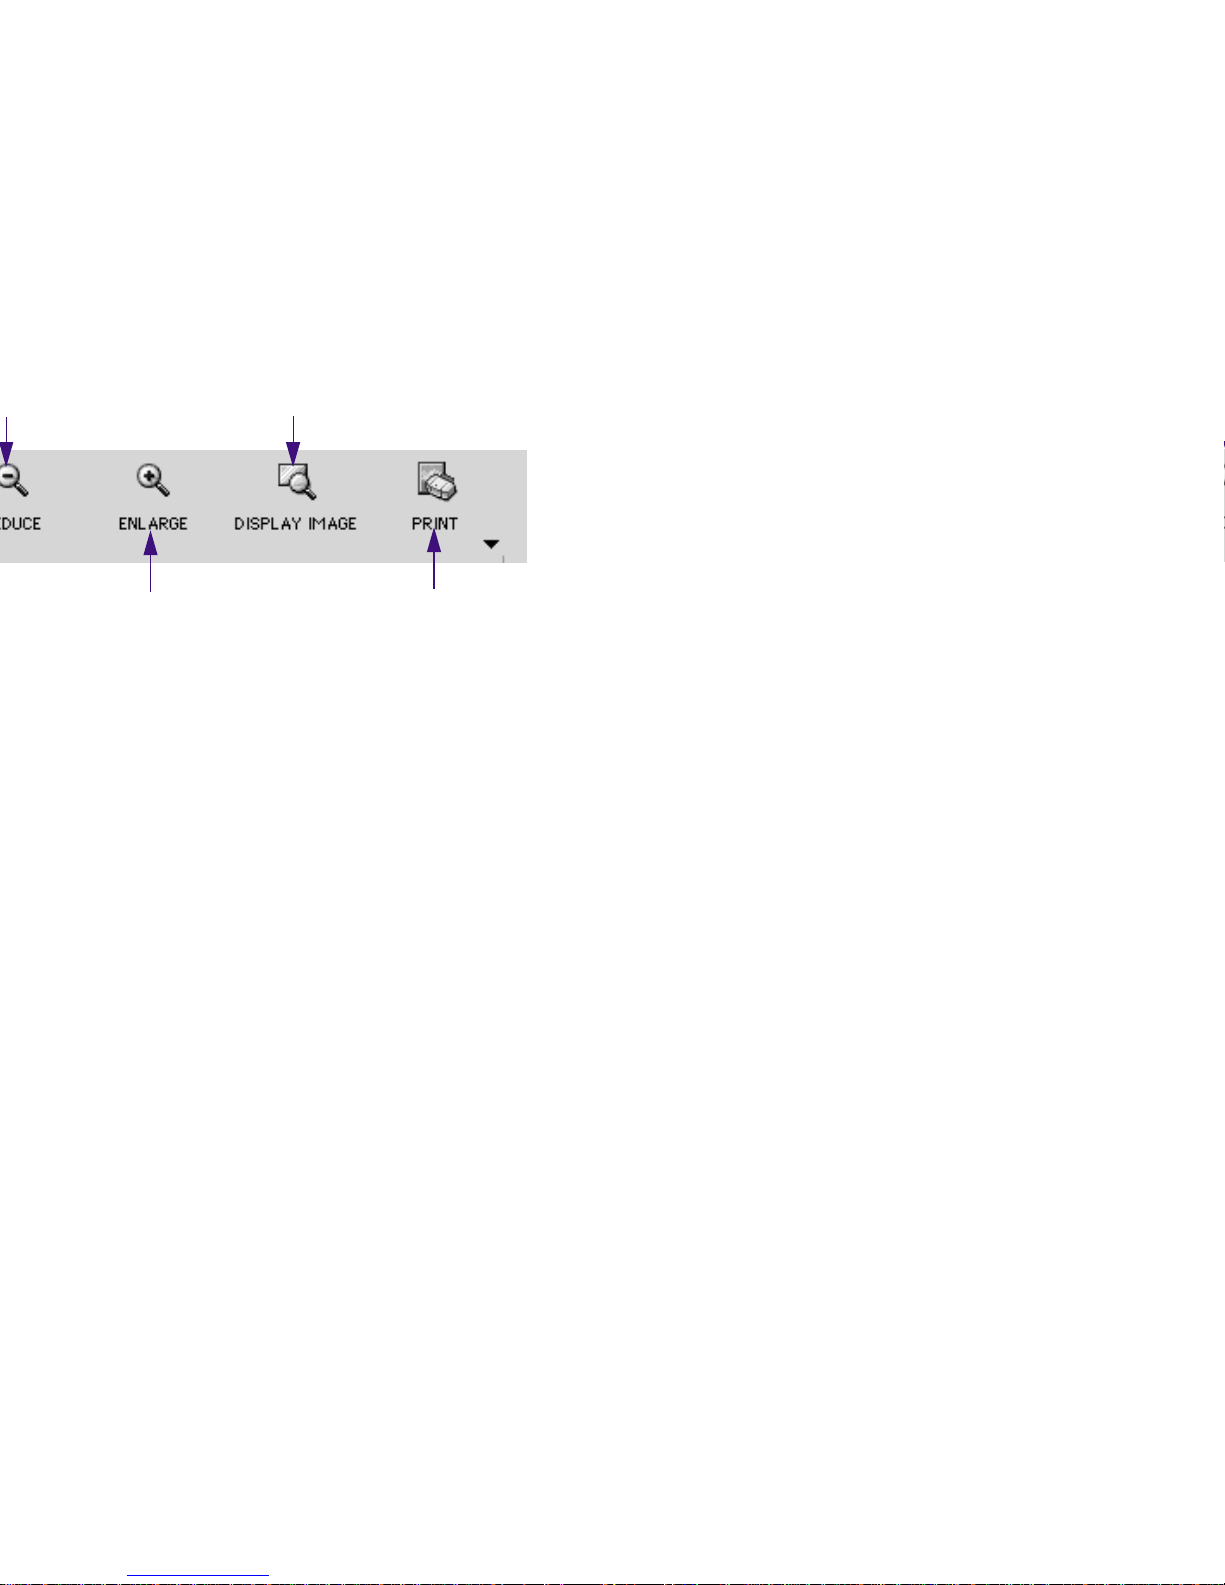
(3) ENLARGE button
(4) DISPLAY IMAGE button
(5) PRINT button
Page 19
Changing the Appearance of the Browser Area
19
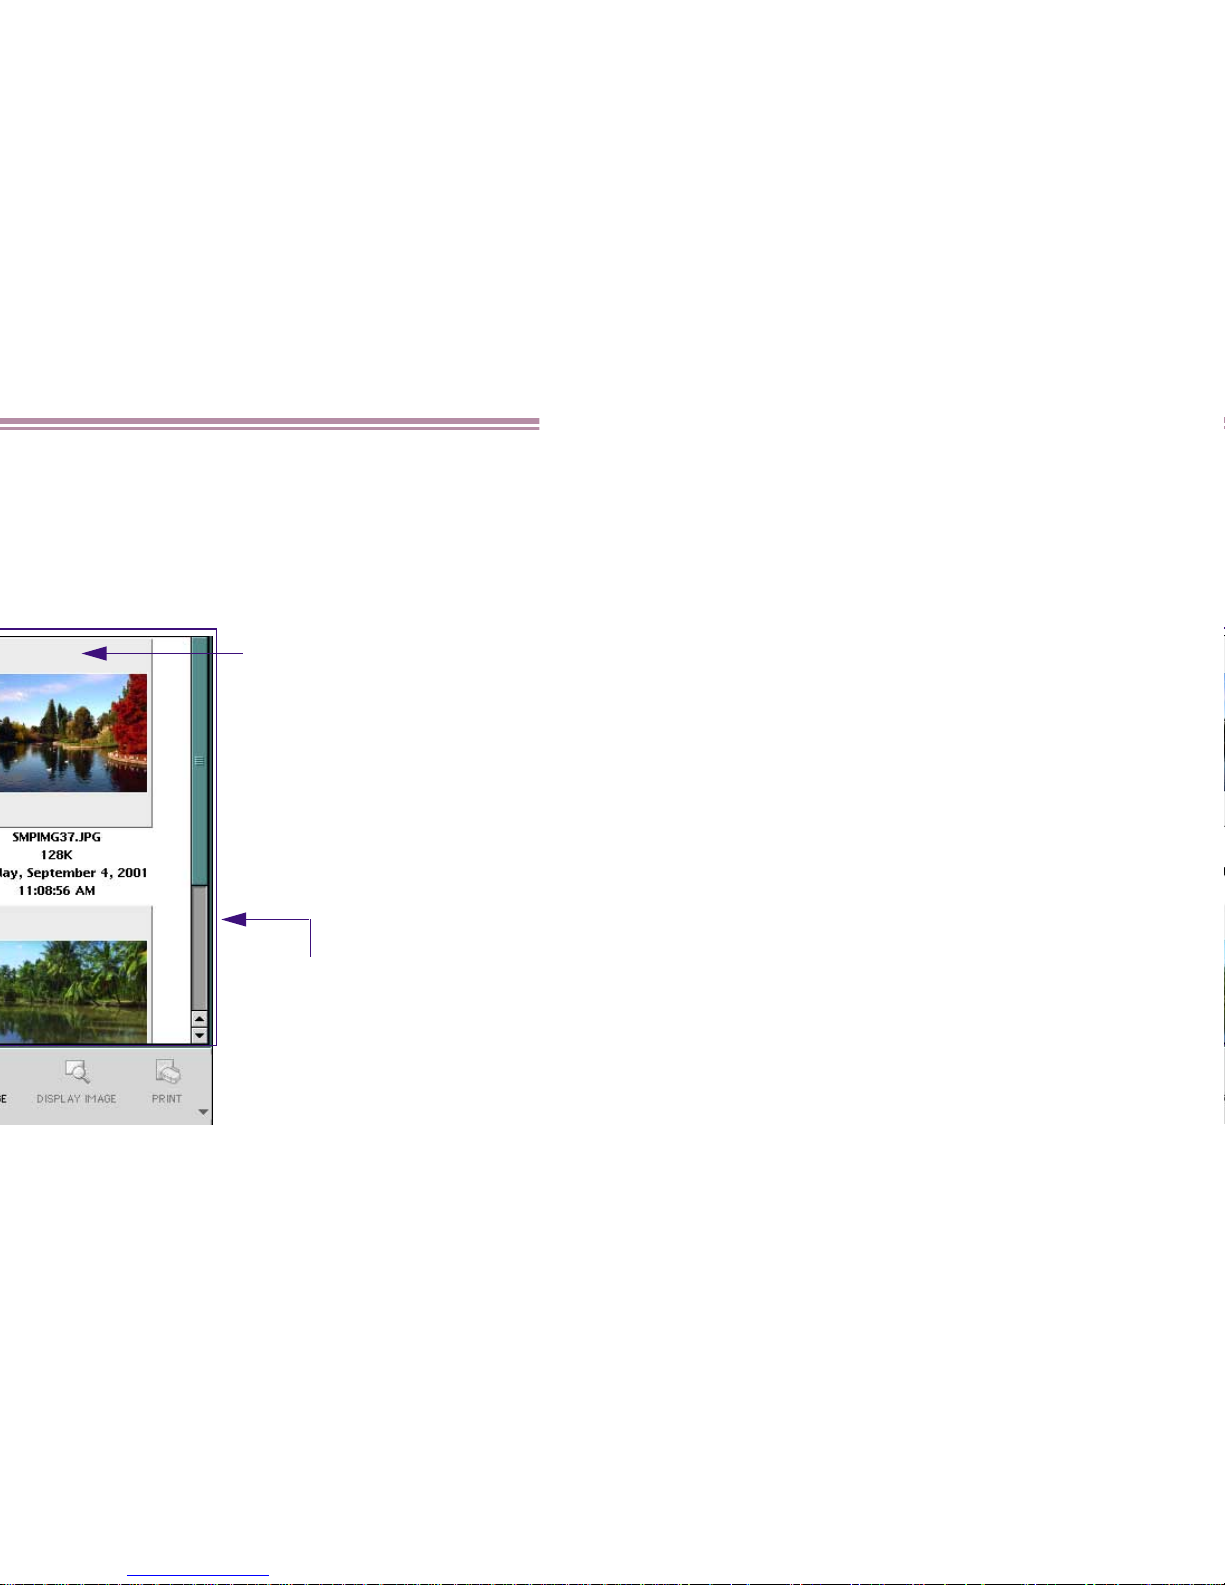
Browser area
The display format can be
changed.
Refer to Switching to the Preview
Display.
Thumbnail
The size can be changed.
Page 20
Changing the Appearance of the Browser Area
20
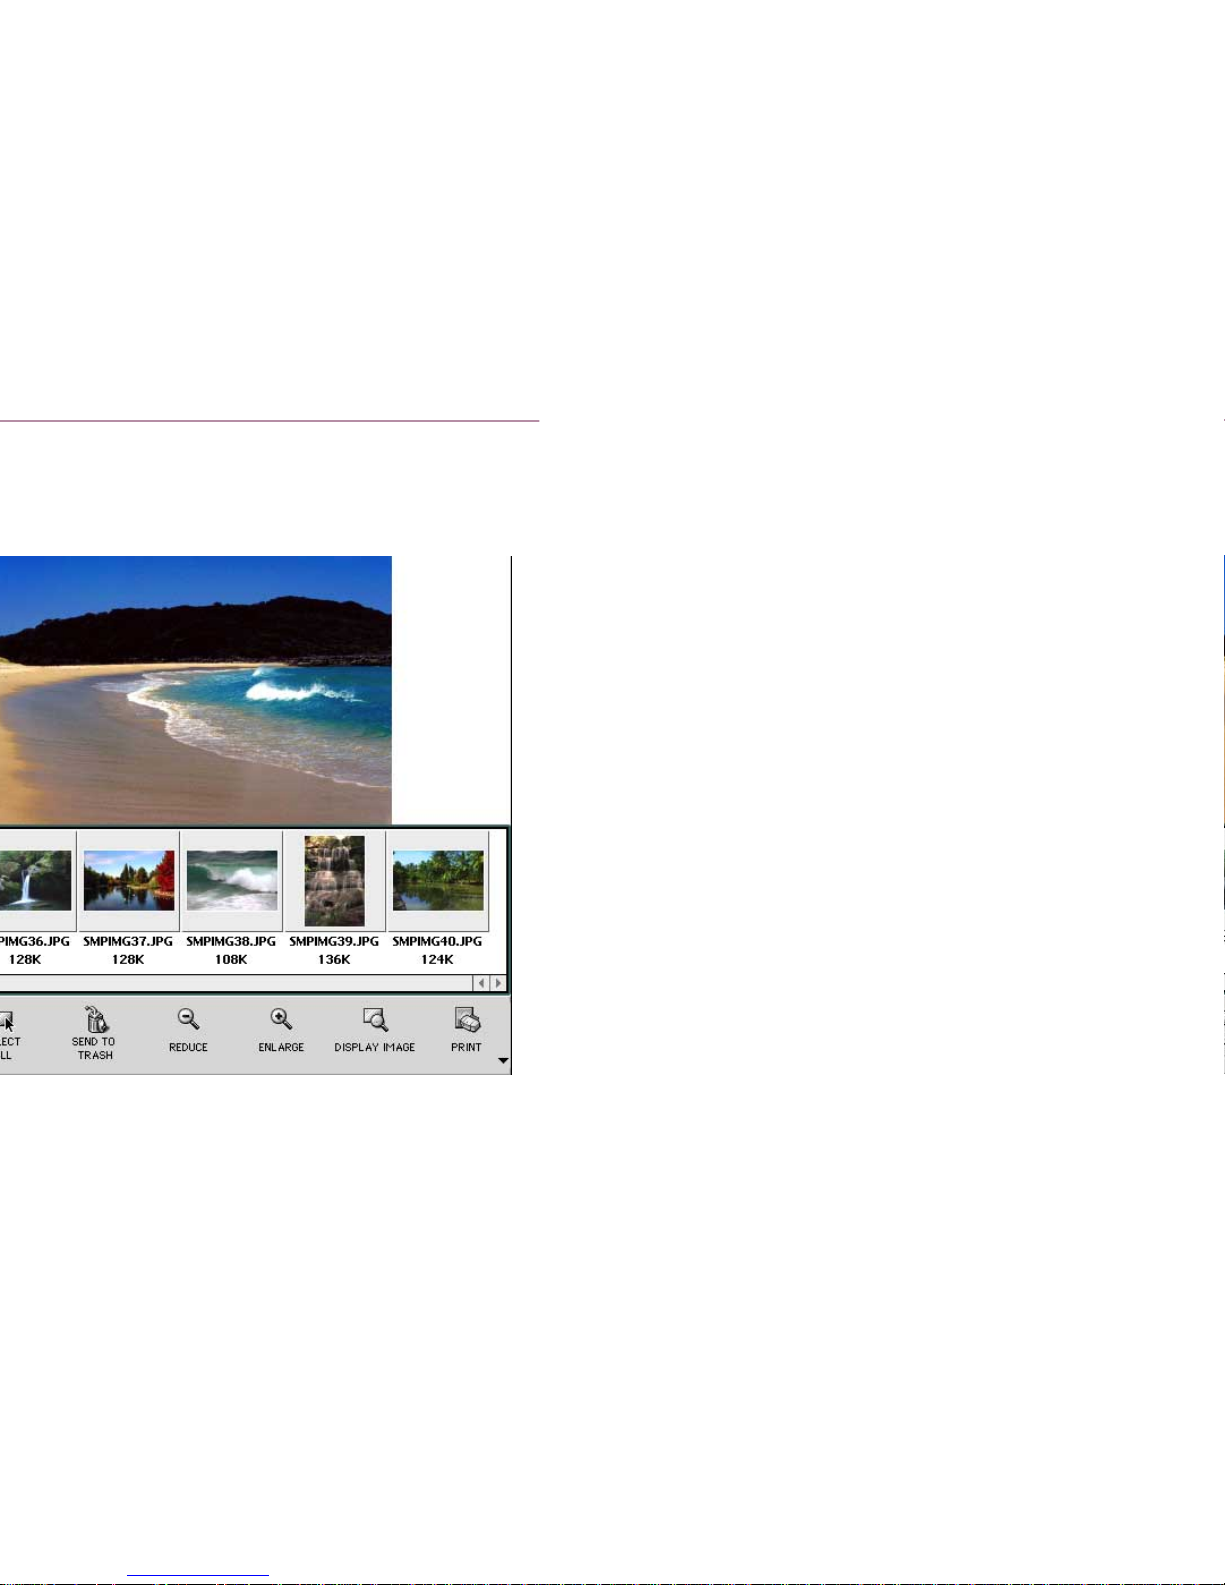
Preview from the submenu that
Page 21
Changing the Appearance of the Browser Area
21
Page 22
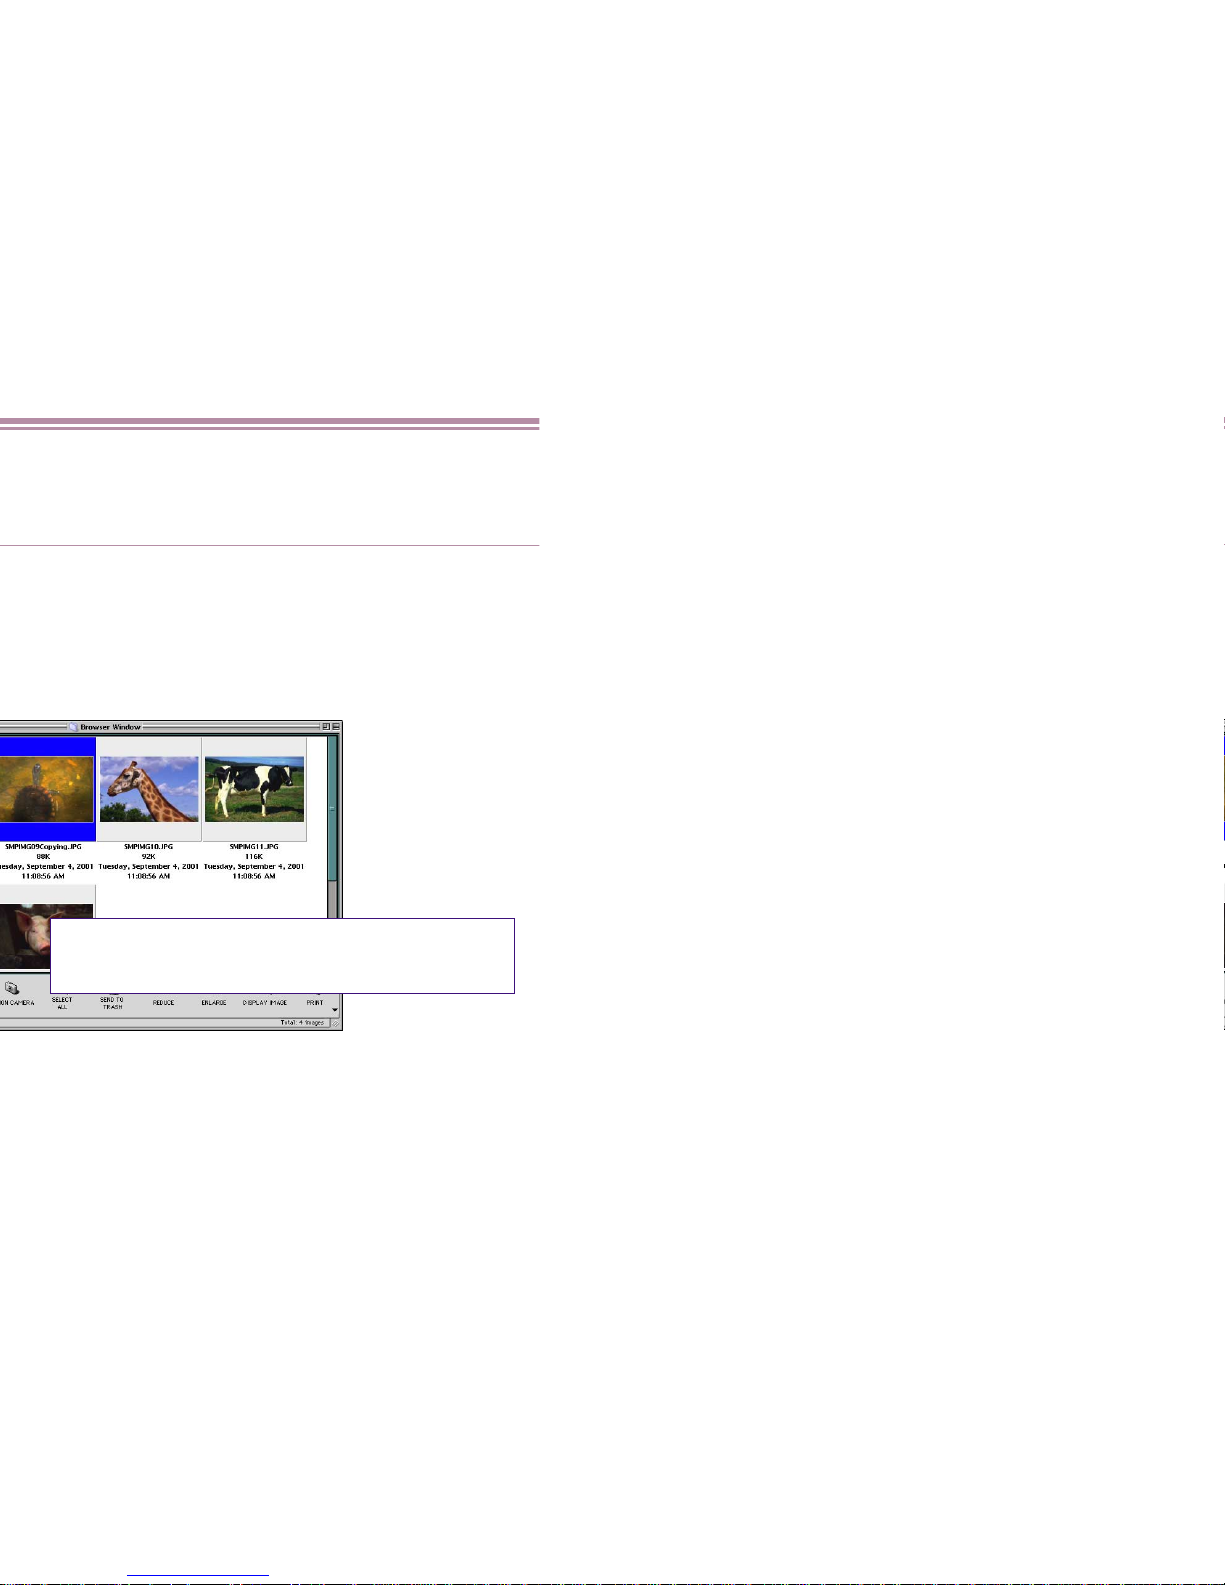
Organizing Images
22
Drag and drop an image (its thumbnail) onto the
folder you want to place it.
Page 23
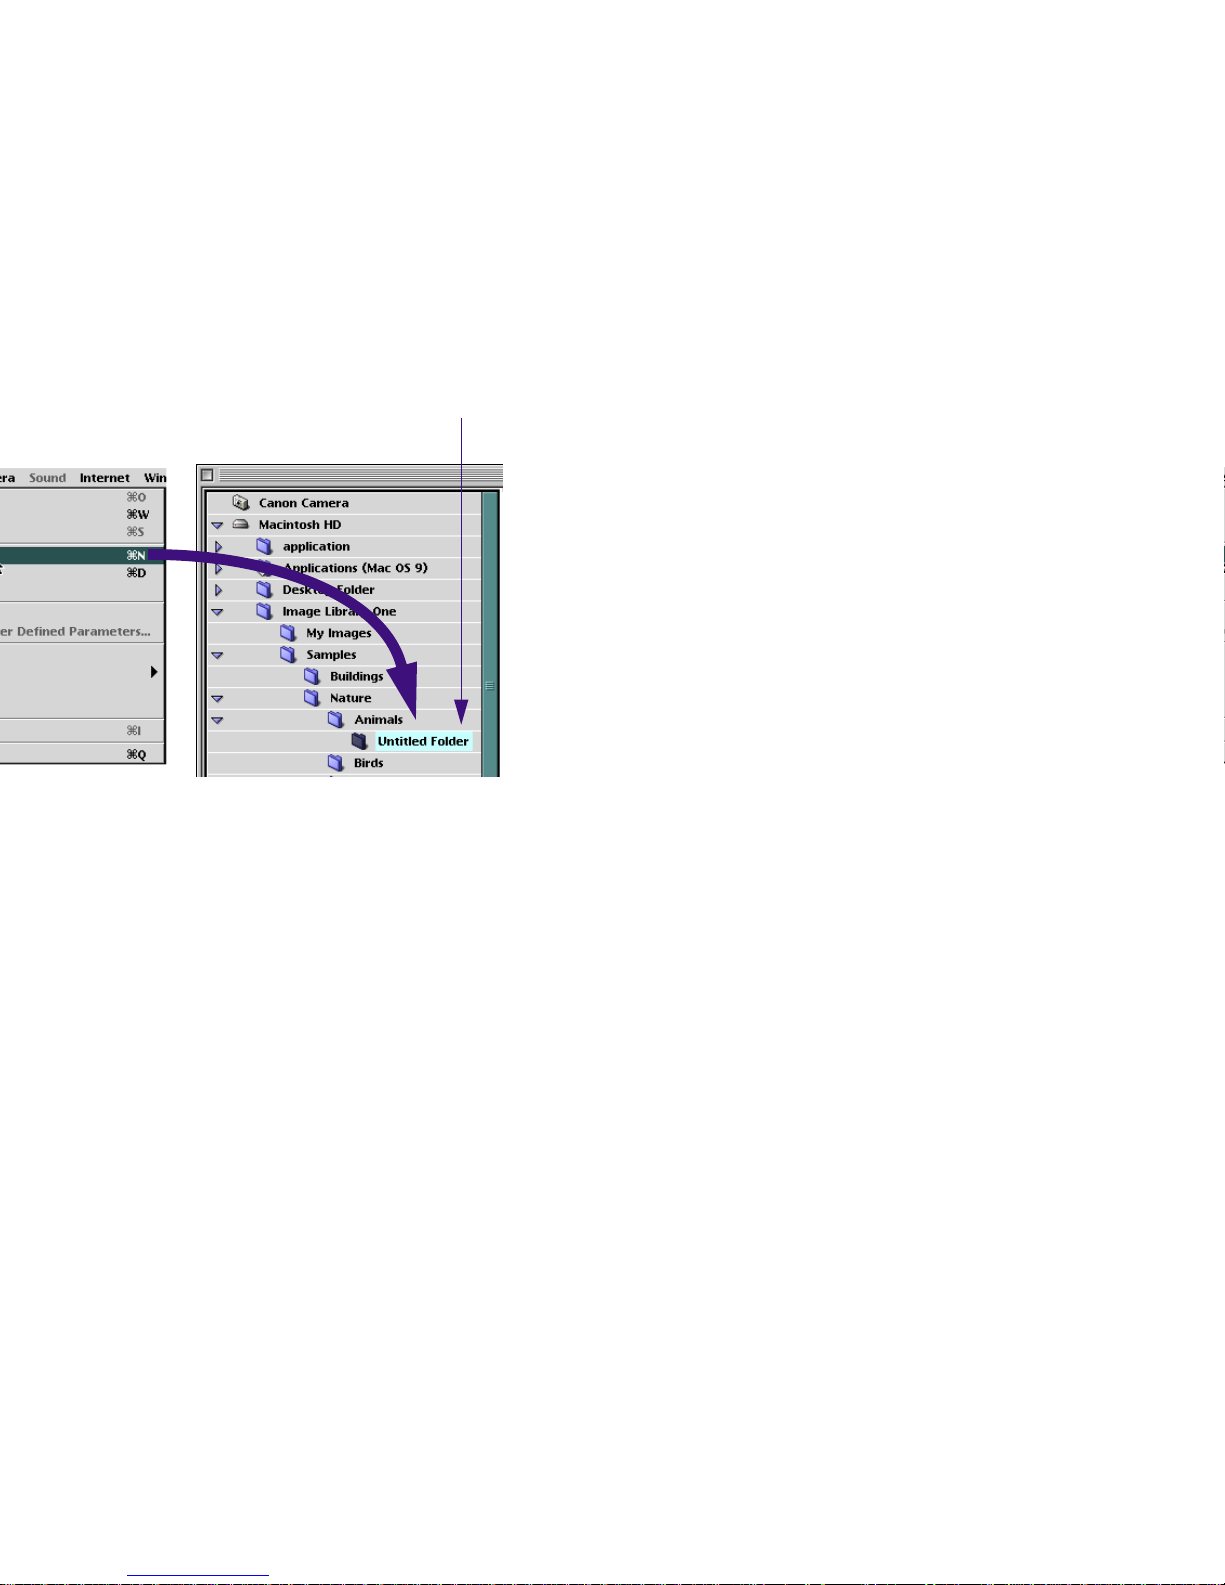
Organizing Images
23
An untitled folder is created and its name
can be entered.
Page 24

Organizing Images
24
SEND TO TRASH button.
SEND TO TRASH button.
SEND TO TRASH button, it is just
menu in the Finder.
(3) The selected image is deleted.
Page 25

Organizing Images
25
Refresh from the View menu to update the
Page 26
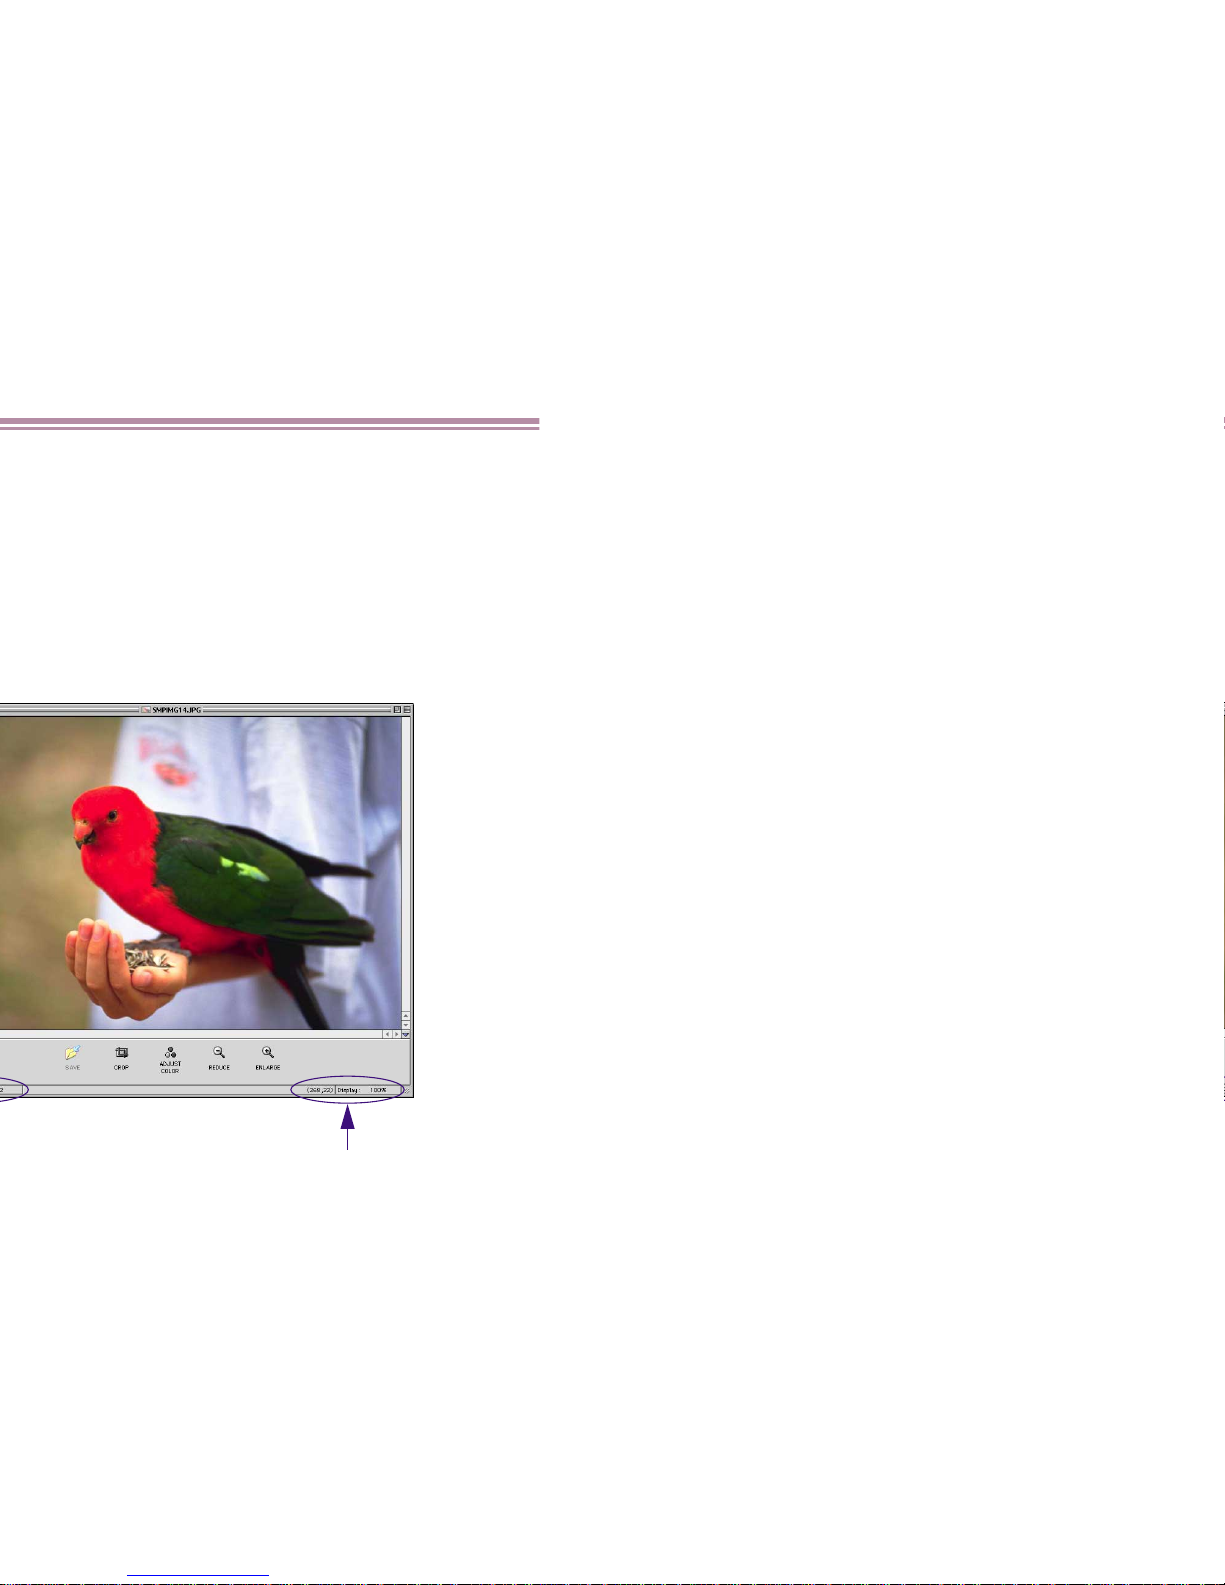
Editing Image Using Image Viewer
26
button to magnify or reduce the size of the
The display scale of
the image appears.
Page 27
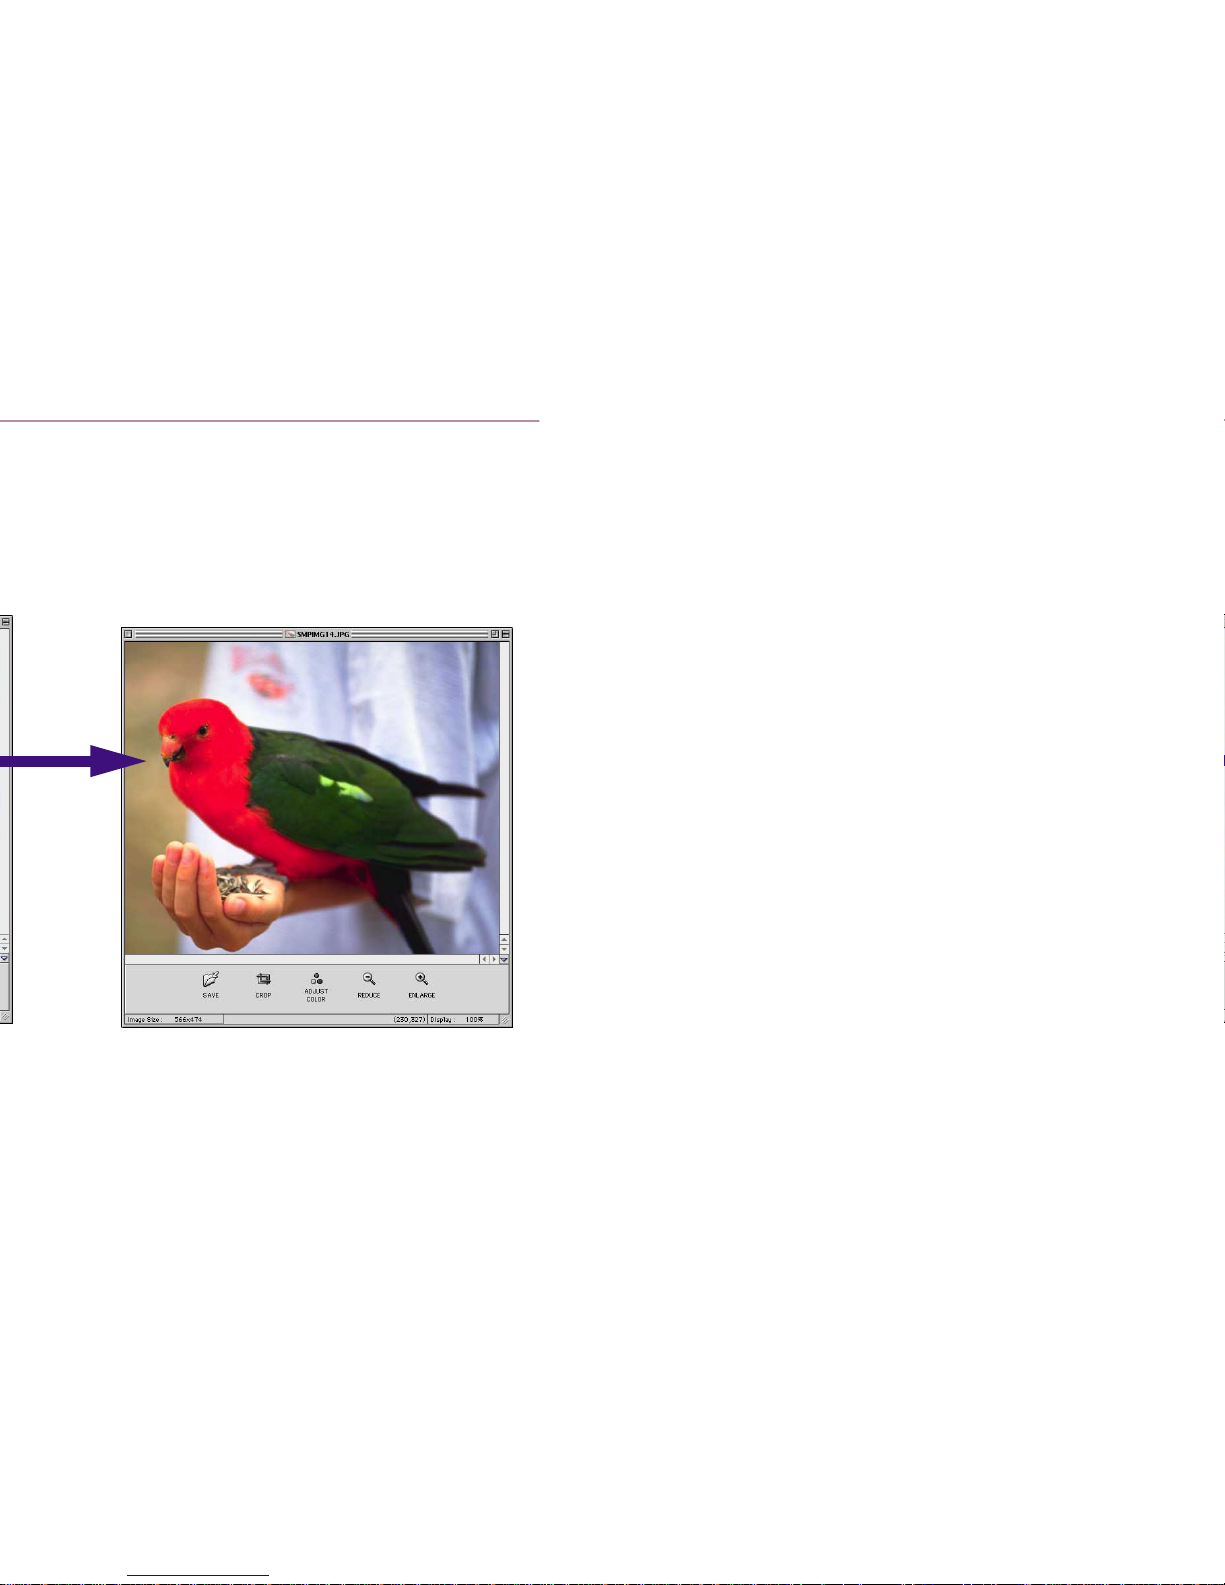
Editing Image Using Image Viewer
27
Page 28
Editing Image Using Image Viewer
28
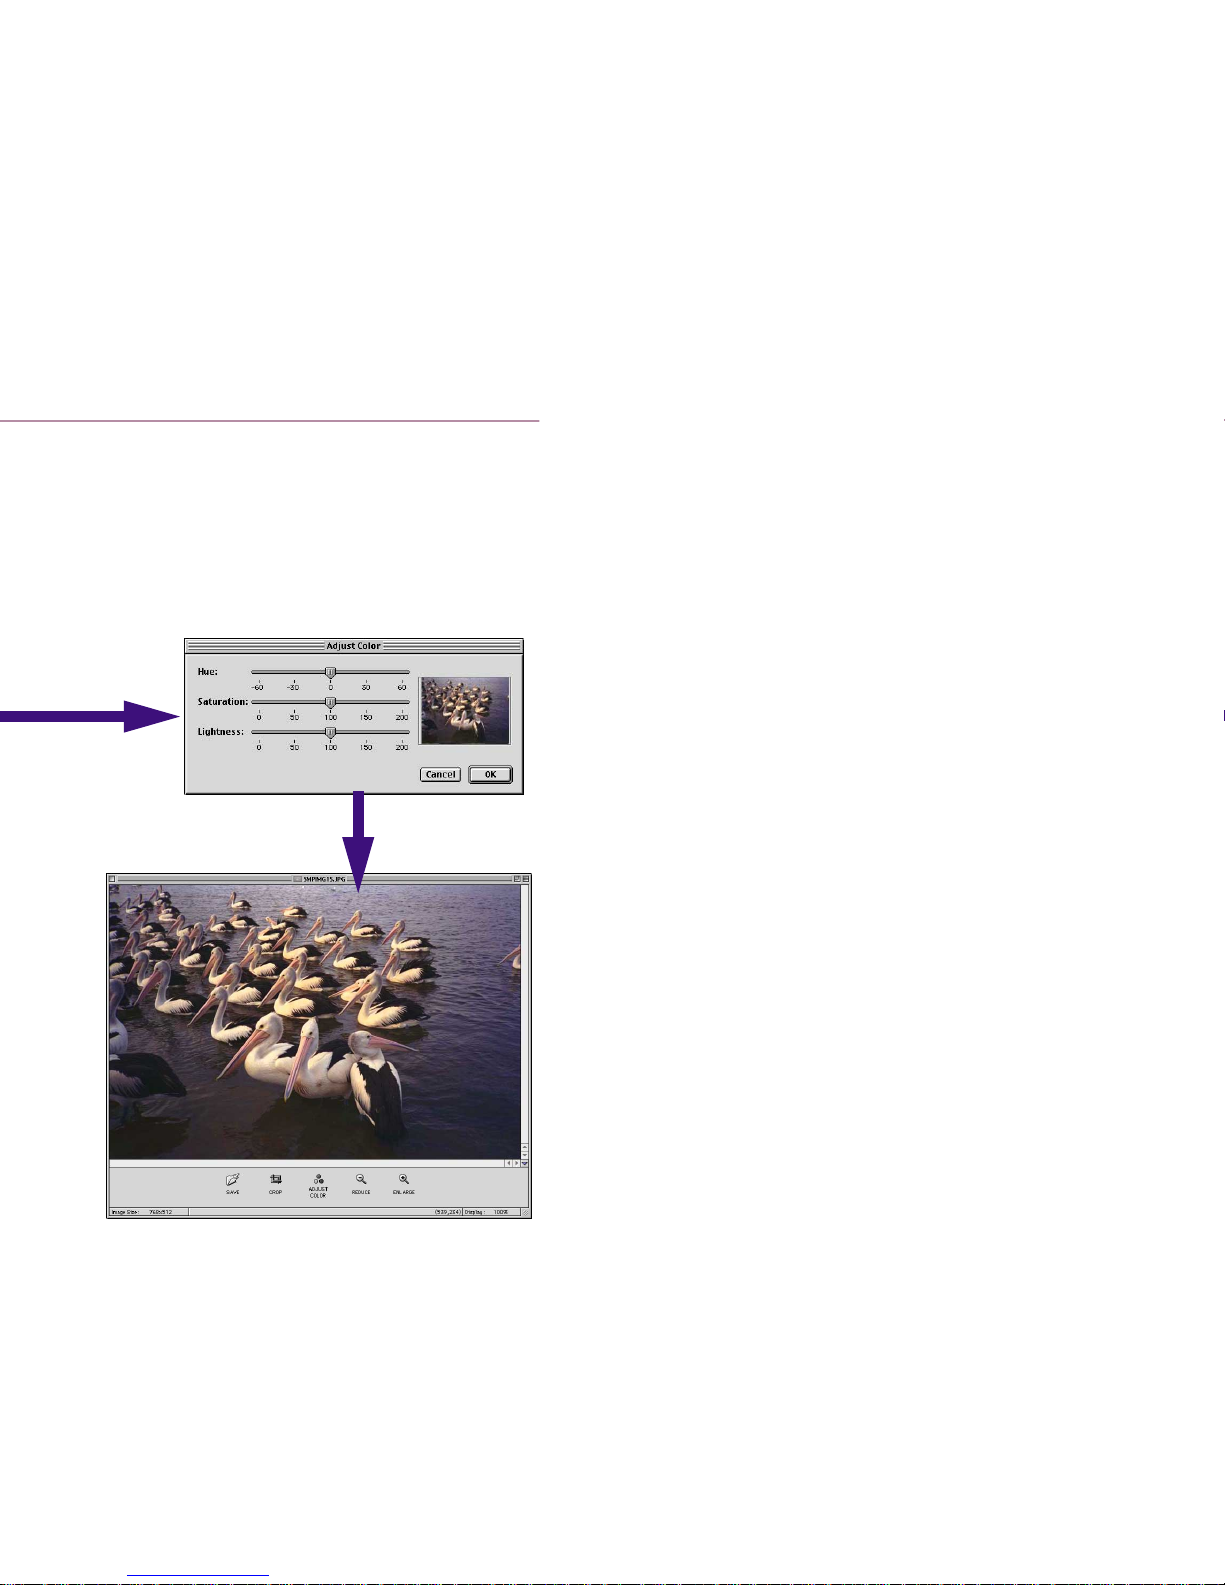
Adjust Color dialog box, which allows you to make
The Hue, Saturation, and Lightness
are adjustable.
Page 29
Editing Image Using Image Viewer
29
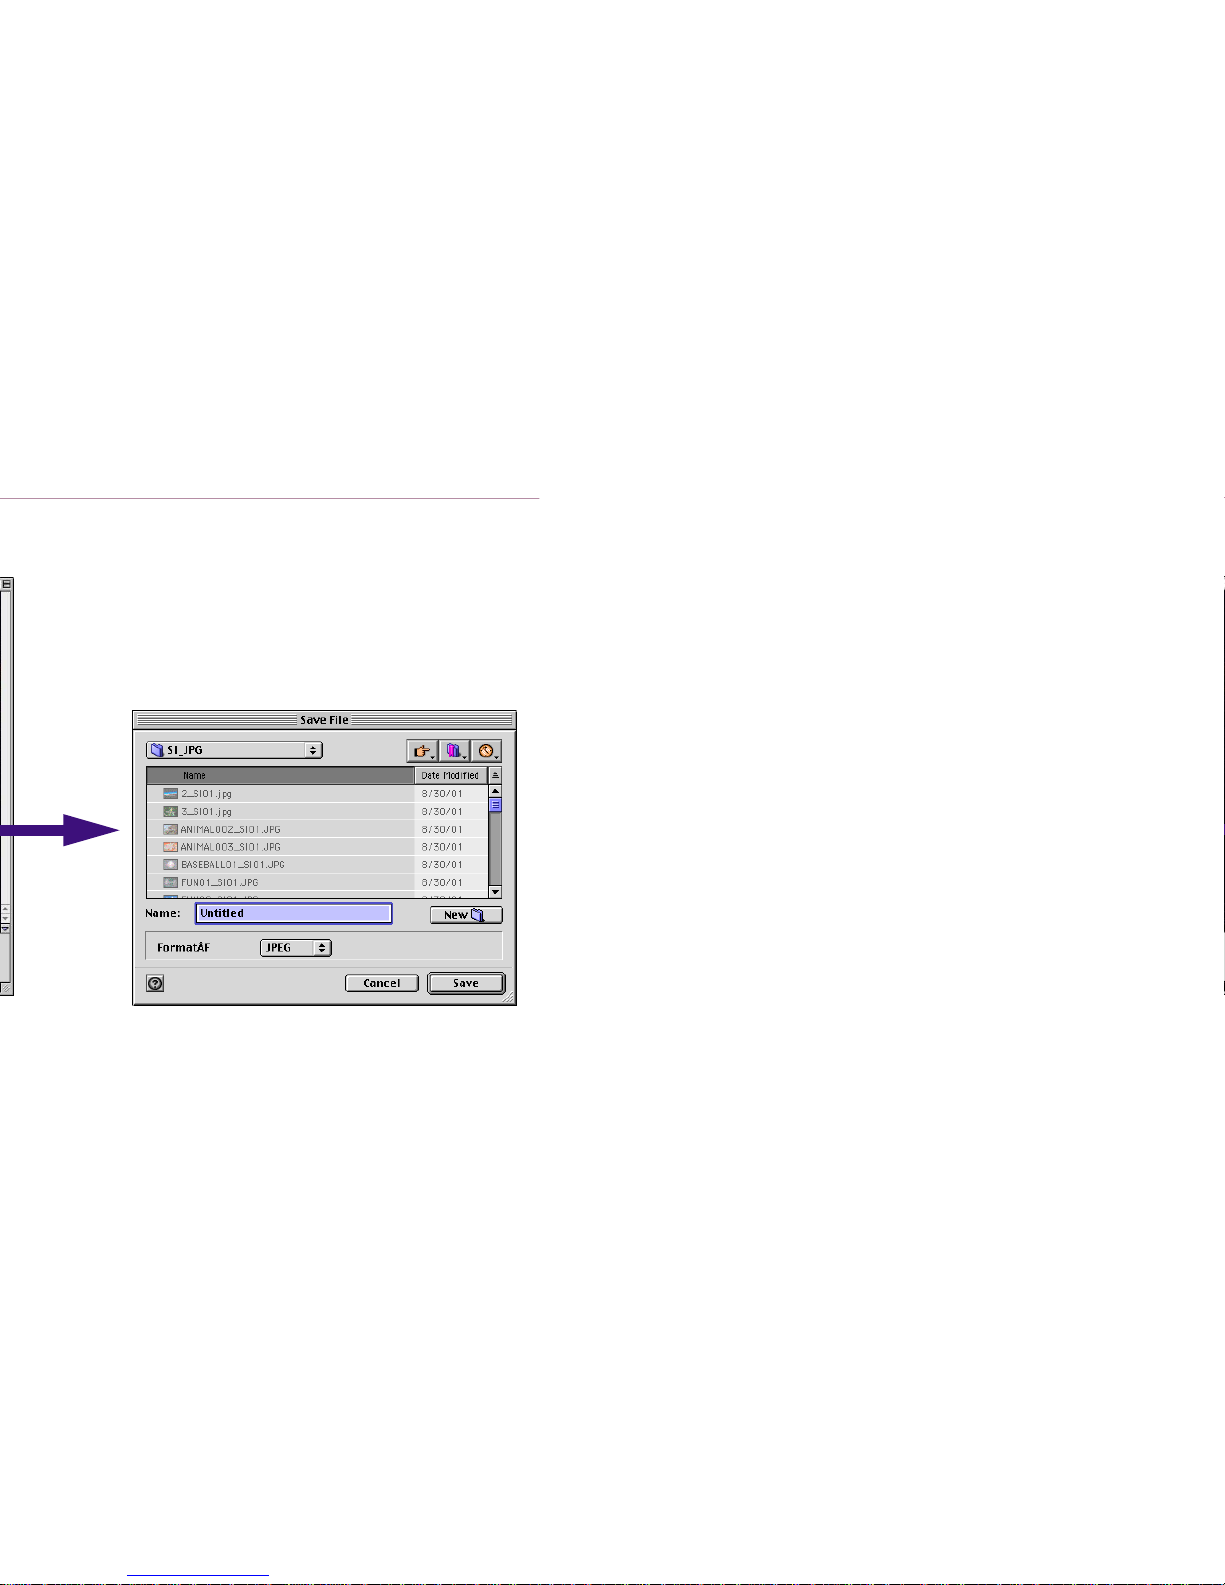
Type in a file name and specify the file type,
and click the Save button. The image is
saved as a new file.
Page 30
Slide Show
30
from the View menu.
Page 31

Slide Show
31
Page 32
Slide Show
32
Page 33
Slide Show
33
Page 34
Slide Show
34
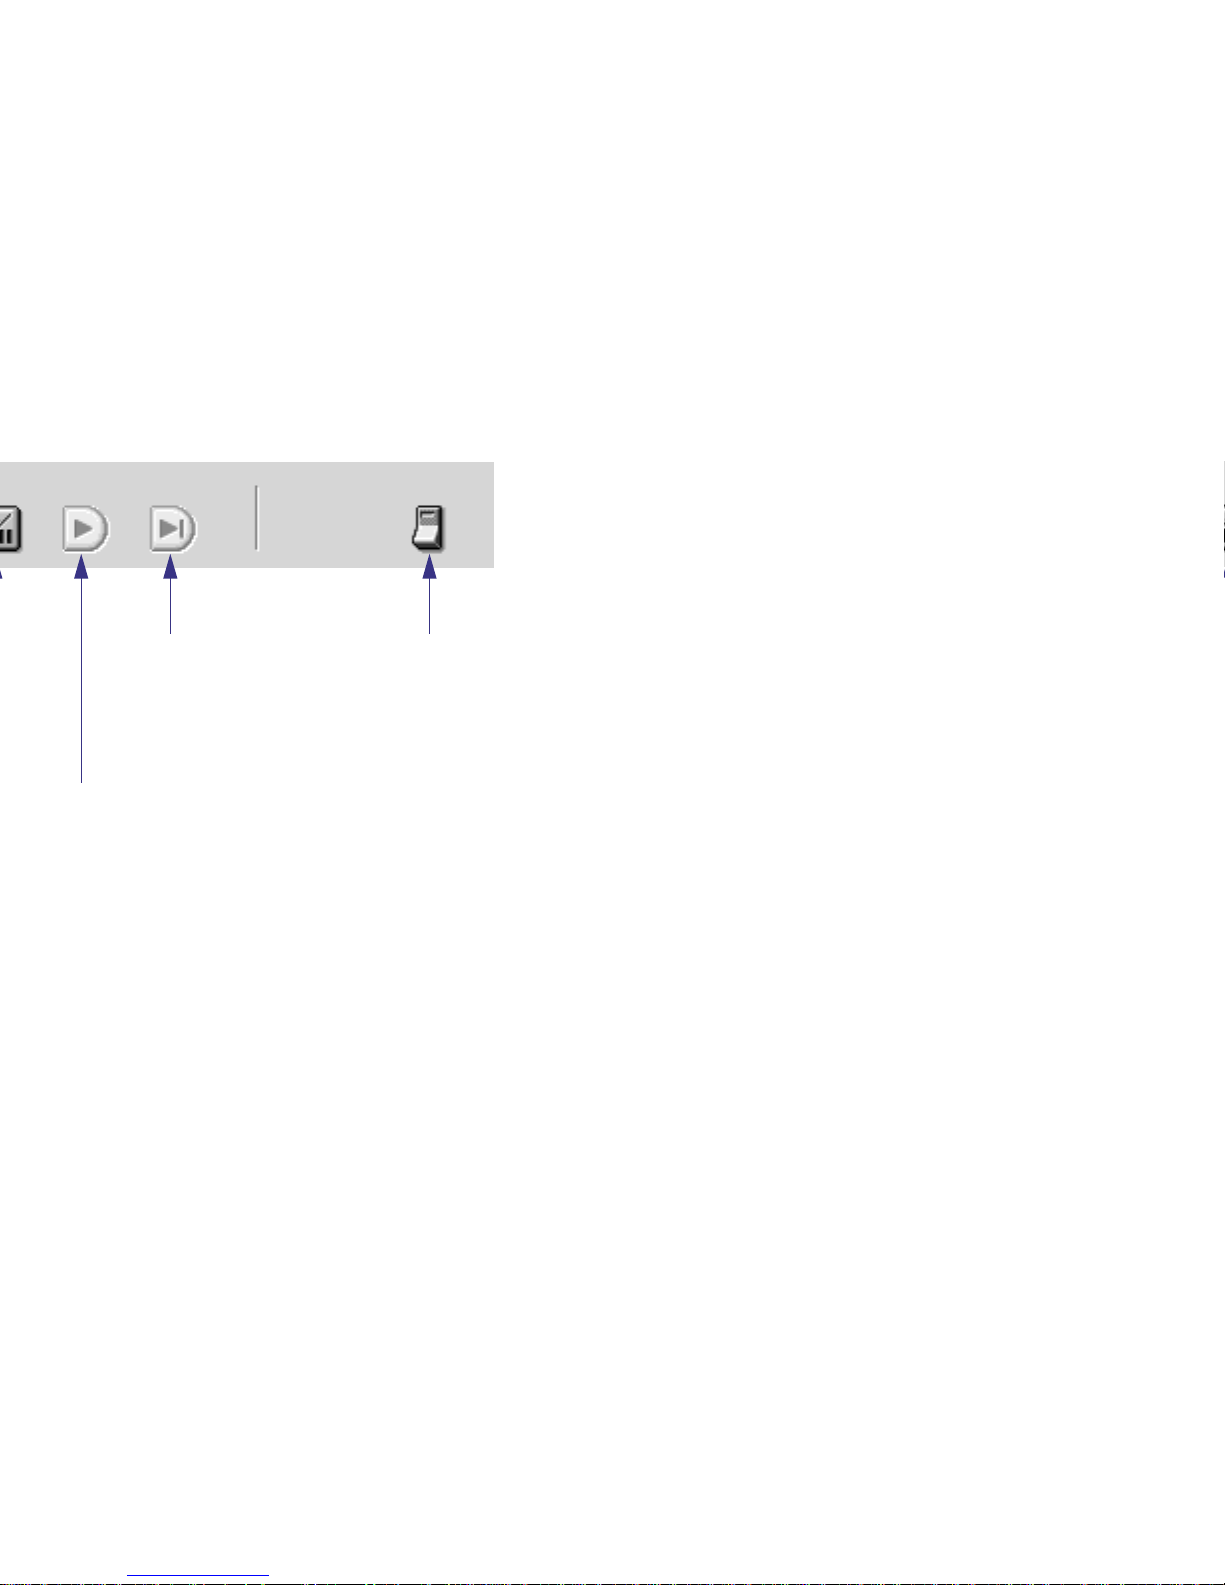
Display next
image
Display last
image
Close slide
show
Page 35

Slide Show
35
Page 36
Time Tunnel
36
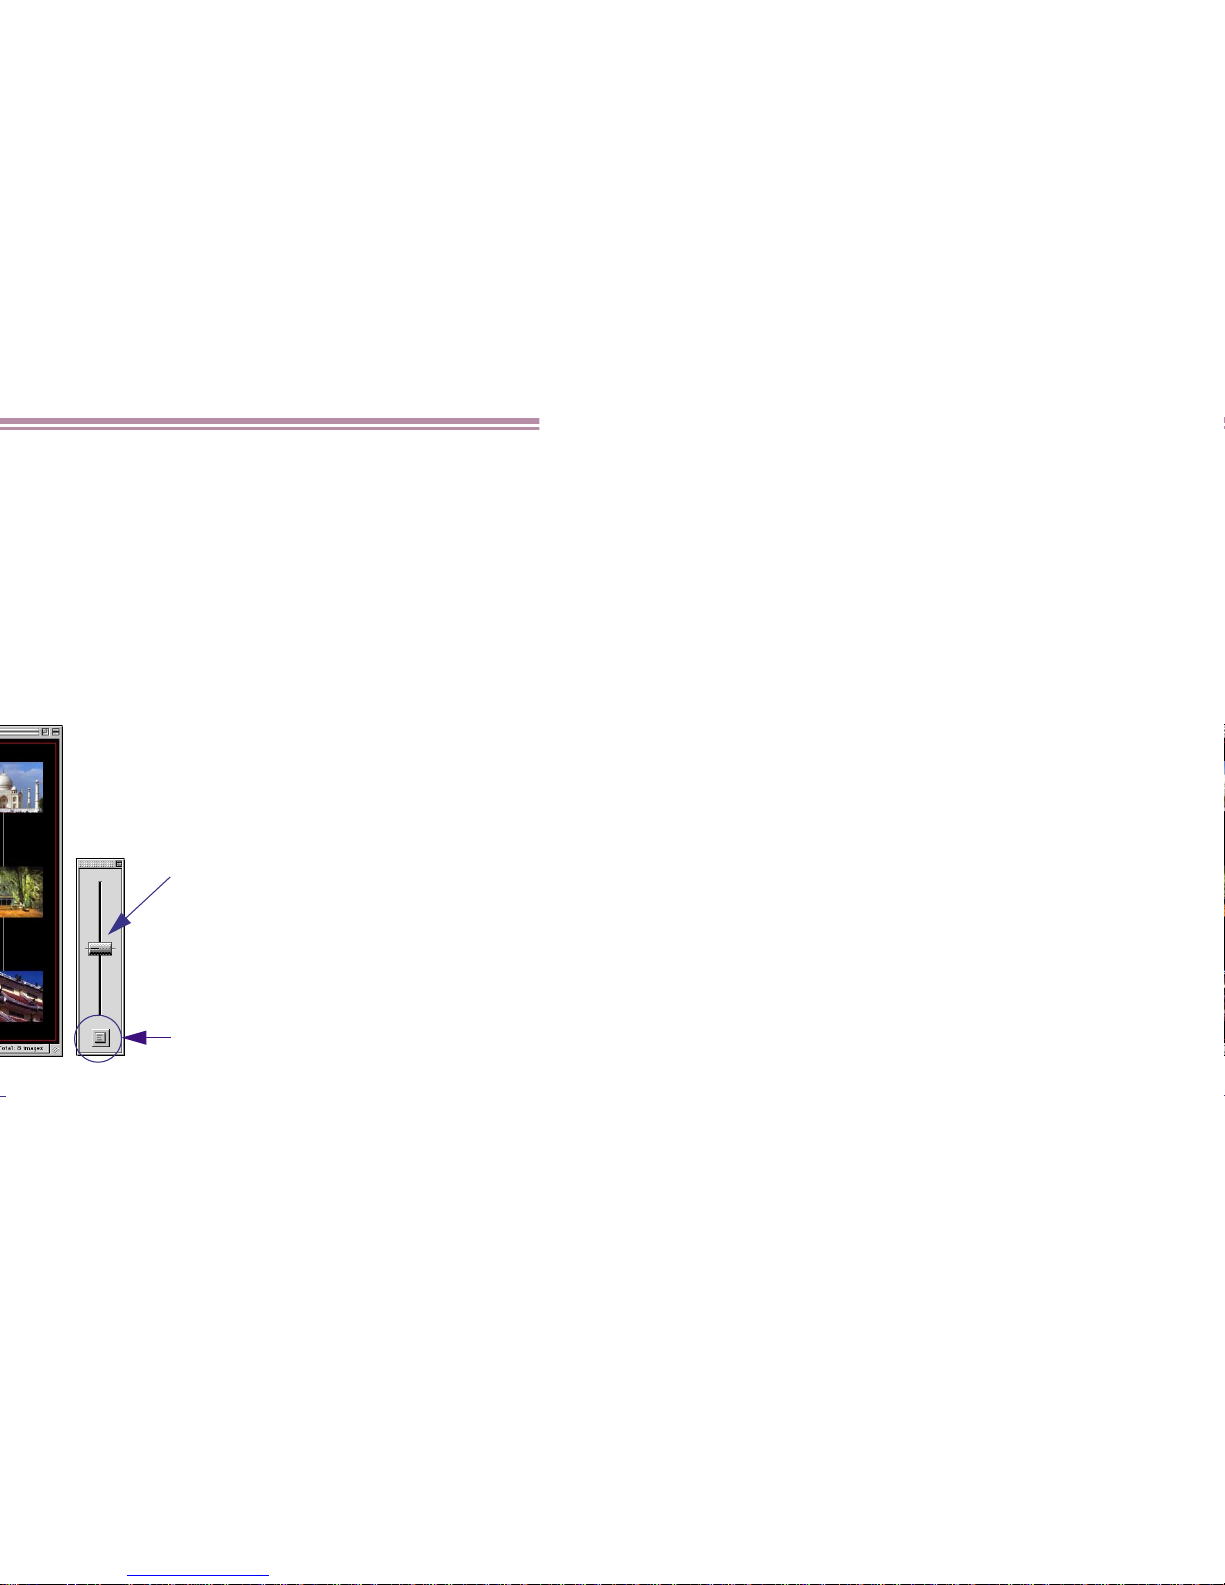
Tool Panel
Drag the slider to zoom in/out of
the time tunnel.
Menu button
Clicking this button displays the
popup menu in which you can
select the Display Tool Panel,
Auto Cruise, etc.
Page 37
Adding Sound to Image
37
Page 38

Adding Sound to Image
38
Page 39
Adding Sound to Image
39
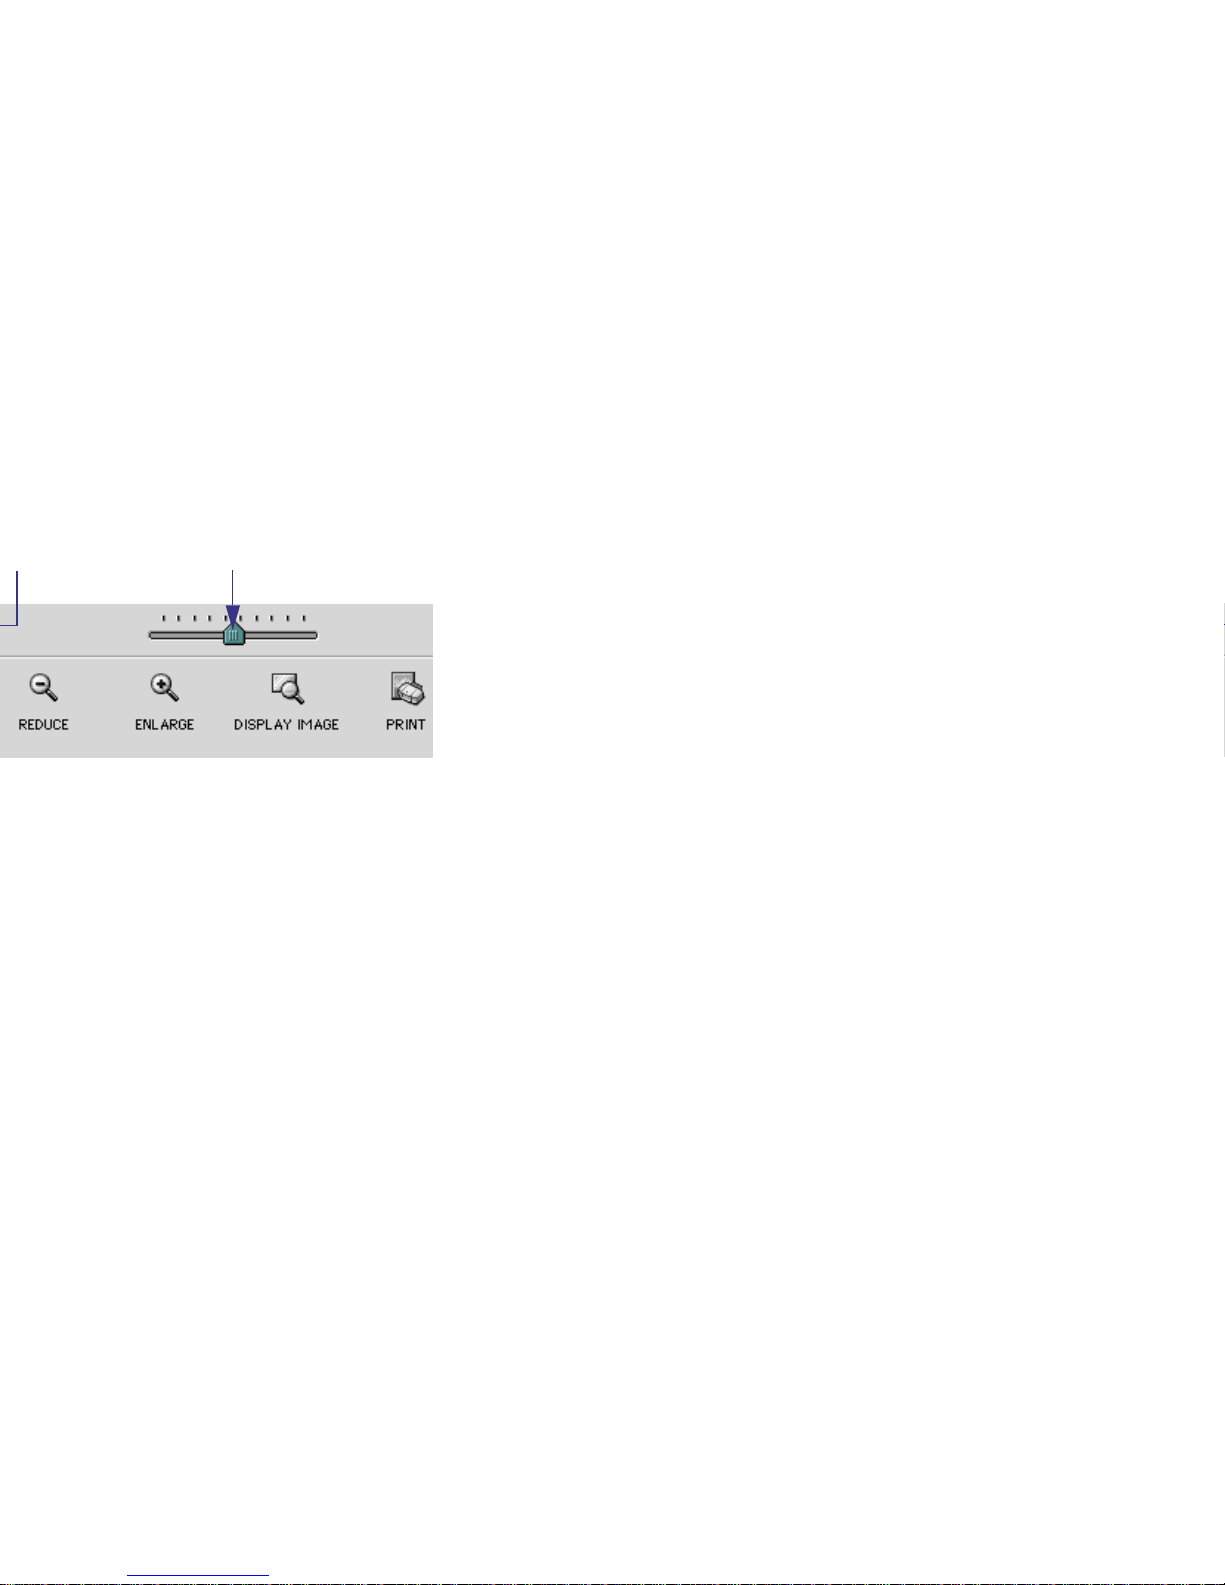
Volume slider
Page 40
Creating Image Files Attached to E-mail
40
Page 41
Creating Image Files Attached to E-mail
41
Page 42
Creating Image Files Attached to E-mail
42
Page 43
Creating Image Files Attached to E-mail
43
Page 44
Creating Panoramic Photo Using PhotoStitch
44
Page 45
Creating Panoramic Photo Using PhotoStitch
45
Page 46
46
Page 47

47
Page 48

48
Page 49

Importing Images with the Automation Wizard
49
ImageBrowser starts and then the Automation
wizard is invoked.
The Automation wizard starts.
Page 50
Importing Images with the Automation Wizard
50
Page 51
Importing Images with the Automation Wizard
51
Page 52
Importing Images with the Automation Wizard
52
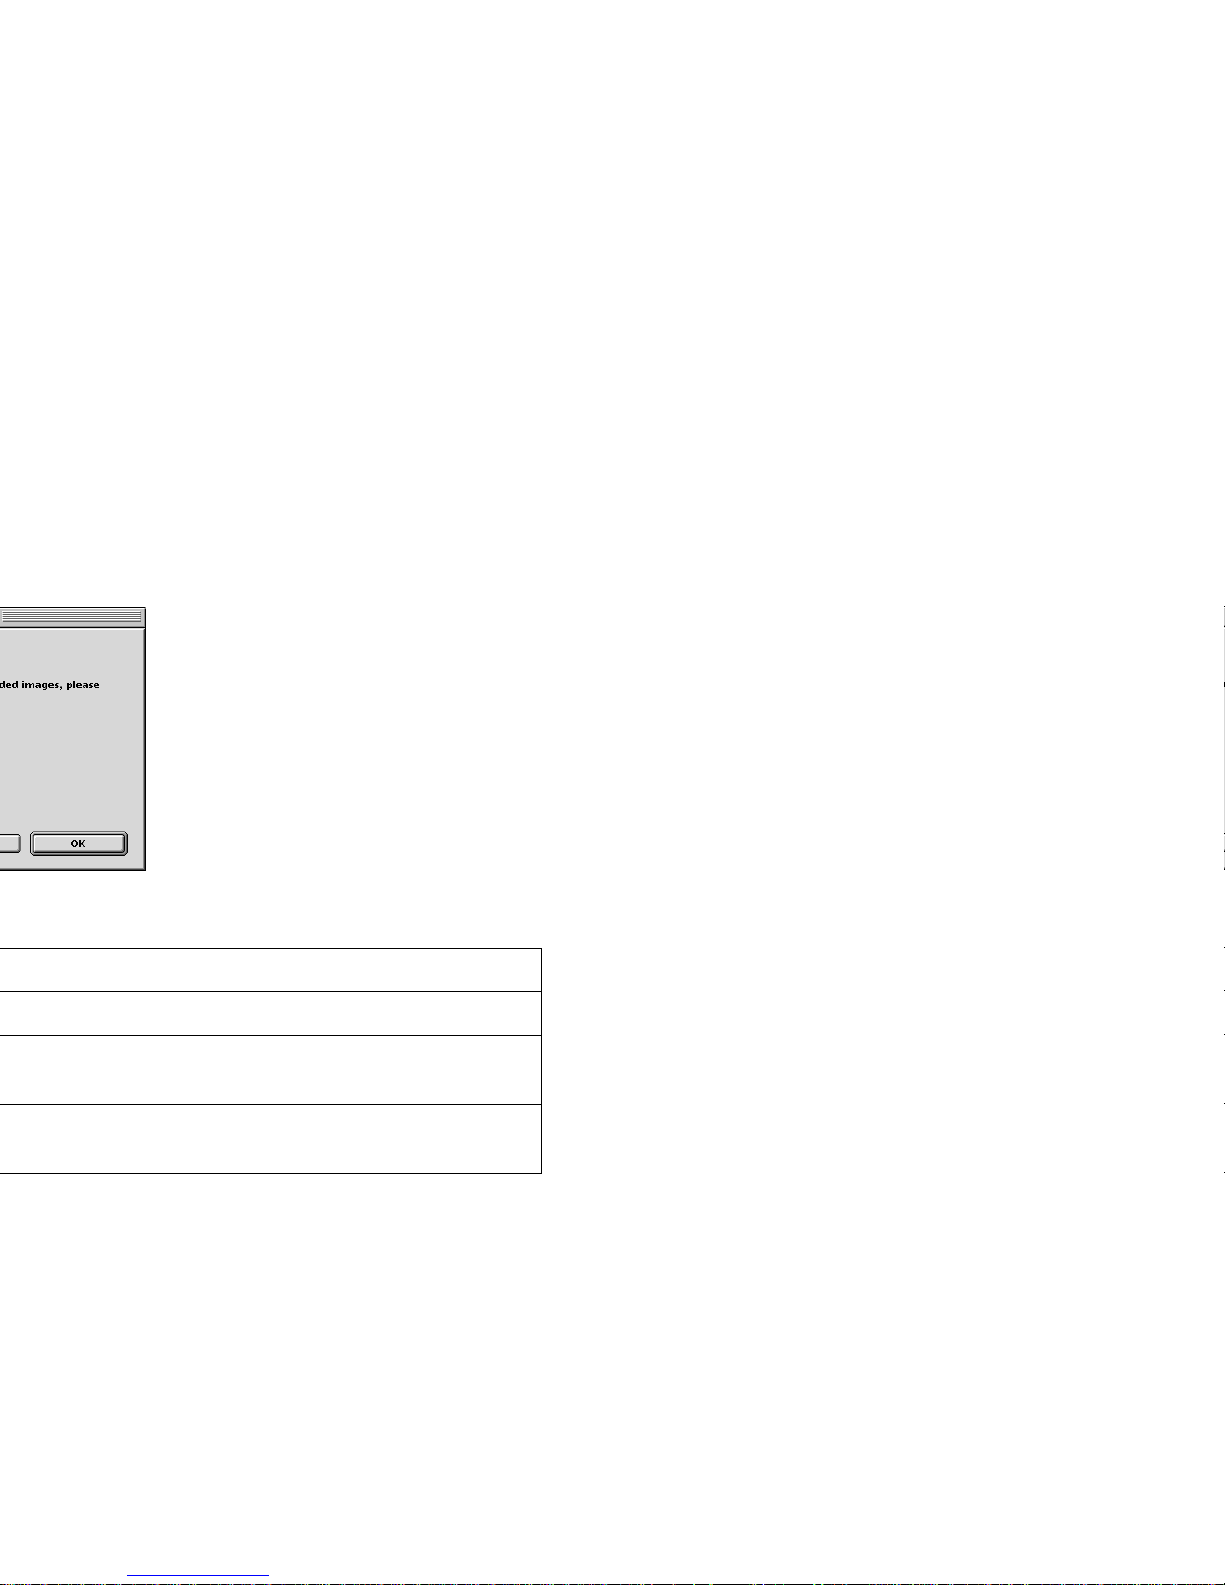
The downloaded images are saved to the
folder displayed here. To change the
destination folder, click the Change
button and select a destination folder.
Download all images
Select this option to download all the images.
Download images marked for printing
Select this option to download only the images
selected for printing (DPOF).
Download images marked for transferring
Select this option to download only the images
selected for attaching to your E-mail.
Page 53
Importing Images with the Automation Wizard
53
Page 54

Importing Images with the Automation Wizard
54
Page 55
Importing Images Using the Camera Window
55
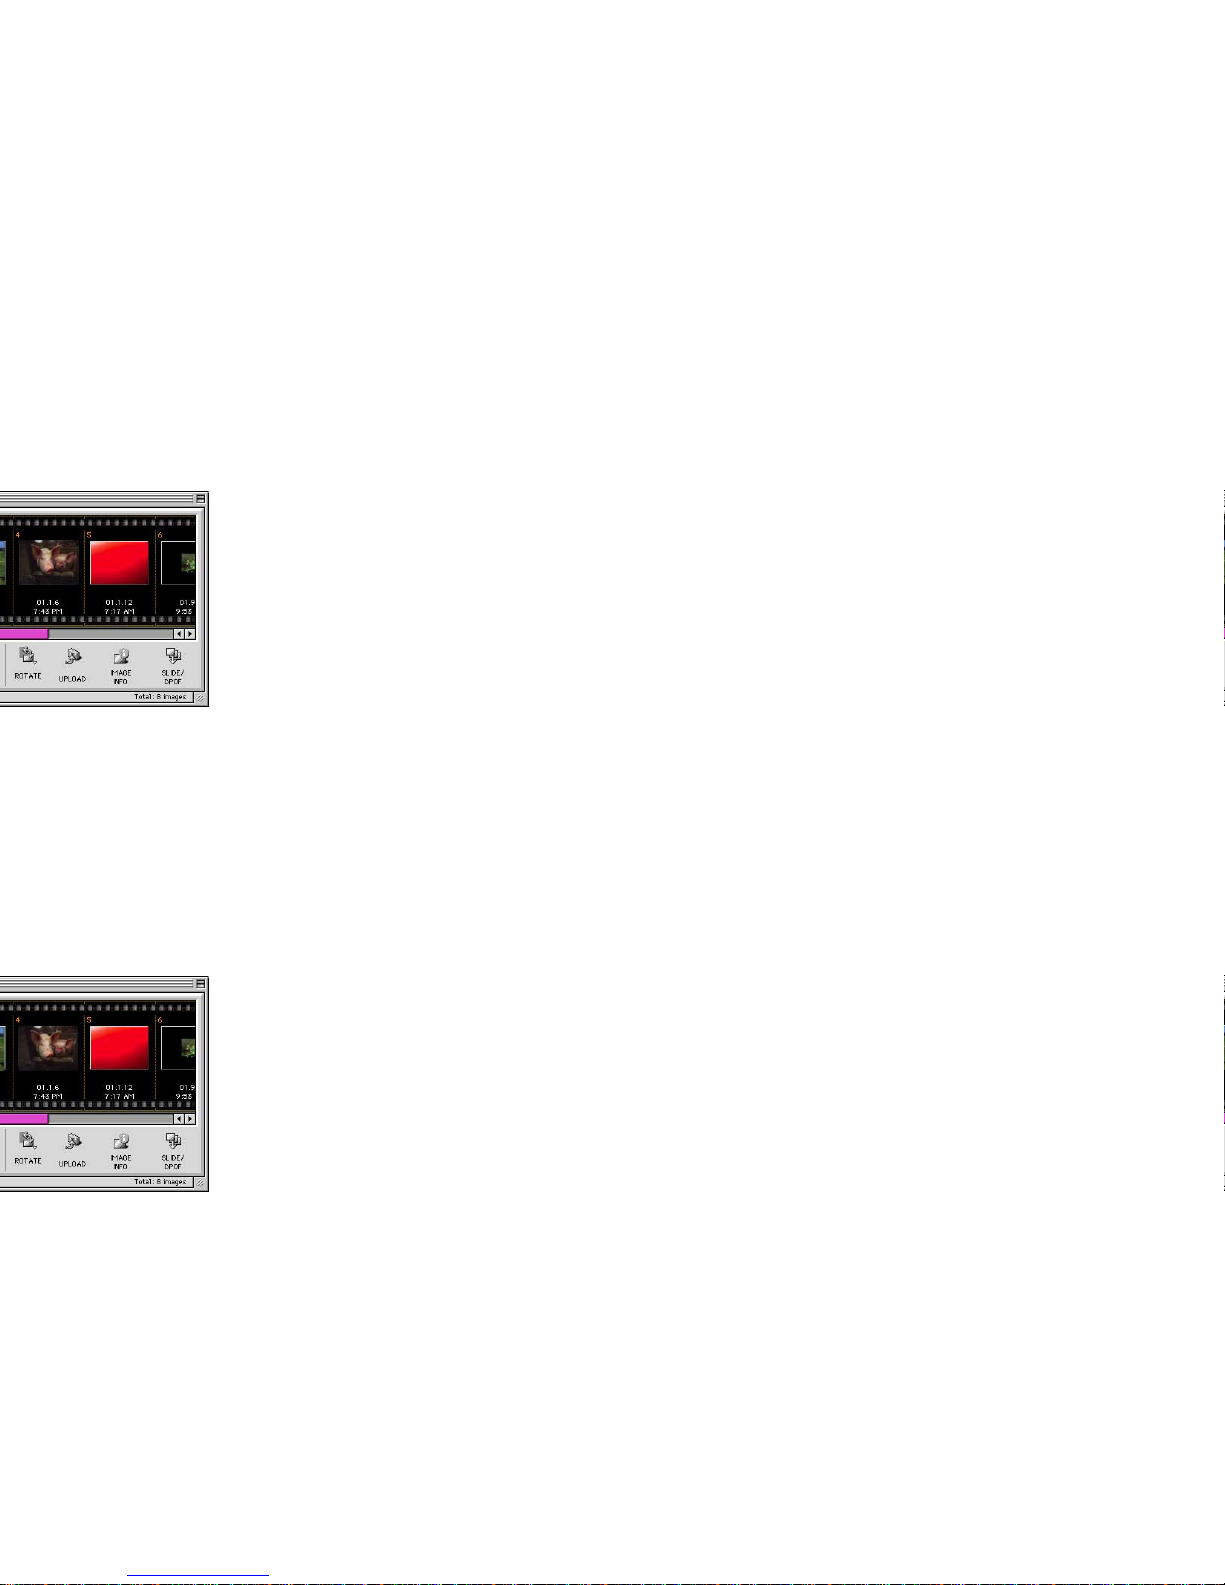
All the images stored in your device that can be
recognized by the Automation wizard, such as a
digital camera or a memory card.
All the images stored in the DCIM folder in the
memory card or the smart media.
*The folder name, DCIM, may be different depending
on the type of data stored in the memory card used
or the hard drive connected. For example, the folder
name may be DC97 or PWSHOTO.
connected to your computer.
Page 56
Importing Images Using the Camera Window
56
Page 57
Importing Images Using the Camera Window
57
Page 58
Using the Camera Window
58
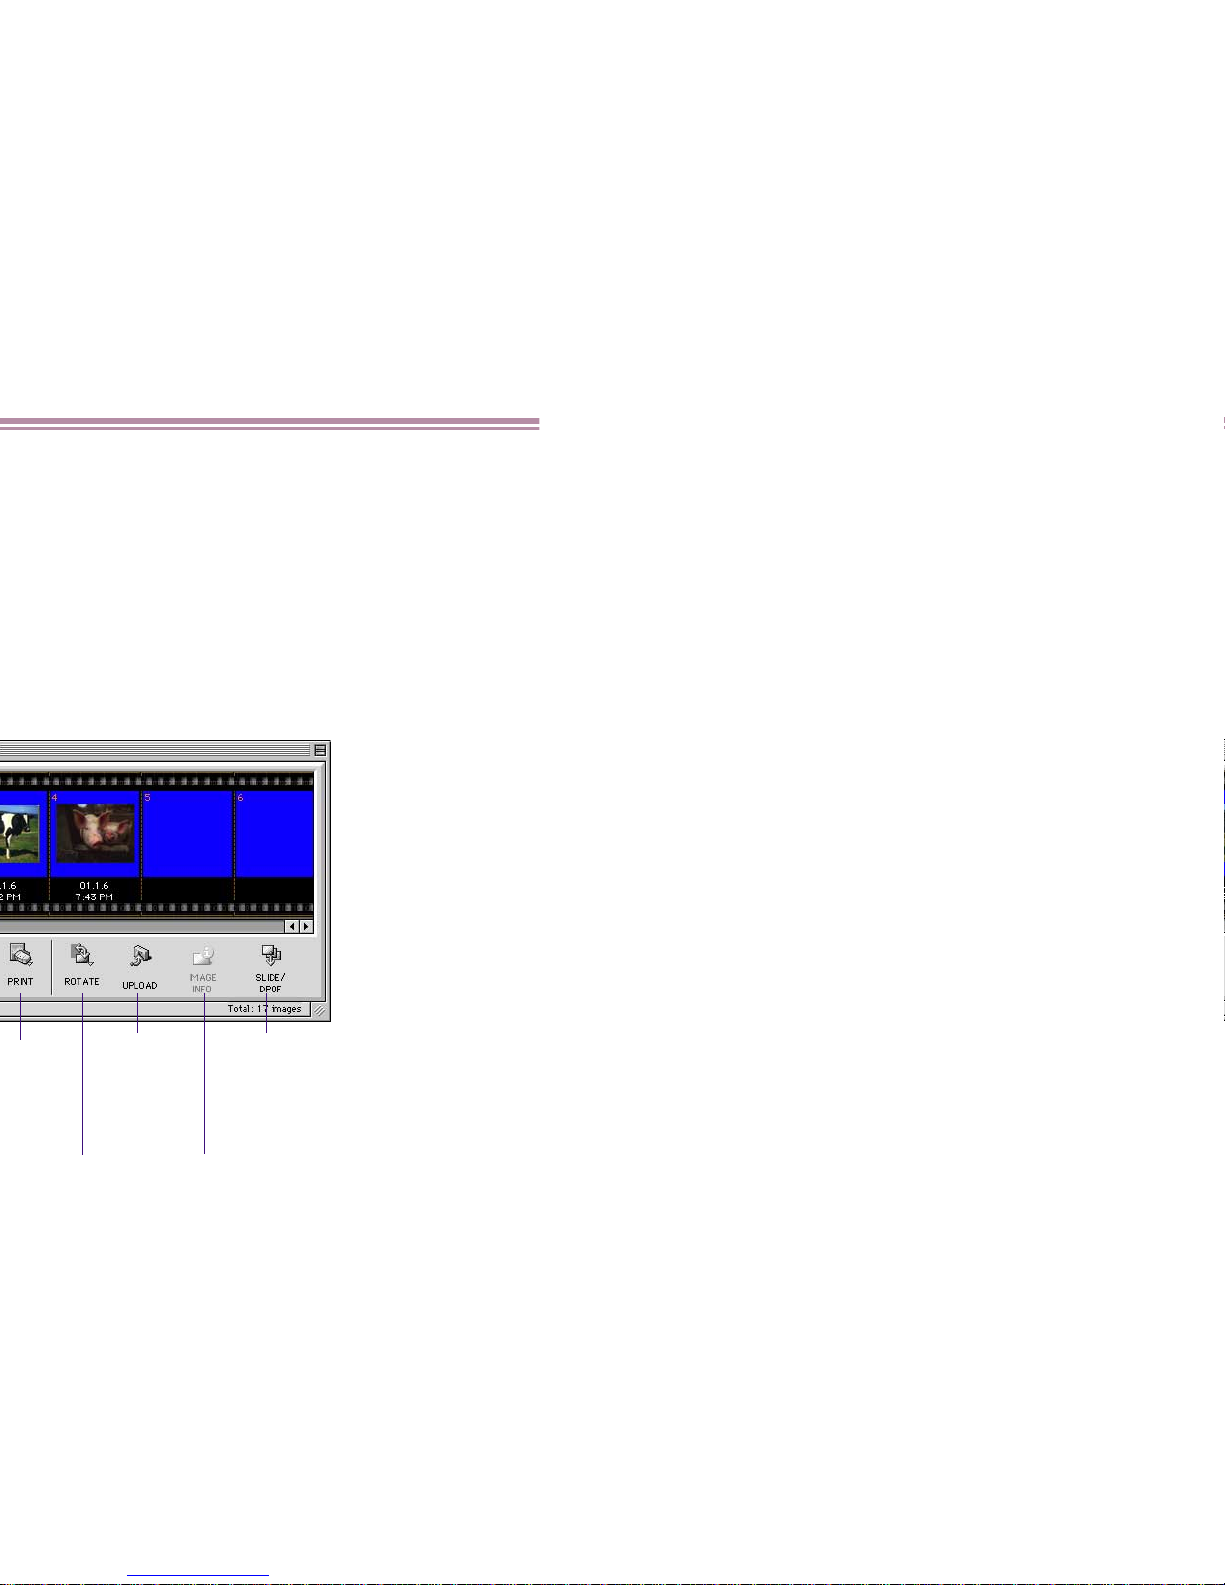
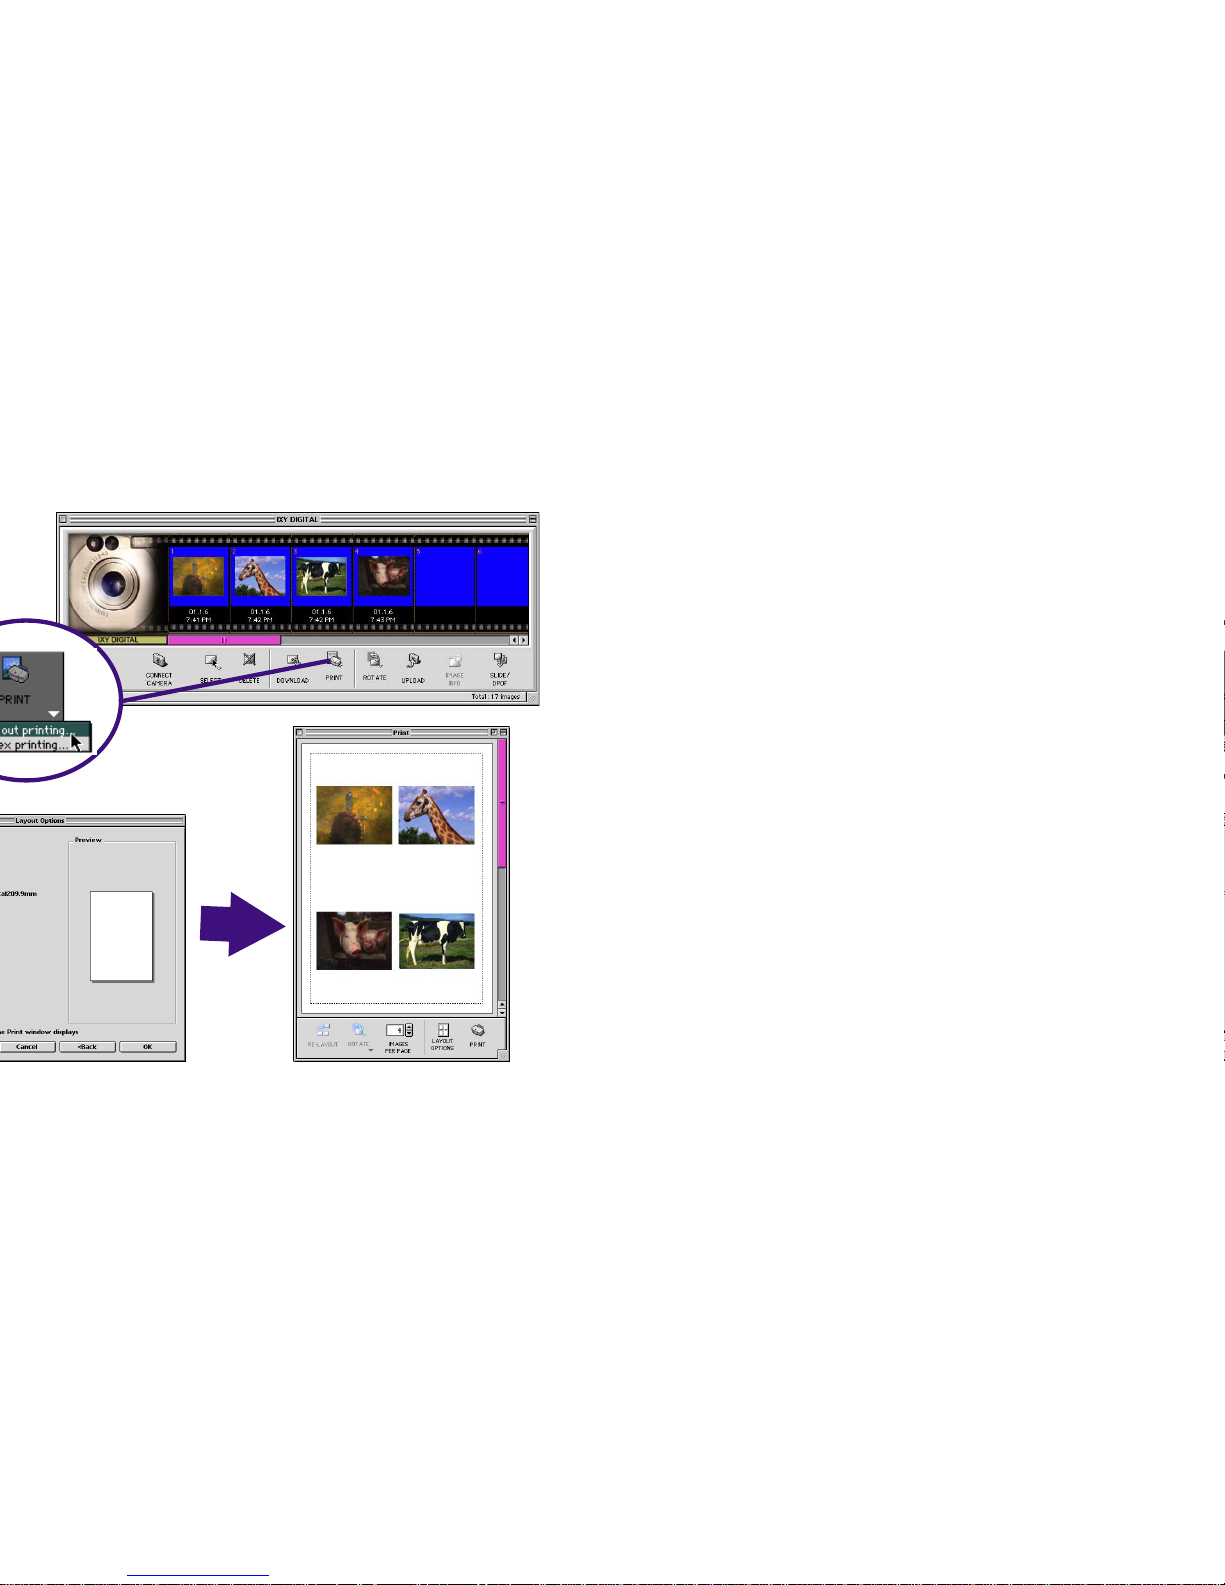
(7) ROTATE
button
(8) UPLOAD
button
(9) IMAGE INFO button
(10) SLIDE/DPOF
button
Page 59
Using the Camera Window
59
Page 60

Using the Camera Window
60
Page 61
Using the Camera Window
61
Page 62

Using the Camera Window
62
Page 63
Using the Camera Window
63
Page 64
Using the Camera Window
64
Page 65
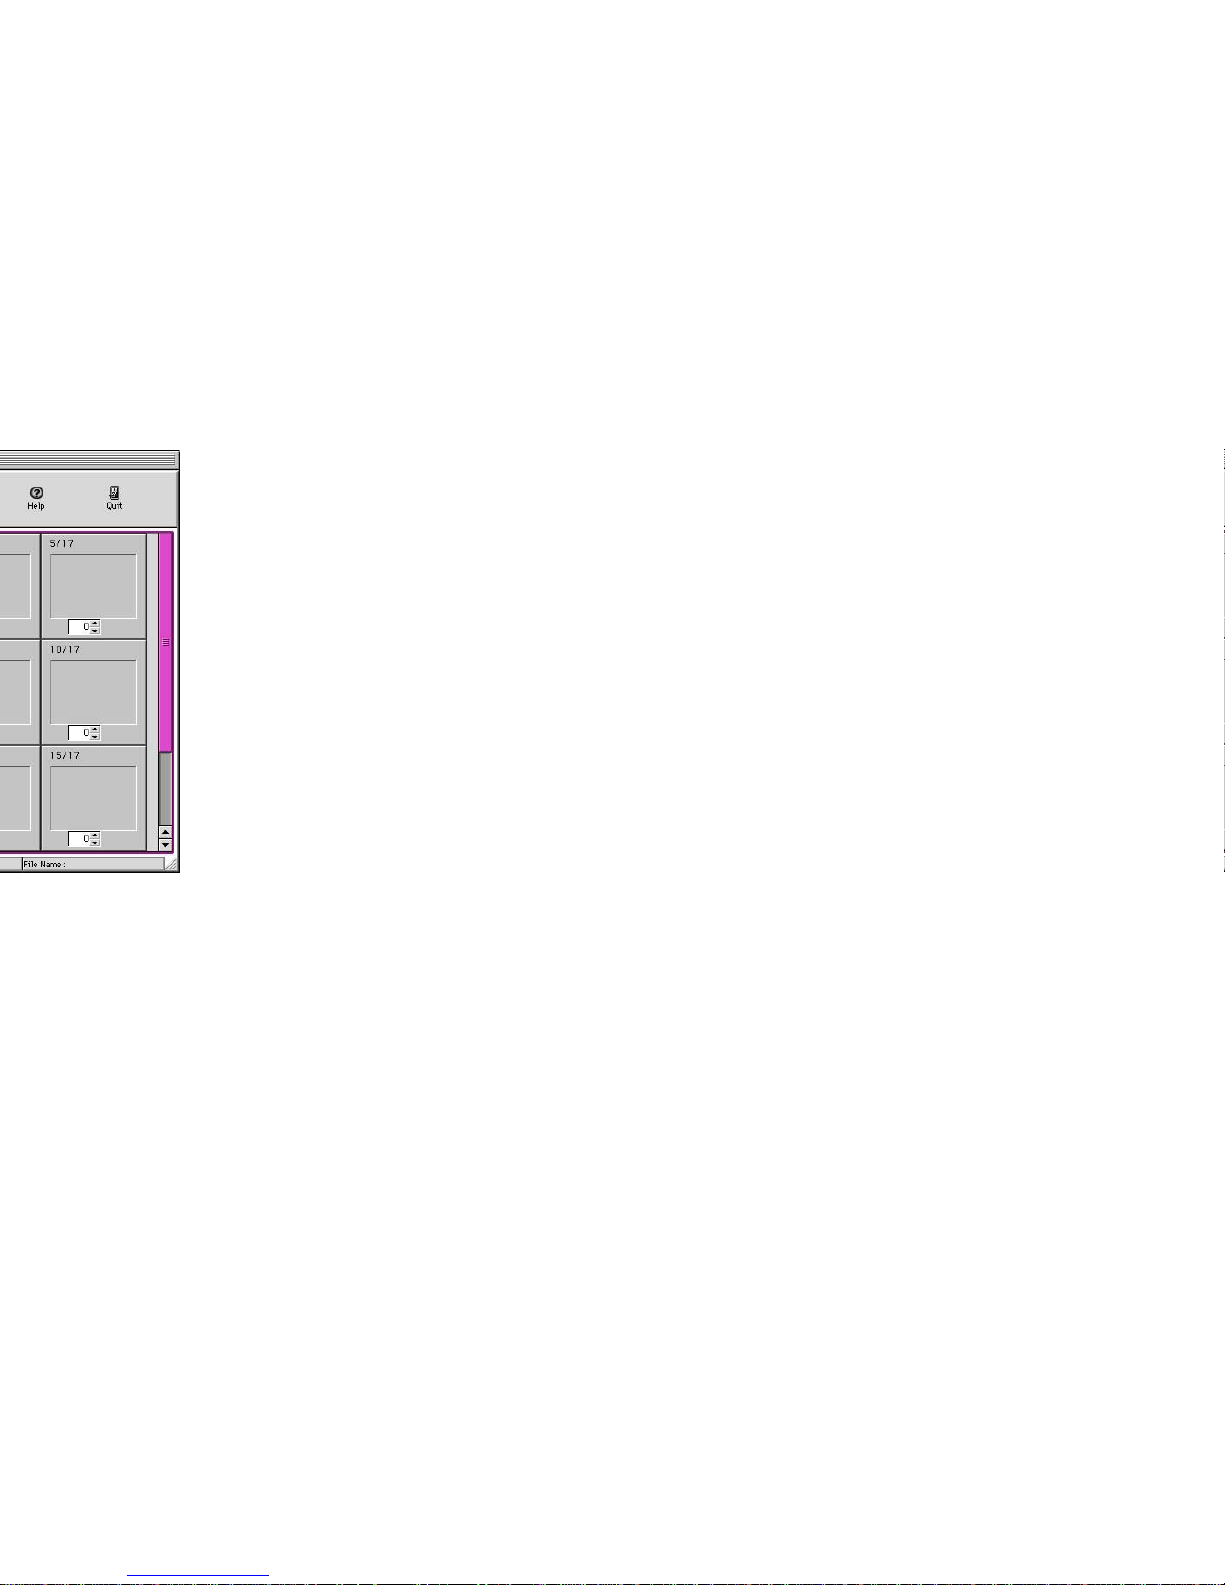
Using the Camera Window
65
Page 66

Setting Up Your Canon Digital Camera
66
Page 67

Setting Up Your Canon Digital Camera
67
Page 68

Setting Up Your Canon Digital Camera
68
Page 69

69
Page 70

Custom Layout Printing
70
Page 71
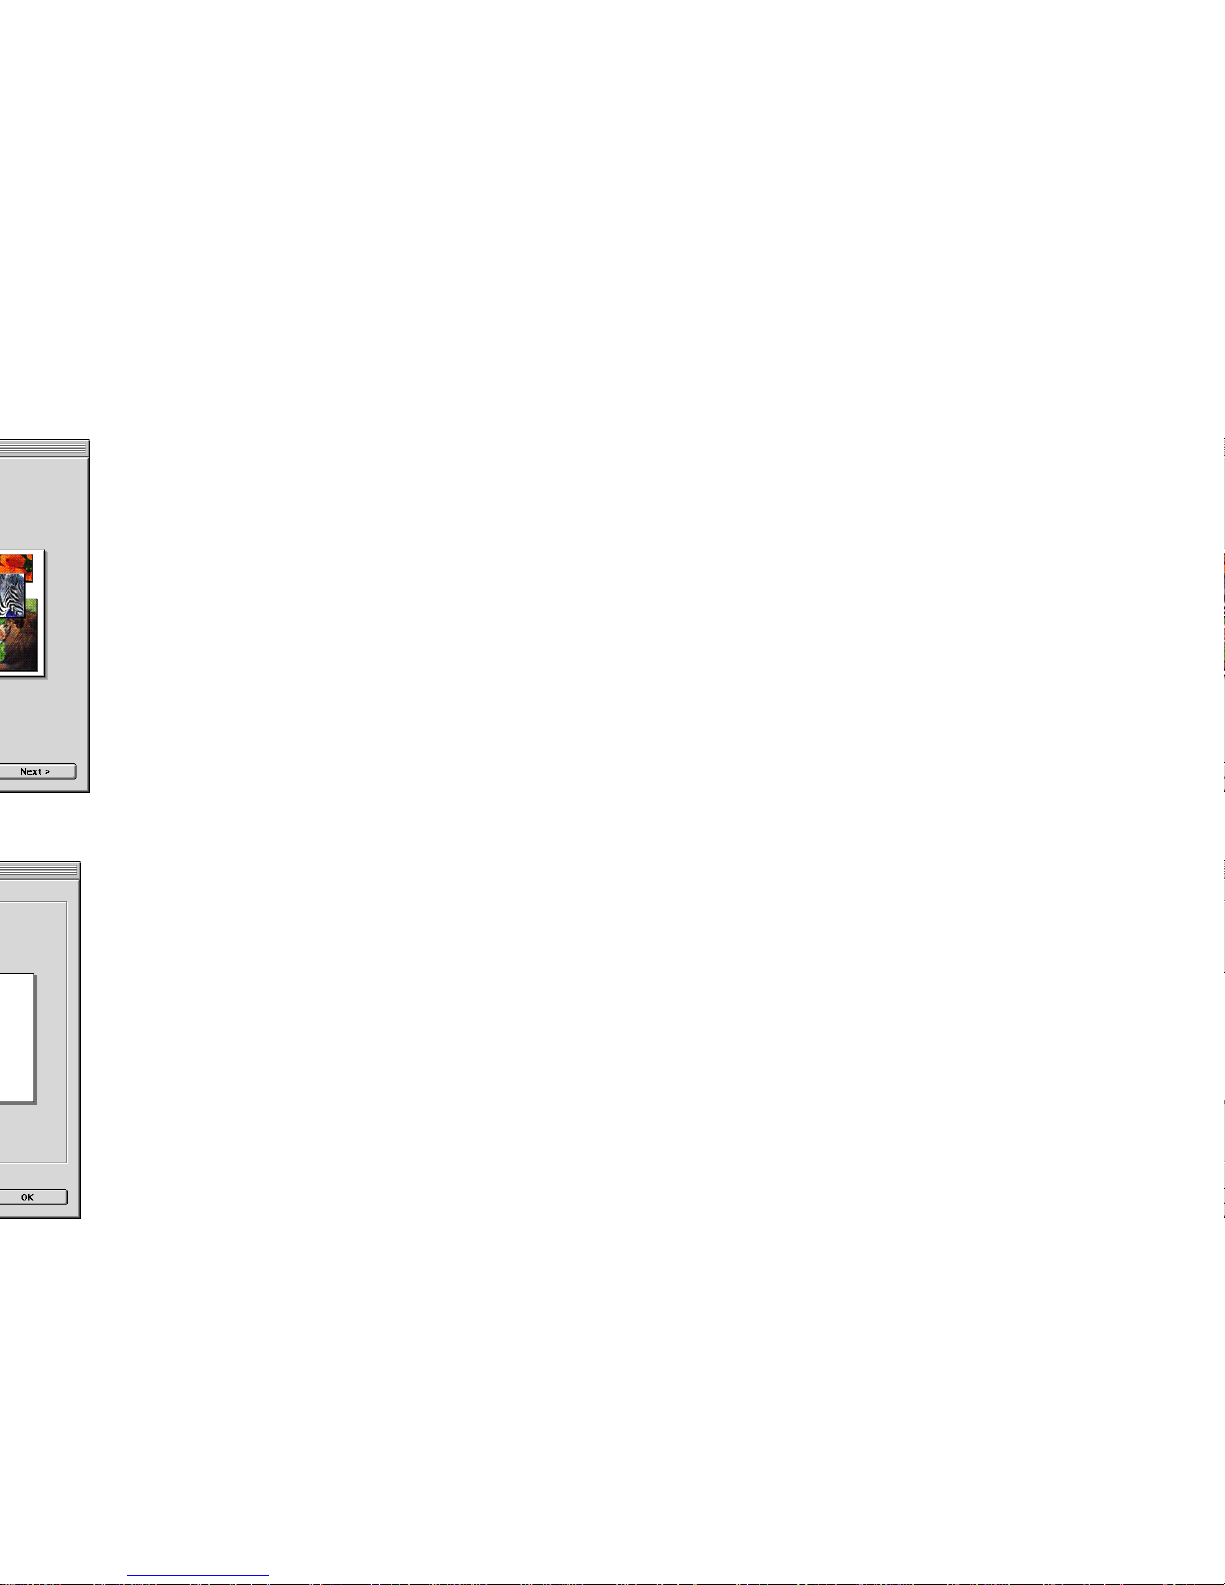
Custom Layout Printing
71
Page 72
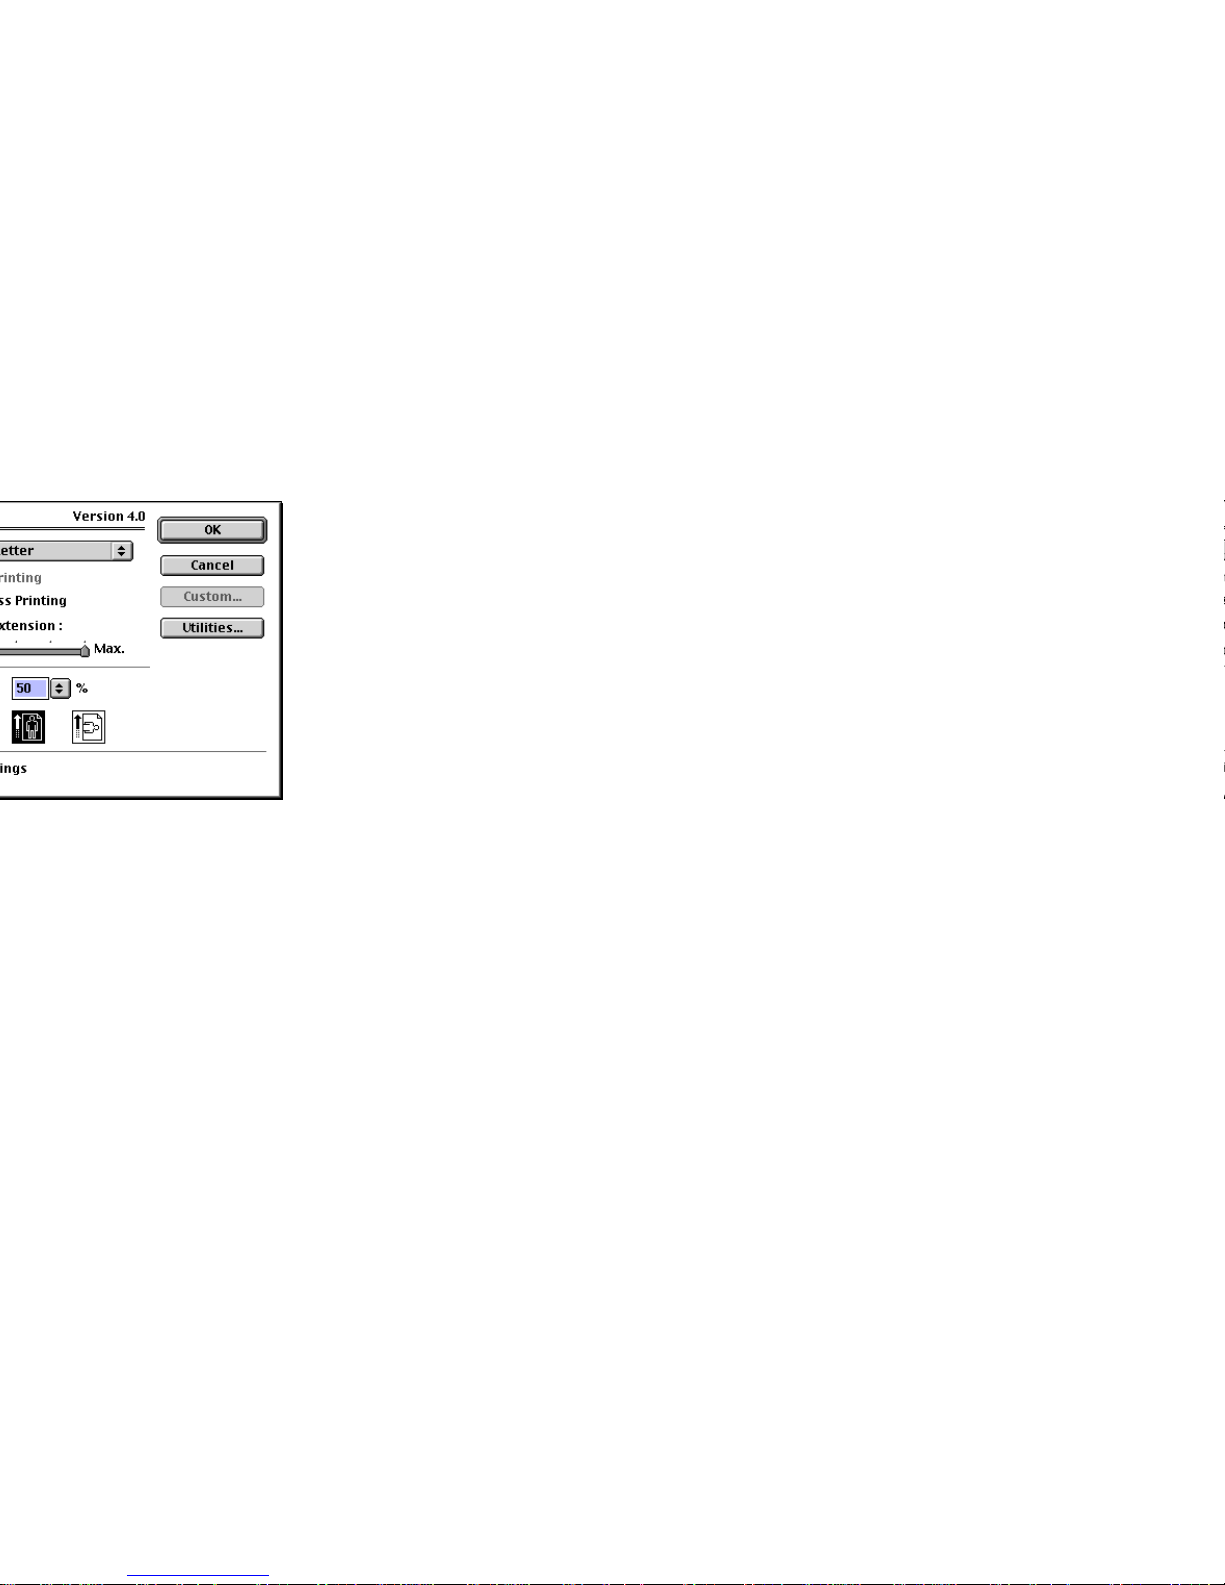
Custom Layout Printing
72
Page 73
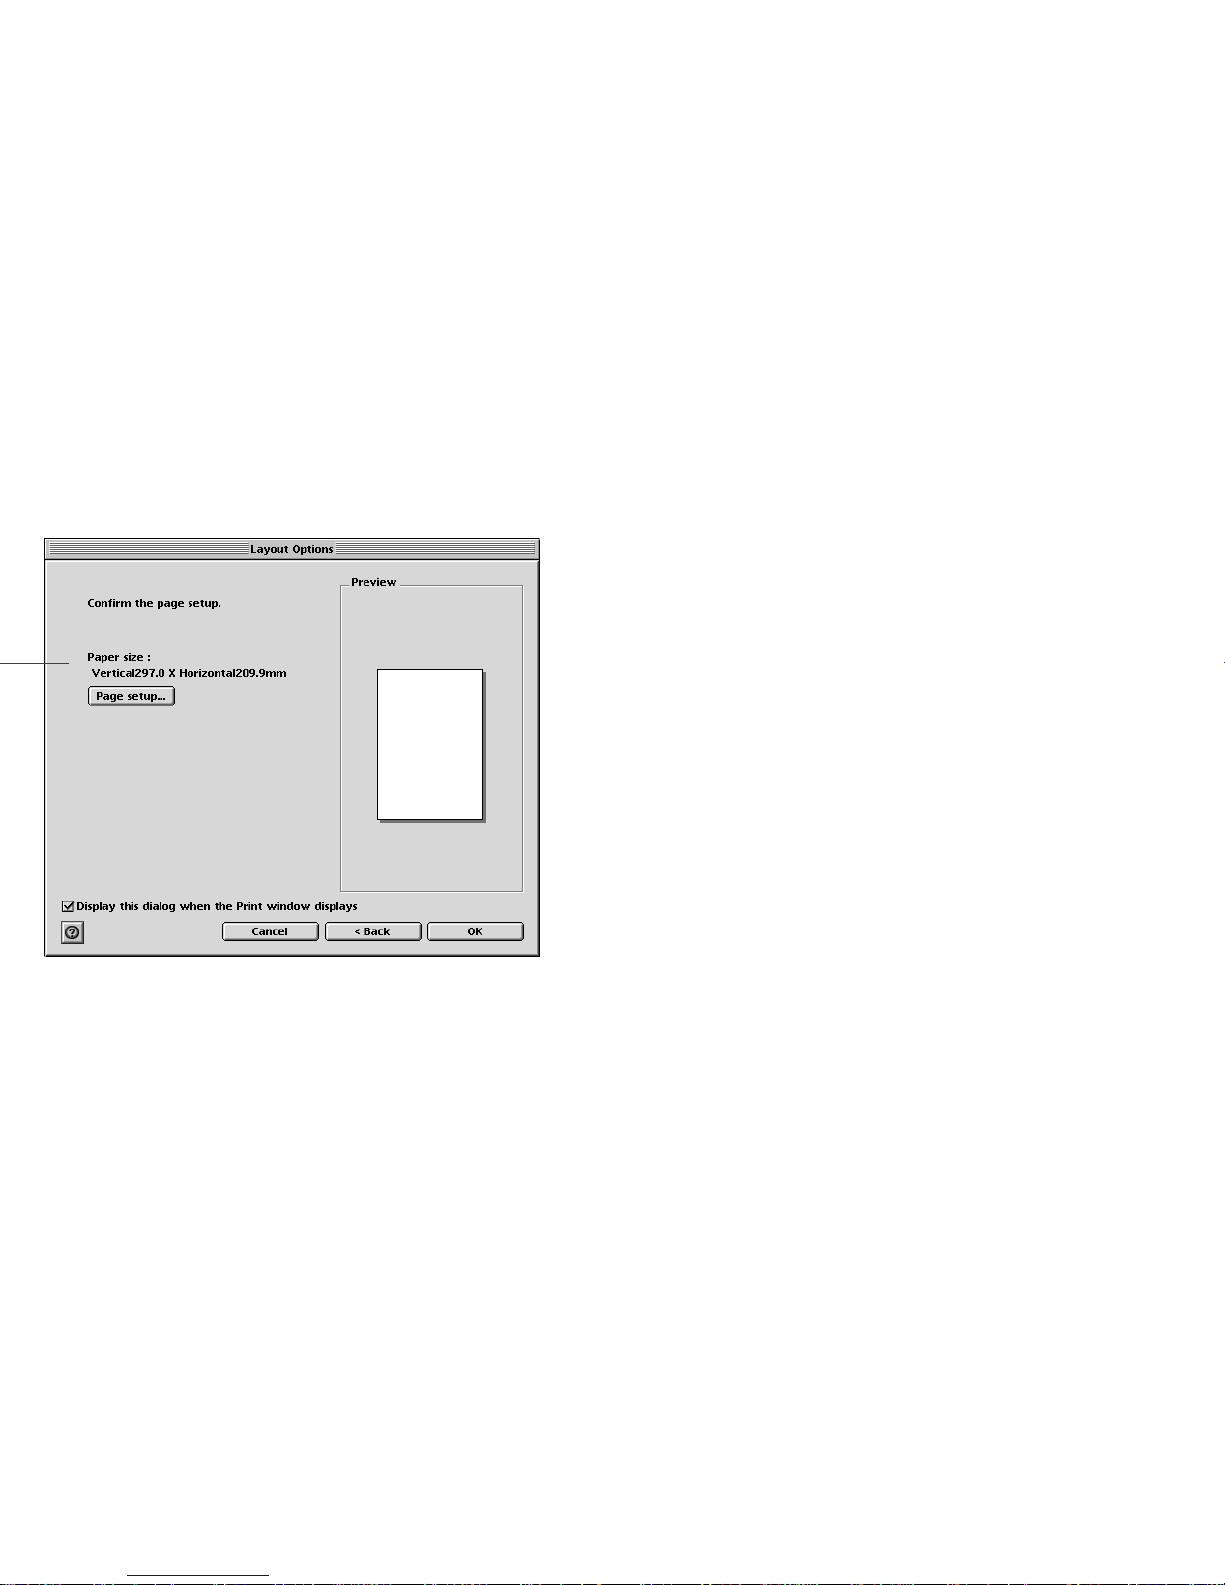
Custom Layout Printing
73
Page 74

Custom Layout Printing
74
Page 75
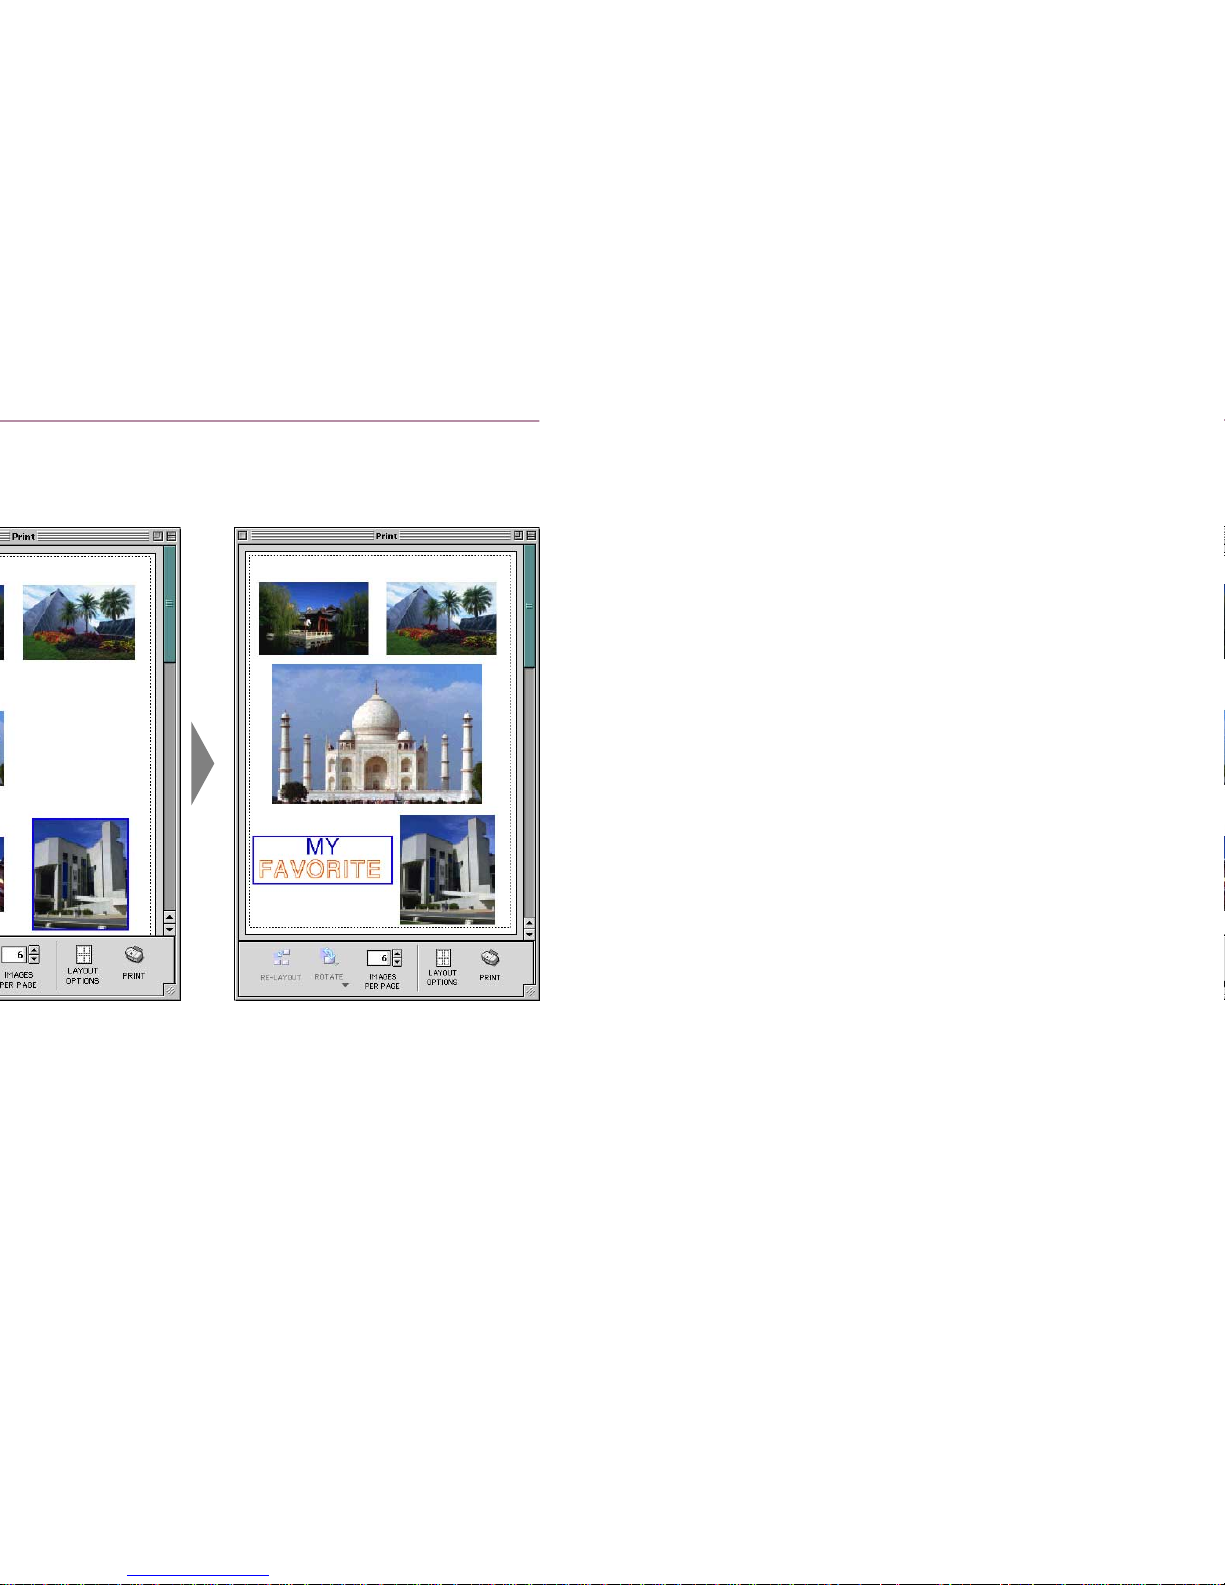
Custom Layout Printing
75
Page 76
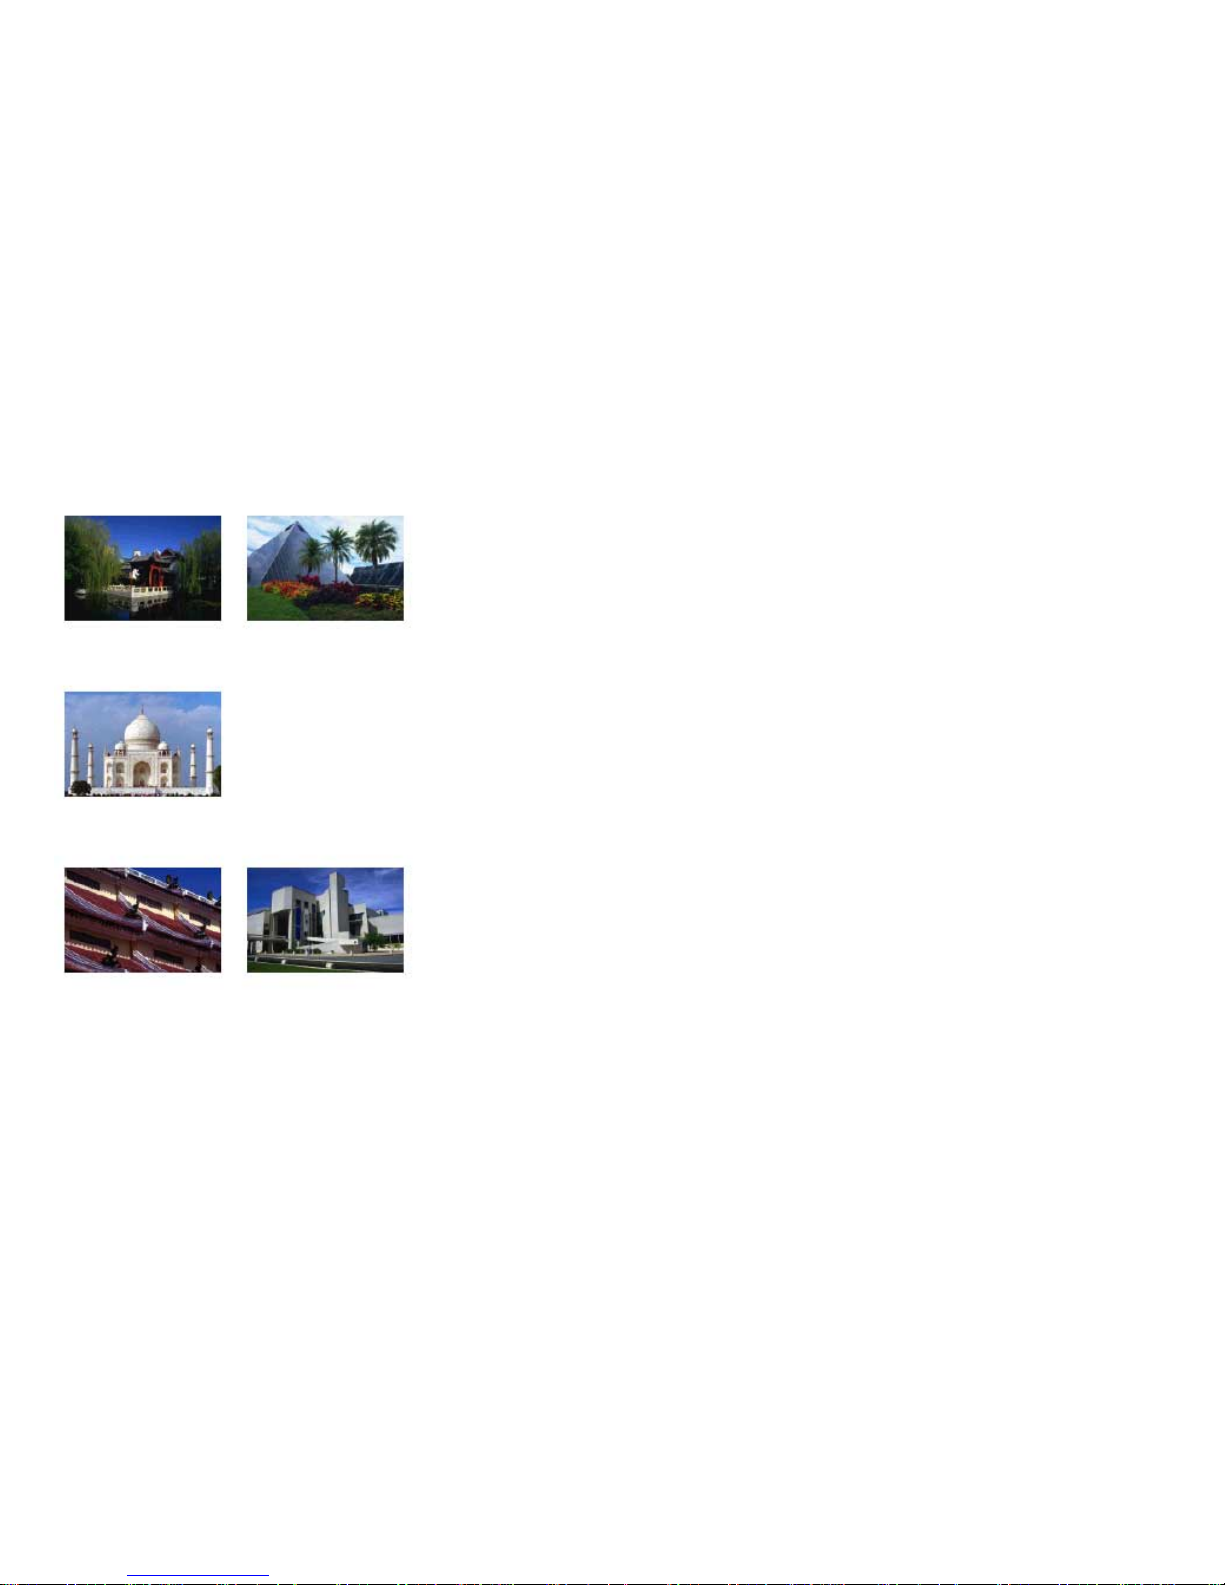
Custom Layout Printing
76
2. Press the Delete key on the keyboard.
You can also delete the selected image by selecting
Clear from the Edit menu.
The image is deleted.
Page 77
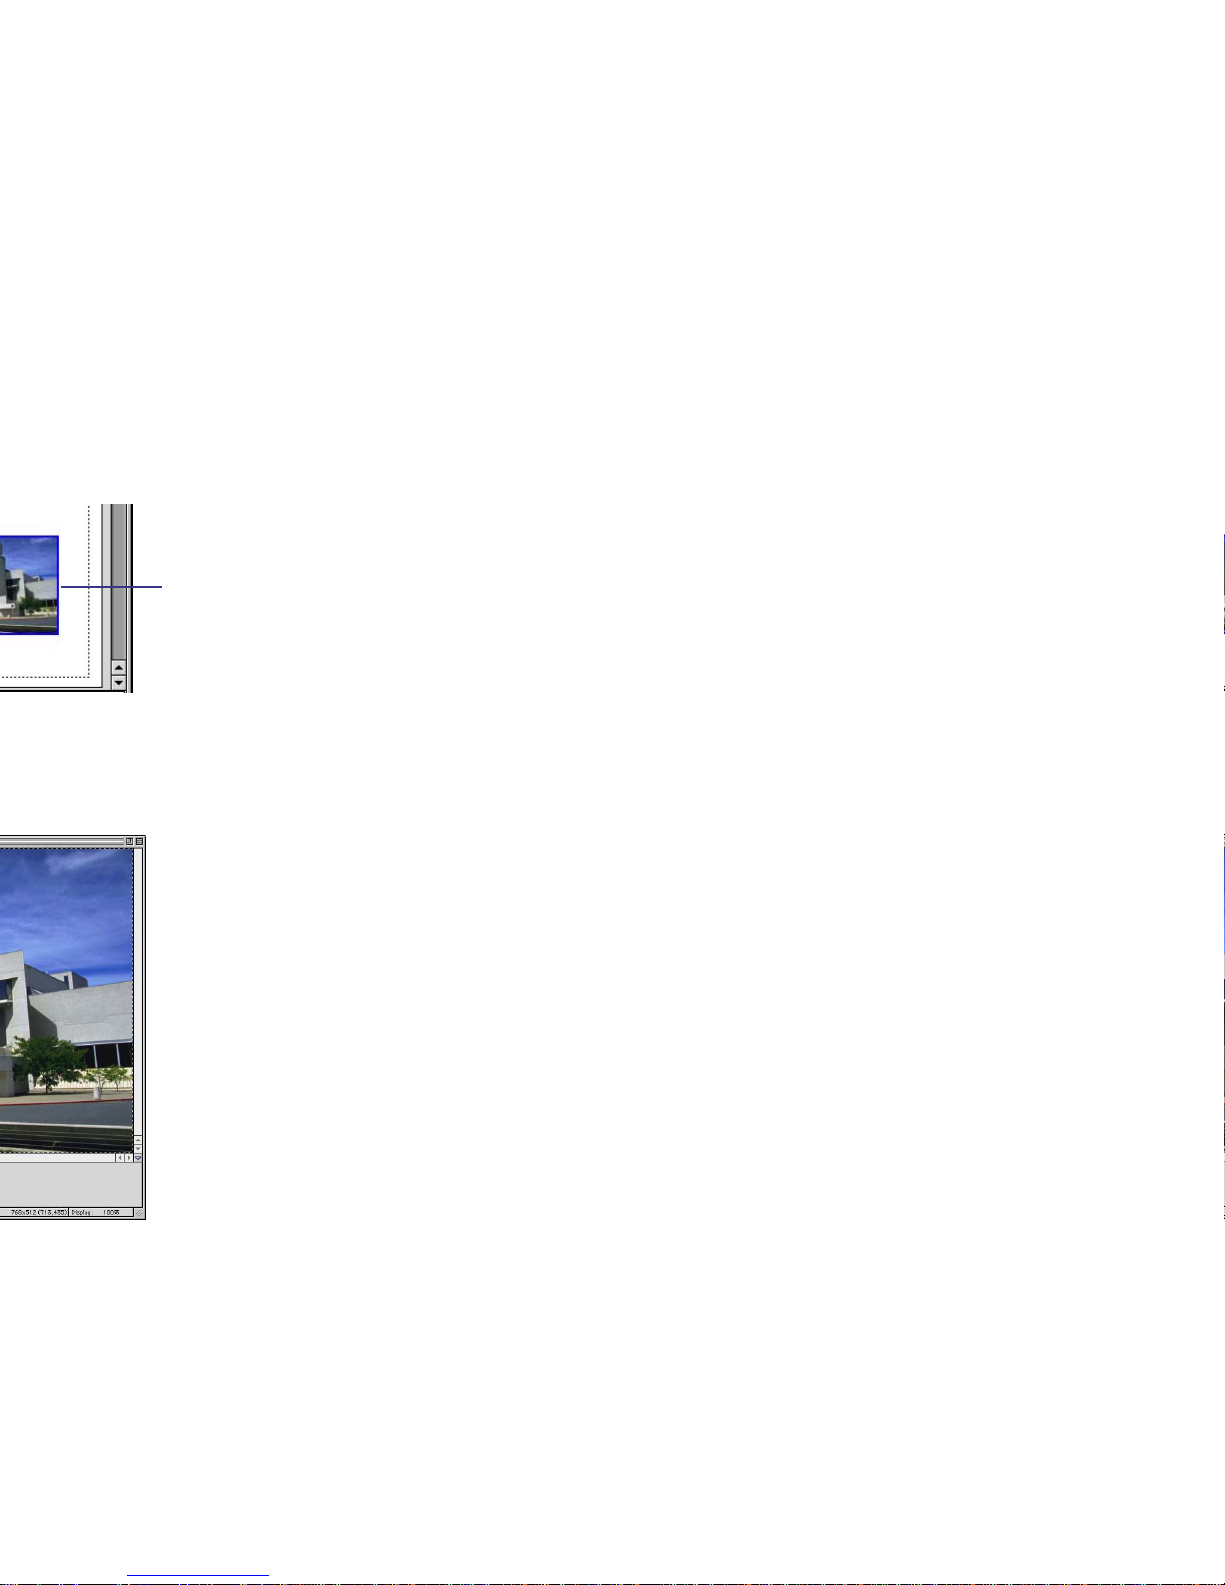
Custom Layout Printing
77
Selected image
Page 78
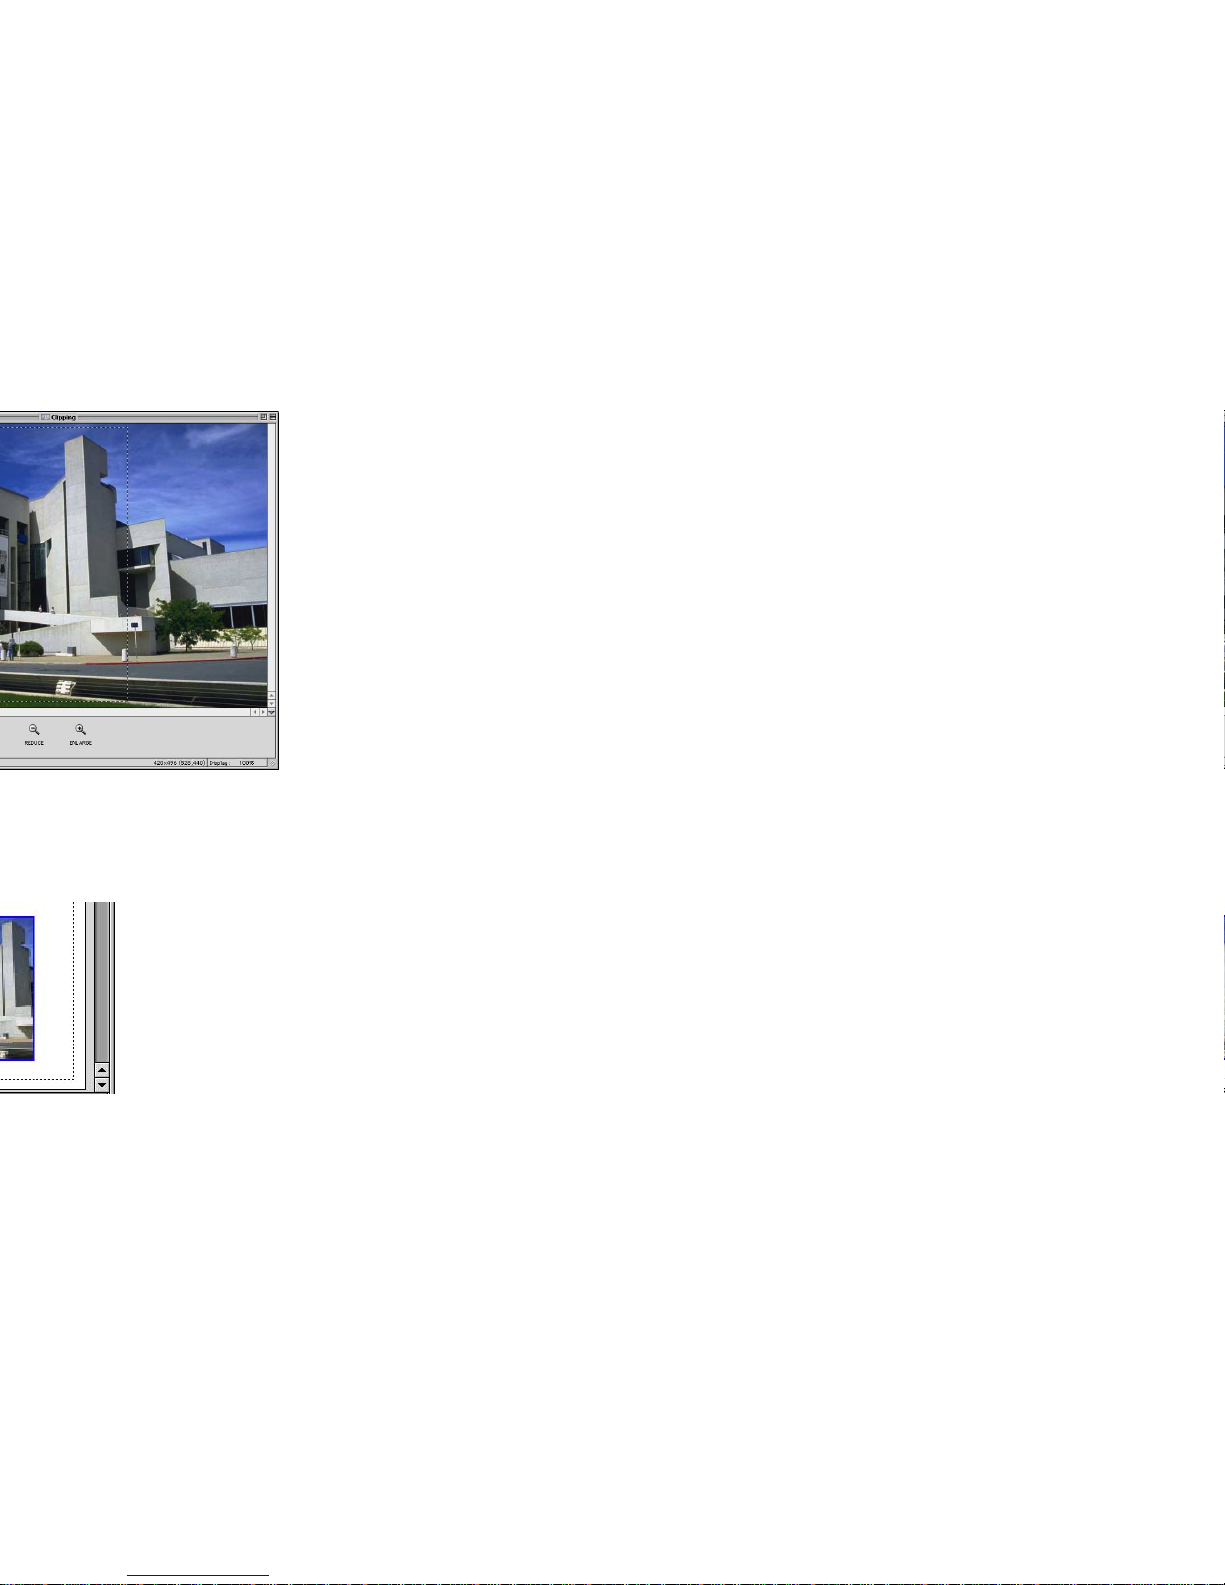
Custom Layout Printing
78
Image after cropping
Page 79
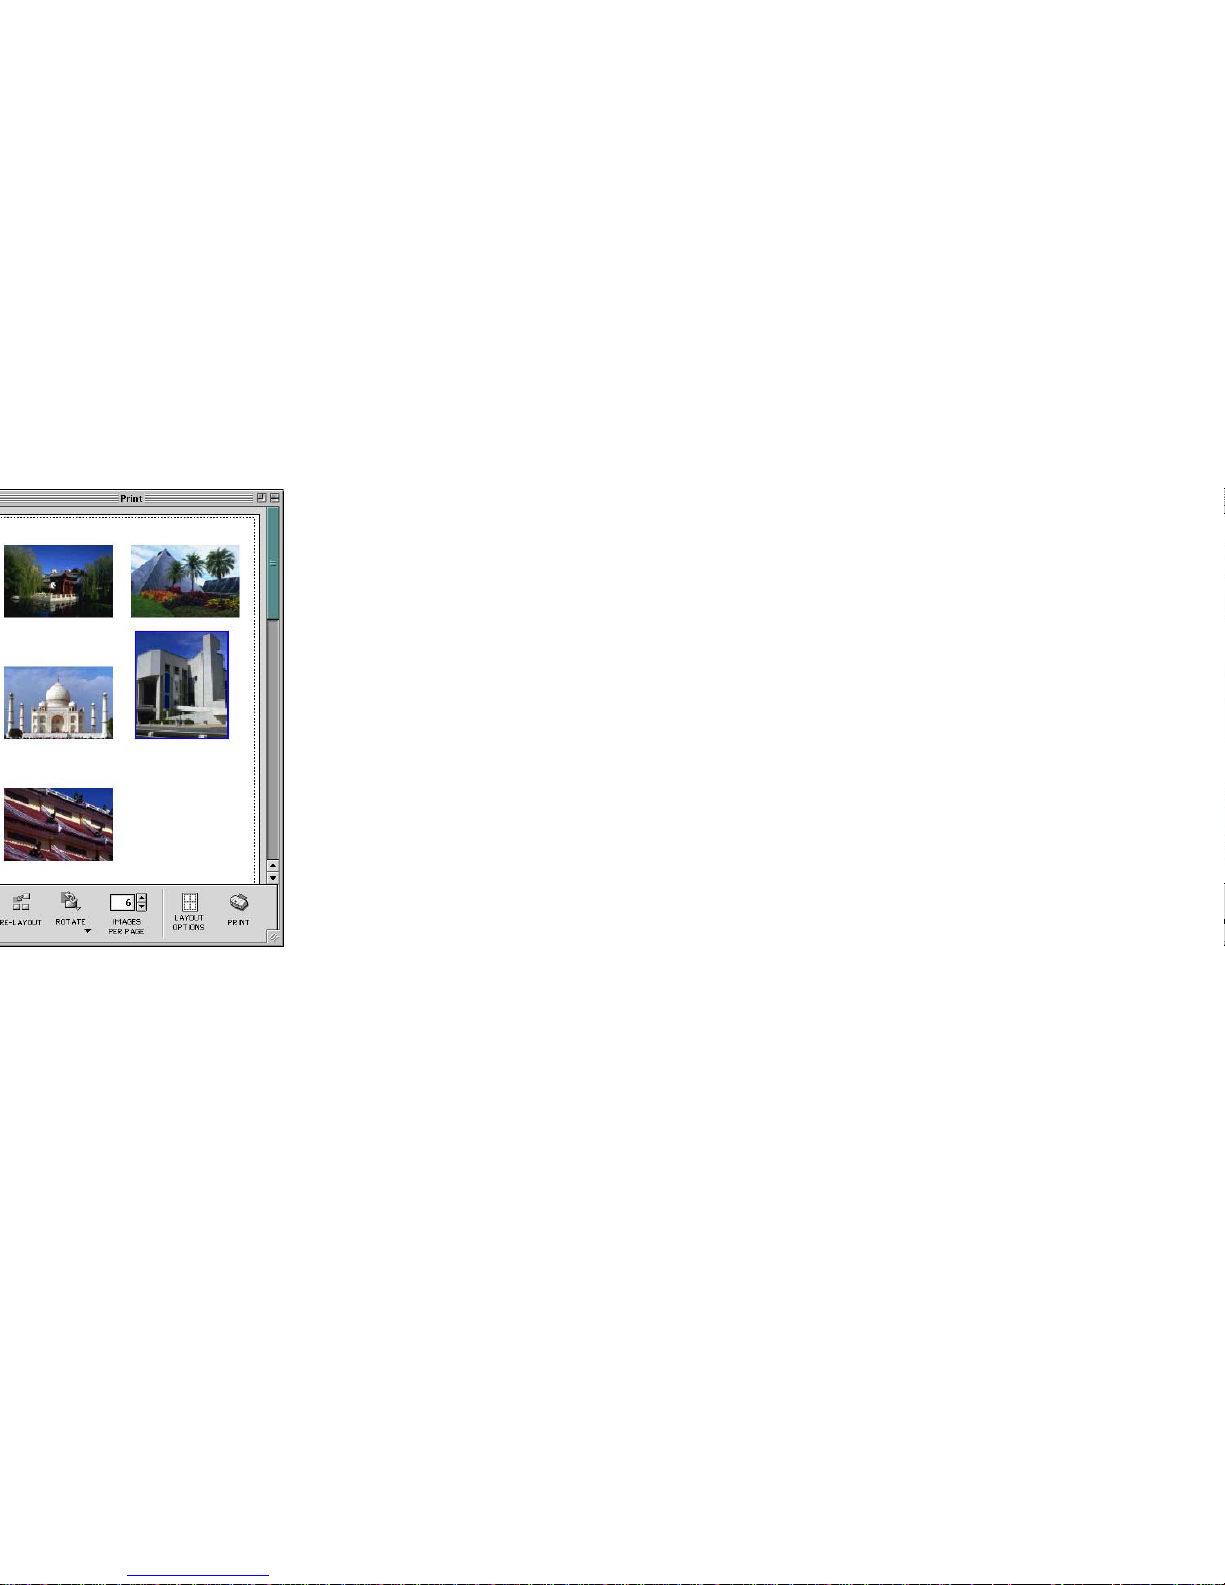
Custom Layout Printing
79
Image moved to a
different location
Page 80
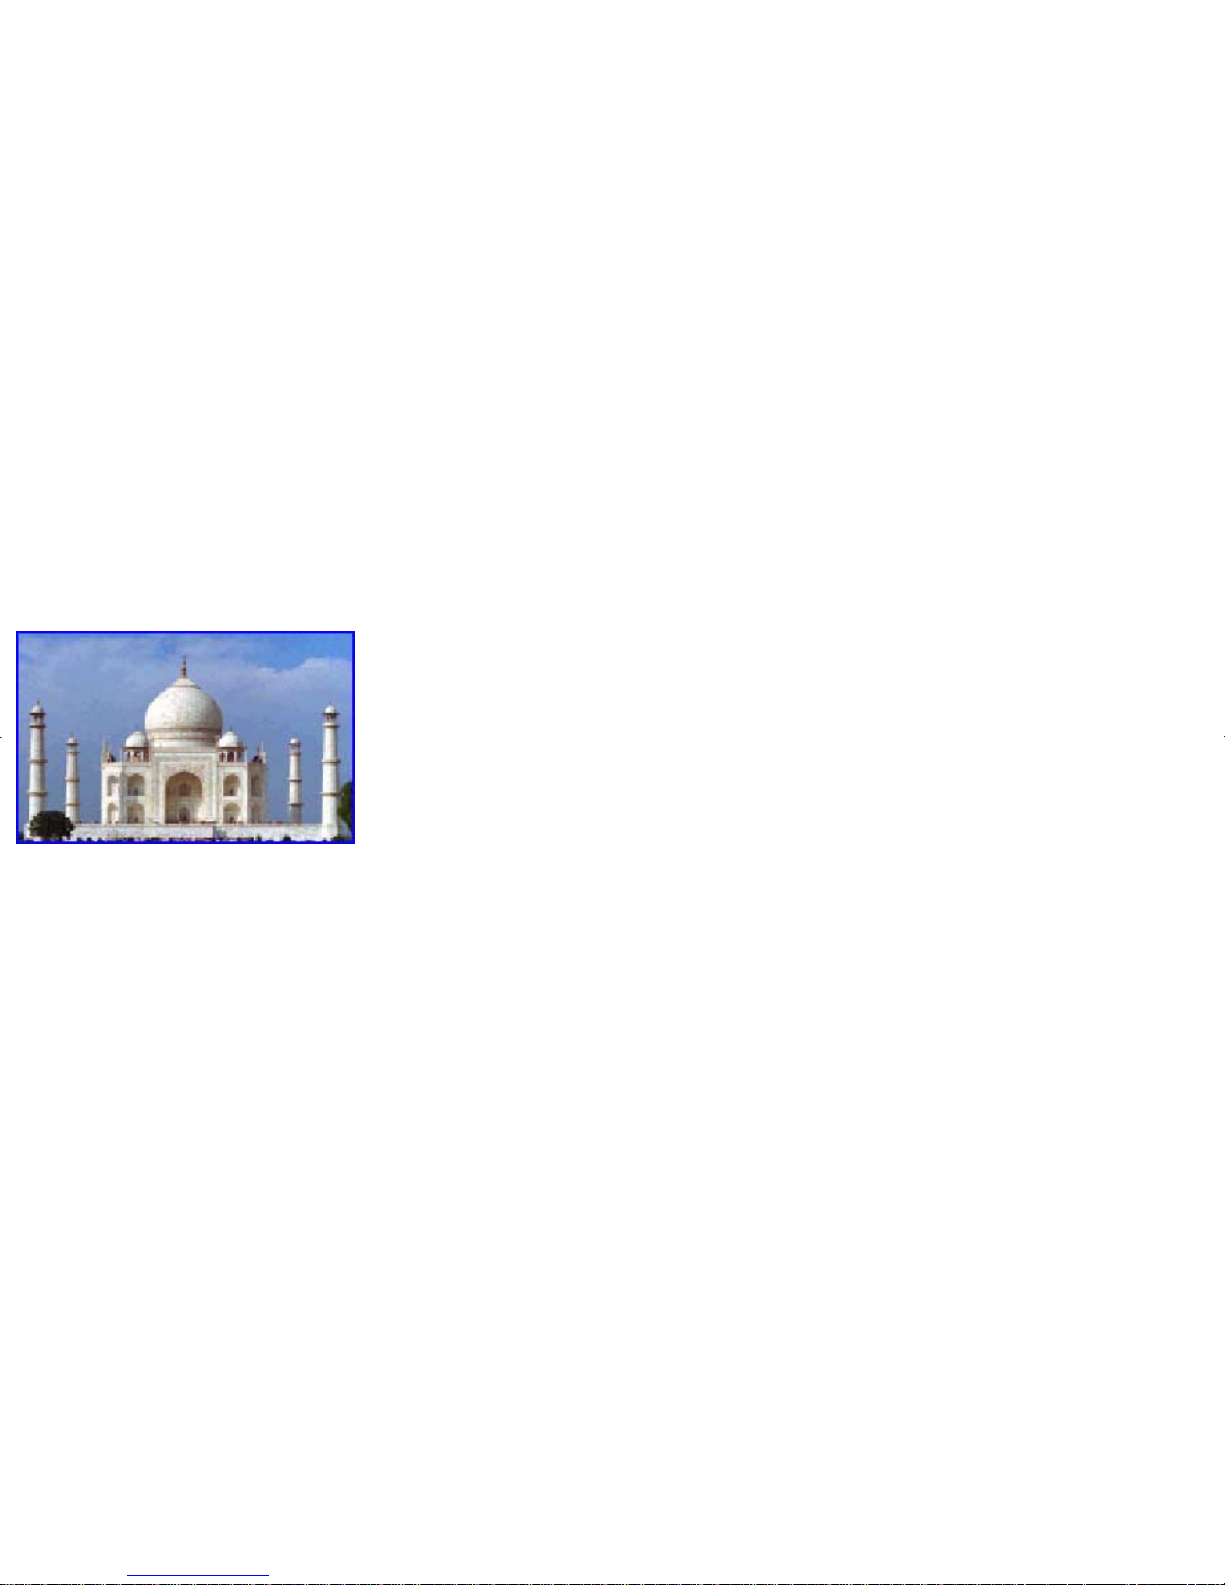
Custom Layout Printing
80
Page 81
Custom Layout Printing
81
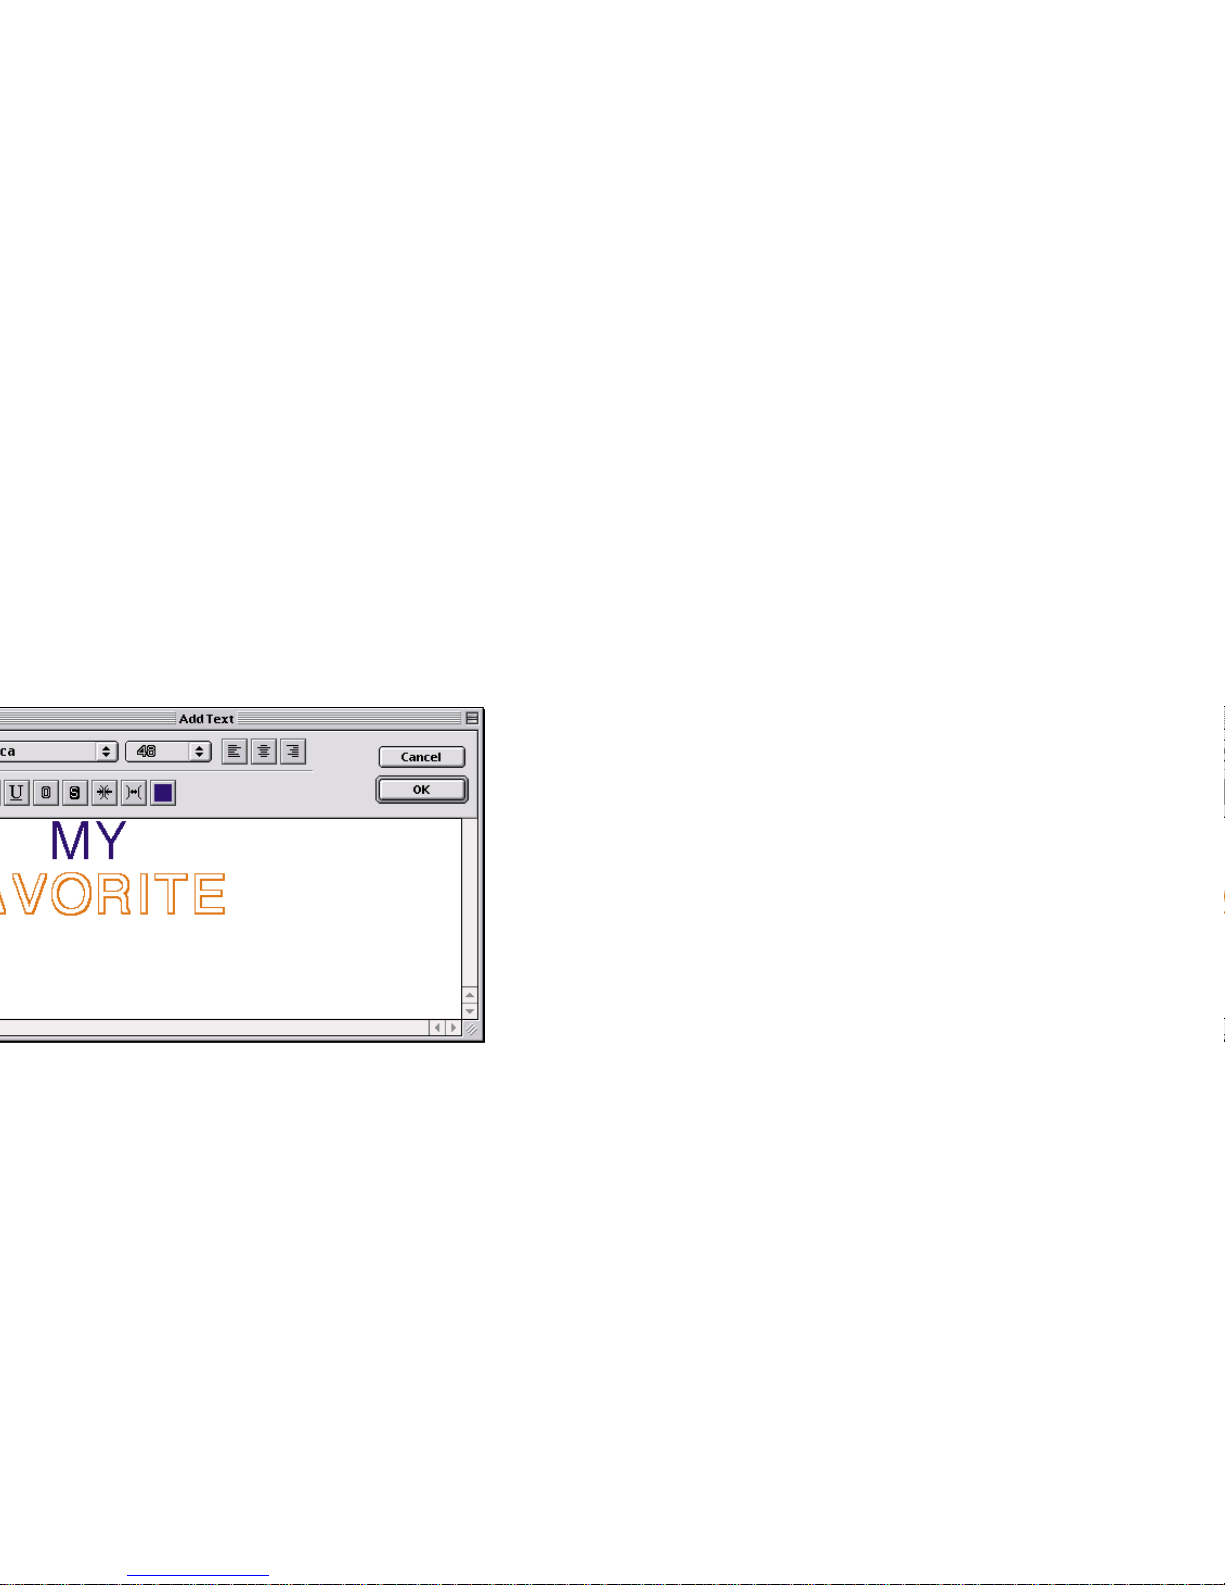
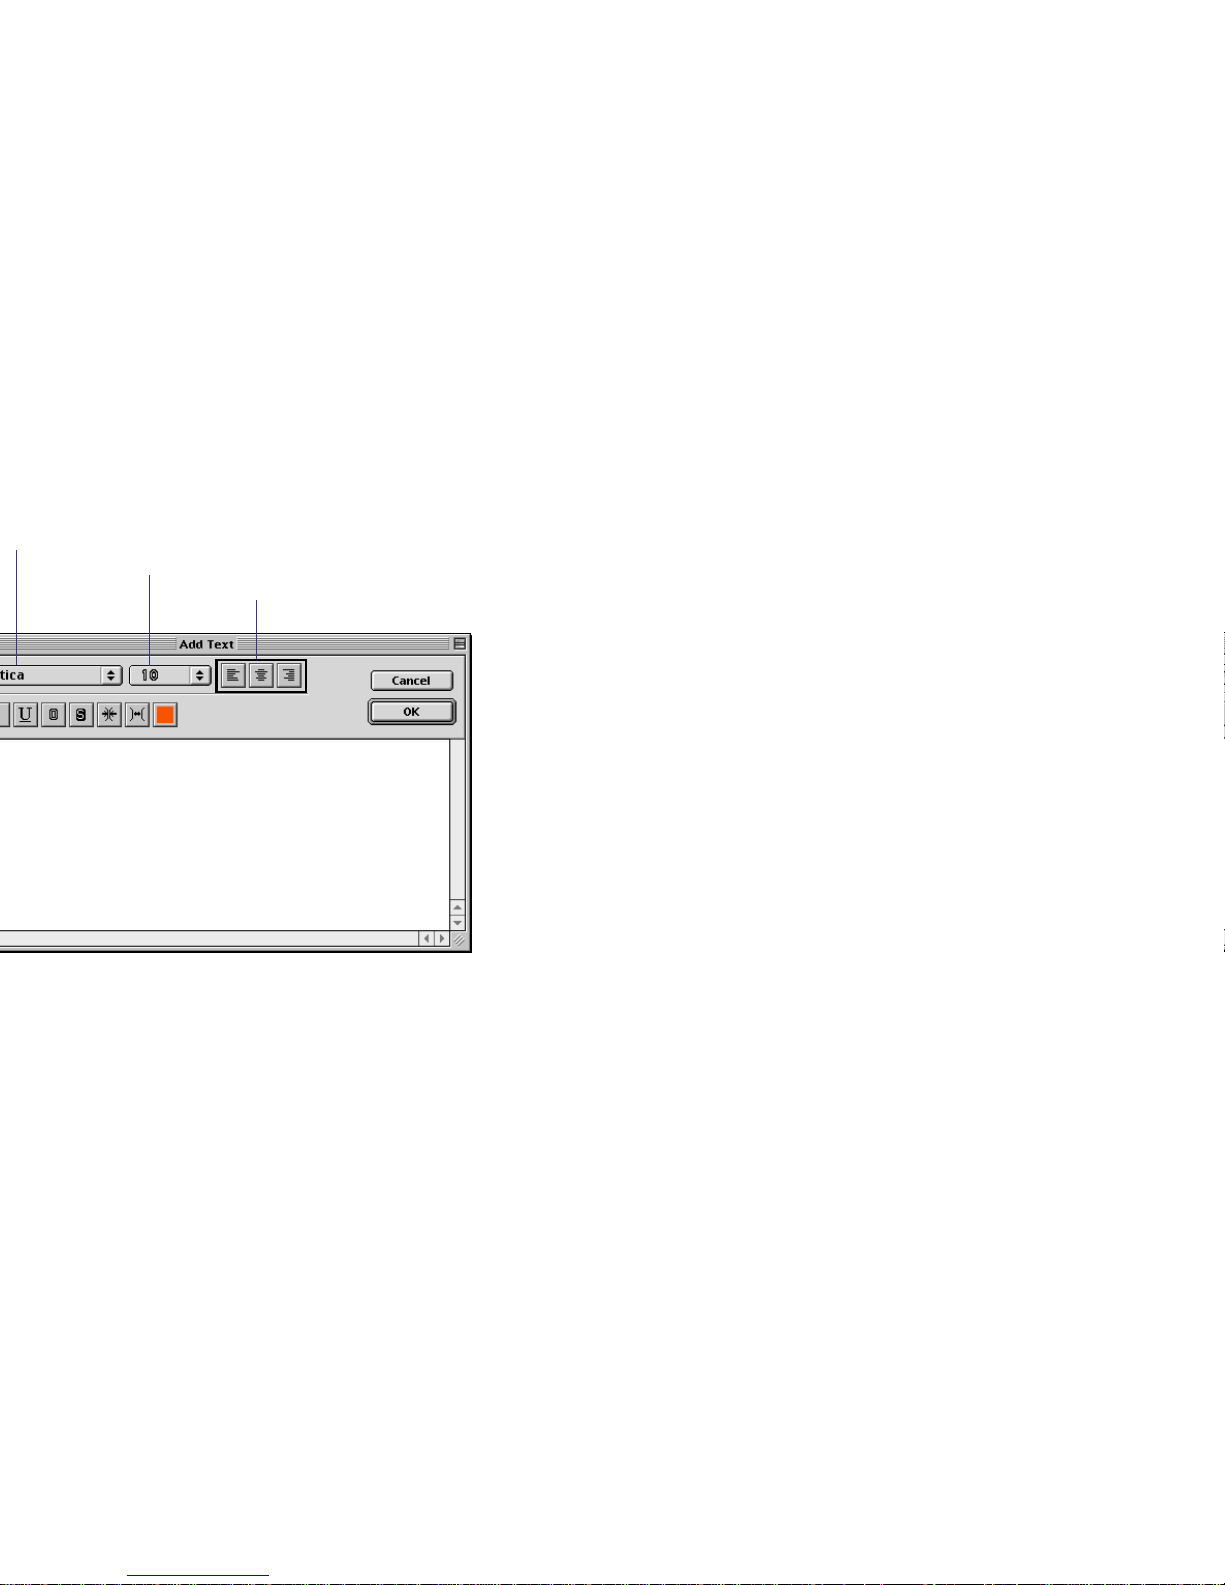
Select the font used.
Select the font size.
Specify text’s justification.
Page 82
Custom Layout Printing
82
Page 83

Custom Layout Printing
83
Page 84

Fixed Photo Size Printing
84
Page 85
Fixed Photo Size Printing
85
Page 86
Fixed Photo Size Printing
86
Page 87
Fixed Photo Size Printing
87
Page 88

Fixed Photo Size Printing
88
Page 89

Tiled Photo Printing (Borderless Printing)
89
Page 90
Tiled Photo Printing (Borderless Printing)
90
Page 91
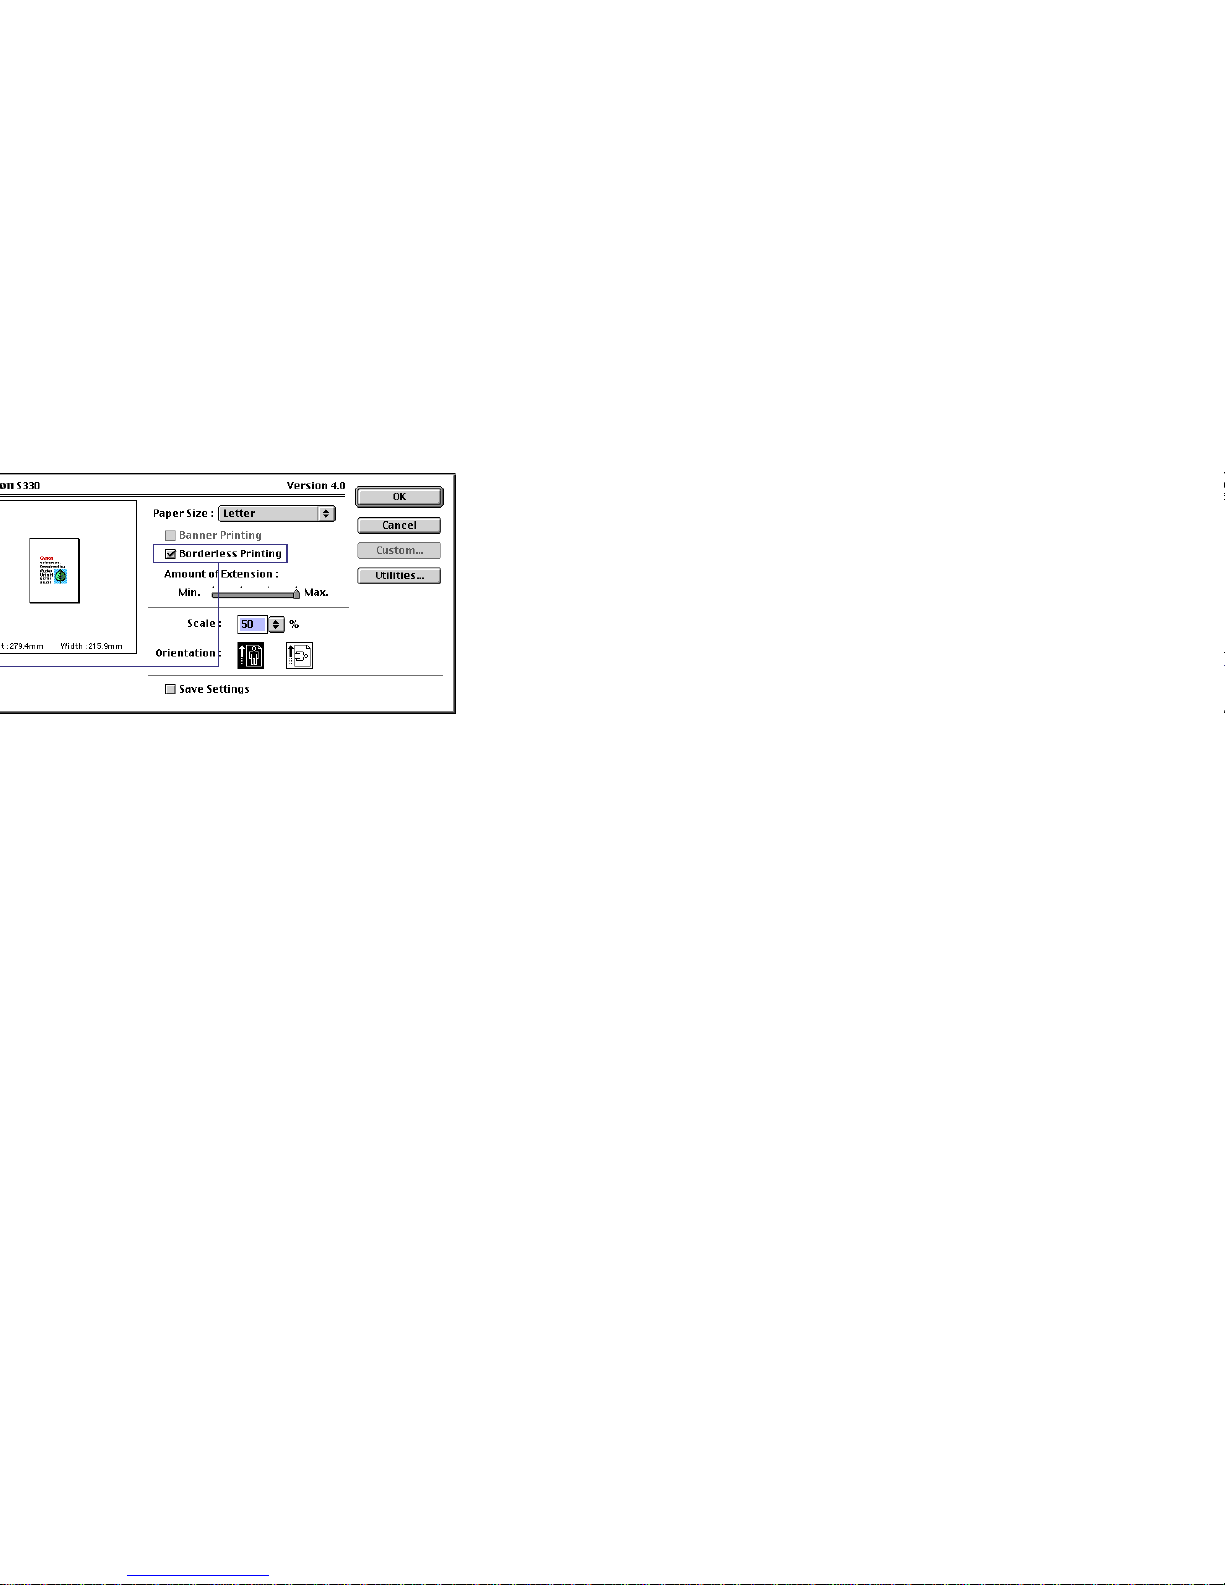
Tiled Photo Printing (Borderless Printing)
91
Page 92
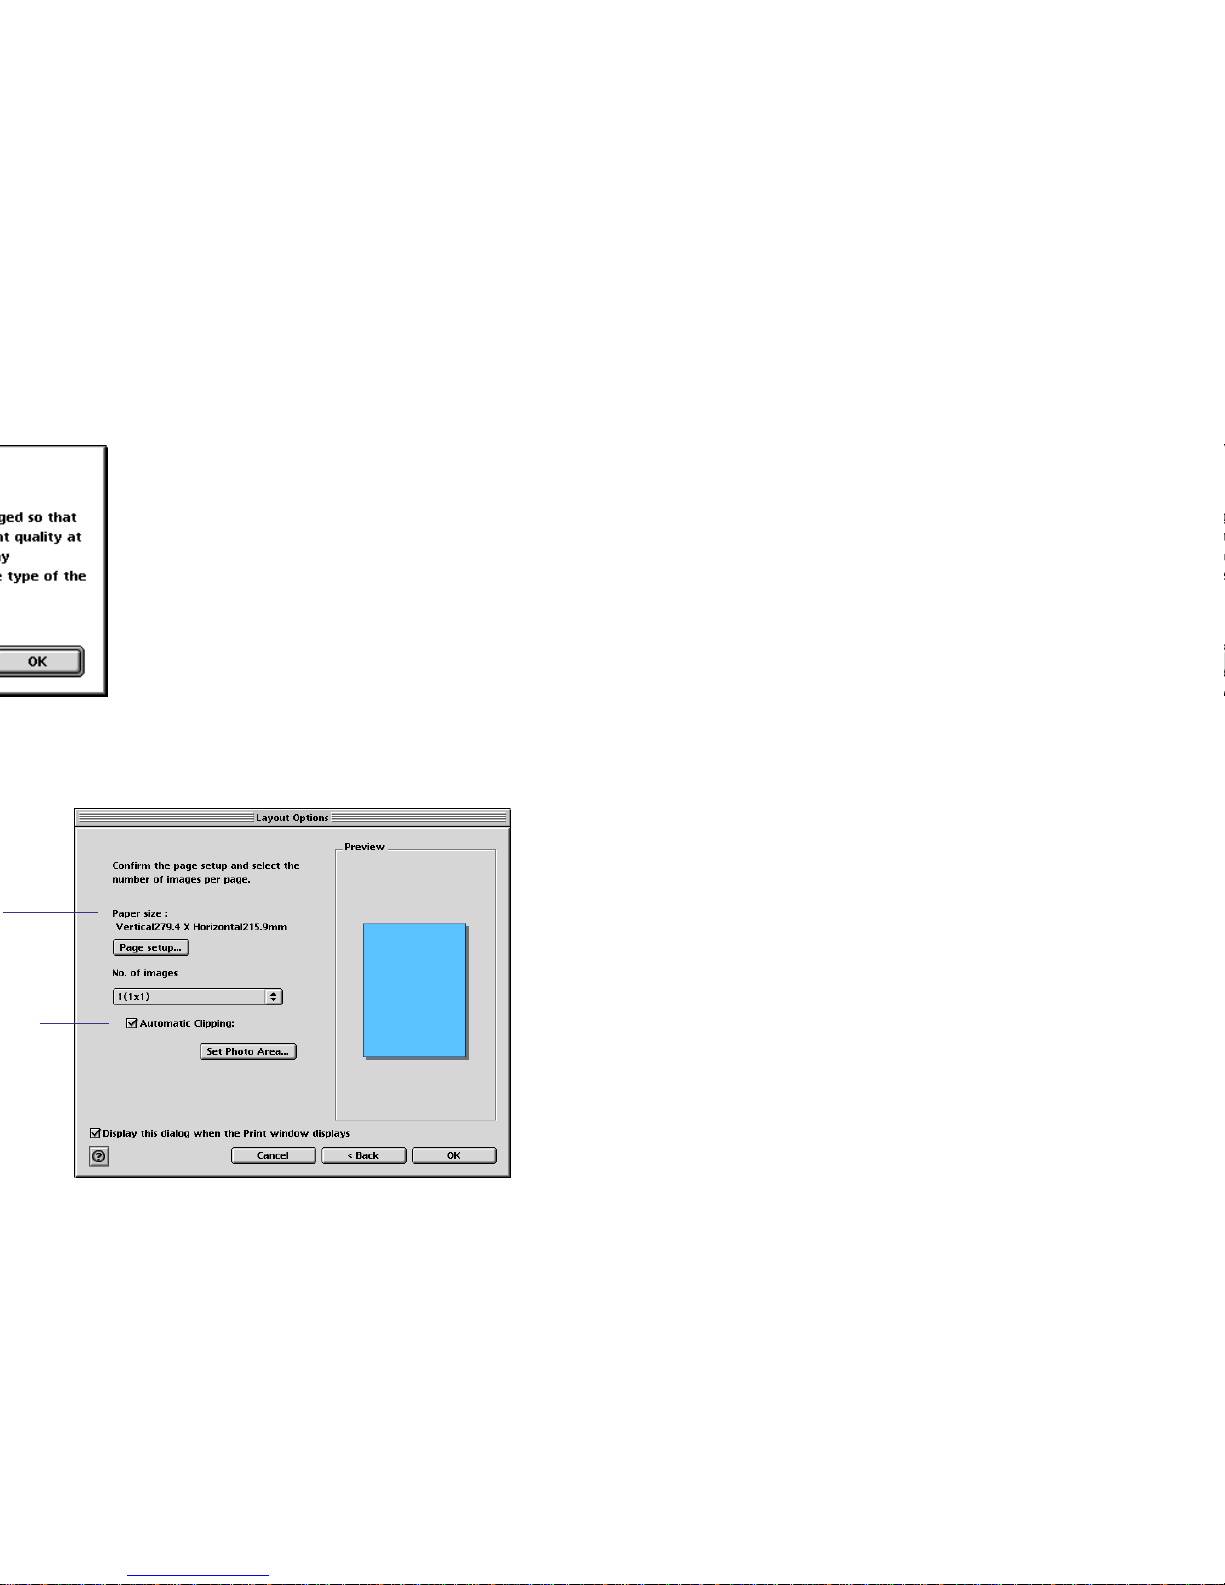
Tiled Photo Printing (Borderless Printing)
92
Page 93
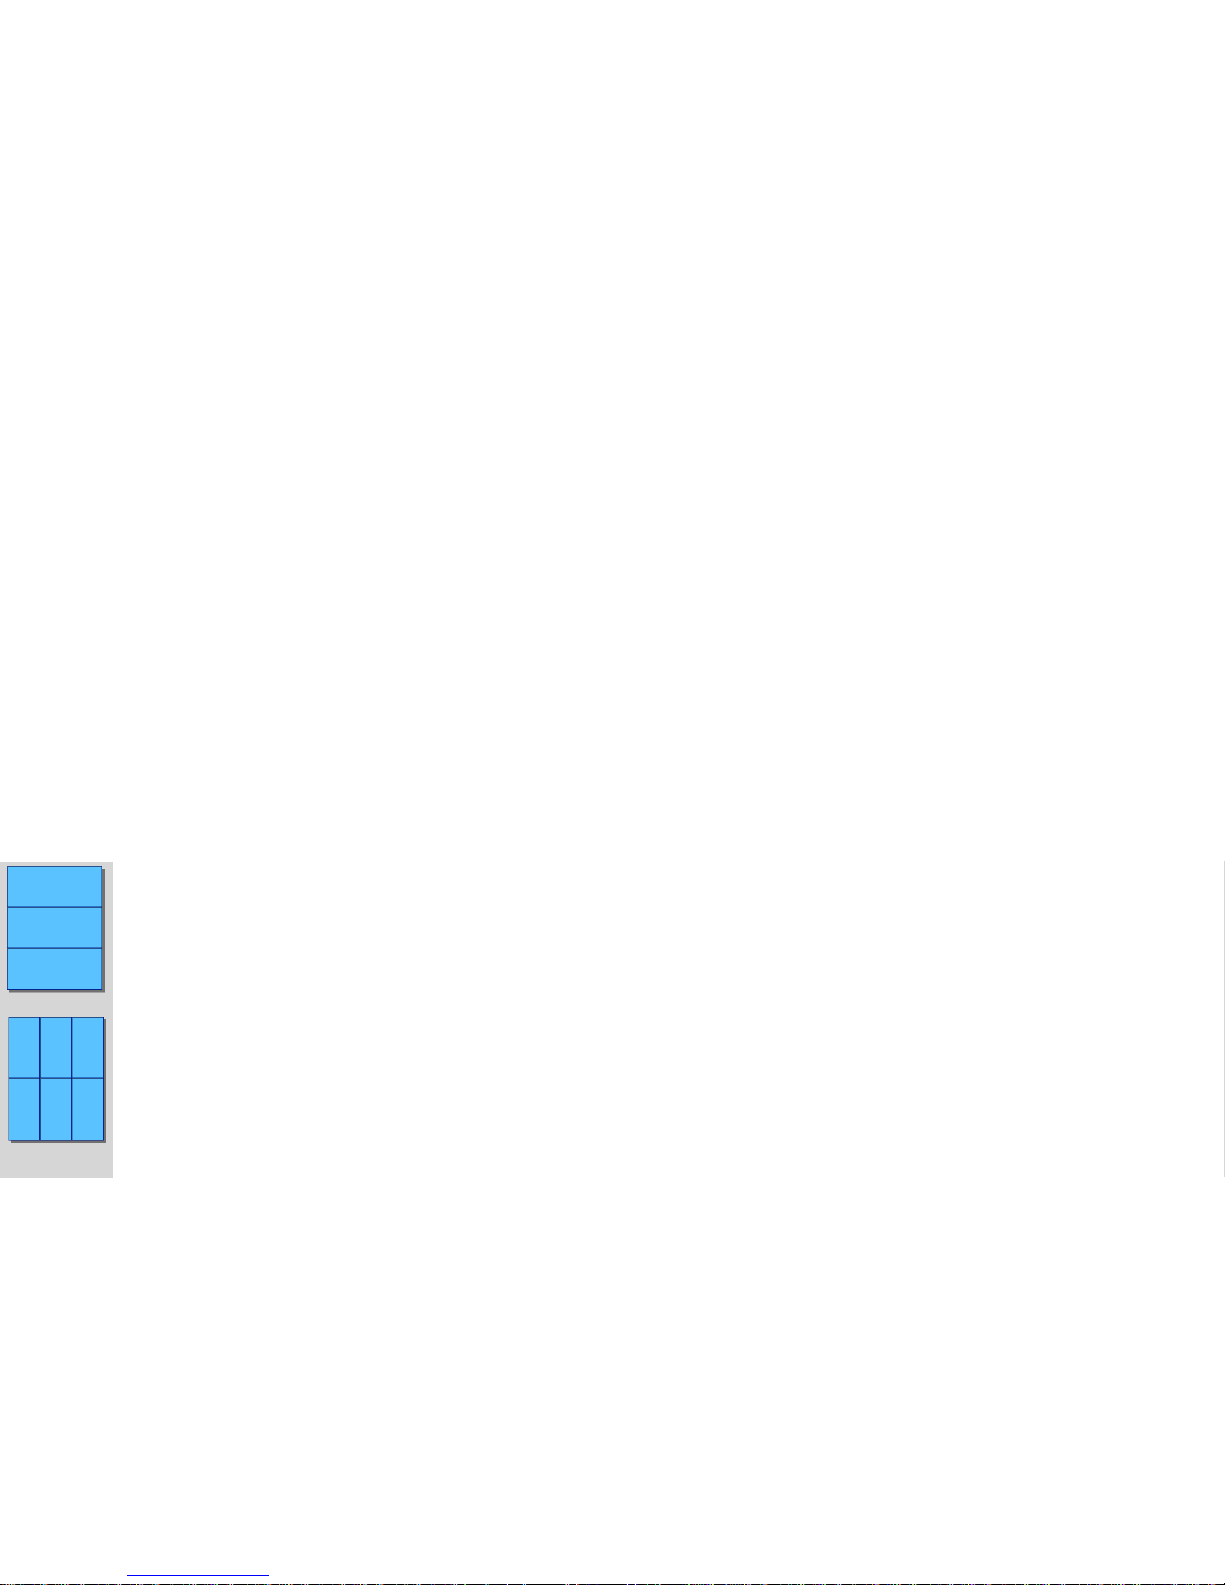
Tiled Photo Printing (Borderless Printing)
93
Page 94
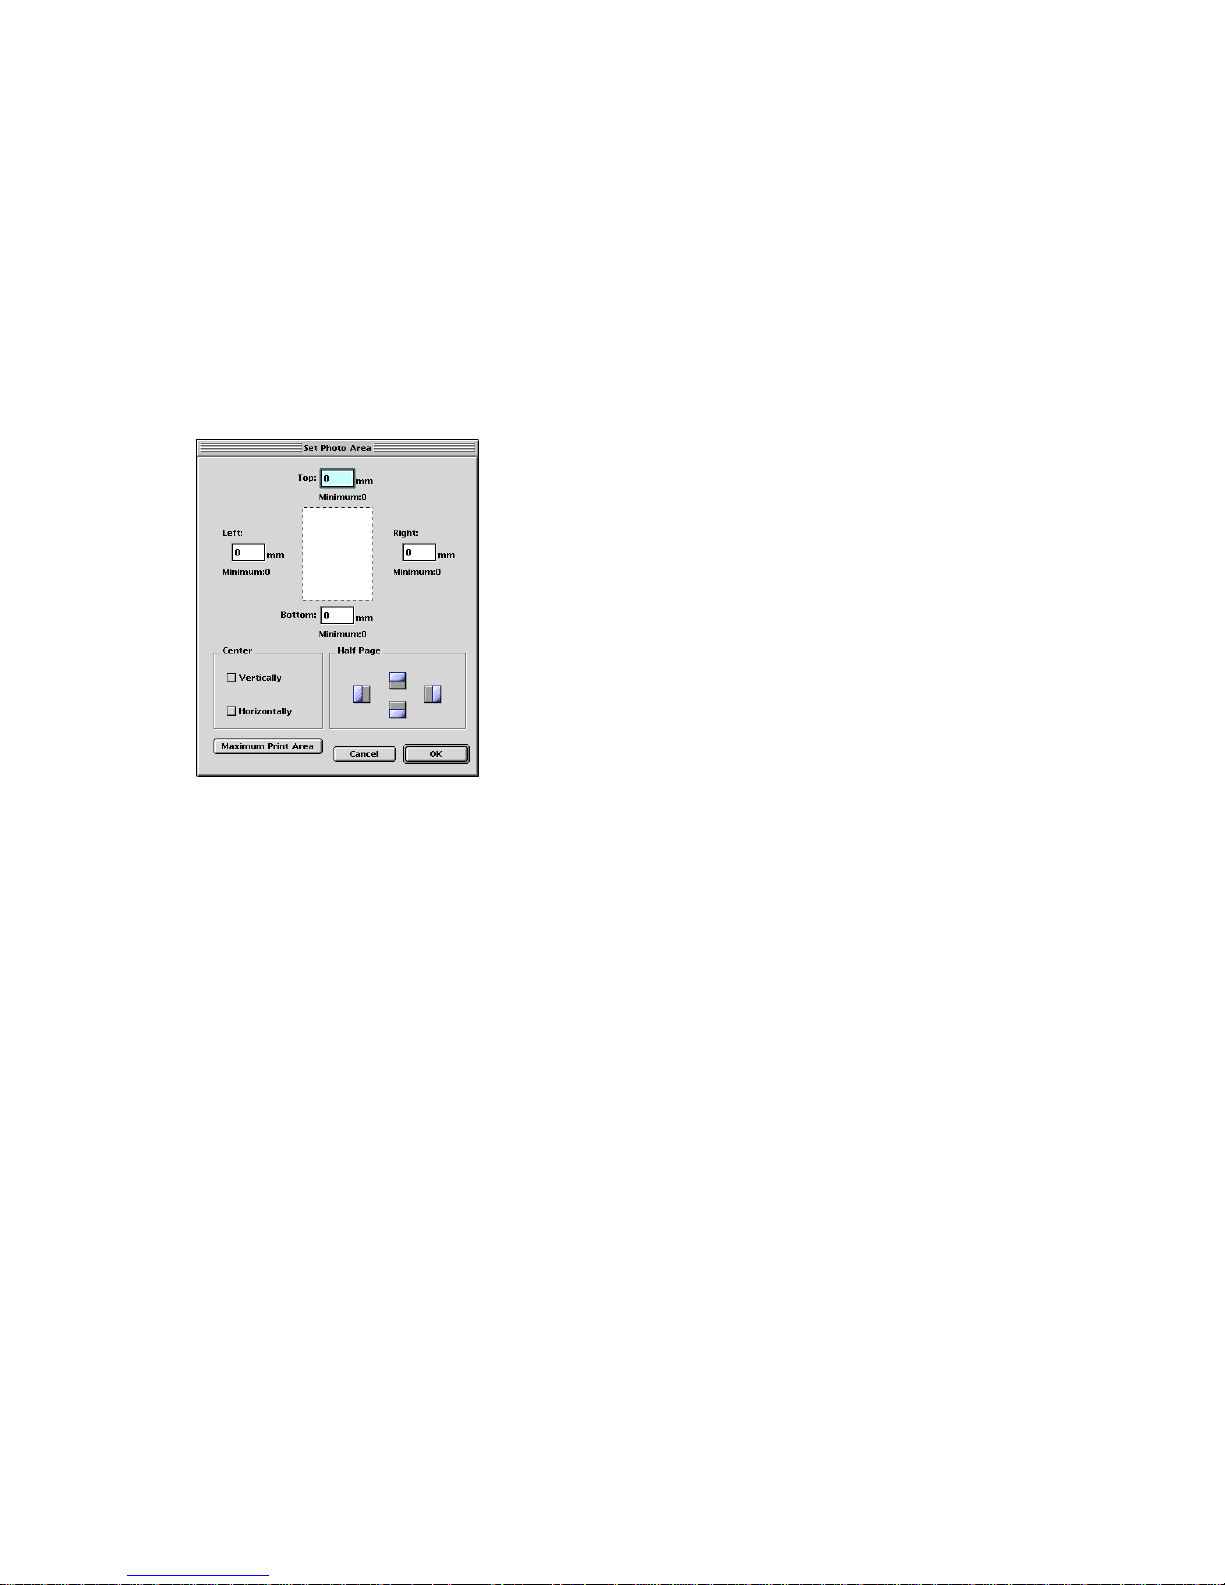
Tiled Photo Printing (Borderless Printing)
94
Page 95

Canon Perforated Paper Printing
95
Page 96

Canon Perforated Paper Printing
96
Page 97
Canon Perforated Paper Printing
97
Page 98
Canon Perforated Paper Printing
98
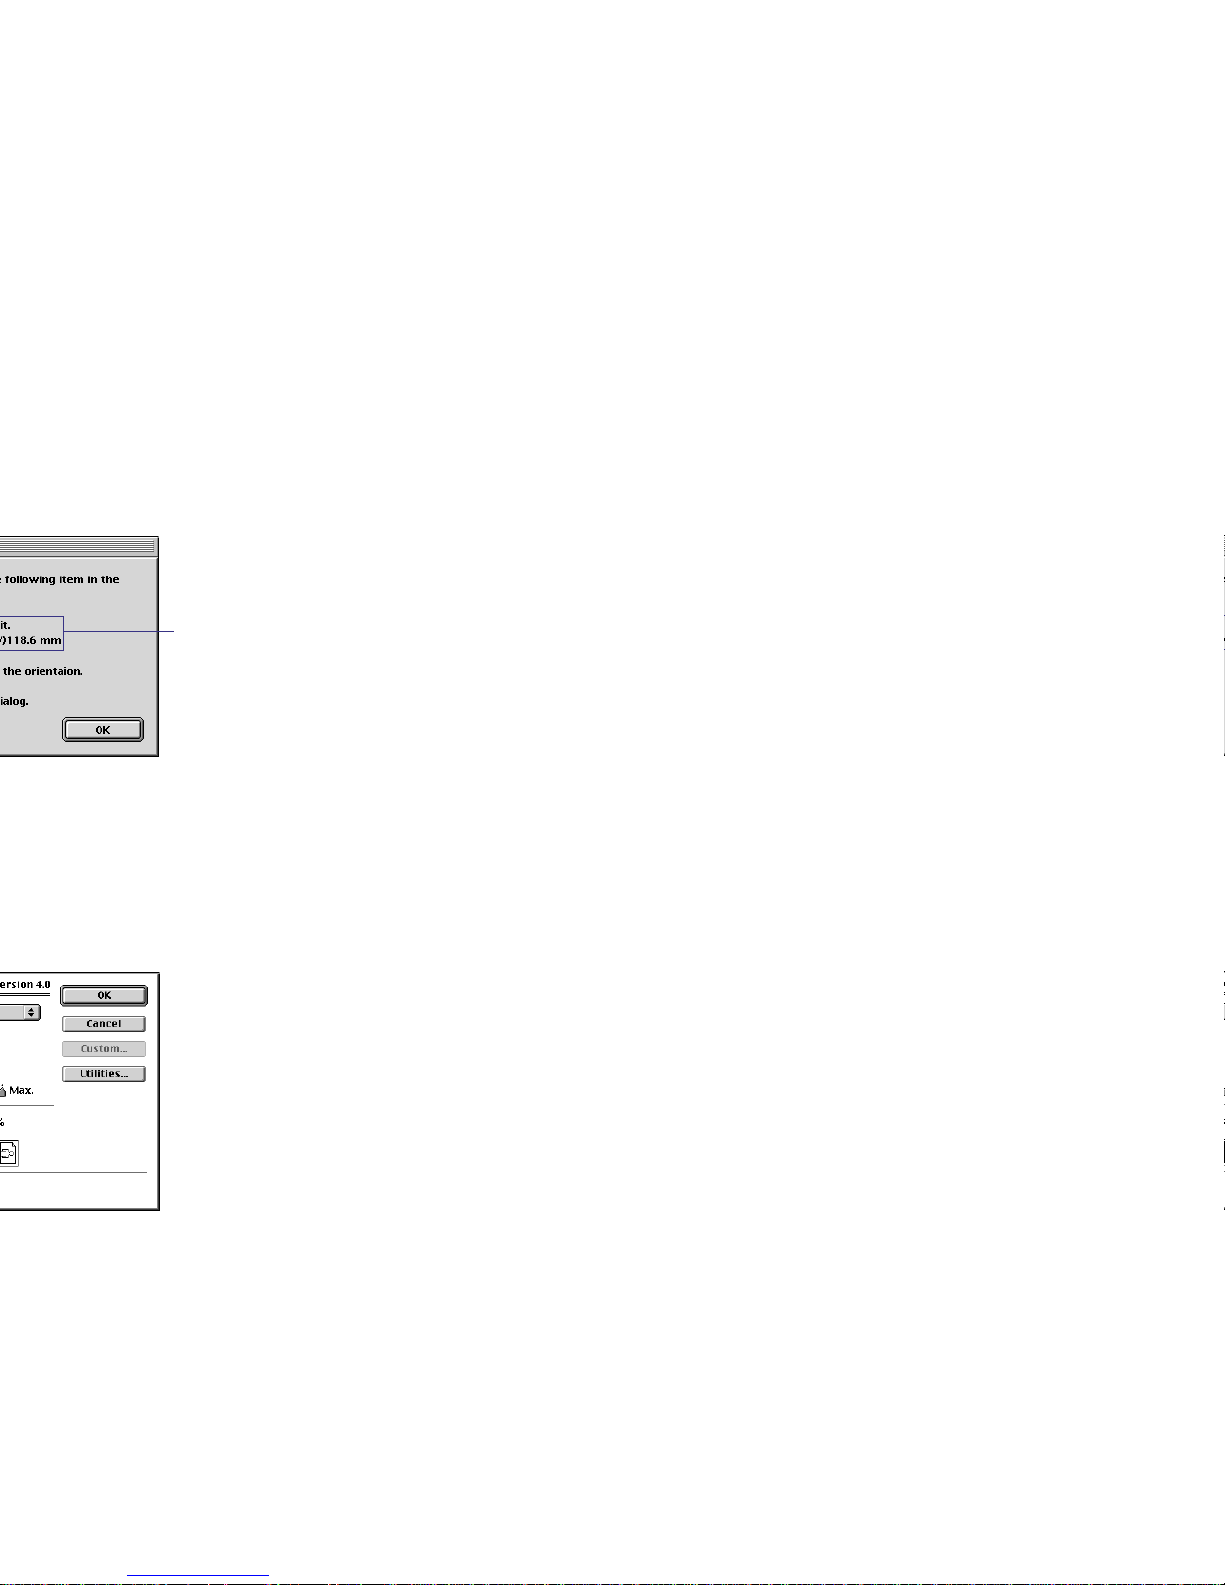
The size of Canon perforated paper you
selected in the Layout Options window.
Page 99
Canon Perforated Paper Printing
99
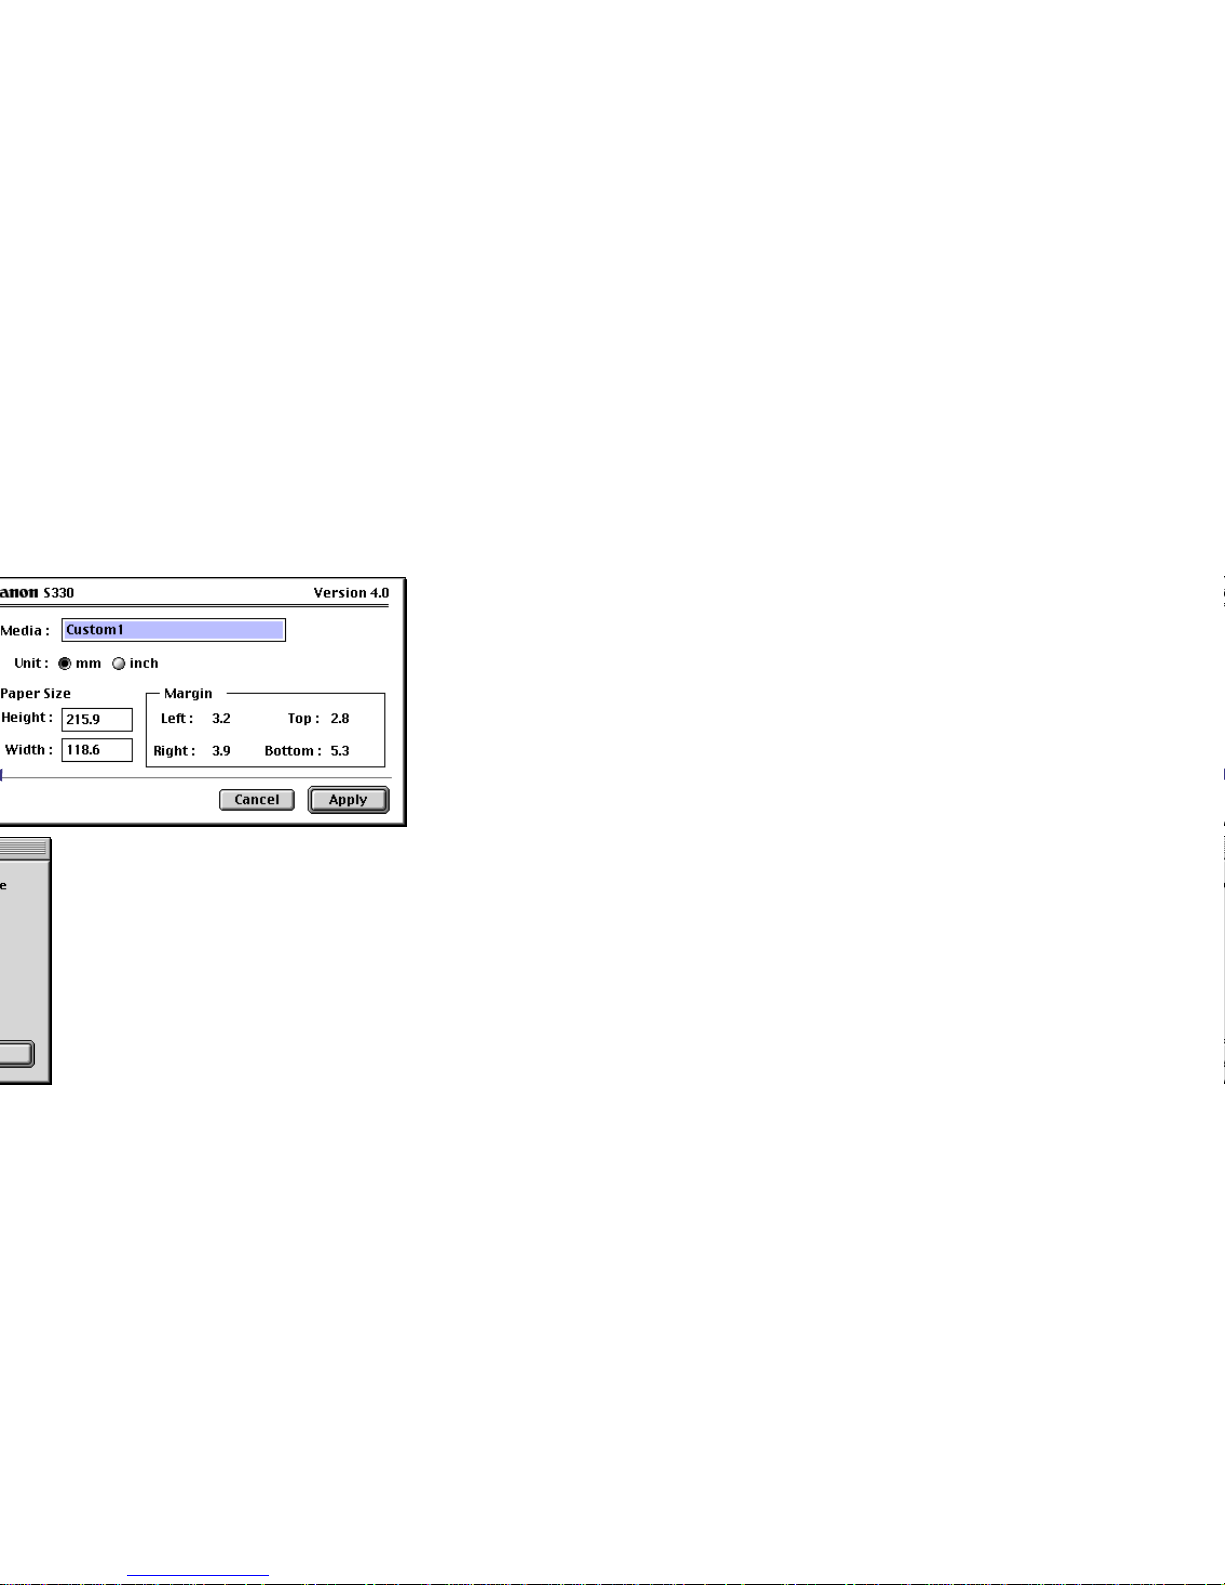
A custom paper can be registered with a name.
Once you have registered a custom paper, you do
not need to set up the same paper again.
Page 100
Canon Perforated Paper Printing
100
 Loading...