


Canary Flex
User Guide
™

5 Requirements and Tech Specs
6 Secure Device Setup
7 Placement
8 Battery Life
9 Magnetic Swivel Base
10 Accessories
11 Home Screen
12 Modes
13 Mode Settings
14 Manually Switching Modes
15 Watch Live
16 Timeline
17 Event Screen
18 Motion Notiications
19 Battery and Oline Notiications
20 Contacting Emergency Services
21 Canary Membership
22 Help
2

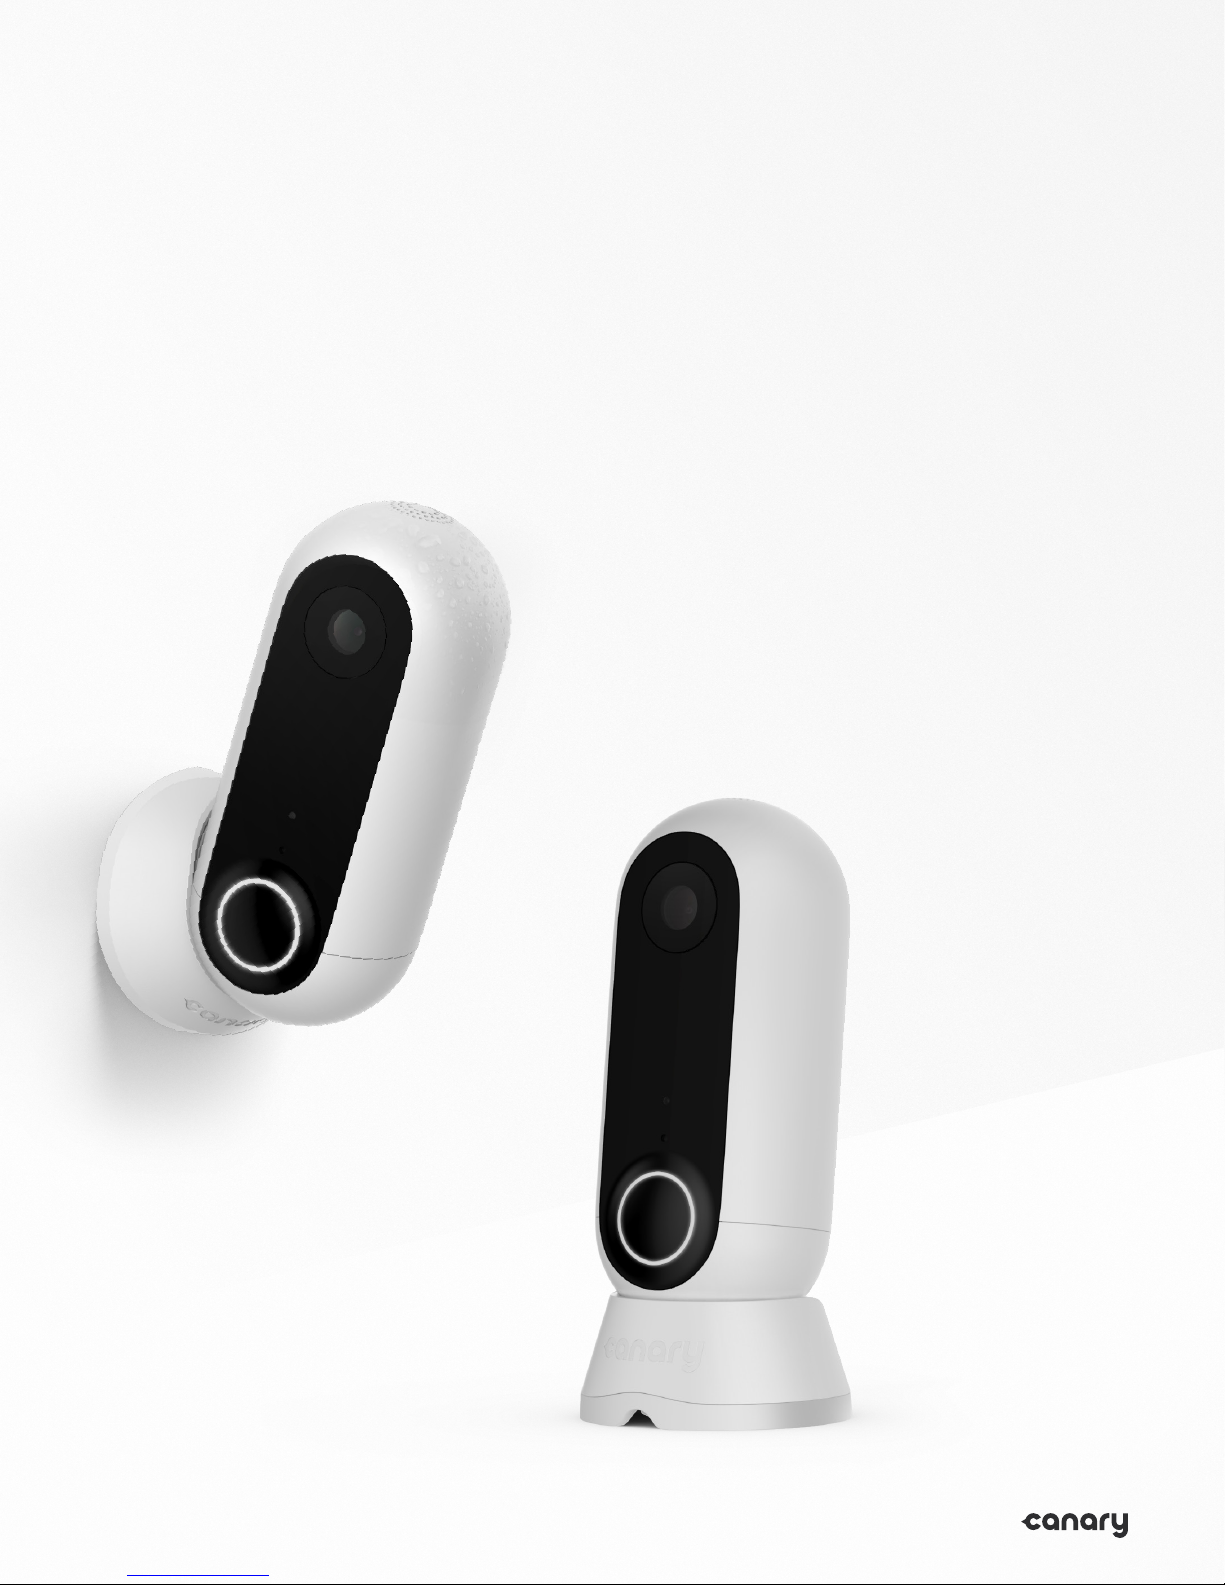
Meet
™
Canary Flex
Speaker
HD Camera
.
Night vision LED
Microphone
Motion sensor
Magnetic swivel base
3

Meet
™
Canary Flex
Charging port
.
Power button
To turn on, hold down for
1 second then release when you
see the spinning white LED.
Canary Flex will also turn on
automatically when you
connect it to a power supply.
To turn o, hold down for
5 seconds until the LED
turns o and you hear the
shutdown sound.
4

Requirements and
Tech Specs
Wi-Fi Network Requirements
In order for your Canary Flex to connect to
your Wi-Fi network, it will need to meet the
following requirements:
Your Wi-Fi network broadcasts at 2.4 GHz
or 5 GHz (802.11 a/b/g/n).
Your network upload speed is greater
than 1 Mbps.
iOS Requirements
To set up your Canary Flex using an iOS
device, it must be running iOS 8 or newer.
This includes the following devices:
iPhone (4S or newer)
iPad (2nd generation or newer)
iPad mini (1st generation or newer)
iPod Touch (5th generation or newer)
Android Requirements
To set up your Canary Flex on an Android
device, it will need to be running Android 4.3
or newer, with Bluetooth Smart 4.1 (or newer).
Power
Rechargeable 6700 mAh lithium-ion battery
100240v power supply
Operating Temperature
-4° to 113 °F (deviations permitted to 122 °F)
Camera
116° wide-angle lens
Dimensions
Height: 4.35 in
Diameter: 1.9 in
Weight: 0.53lbs
5

Secure
Device Setup
1. Download the app.
Visit the App Store, Google Play, or
http://canary.is/app to download the free
Canary app on your smartphone.
2. Launch the app.
Open the app on your Android or iOS device.
3. Follow in-app instructions.
The Canary app will walk you through creating
an account and setting up your device.
6

Placement
Pick a place with a strong Wi-Fi signal.
If you think you’ve found a suitable place,
try streaming Watch Live from your
Canary Flex device there. If it plays without
interruption , you’ve found a good place for
your device to live.
Place Canary Flex outside to record
outdoor activity.
Canary Flex will not detect motion through
a window while operating on battery power.
Plugging in Canary Flex outdoors.
Use wire-free at any time. You can plug your
device into a weatherproof, covered outlet
if you see a green dot on the bottom of the
power adapter.
7

Battery Life
If you plan to use Canary Flex wire-free, there
are multiple steps you can take to maximize
battery performance.
Positioning
Position your device to eliminate as much
background activity as possible while still
monitoring the desired area. If your device is
operating in wire-free mode and constantly
recording activity, the battery will drain faster.
Customize Home Mode
To reduce the frequency of recorded activity,
conigure your device to be private while in
home mode and turn on Auto-mode switching,
especially if the device is indoors. You can
customize this in your Modes settings.
Extreme Temperatures
In colder environments, the battery may not
hold a charge for as long as it would in more
temperate climates, and it will also take longer
to charge.
8
Magnetic
Swivel Base
The magnetic swivel base, included in the
box, lets you position Canary Flex with 360
degrees of lexibility. Set it on a lat surface
or mount it to a wall with a single screw.
The magnetic swivel base contains a
powerful magnet, so don’t place it near
other electronic devices.
9

Accessories
Canary Flex accessories allow you to place
your device wherever you need peace of
mind, indoors and out.
Secure Mount for Canary Flex
Secure Mount keeps your Canary Flex locked-
in and can be attached to any wall or surface,
inside or outside, keeping your Canary Flex
securely in place wherever you place it. The
ball joint lets you adjust the camera angle to
your preference.
Stake Mount for Canary Flex
Stake Mount is designed for use in gardens or
planters, and enables Canary Flex to blend in.
Twist Mount for Canary Flex
Twist Mount enables you to position Canary
Flex wherever you can hang or wrap it —
ixtures, railings, branches, etc.—and is
designed to create smart vantage points.
Learn more at canary.is/accessories.
10
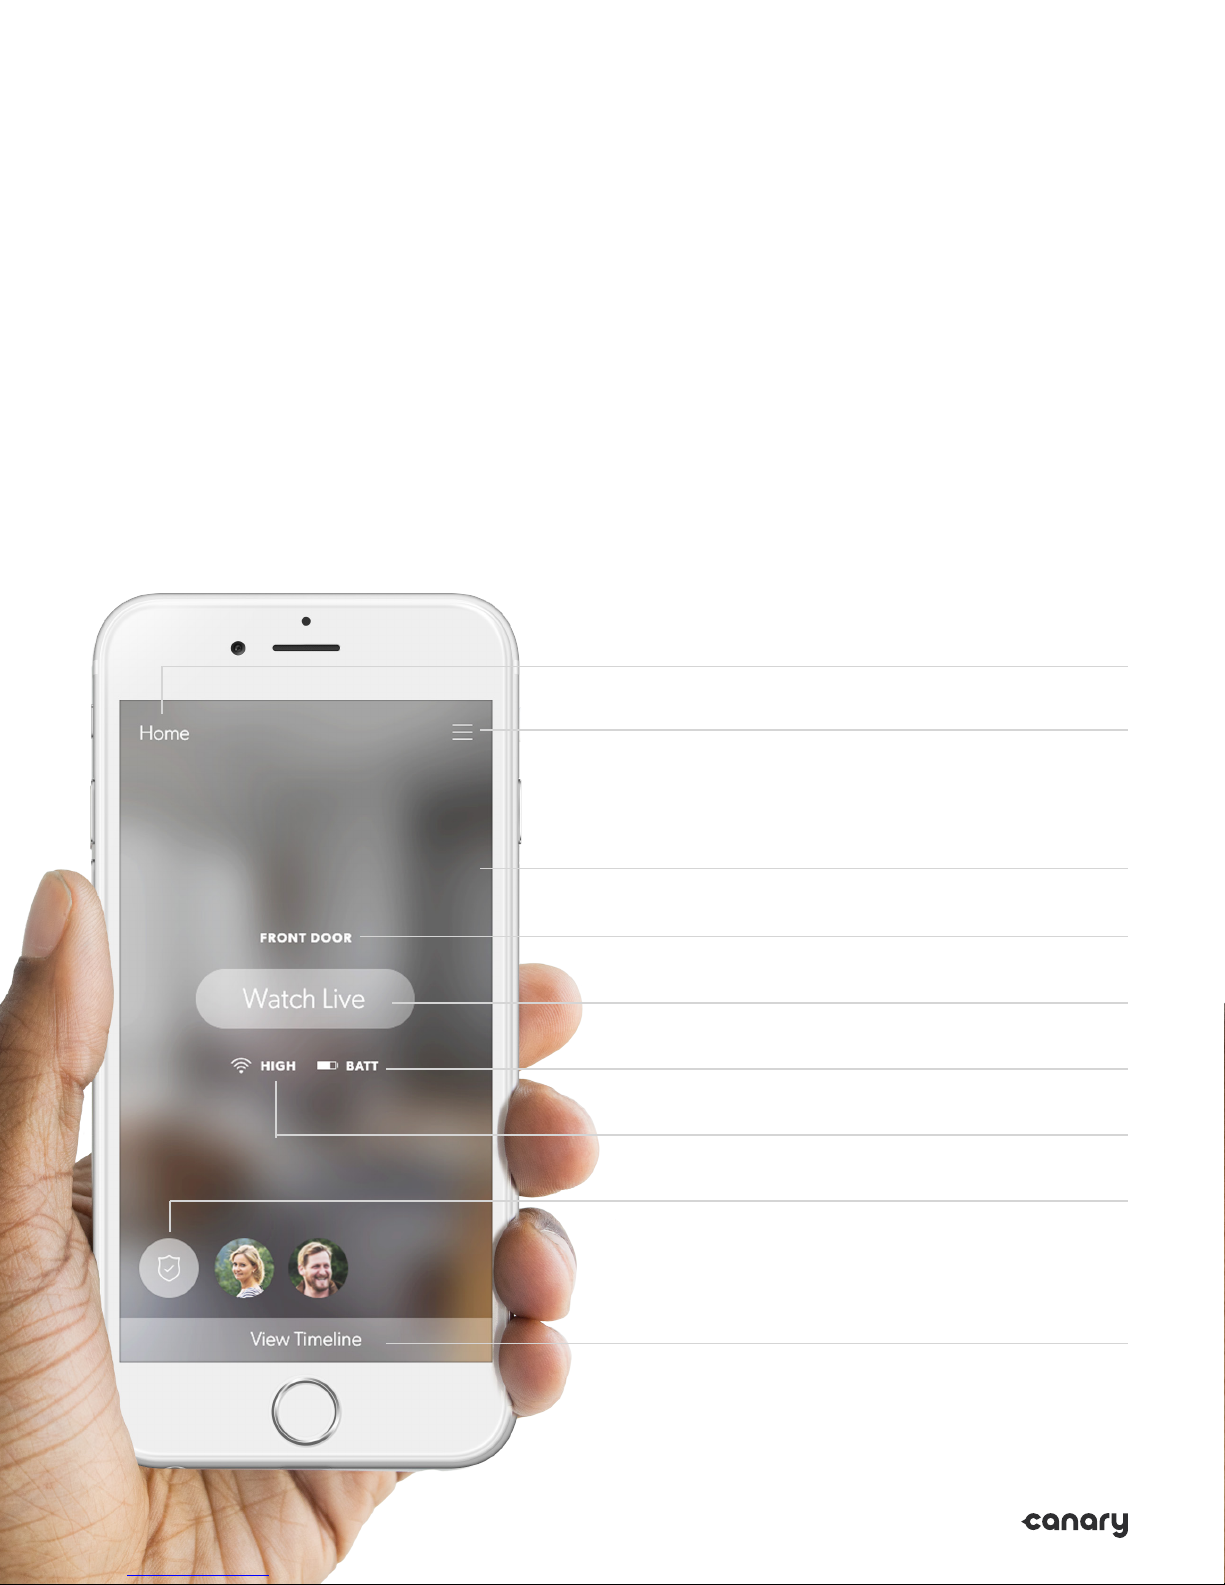
Home Screen
The Home Screen is the main screen of
the Canary app. From here, you can view
important information about your Canary
Flex, including Wi-Fi strength and Battery.
Location name
Menu
Dynamic background
Device name
Watch Live button
Battery
Connectivity
Current mode
11
View Timeline

Modes
Canary Flex has three modes: away (shield),
home (house), and night (moon).
In away mode, Canary Flex monitors
your home for activity and sends you a
push notiication with a video when it
detects movement.
In home mode, Canary Flex can send you
notiications when it detects activity, record
activity without notiications, or you can
disable the camera and microphone entirely.
In night mode, you can set a schedule for
when Canary Flex should monitor your
location for activity with or without sending
you notiications. Alternatively, you can
schedule Canary Flex to be set to private.
Away
When all members are away,
Canary Flex monitors for activity
and sends notiications.
Home
When a member is home,
Canary Flex is customizable:
it can be set to private, or
record activity with any desired
level of motion detection.
You may choose from two settings when
in home and night modes: “Record video”
and “Set to private”. When Canary Flex is
set to “Record video”, you can stream real-
time video, view and save video events
to your location timeline and elect to receive
motion notiications. When using “Set to
private”, Canary Flex’s camera, microphone,
and motion detection capabilities are
fully disabled.
Night
You can schedule Canary Flex
to monitor for activity while you
sleep, or you can set it to private.
12

Mode Settings
In Mode Settings, you can conigure how
Canary Flex changes modes by activating or
disabling Auto-Mode Switching. You can also
select the privacy settings when in home and
night modes.
Auto-Mode Switching
While Auto-Mode Switching is on, Canary
Flex will use your phone’s location services to
detect whether you’re home or away.
Canary Flex will switch into away mode when
all location members leave home, and switch
into home mode when at least one member
arrives home.
You can also schedule Canary Flex to switch
into and out of night mode at speciic times.
Please note: night mode will only activate
when at least one member is home.
13

Manually
Switching Modes
You can manually change Canary Flex’s mode
from the Home Screen even if Auto-Mode
Switching is on. To do so, tap the mode icon,
and select the desired mode.
If Auto-Mode Switching is o, Canary Flex
will only change modes when you manually
select a dierent mode. You can change
Canary Flex’s mode by tapping on the mode
icon on the Home Screen, then tapping the
desired mode.
14

Watch Live
Watch Live gives you a livestream of your
home any time your Canary Flex device is set
to record motion or is in away mode.
Swipe your inger across the video player
to change the livestream between Canary
devices at the same location.
If you want to catch the smaller details,
double-tap or pinch the screen to zoom in.
Rotate your phone horizontally to view
Watch Live in full screen.
Tap X to return to the Home Screen.
15

Timeline
To access the Timeline, swipe up or tap
View Timeline on the Home Screen.
You can review recent video events, watch
saved videos, keep track of member activity,
and monitor mode changes.
Tap to ilter events by date
Tap to ilter the timeline by all recorded
events, events recorded in away mode,
or bookmarked events.
Tap to view a video event
16

Event Screen
On the Event Screen, you can watch
recorded activity, export and delete videos,
tag speciic types of motion, share videos
on social media, bookmark an event on the
timeline, or respond to an emergency.
Tap to delete or export a video clip
Drag your inger across play bar to rewind
or fast forward through an event
Switch to Watch Live ( ), Tag ( ) to help
Canary learn, or Bookmark ( ) to save an event
17
Make an emergency call in one tap

Motion
Notiications
You can customize how much or how little
activity is required to send you a notiication
in your Motion notiication settings.
By default, Canary Flex’s notiication settings
should ilter out the majority of background
activity like TVs, ceiling fans, and other
repetitive motion.
If you’d like to receive fewer or more
notiications, adjust the slider accordingly.
For example, if you have a pet and don’t
want to be notiied when they move, drag
the slider to the left.
18
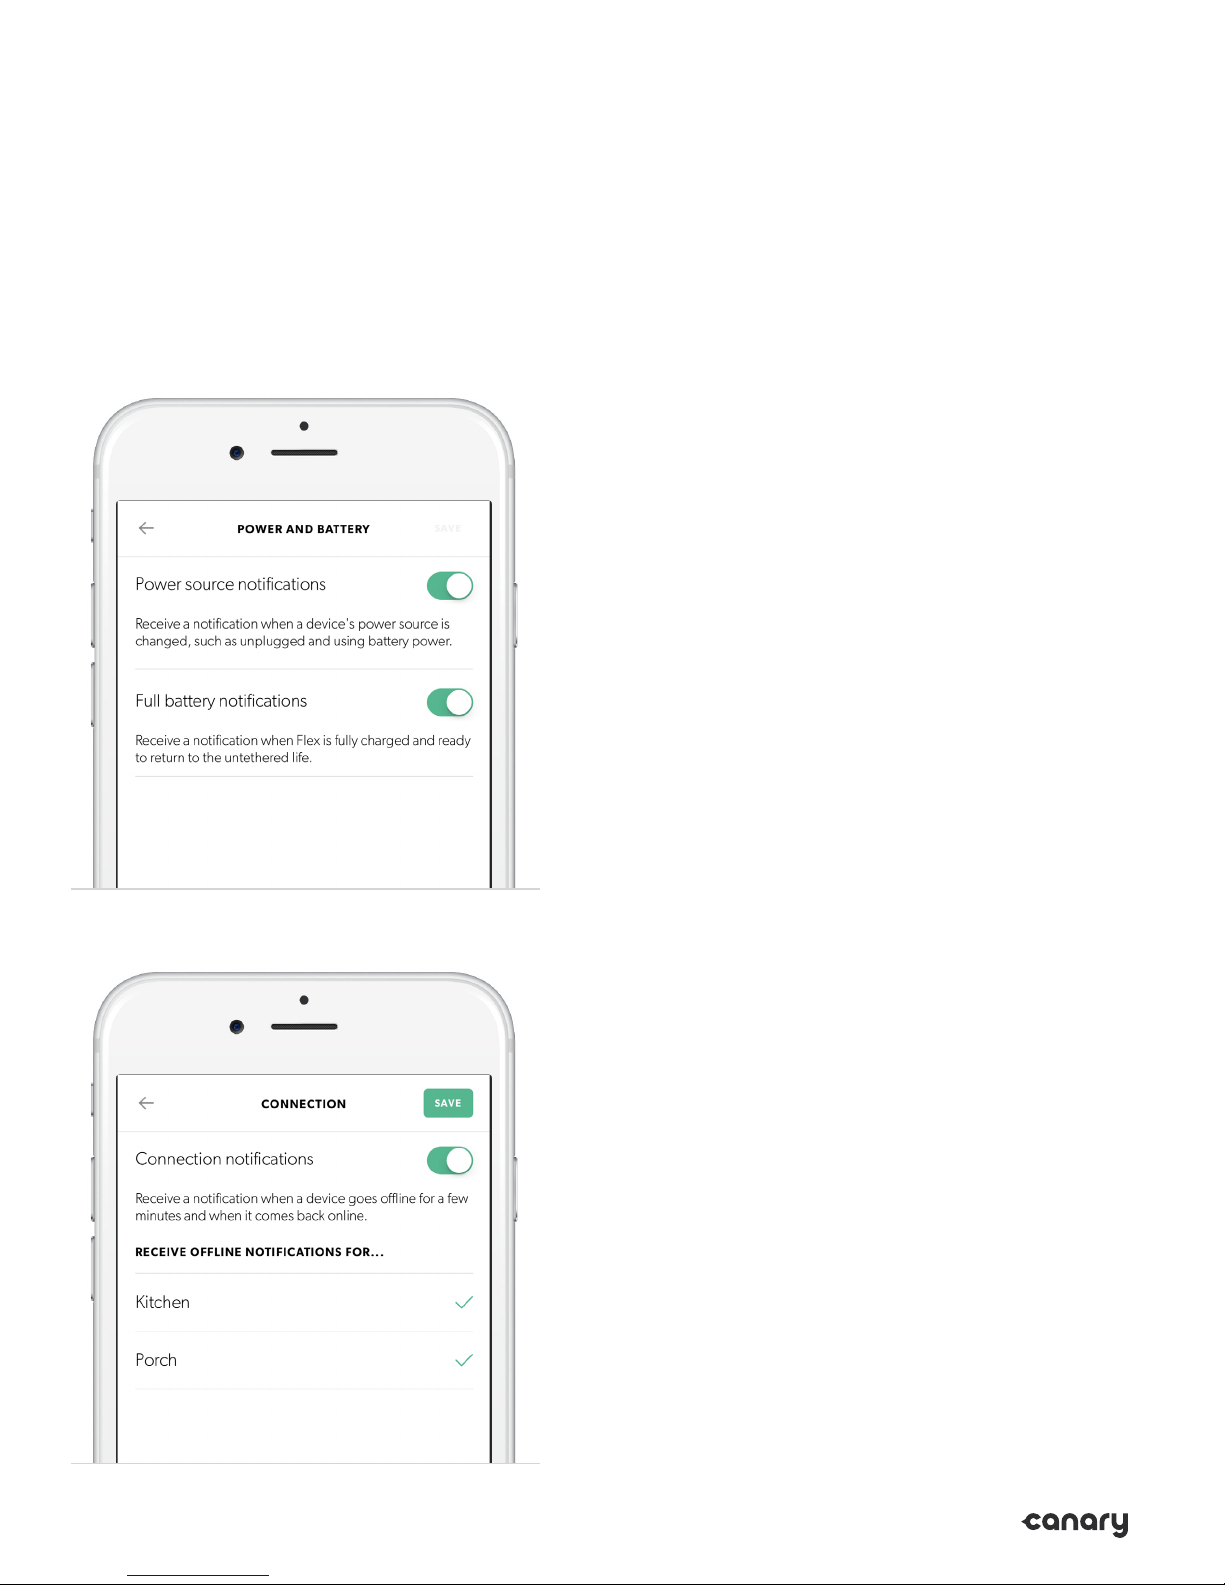
Battery and Oline
Notiications
In addition to motion alerts, you may want
to receive notiications when your Canary
Flex’s power source is changed or when it
is fully charged in the Power and battery
notiications menu.
You may also choose to receive a notiication
when your device goes oline for more
than a few minutes in the Connection
notiications menu.
19

Contacting
Emergency
You can contact local emergency
services while watching live, viewing
a pre-recorded event, or by using the
Canary Widget for iOS.
Services
Tap Emergency Call to call the local
police, ire department, or medical
services. Canary autopopulates these
contact numbers based on the location
address provided at Setup.
20

Canary
Membership
Canary users may opt-in to Canary
Membership which unlocks 30 days of video
history and provides additional exclusive
services to protect your peace of mind.
Canary Membership Includes:
30-day recorded video history
with unlimited downloads and
no data caps
Insurance deductible
reimbursement up to $1000
for qualifying incidents*
Incident support services for
home theft events
2-year extended device warranty
*Not available in all states. For full terms, see canary.is/legal.
21
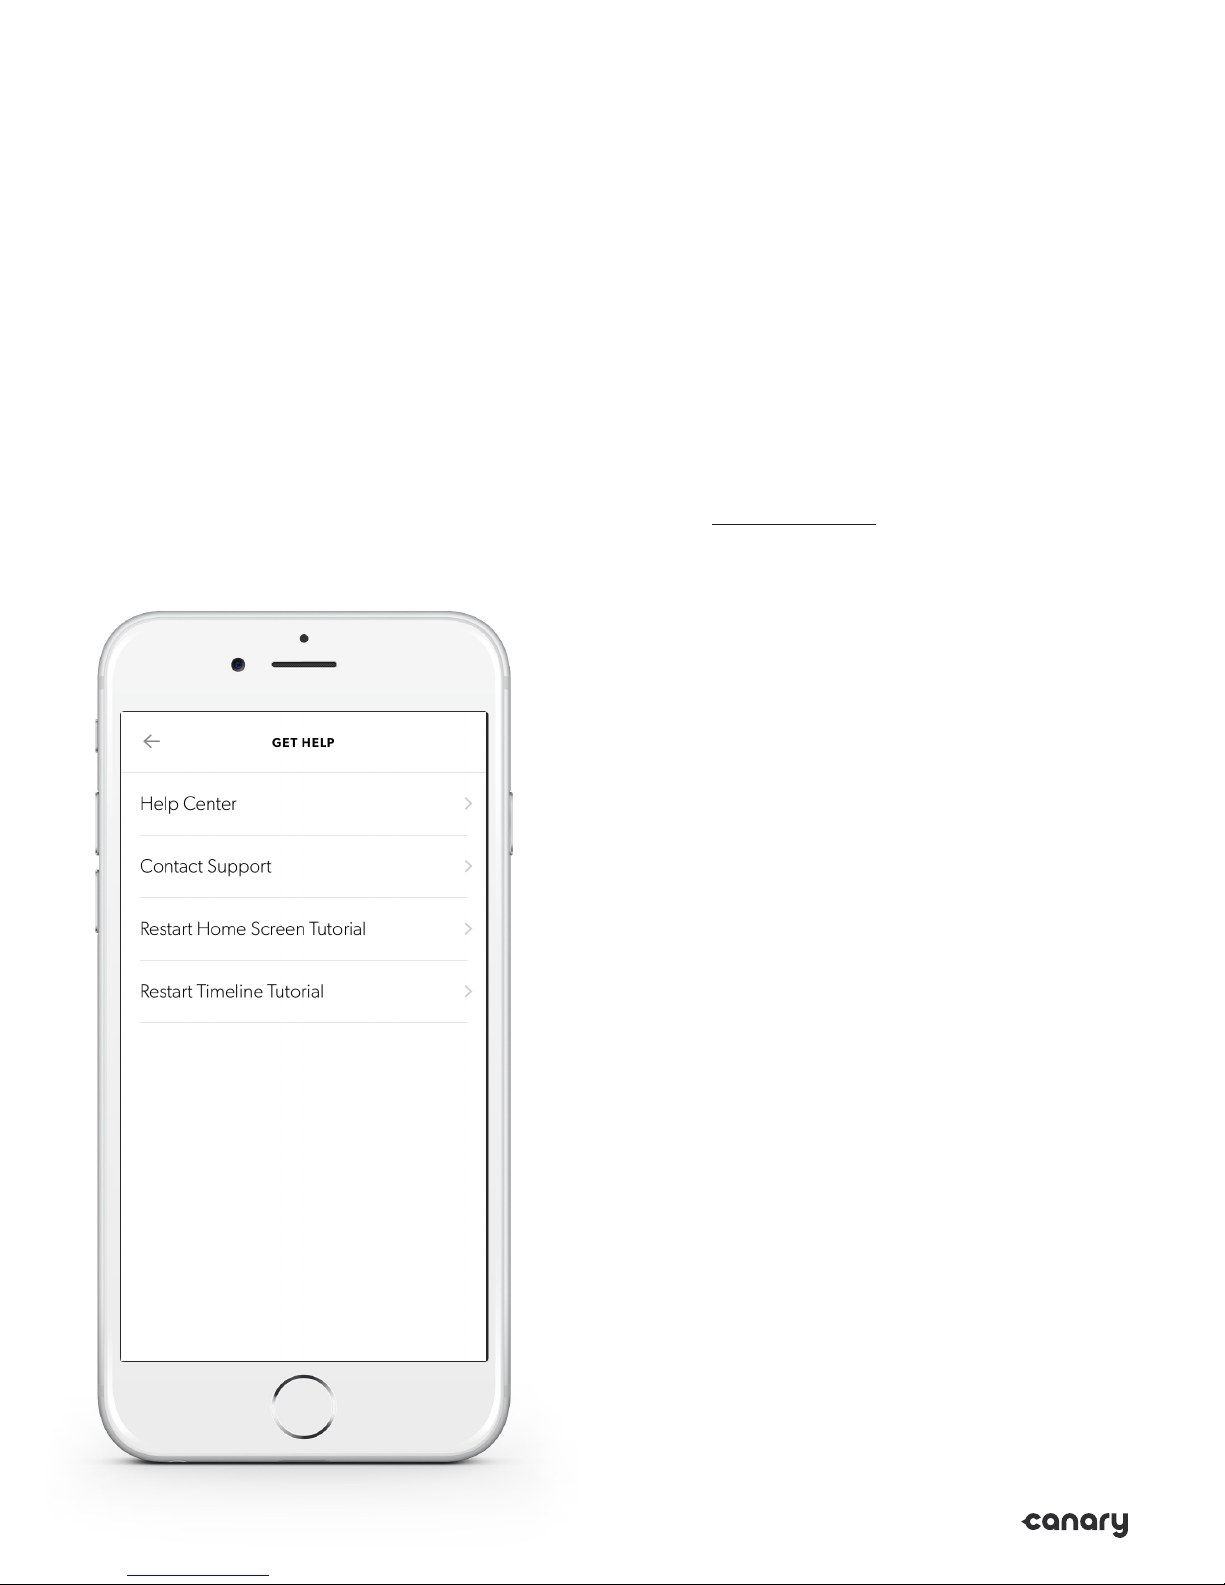
Help
If you’re having issues with your Canary Flex
and need support, please visit our
Help Center, email us, or swipe down on
the Home Screen and tap Get help.
While we’re happy to help you troubleshoot,
we also want to know how Canary impacts
your life.
Share your experiences with us on
Facebook and Twitter using #canarystories
or #caughtbycanary, or email
stories@canary.is to tell us about your
favorite Canary moments.
Feel free to include videos or photos with
your story.
Thanks for choosing Canary.
© 2016, Canary Connect, Inc.
22

REGULATORY COMPLIANCE INFORMATION
FCC Compliance Statement
This device complies with Part 15 of the FCC Rules.
Operation is subject to the following two conditions:
(1) This device may not cause harmful interference,
and (2) this device must accept any interference received,
including interference that may cause undesired operation.
This device has been tested and found to comply with the
limits for a Class B digital device, pursuant to Part 15 of the
FCC rules. These limits are designed to provide reasonable
protection against harmful interference in a residential
installation. The device generates, uses, and can radiate
radio frequency energy and, if not installed and used in
accordance with the instructions, may cause harmful
interference to radio communications. However, there
is no guarantee that interference will not occur in a
particular installation. If the product does cause harmful
interference to radio or television reception, which can be
determined by turning the device o and on, the user is
encouraged to try and correct the interference by one or
more of the following measures:
• Reorient or relocate the receiving antenna
• Increase the separation between the device
and the receiver
• Connect the device when charging into an outlet
on a circuit dierent from that to which the
receiver is connected.
• Consult the dealer or an experienced radio/TV
technician for help
Caution: Changes or modiications not expressly
approved by Canary could void the user’s authority
to operate the device.
RF Radiation Exposure Statement: This device has been
tested against and found to satisfy the FCC’s applicable
radiation exposure thresholds in an uncontrolled
environment. To ensure exposure to RF radiation falls
below those limits during operation, users must follow
the speciic operating instructions for this device and
must not co-locate or operate this device with any other
antenna or transmitter.
This product is an Unlicensed National Information
Infrastructure (UNII) device. The user must ensure that the
device is installed and conigured properly per the user’s
manual. Additionally, if the device is installed and operating
within 35 km of a Terminal Doppler Weather Radar (TDWR)
System, users are required to take special precautions on
the frequency of operation as described in the FCC’s OET
Guidance 905462 (https://apps.fcc.gov/oetcf/kdb/forms/
FTSSearchResultPage.cfm?switch=P&id=27155), A database
of TWDR locations may be found at http://www.wispa.org.
This device may not cause interference to a TDWR system,
regardless of the distance between the device and the
TDWR. Operators of this device must not only refrain from
causing interference but also must accept interference
from licensed devices such as the TDWR systems. Any user
causing interference may be required to cease operating
the device, even if the device in use was properly certiied
and conigured, and will not be permitted to resume
operation until the condition causing the interference has
been corrected. Operators of this device may only operate
within authorized frequencies, power limitations, and other
technical requirements. Finally, the FCC encourages users
of UNII devices to register in a voluntary database system
as discussed in the Commission’s orders, such as that
maintained at http://www.wispa.org.
Industry Canada (IC) Compliance Notice.
This device complies with Industry Canada license-
exempt RSS standard(s). Operation is subject to the
following two conditions:
• This device may not cause interference, and
• This device must accept any interference,
including interference that may cause undesired
operation of the device.
IC Radiation Exposure Statement:
This equipment complies with RSS102 radiation exposure
limits set forth for an uncontrolled environment. This
equipment should be installed and operated with minimum
distance 20cm between the radiator & your body.
Contains Transmitter Module: IC ID: 12187AC600
Model No. CAN600
Avis de conformité aux normes d’Industrie Canada (IC).
Le présent appareil est conforme aux CNR d’Industrie
Canada applicables aux appareils radio exempts de
licence. Son exploitation est autorisée aux deux
conditions suivantes:
il ne doit pas produire de brouillage; et
il doit accepter tout brouillage radioélectrique subi,
même si celui-ci est susceptible d’en compromettre
le fonctionnement.
ÉNONCÉ D’EXPOSITION À LA RADIATION IC
L’appareillage répond aux limites de la norme RSS102 sur
l’exposition aux radiations établies pour un environnement
non-contrôlé. Il devrait être installé et fonctionner à une
distance minimale de 20 cm entre l’antenne et votre corps.
Contient le module émetteur IC ID: 12187AC600
Modèle n° CAN600
23
 Loading...