

Camp-let APOLLO / LUX, CONCORDE, SAVAN User Instructions

USER INSTRUCTIONS
APOLLO / LUX, CONCORDE & SAVANNE
- a Danish quality product
THE HOLIDAY GLOBETROTTER

2
Table of contents:
Introduction .......................................................... 3
Coupling .............................................................. 4
Erecting ............................................................... 5
Kitchen section .................................................. 10
Technical specication ....................................... 11
Remember before you go .................................. 12
Remember when you get home ........................ 13
Good advice ...................................................... 14
Details ................................................................ 14
Winter storage ................................................... 16
Maintenance ...................................................... 17
3
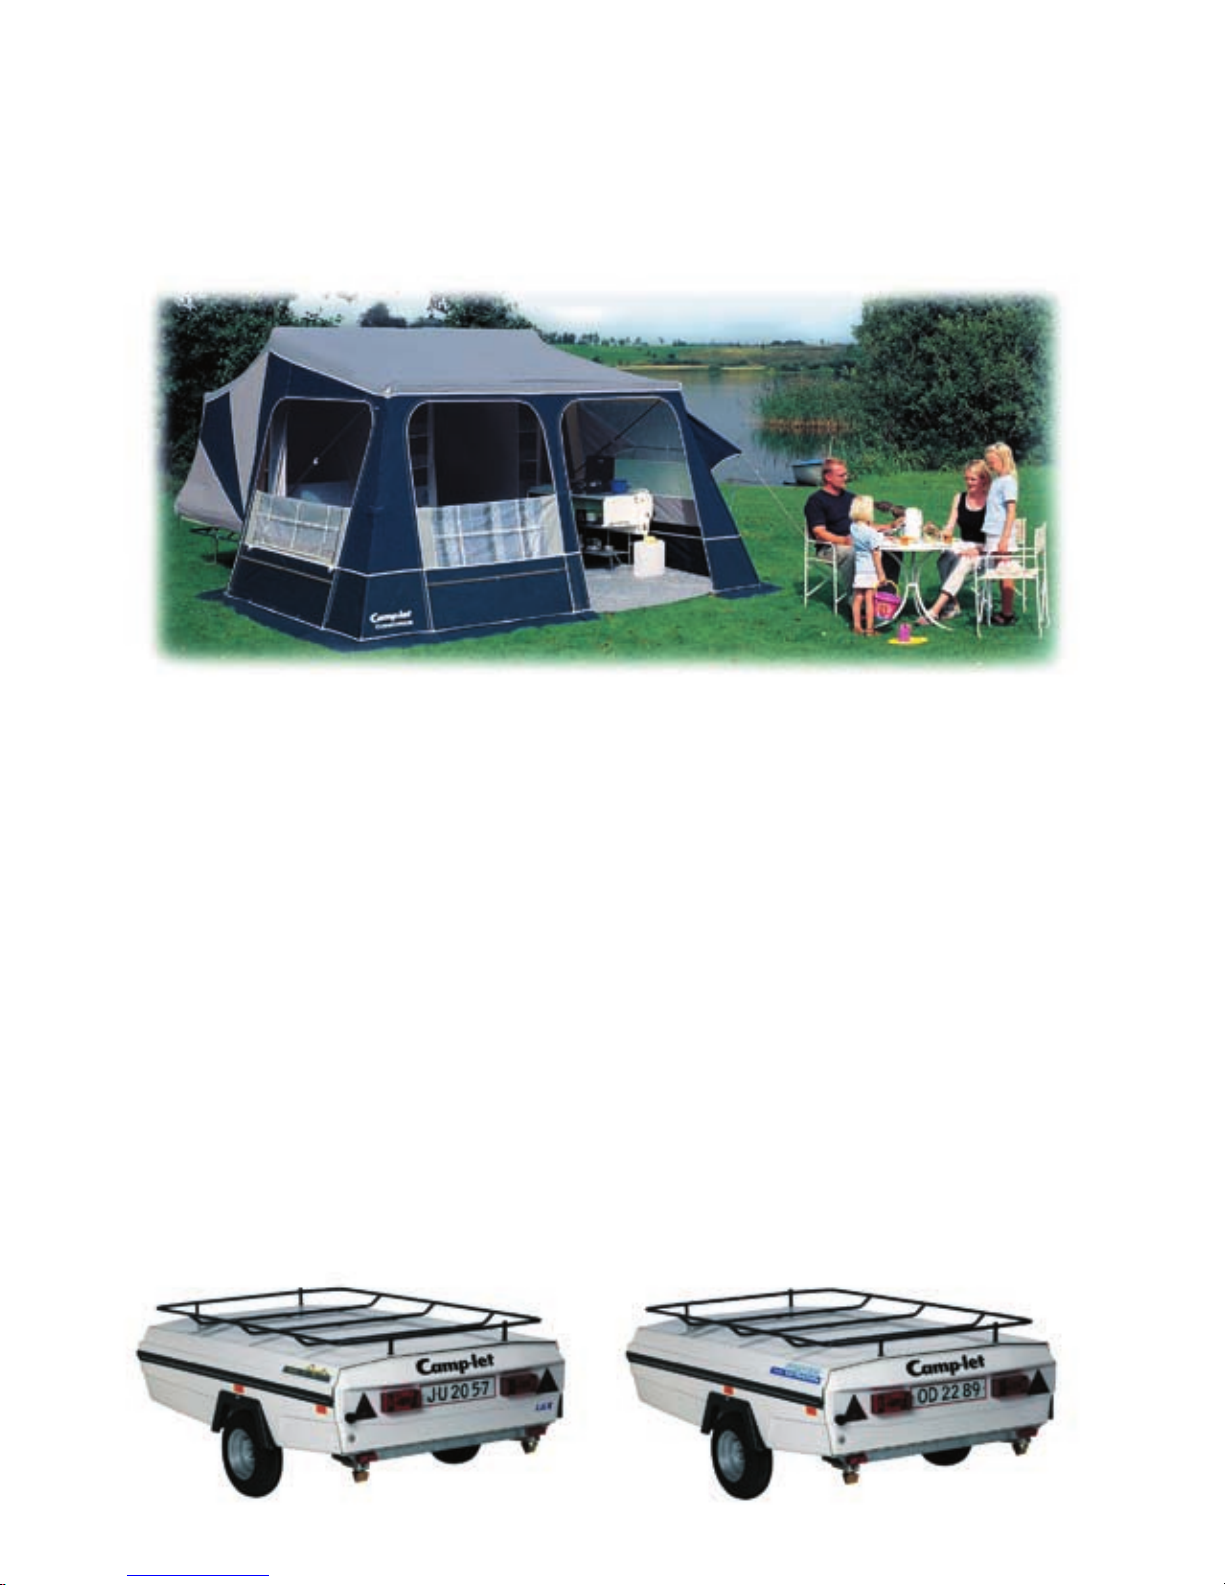
Congratulations on your new tent trailer
from Camp-let
These instructions are to be used after you have received your detailed Camp-let demonstration from your
dealer.
We have gathered vast experience in the use and erection of Camp-let.
By studying these instructions carefully and following
the good advice and demonstration given by your dealer, you can be sure to have many years and pleasure
out of your Camp-let.

44
Hitch the trailer onto the tow ball and
plug in the power.
Double check the Camp-let is rmly hitched to your car and check
all the lights are working.
Coupling of the Camp-let
1 L Indicator left Yellow
2 54G Fog light Blue
3 31 Earth White
4 R Indicator right Green
5 58R Light right Brown
6 54 Stop light Red
7 58L Light left Black
9 Constant+ Grey
*only with 13 pole plug
5
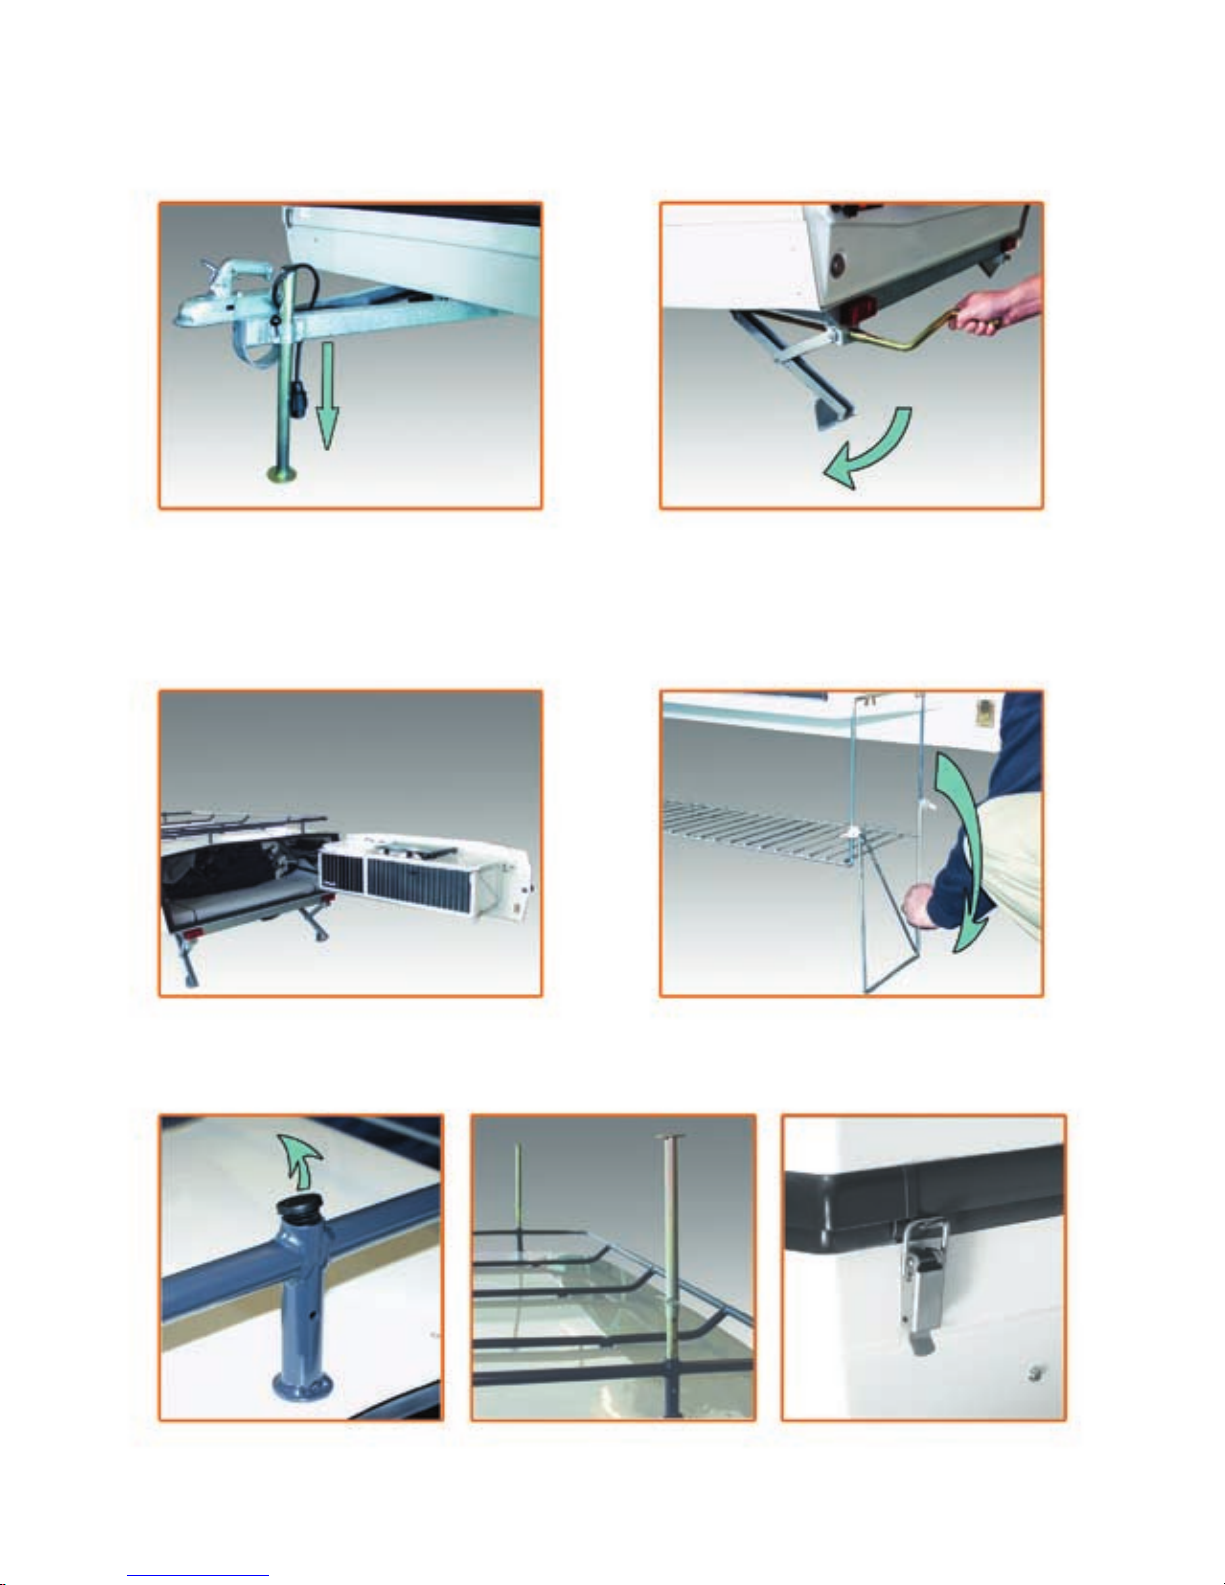
Lower the front parking leg so the
trailer is level.
The rear supporting legs has to be
screwed down and adjusted, so that
the trailer stands horizontal in both
directions. The supporting legs must
be screwed down so the wheels nearly
clear the ground.
Unlock the Camp-let.
Swing the kitchen out and tilt down the
wire clamp.
See “kitchen section”.
The kitchen support must be pivoted
over 180 degrees, lowered down and
then tighten the two thump screws.
Erecting (nd a level camping pitch)
Remove the plastic stoppers
from the luggage rack (keep
the stoppers in a safe place).
Fit the 2 bed supporting legs. Release the catch.
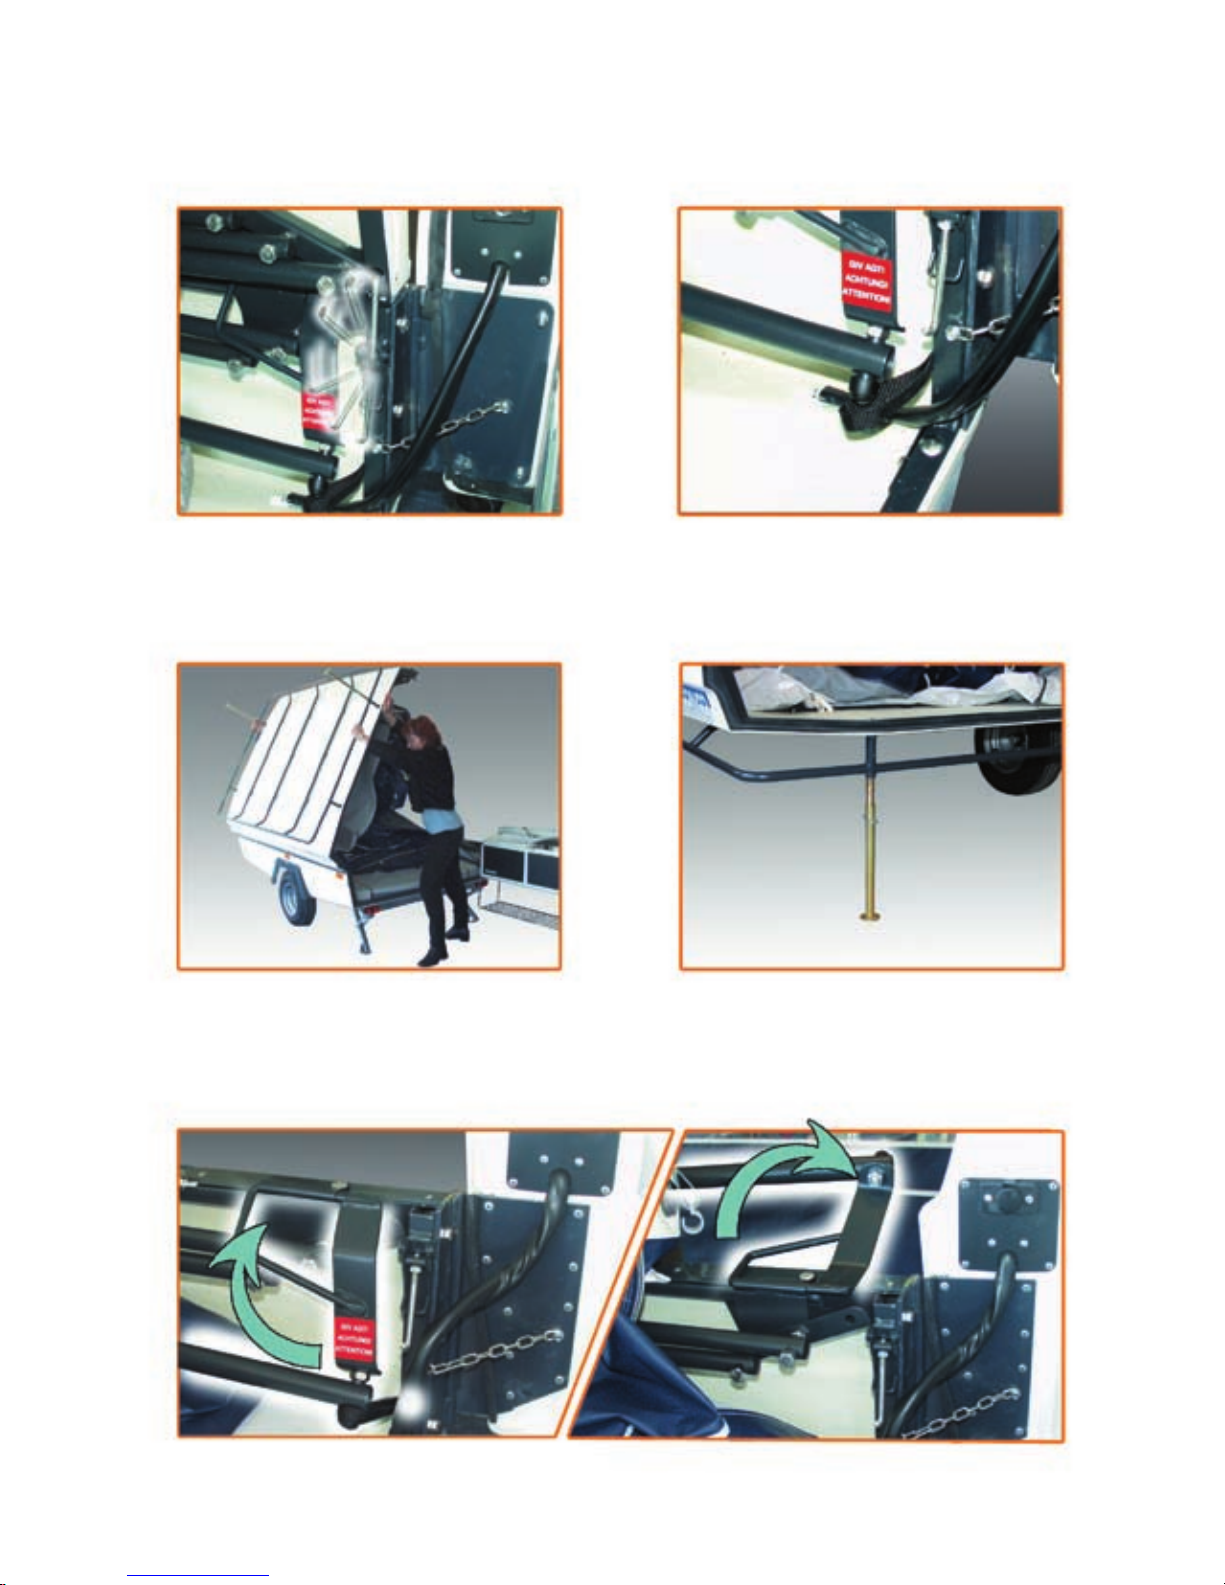
6
Before the lid can be lifted, the internal
catch must be released.
Erecting…
Take off the strap.
Lift the lid and slowly lower down. The supporting legs must be adjusted,
so that the lid is horizontal.
Pivot tting in transport position. Pivot tting prior to lifting out the canvas.
 Loading...