

Page 1
Quick Deploy Guide
Wintersense
RWIS Network Densification
An IoT Solution for
01/2021
Copyright © 2021
Campbell Scientific
Part number: 003460
CSL I.D - 1364
Page 2
1. Get started
1. Enter user.wintersense.com
into a web browser.
2. Click Log In.
3. Click the Sign Up tab to set up
an account. Enter your email
address and create a password.
Click SIGN UP >.
4. Click LOG IN >.
2. Create a network
1. The home screen shows a list of
options under What would you
like to do? Click Create a new
Network.
2. Enter the Name of the Network
to add.
3. Click Add.
4. The new network will appear at
the bottom of the page. Click
the network name to expand
for more details.
4. Input the location of the site.
Either click Use Current
Location, enter the Latitude
and Longitude, or adjust the
cursor on the map to the
precise location.
5. Click Add.
6. Repeat the process to add as
many sites as required.
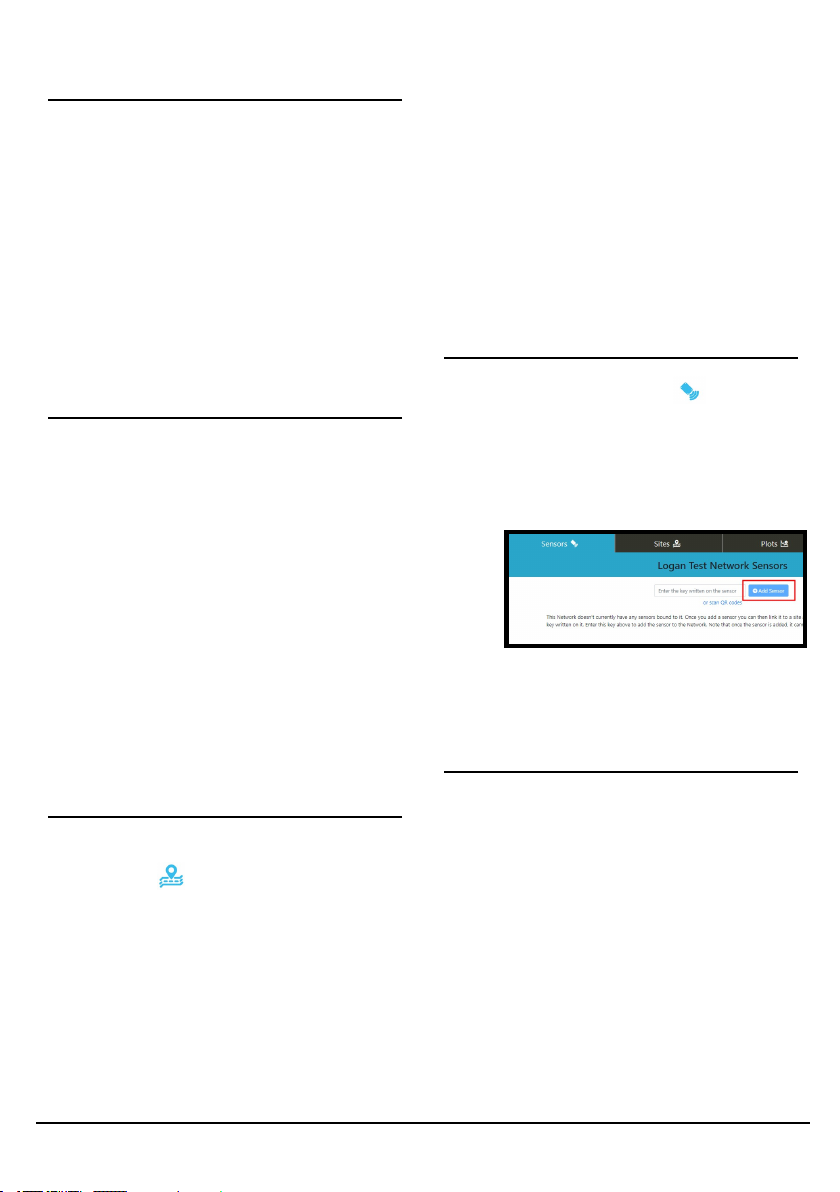
4. Add sensors
1.
Go to the Sensors tab.
2. Enter the case-sensitive key
written on the sensor or scan
the QR code on the unit.
3. Click Add Sensor.
5. Bind (link) sensors to sites
3. Add sites
1. Once in the network, click the
Sites link or go to the Sites
tab at the top of the page.
2. The first time to this page will
automatically present Add a
new site.
3. Enter the name of the site.
1. Expand the sensor.
2. In the Bind to Site field, start
typing the name of the site to
bind the sensor to.
Wintersense Quick Deploy Guide1
Page 3

3. Select the site from the dropdown menu.
6. Activate sensor
1. Press and hold the Power
button on the underside of the
sensor for 5 seconds, until the
red and green LEDs flash.
several more seconds. If the site has
network coverage, andthe sensor and
software platform are configured
correctly, data should appear in the
software within 30 seconds.
8. Installation angle
The recommended installation angle
of a Wintersense sensor is 0 to 45°
(from vertical). The following figure
shows it at 45° from vertical.
To adjust the sensor angle, slightly
loosen both bolts in the bracket to
allow rotation of the sensor around
the bolt that is fitted in the round hole
towards the front of the sensor. Once
at the correct angle, tighten the bolts
by hand until the spring washers are
fully compressed.
Adjust the angle of the hood antenna
so it is as close to vertical as possible.
7. End-to-end data test
To perform a manual data test: Press
and hold the Power button for 1
second.
When a measurement has been
successfully triggered, a solid green
LED (approximately 3 seconds) will be
followed by a flashing green LED for
9. Sensor and location check
1. Enter user.wintersense.com
into a web browser.
2. Click Log In.
Wintersense Quick Deploy Guide2
Page 4

3. Enter your email address and
password. Click LOG IN >.
4.
Go to the Sites tab.
5. Select the site where the
sensor is to be installed.
6. Click Show/Edit Location to
confirm the location on the
map. Adjust location if required.
7. Confirm that the unique key of
the sensor about to be installed
matches the key of the sensor
linked to this site in the
software.
8. Expandthe sensor.
9. In the Bind to Site field, start
typing the name of the site to
bind the sensor to.
10. Select the site from the dropdown menu.
Wintersense Quick Deploy Guide3
 Loading...