

Page 1
CC5MPX and CC5MPXWD
Digital Network Cameras
Revision: 3/12
Copyright © 2011-2012
Campbell Scientific, Inc.
Page 2

Page 3

Warranty
“PRODUCTS MANUFACTURED BY CAMPBELL SCIENTIFIC, INC. are
warranted by Campbell Scientific, Inc. (“Campbell”) to be free from defects in
materials and workmanship under normal use and service for twelve (12)
months from date of shipment unless otherwise specified in the corresponding
Campbell pricelist or product manual. Products not manufactured, but that are
re-sold by Campbell, are warranted only to the limits extended by the original
manufacturer. Batteries, fine-wire thermocouples, desiccant, and other
consumables have no warranty. Campbell's obligation under this warranty is
limited to repairing or replacing (at Campbell's option) defective products,
which shall be the sole and exclusive remedy under this warranty. The
customer shall assume all costs of removing, reinstalling, and shipping
defective products to Campbell. Campbell will return such products by surface
carrier prepaid within the continental United States of America. To all other
locations, Campbell will return such products best way CIP (Port of Entry)
INCOTERM® 2010, prepaid. This warranty shall not apply to any products
which have been subjected to modification, misuse, neglect, improper service,
accidents of nature, or shipping damage. This warranty is in lieu of all other
warranties, expressed or implied. The warranty for installation services
performed by Campbell such as programming to customer specifications,
electrical connections to products manufactured by Campbell, and product
specific training, is part of Campbell’s product warranty. CAMPBELL
EXPRESSLY DISCLAIMS AND EXCLUDES ANY IMPLIED
WARRANTIES OF MERCHANTABILITY OR FITNESS FOR A
PARTICULAR PURPOSE. Campbell is not liable for any special, indirect,
incidental, and/or consequential damages.”
Page 4

Assistance
Products may not be returned without prior authorization. The following
contact information is for US and international customers residing in countries
served by Campbell Scientific, Inc. directly. Affiliate companies handle
repairs for customers within their territories. Please visit
www.campbellsci.com to determine which Campbell Scientific company serves
your country.
To obtain a Returned Materials Authorization (RMA), contact CAMPBELL
SCIENTIFIC, INC., phone (435) 227-9000. After an applications engineer
determines the nature of the problem, an RMA number will be issued. Please
write this number clearly on the outside of the shipping container. Campbell
Scientific's shipping address is:
CAMPBELL SCIENTIFIC, INC.
RMA#_____
815 West 1800 North
Logan, Utah 84321-1784
For all returns, the customer must fill out a "Statement of Product Cleanliness
and Decontamination" form and comply with the requirements specified in it.
The form is available from our web site at www.campbellsci.com/repair. A
completed form must be either emailed to repair@campbellsci.com or faxed to
(435) 227-9106. Campbell Scientific is unable to process any returns until we
receive this form. If the form is not received within three days of product
receipt or is incomplete, the product will be returned to the customer at the
customer's expense. Campbell Scientific reserves the right to refuse service on
products that were exposed to contaminants that may cause health or safety
concerns for our employees.
Page 5

CC5MPX Table of Contents
PDF viewers: These page numbers refer to the printed version of this document. Use the
PDF reader bookmarks tab for links to specific sections.
1. Introduction...............................................................1-1
2. Specifications............................................................2-1
3. Getting Started ..........................................................3-1
3.1 Factory Setup ..................................................................................... 3-1
3.2 Installing Multimedia Player.............................................................. 3-1
3.3 ActiveX Controls in Internet Explorer............................................... 3-2
3.4 Setup Using Ethernet ......................................................................... 3-2
3.5 Setup Using Device Configuration Utility......................................... 3-6
4. Cables/Wiring ............................................................4-1
4.1 Power and I/O Cable Connections ..................................................... 4-1
4.2 CC5MPXCBL1-L Power and I/O Cable Details ............................... 4-5
4.3 Ethernet Cables .................................................................................. 4-5
5. Camera Hardware Description.................................5-1
5.1 Ethernet RJ-45 Connection ................................................................ 5-1
5.2 Power I/O Connection........................................................................ 5-2
5.3 Setup Button/Status LED ................................................................... 5-2
5.3.1 Status LED ............................................................................... 5-2
5.3.2 Setup Button............................................................................. 5-3
5.4 SD Memory Card............................................................................... 5-4
5.4.1 Accessing SD Memory Card.................................................... 5-4
5.4.2 FTP Image Collection from the Memory Card......................... 5-5
5.5 Switched Power Output ..................................................................... 5-6
6. Camera Configuration ..............................................6-1
7. Camera Operation Using Web Browser Interface....7-1
7.1 Live Video Homepage ....................................................................... 7-2
7.2 Network Configuration ...................................................................... 7-3
7.2.1 Network Settings...................................................................... 7-5
7.2.2 Ethernet Power Mode Settings ................................................. 7-5
7.2.3 FTP Server Setting ................................................................... 7-7
7.2.4 SMTP (Email) Server Settings................................................. 7-8
7.2.5 SNTP (TIME) Server Setting................................................... 7-9
7.3 System Configuration ...................................................................... 7-10
7.3.1 System Date and Time ........................................................... 7-11
7.3.2 Automatic Date and Time Update.......................................... 7-12
7.3.3 Site Name ............................................................................... 7-12
7.3.4 Users and Security.................................................................. 7-13
7.3.5 Digital I/O Settings................................................................. 7-15
i
Page 6

CC5MPX Table of Contents
8. Internal Jumpers ...................................................... 8-1
9. RS-232 Communications ......................................... 9-1
10. RS-485 Communications ..................................... 10-1
7.3.6
Update..................................................................................... 7-16
7.3.7 Events ..................................................................................... 7-17
7.4 Memory Card ................................................................................... 7-18
7.5 Video Settings .................................................................................. 7-21
7.6 Image Capture .................................................................................. 7-23
7.6.1 Power Modes.......................................................................... 7-24
7.6.2 Self Timed Capture1............................................................... 7-27
7.6.3 Self Timed Capture2............................................................... 7-32
7.6.4 External Trigger...................................................................... 7-32
7.6.5 Motion Detection.................................................................... 7-35
7.7 PakBus Communication Settings ..................................................... 7-39
7.8 Still Image Settings ..........................................................................7-40
8.1 RS-232 / RS-485 Jumpers .................................................................. 8-1
8.2 External Trigger Pull-Up/Pull-Down Jumper..................................... 8-2
11. PakBus Communications .................................... 11-1
11.1 Concurrent PakBus Communications.............................................11-1
12. Device Configuration Utility ................................ 12-1
13. Image Quality........................................................ 13-1
13.1 Night Time Images......................................................................... 13-1
14. Lens ....................................................................... 14-1
14.1 Camera Lens and Field of View..................................................... 14-2
14.2 Focus and Zoom Adjustment..........................................................14-3
14.2.1 Using the Focusing Number ................................................. 14-3
14.3 Temperature Variations and Focus................................................. 14-4
14.4 Lens IR Cut Filter........................................................................... 14-4
15. Power Calculations and Timings ........................ 15-1
15.1 Standalone Operation ..................................................................... 15-1
15.2 Operation with Communications.................................................... 15-2
16. CR1000 Interface Guide ....................................... 16-1
16.1 CR1000 Memory Setup.................................................................. 16-1
16.2 CR1000 Files Manager................................................................... 16-1
16.3 CR1000 COM Port (Control Port) Communications ..................... 16-2
17. Remote Image Retrieval....................................... 17-1
17.1 LoggerNet File Retrieval................................................................ 17-1
17.2 Using LoggerNet File Control........................................................ 17-2
ii
Page 7

CC5MPX Table of Contents
18. Installation .............................................................18-1
19. Maintenance ..........................................................19-1
19.1 Lithium Battery.............................................................................. 19-1
19.2 Window and Lens Cleaning........................................................... 19-1
19.3 CC5MPX O-Rings ......................................................................... 19-2
19.4 CC5MPX Desiccant....................................................................... 19-3
20. Backplate Removal Procedures ..........................20-1
21. System Limitations ...............................................21-1
21.1 High resolution 5 Megapixel Images ............................................. 21-1
21.2 Simultaneous processes.................................................................. 21-1
22. Internal USB Function ..........................................22-1
23. Quick Notes ...........................................................23-1
23.1 CC5MPX General.......................................................................... 23-1
23.2 Campbell Datalogger Users ........................................................... 23-2
23.3 Configuration Process.................................................................... 23-2
Appendices
A. Camera Parts and Accessories ............................. A-1
B. CC5MPXWD Window Defroster Description......... B-1
List of Figures
FIGURE 1-1. CC5MPX Camera ................................................................ 1-1
FIGURE 3-1. Network Connections........................................................... 3-2
FIGURE 3-2. Local Area Connection ........................................................ 3-3
FIGURE 3-3. Internet Protocol Properties.................................................. 3-3
FIGURE 3-4. IP Address Configuration..................................................... 3-4
FIGURE 3-5. Web Interface Live Video Home Page................................. 3-6
FIGURE 3-6. CC5MPX Shown in Device Configuration Utility............... 3-7
FIGURE 3-7. CC5MPX Device Configuration Utility Settings Editor ...... 3-8
FIGURE 4-1. Camera Connected to CR1000............................................. 4-3
FIGURE 4-2. Connection Allows CR1000 to Trigger the Camera ............ 4-3
FIGURE 4-3. Camera wired for stand-alone operation without datalogger.
For example, network connection only. .................................................. 4-4
FIGURE 4-4. CC5MPX Connected to MD485 Multidrop Modem............ 4-4
FIGURE 5-1. CC5MPX Connector Layout................................................ 5-1
FIGURE 5-2. SD Card Insertion (wires not shown)................................... 5-5
FIGURE 5-3. Image Collection from Installed SD Card............................ 5-6
FIGURE 7-1. CC5MPX Web Interface Homepage.................................... 7-1
FIGURE 7-2. Live Video (Homepage)....................................................... 7-2
FIGURE 7-3. Network Configuration Warning.......................................... 7-4
FIGURE 7-4. Network Configuration Page................................................ 7-4
FIGURE 7-5. Network Settings.................................................................. 7-5
iii
Page 8

CC5MPX Table of Contents
FIGURE 7-6. Ethernet P
ower Savings Settings.......................................... 7-6
FIGURE 7-7. FTP Server Settings.............................................................. 7-7
FIGURE 7-8. SMTP Server Settings .......................................................... 7-9
FIGURE 7-9. SNTP Server Settings......................................................... 7-10
FIGURE 7-10. System Settings ................................................................7-10
FIGURE 7-11. Date and Time Settings ....................................................7-11
FIGURE 7-12. Automatic Date and Time Update.................................... 7-12
FIGURE 7-13. Site Name ......................................................................... 7-13
FIGURE 7-14. Location of Site Name...................................................... 7-13
FIGURE 7-15. Users and Security Settings .............................................. 7-14
FIGURE 7-16. Digital I/O Settings........................................................... 7-15
FIGURE 7-17. Update Menu .................................................................... 7-17
FIGURE 7-18. Event Logs........................................................................ 7-18
FIGURE 7-19. Memory Card Page........................................................... 7-18
FIGURE 7-20. Memory Card Directory Listing....................................... 7-19
FIGURE 7-21. Date Subfolders ................................................................ 7-20
FIGURE 7-22. Example Display of Files ................................................. 7-20
FIGURE 7-23. Example of Multiple Page Viewing .................................7-21
FIGURE 7-24. Video Settings Page.......................................................... 7-21
FIGURE 7-25. Video Banner Inside Top with Time Stamp and Text ...... 7-22
FIGURE 7-26. Image Capture Page.......................................................... 7-24
FIGURE 7-27. Power Modes.................................................................... 7-24
FIGURE 7-28. Self-Timed Capture Page .................................................7-27
FIGURE 7-29. Enable and Capture Time Values..................................... 7-28
FIGURE 7-30. External Trigger Setup Page............................................. 7-33
FIGURE 7-31. Motion Detection Page..................................................... 7-36
FIGURE 7-32. Communication Settings Page.......................................... 7-39
FIGURE 7-33. Still Images Settings Page ................................................ 7-40
FIGURE 8-1. Internal Jumper Locations .................................................... 8-1
FIGURE 8-2. Schematic Showing External Contact Device ...................... 8-2
FIGURE 9-1. Serial PakBus Port Setting.................................................... 9-1
FIGURE 9-2. Connecting the CC5MPX to a 9-Pin RS-232 Port................ 9-2
FIGURE 9-3. Datalogger Connections with RS-232 .................................. 9-2
FIGURE 10-1. RS-485 Shown in PakBus Port Setting............................. 10-1
FIGURE 12-1. CC5MPX Device Configuration Option ..........................12-1
FIGURE 12-2. Device Configuration Utility Screen ................................ 12-2
FIGURE 14-1. CC5MPX Lens Tube Removal......................................... 14-1
FIGURE 14-2. Focus and Zoom Adjustments.......................................... 14-2
FIGURE 14-3. CC5MPX Horizontal Field of View................................. 14-2
FIGURE 14-4. Homepage Video Display and Focusing Numbers........... 14-4
FIGURE 17-1. File Retrieval Setup Screen .............................................. 17-1
FIGURE 17-2. LoggerNet Connection Screen..........................................17-2
FIGURE 17-3. USR Drive View in File Control...................................... 17-3
FIGURE 18-1. CC5MPX Mounting Kit ................................................... 18-1
FIGURE 18-2. CC5MPX Mounting Holes............................................... 18-1
FIGURE 18-3. CC5MPX Mounted to Crossarm ...................................... 18-2
FIGURE 19-1. Lithium Battery Replacement (wires not shown)............. 19-1
FIGURE 19-2. Backplate O-ring .............................................................. 19-2
FIGURE 19-3. Button Cap O-ring............................................................ 19-2
FIGURE 19-4. Front Main Body O-ring................................................... 19-3
FIGURE 19-5. Desiccant Location........................................................... 19-4
FIGURE 20-1. Backplate View ................................................................20-2
FIGURE 20-2. Removing Backplate Screws (wires not shown) .............. 20-3
FIGURE 20-3. Inside of Camera with Wires Attached............................. 20-3
FIGURE 22-1. USB Network Interface.................................................... 22-1
FIGURE 22-2. CC5MPX USB Directory................................................. 22-2
iv
Page 9

CC5MPX Table of Contents
FIGURE 22-3. Network Configuration
FIGURE B-1. CC5MPXWD Window Defroster........................................B-1
FIGURE B-2. CC5MPXWD Window Defroster with Lens Tube
Installed ...................................................................................................B-2
List of Tables
TABLE 3-1. CC5MPX Default Configuration ........................................... 3-1
TABLE 4-1. CC5MPXCBL1-L Power and I/O Cable Color Connections 4-1
TABLE 4-2. CC5MPXCBL1-L Power and I/O Cable Wire Usage............ 4-2
TABLE 5-1. Setup Button LED Indicator .................................................. 5-3
TABLE 7-1. Network Settings ................................................................... 7-5
TABLE 7-2. Ethernet Power Save Modes.................................................. 7-6
TABLE 7-3. Typical Video File Sizes...................................................... 7-23
TABLE 7-4. Power Modes ....................................................................... 7-25
TABLE 7-5. Capture Response Times ..................................................... 7-26
TABLE 7-6. Start and Stop Time Examples............................................. 7-29
TABLE 7-7. Self Time Capture Variables................................................ 7-30
TABLE 7-8. External Trigger Variables................................................... 7-34
TABLE 7-9. Motion Detection Settings ................................................... 7-37
TABLE 7-10. PakBus Communication Settings....................................... 7-39
TABLE 7-11. Still Image Settings............................................................ 7-41
TABLE 7-12. Still Image Resolution Details ........................................... 7-42
TABLE 15-1. Power Consumption Table (Standalone) ........................... 15-1
TABLE 15-2. File Transfer Times Using PakBus.................................... 15-2
TABLE 23-1. Power Mode Summary ...................................................... 23-3
.................................................... 22-2
v
Page 10

CC5MPX Table of Contents
vi
Page 11

Section 1. Introduction
NOTE
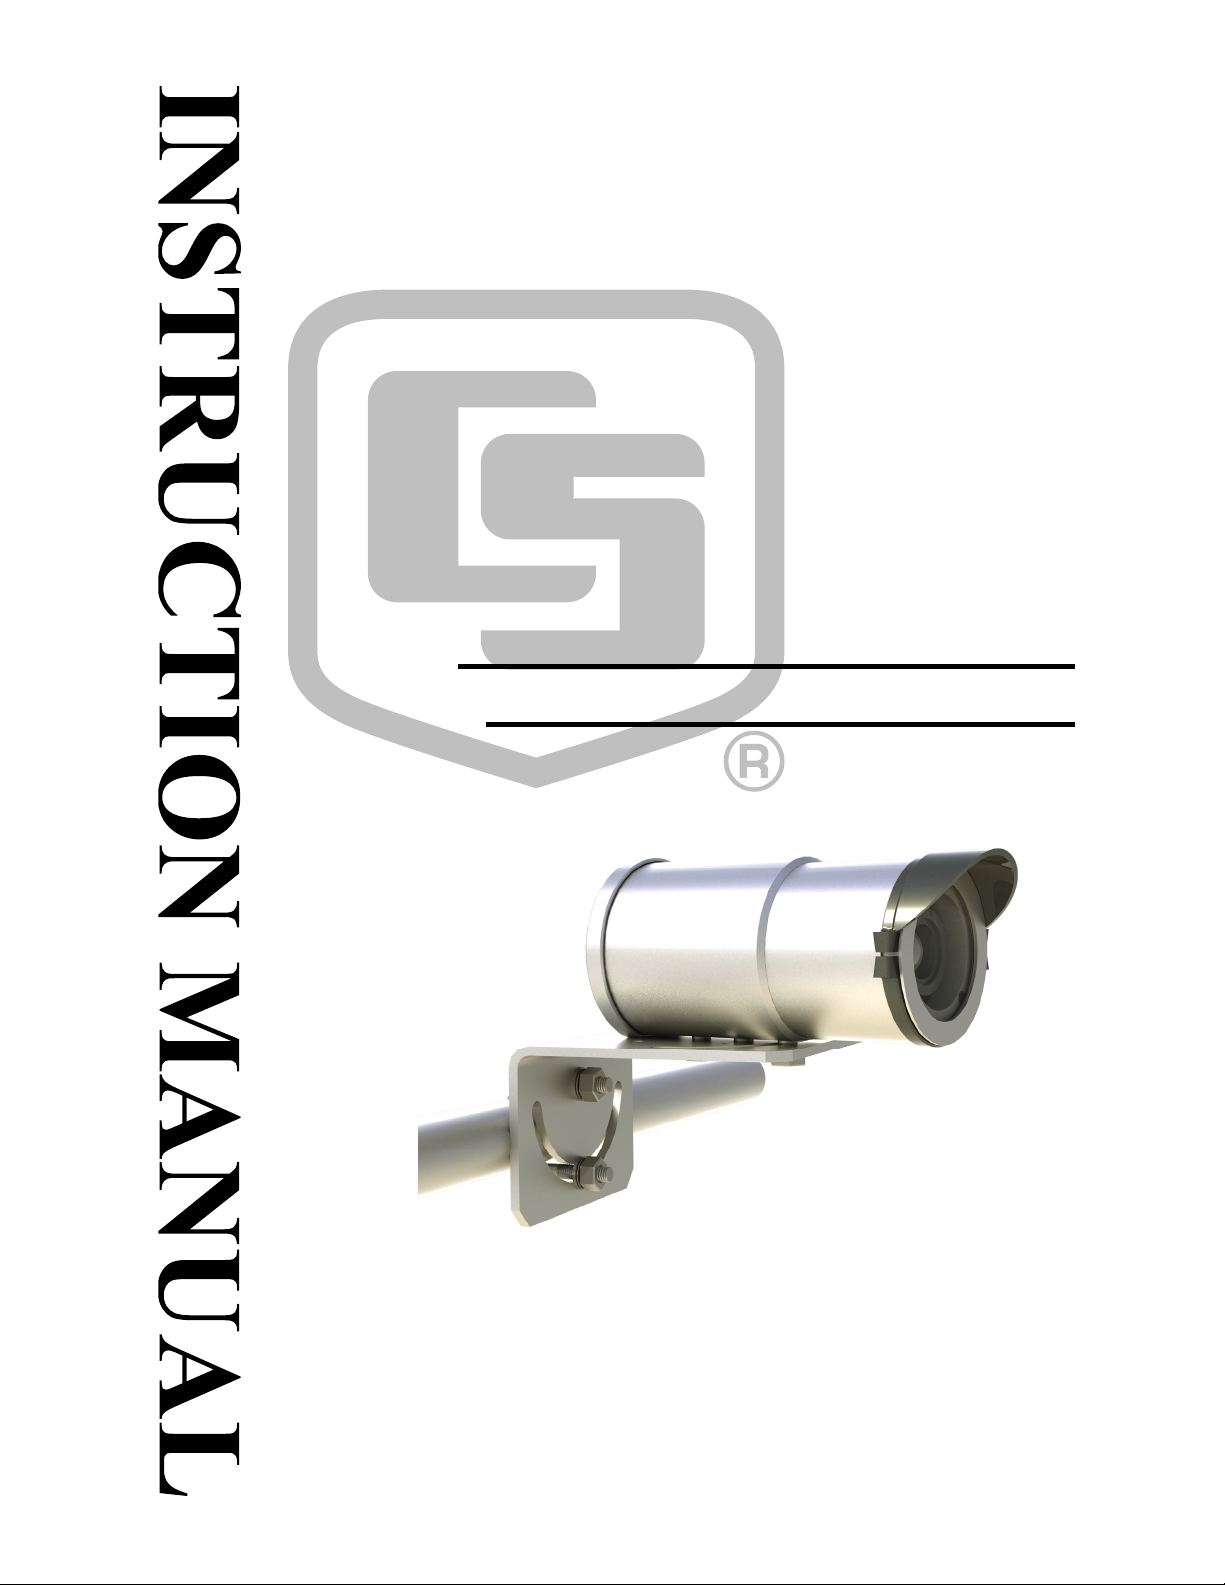
FIGURE 1-1. CC5MPX Camera
The CC5MPX and CC5MPXWD are essentially the same camera, except the
CC5MPXWD includes a window defroster that removes light frost and icing
from the camera’s window. A more detailed description of the defroster is
provided in Appendix B.
For readability purposes, CC5MPX will refer to both cameras
throughout this document unless specified otherwise.
The CC5MPX digital network camera was designed to meet the stringent
operational requirements necessary for remote battery powered installations
while producing images of up to 5 megapixels. The CC5MPX can operate
over a wide temperature range and has several advanced power saving modes
to suit a variety of needs.
The CC5MPX incorporates an integrated rugged environmental enclosure to
reduce cost and installation time. Communication options include Ethernet,
RS-232, and RS-485. The CC5MPX is fully web-enabled with FTP and Email
capabilities. Campbell Scientific’s PakBus protocol is supported by the
CC5MPX for integration with Campbell Scientific dataloggers.
An SD memory card is available as an option. This card enables the CC5MPX
to archive images and videos internally, creating a powerful image and video
logger.
The CC5MPX can operate in a stand-alone mode with image acquisitions
triggered by the camera’s own precision real-time clock. Image and video
acquisitions can also be triggered by events through an external signal or
motion detection.
1-1
Page 12

Section 1. Introduction
1-2
Page 13

Section 2. Specifications
CC5MPXWD Heating
Element Resistance: 18 Ohms
Operating Power
CC5MPX: 9 to 30 Vdc
CC5MPXWD: 9 to 16 Vdc
CAUTION
Operating the CC5MPXWD camera and defroster at
voltages higher than 16 Vdc may damage the camera.
Current Drain
Operating (camera only): 250 mA maximum @ 12 Vdc
Quiescent: ≤1 mA (off power mode)
CC5MPXWD defroster on: 1.2 A (maximum @ 16 Vdc);
1 A (typical @ 12 Vdc)
Operating Temperature: -40° to +60°C
Clock Accuracy: ±2 minutes/year (-40° to 60°C)
Lens
Mount: C-type
IRIS: DC compatible
Standard Lens: 4 to 12 mm, 27° to 80° field of view (FOV)
Zoom Lens: 10 to 40 mm, 9° to 35° FOV (ordered as a
special; contact Campbell Scientific for more
information)
Image or Video
Capture Triggers: Two independent self timers
Motion detection
Web page control
External trigger
Still Image Resolution (JPEG): 2592x1944 640x352
1280x960 320x240
1280x720 320x176
640x480
Video: Capable of 720P - 1280x720 (MPEG4),
640x480 (Live Video Only/MJPEG),
320x240 (MPEG4)
Ext. Input Signal
Logic Low Level: <0.65 V (-20 Vdc absolute minimum)
Logic High Level: >2.0 Vdc (+20 Vdc absolute maximum)
Minimum Pulse Width: 10 ms
Communication Interfaces: Ethernet 10/100
RS-232 port
RS-485 port
2-1
Page 14

Section 2. Specifications
Communication Protocols: Web page interface via web browser
FTP
Email
PakBus (for Campbell Scientific Dataloggers)
Communication Switched
Power Output: Maximum Output Current: 750 mA
RS-232 and RS-485: Max. BAUD Rate: 115.2 kbps
Memory Card Interface
Type: Secure Digital (SD)
File System: FAT32
File Type: JPEG (image), AVI (video)
Size: Verified up to 16GB
Dimensions
Length: 220 mm (8.7 in); 229 mm (9.0 in) with
special zoom lens
Width: 93 mm (3.7 in)
Weight: 1.06 kg (2.34 lb)
2-2
Page 15

Section 3. Getting Started
Ensure that the pigtail end of the power cable is properly terminated (see
Wiring, Section 4) before connecting the power cable connector to the camera.
If the power supply has an on/off switch, it is also recommended to switch the
power off before connecting the power connector to the camera.
For the initial power up and set up of the camera, it is also useful to unscrew
the protective cap that protects the push button and LED indicator.
3.1 Factory Setup
The following table outlines some of the CC5MPX settings that are relevant for
initially communicating with the CC5MPX camera:
TABLE 3-1. CC5MPX Default Configuration
Configuration Setting Value
Power Mode Fully On
Network IP Address 192.168.1.90 (Static)
Network Mask 255.255.255.0
Serial I/O Port RS-232
RS-232 Baud Rate 115200
PakBus Address 55
There are two different ways to set up the parameters in the CC5MPX. The
Ethernet network interface can be used with a web browser or the RS-232
serial lines can be used with Campbell Scientifics’ Device Configuration utility
(version 2.0 or greater). The use of the RS-232 serial lines need to be
terminated with the socket version of the SC110 or use of the DB9M-TERM in
order to connect to a PC (Section 4, TABLE 4-1).
en power is first applied to the camera, the LED will turn on and remain
Wh
steadily on for about 90 seconds. Once the LED starts flashing, the camera has
initialized properly and is ready for operation.
3.2 Installing Multimedia Player
NOTE
The multimedia player needs to be installed where there is access
to the Internet.
The use of a multimedia player is required on your computer to properly
display the video from the CC5MPX. We recommend the use of the
VideoLAN VLC media player, which is free, open-source software to ensure
that the proper video codecs are available on your computer. The download is
available online at the follow address:
http://www.videolan.org/vlc/
3-1
 Loading...