

Cambro Camcarrier, Camcart, Combo Cart, Camtainer, Ultra Camtainer Owner's Manual
1
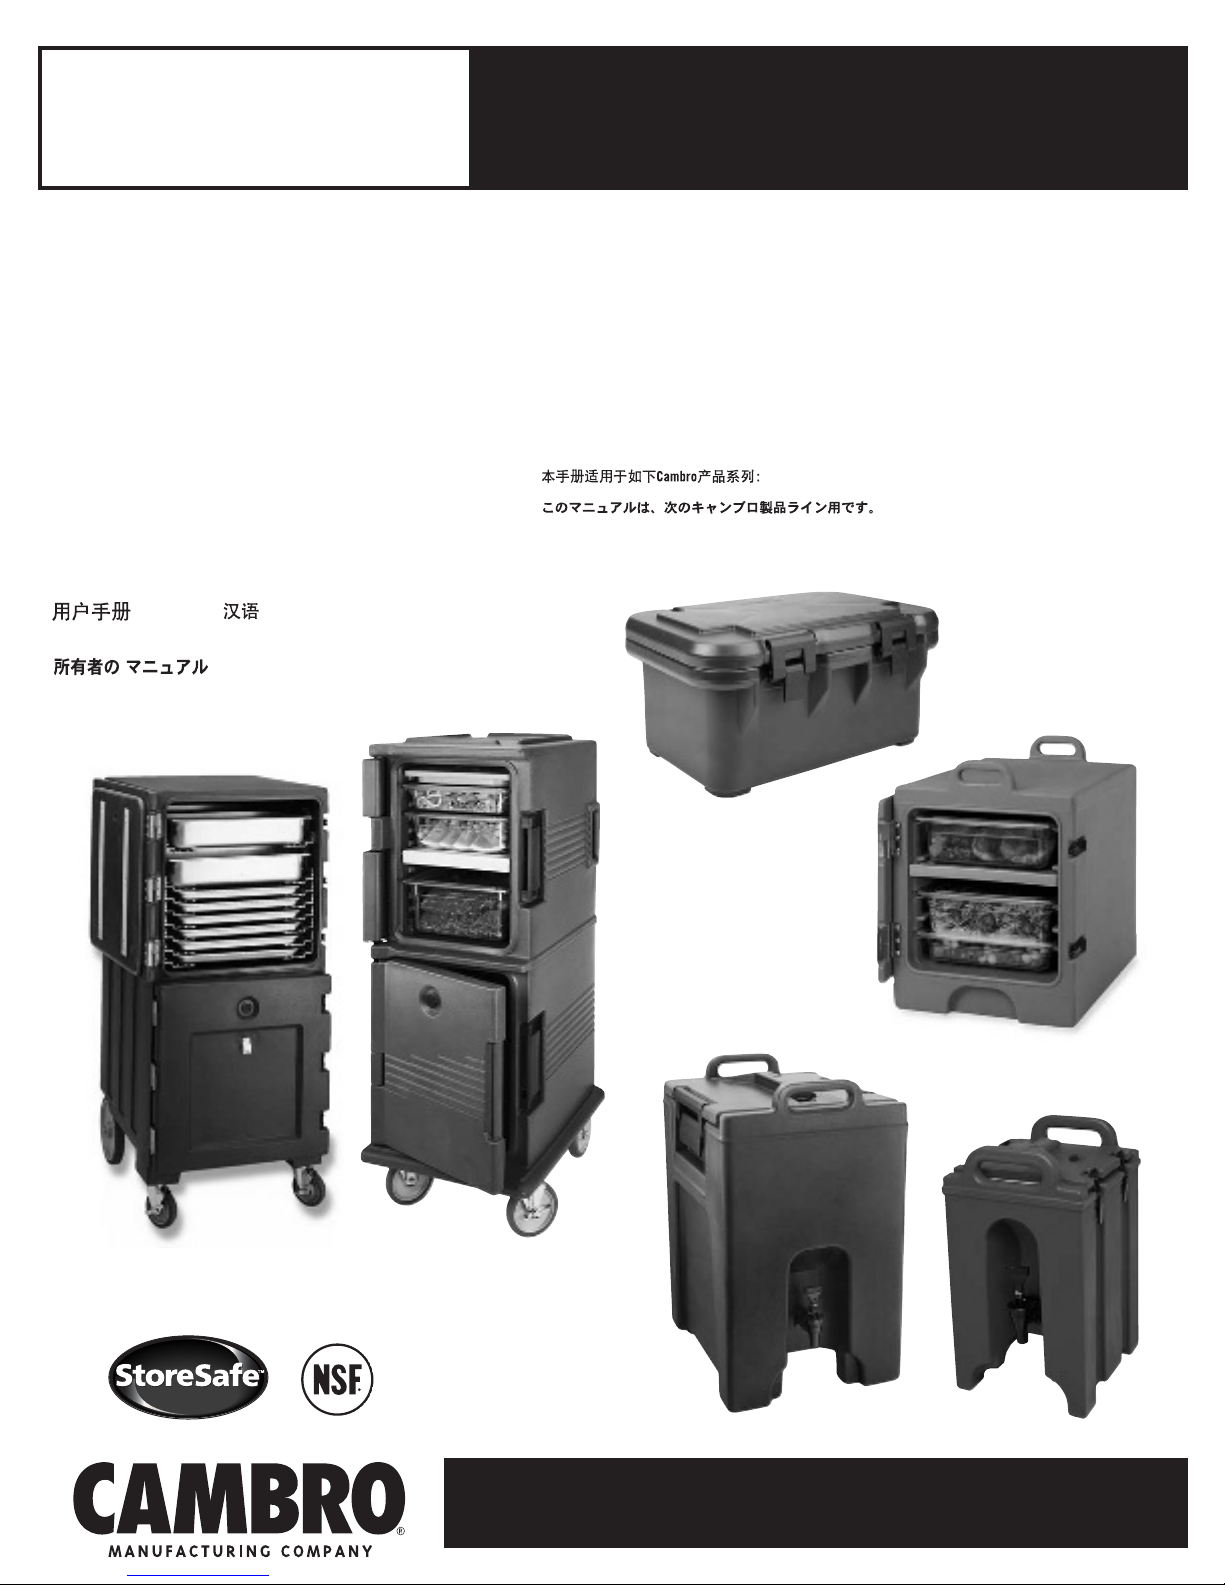
Camcarriers
®
Camcarts
®
Combo Carts
™
Camtainers
®
Ultra Camtainers
®
CAMBRO®INSULATED TRANSPORTERS
OWNER’S
MANUAL
This manual applies to the following Cambro product lines:
DURABILITY THAT MAKES A DIFFERENCE
®
Owner’s Manual (English)..........................................p.3-4
Manual del Propietario (Español).........................pág.5-7
Manuel du Propriétaire (Français) ...........................p.5-7
Handleiding voor de Eigenaar (Nederlands).........pg.8-10
Bedienungsanleitung (Deutsch)..............................S.8-10
Manuale del Proprietario (Italiano)..................pag.10-12
êêììääééÇÇééÑÑëëííÇÇéé ÇÇããÄÄÑÑÖÖããúúññÄÄ ((PPÛÛÒÒÒÒÍÍÓÓ))..........................ÒÒÚÚpp..1100--1122
(Chinese) ( )...............................p.12-15
(Japanese) ( ) ..........p.12-15
ùùÚÚÓÓ ÛÛÍÍÓÓ‚‚ÓÓ‰‰ÒÒÚÚ‚‚ÓÓ ÓÓÚÚÌÌÓÓÒÒËËÚÚÒÒflfl ÍÍ ÒÒÎΉ‰ÛÛ˛˛˘˘ËËÏÏ ‚‚Ëˉ‰‡‡ÏÏ ÒÒÂÂËËÈÈÌÌÓÓÈÈ ÔÔÓÓ‰‰ÛÛÍ͈ˆËËËË
ÙÙËËÏÏ˚˚ CCaammbbrroo::
Deze handleiding geldt voor de volgende Cambro producten:
La présente notice concerne les gammes de produits Cambro suivantes:
Diese Anleitung gilt für die folgenden Cambro Produktserien:
Questo manuale si riferisce alle seguenti linee di prodotti Cambro:
Este manual concierne a las siguientes líneas de productos Cambro:

LEFT BLANK INTENTIONALLY
1
Introduction
Congratulations
on the purchase of your new Cambro insulated transporter. This Owner’s Manual provides you with a step-by-step guide to assembling, operating,
and maintaining your transporter. If you have any further questions, please do not hesitate to contact your Cambro Sales Representative, visit our Web site at
www.cambro.com or call our Customer Service Line at 800 833 3003.
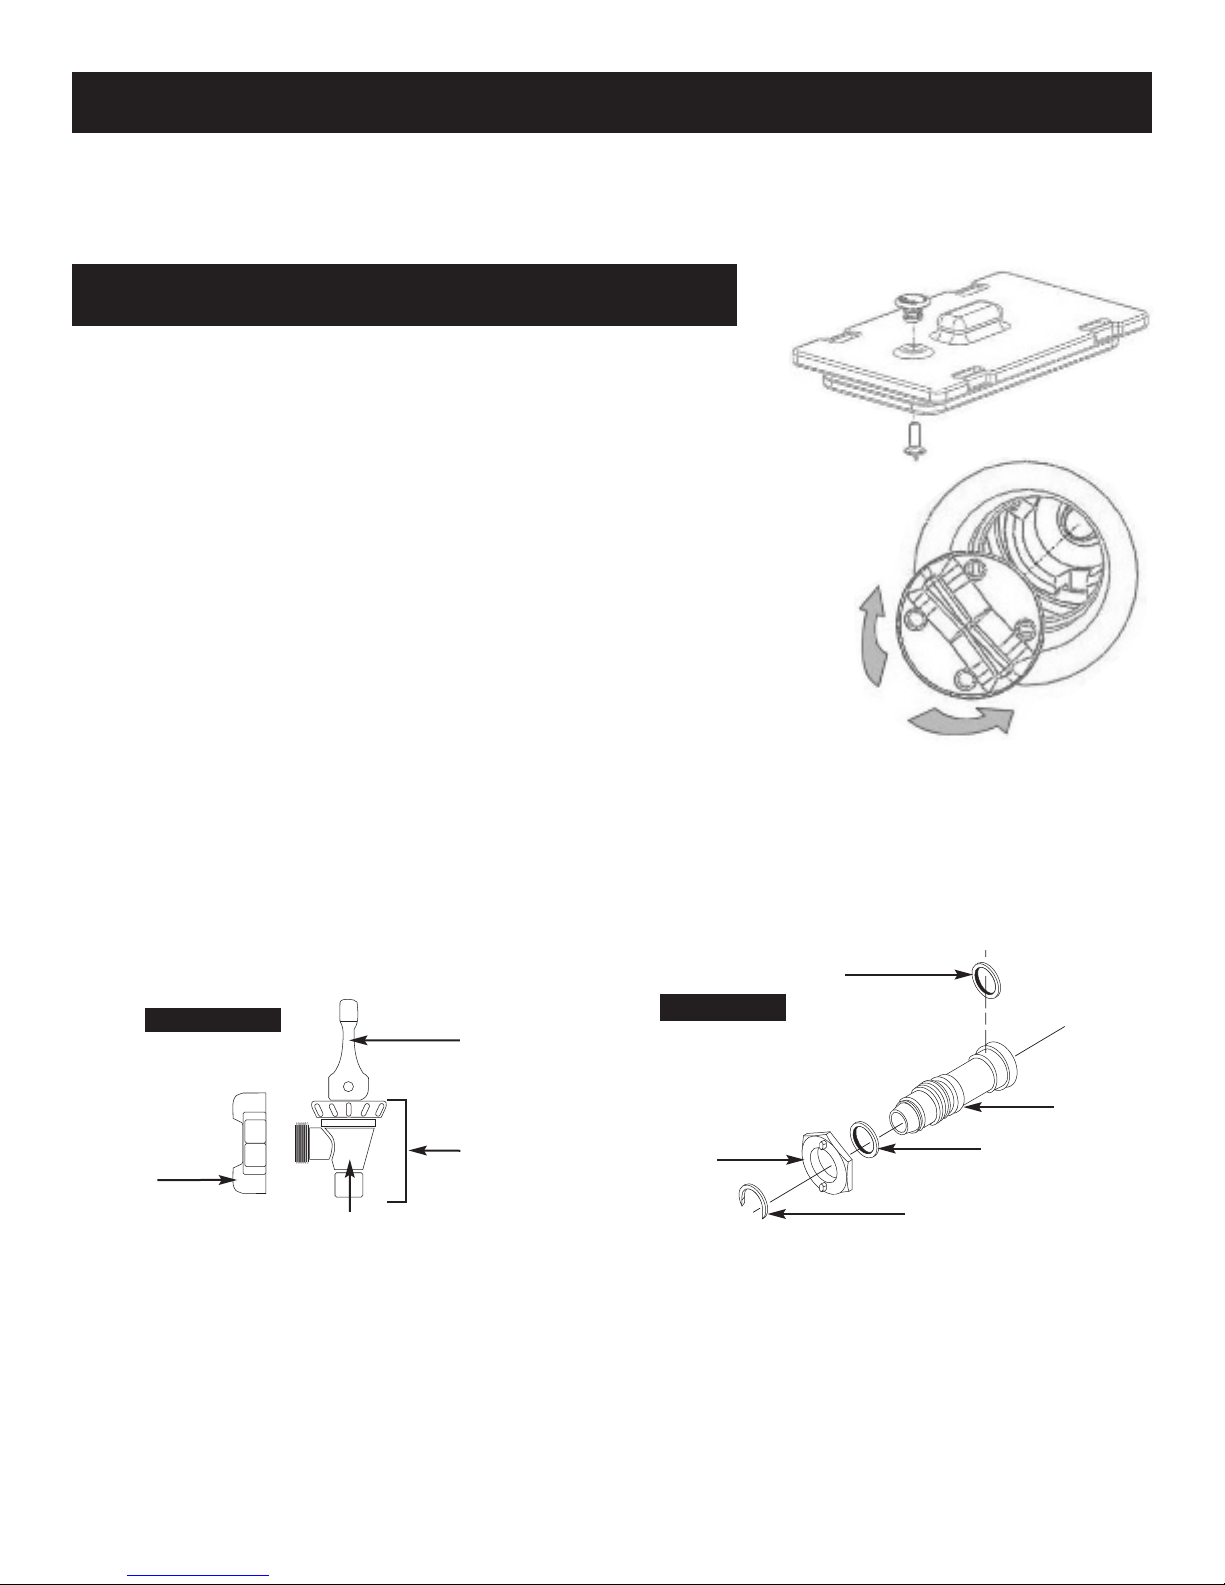
(A) Pop-up Vent Cap and Anchor Installation and Use Instructions
Lids and doors manufactured by Cambro after March, 2007, feature a large (3⁄4/ 19.05mm) opening with a Pop-up
Vent Cap & Anchor for equalizing pressure and releasing steam. *
To open vent, firmly grasp vent and pull outward until you hear a click. To close vent, push vent in until you hear a
click.
To remove the Pop-up Vent components:
1) Push the vent cap down into the non-venting position.
2) From the bottom or inner side of the lid or door, unscrew the anchor component in a counterclockwise
direction. You may need to hold the cap on the opposite side of the lid or door to stop it from turning.
3) Once the anchor component is disconnected from the cap, pull up on the cap until it comes completely out of
the vent opening.
To install the Pop-up Vent components:
1) Place the cap component into the vent opening from the top or outer surface of the lid or door, pushing it
fully into the opening until it stops (in the non-venting position).
2) From the bottom or inner side of the lid or door, screw-in the anchor component in a clockwise direction. You
may need to hold the cap on the opposite side of the lid or door to stop it from turning. When the two
components are fully connected, stop turning. Do not over tighten.
*
UPCS and toploading Camcarriers®feature a built-in vent, so these instructions do NOT apply to those models.
2
Parts and Assembly Instructions
Remove
Install
(B) Beverage Server Faucet and Spout Assembly Instructions
1. Put flat washer in groove at the end of the spout.
2. Place spout in Camtainer.
3. Put fiber washer on spout. Push it to the wall of the Camtainer.
4. Thread hex nut and tighten nut firmly, but do not over tighten. (If the flat washer inside
of the Camtainer is flattened and distorted, leaking can occur.) To tighten the hex nut,
use the wing nut as a wrench.
5. Leave the wing nut in the position used in step 4, the tightenedposition.
6. Insert metal “C” ring in front groove, in front of wing nut.
7. Insert faucet into wing nut and tighten in upright position (counter-clockwise)
Faucet Kit
Spout Kit
Faucet lever
Wing Nut
Rubber Seat Cup
(nested inside)
Body
Flat Rubber Washer
Spout
Fiber Washer
Hex Nut
“C” Ring
(stainless steel)
3
3
Maintenance and Cleaning
Schedule a thorough, regular cleaning and parts inspection of doors, gaskets, spigots,
latches and hinges. Check to make sure they are in good working condition or replace if
necessary.
(A) Cleaning Instructions
• Remove and clean lids, vent caps, gaskets and spigots. To clean gaskets, place in a
container or sink of hot, soapy water, wipe off with a soft cloth or brush, rinse with hot
water, and dry with soft, dry cloth.
• Where possible, remove doors and clean around hinges and/or pins.
• Using a soft cloth or brush and a mild commercial cleaning detergent, clean the outside
and inside, paying close attention to handles, latches, hinges and vent caps. Sanitizing
solutions are recommended. Do not use any cleaners containing ammonia or bleach. Do
not use steel wool or abrasive pads or brushes.
• Rinse with clean hot water 70ºF (21,1°C) or hotter.
• Air dry whenever possible or wipe thoroughly with a dry, clean, soft cloth to remove all
moisture inside and out.
• Store with lids and doors slightly open.
(B) Removing Lingering Scents and Stains
• Use an odor removing soak or sanitizer to remove scents and stains that can occur from
holding coffee and/or foods with strong odors.
• A diluted solution of 2–3 tablespoons of baking soda per gallon of hot tap water or 1
part lemon juice or vinegar to 4 parts hot water is also an effective way to remove
lingering odors.
• Rinse thoroughly with hot water and dry.
(C) Usage Tips and Precautions
Pre-heating or pre-chilling your transporter before loading is recommended for best results
and to extend holding time.
To preheat, slide a hot Cambro Camwarmer®onto bottom rails or place a full-sized, uncovered pan of hot water onto bottom rails. Close door for 15–30 minutes. Fill beverage servers
with hot water, cover and latch lid for 15-30 minutes.
To pre-chill, slide frozen Cambro Camchiller(s)®onto top rails or slide a full-sized, uncovered pan of ice water onto top rails. Close door for 15–30 minutes. Another effective method
is to place transporters in cooler or freezer overnight with doors open or lids off. Fill beverage servers with ice water, cover and latch lid for 15-30 minutes.
To help protect your Cambro insulated transporter, reduce risk of employee injuries and
eliminate unnecessary food waste:
• Do not use any type of canned/portable cooking fuel inside a Cambro
transporter.
• Always cool metal pans or sheet pans for 30–60 seconds to 250ºF
(121ºC) before placing into Cambro transporter or on any transporter
surface.
• Boiling liquid 190ºF (88ºC) or hotter should not be poured directly into
a Cambro transporter.
• Do not place product against any direct heat source such as a hot
oven or grill.
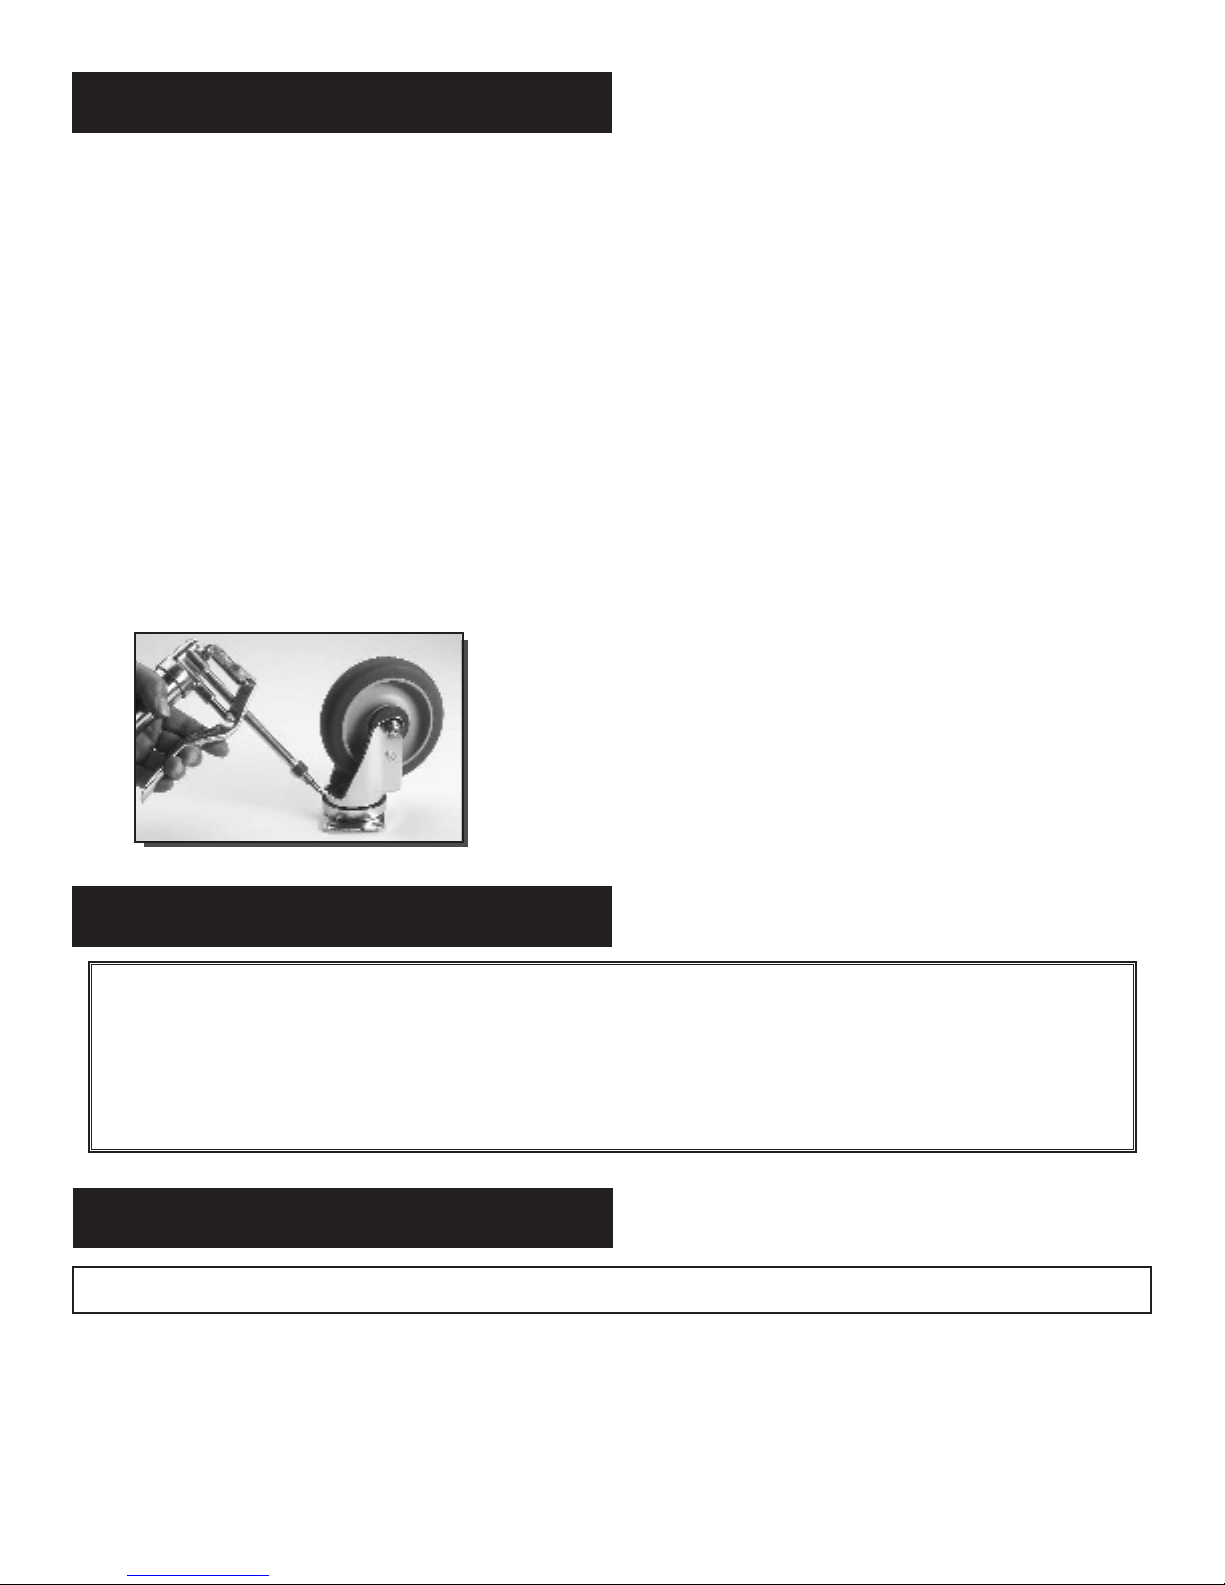
(D) Caster Maintenance (for Camcarts®and Wheeled Camcarriers®)
Caster maintenance should be performed each time your transporter has been washed or steam cleaned.
1. Grease swivel raceway of caster using a lubricant such as Lubriplate #930-AA, Keystone #84EPXLT
multi-purpose grease or equivalent. Apply grease using a grease gun with a needle nose adapter or a
tube-type applicator such as Sta-lube Moly-graph Assembly Lube. These can be obtained at most auto
parts stores.
2. Use a light oil such as WD-40 on the hub. Check caster for damage and test caster spin and swivel rotation
before returning to service.
4
Warranty
WWAARRRRAANNTTYY
Cambro warrants to the original buyer that if a product proves defective:
1. Within 1 year from the date of manufacture, Cambro will replace the product free of charge; or,
2. After 1 year and up to 2 years from the date of manufacture, Cambro will grant a credit of 2/3 off replacement product; or,
3. After 2 years and up to 3 years from the date of manufacture, Cambro will grant a credit of 1/3 of the original price towards a
replacement product.
5
Replacement Parts
PPlleeaassee vviissiitt wwwwww..ccaammbbrroo..ccoomm ffoorr aa ccoommpplleettee lliisstt ooff rreeppllaacceemmeenntt ppaarrttss..
TO ORDER REPLACEMENT PARTS:
• Call Cambro Customer Service at 800 854 7631 or
• Fax your order to 714 842 3430 or
• Call your local Cambro Representative or Distributor
4

1
Introducción
Felicitaciones
por la compra de su nuevo transportador isotérmico Cambro. Este Manual
del Propietario le proporciona una guía paso a paso para el armado, operación y mantenimiento de su transportador. Si tuviese algunas otras preguntas, por favor no dude en
comunicarse con su Representante de Ventas Cambro, visitar nuestro portal en la Internet
en www.cambro.com o llamar a nuestra Línea de Servicio a Clientes al 800 833 3003.
(A) Instrucciones para instalar y usar la tapa de ventila de brote y su anclaje
Las tapas y las puertas fabricadas por Cambro después de marzo del 2007, tienen una
abertura grande (de 19.05 mm) con una tapa de ventila de brote y su anclaje cuyo fin es
igualar la presión y dejar escapar el vapor.*
Para abrir la ventila, agárrela firmemente y tire de ella hacia fuera hasta que se oiga un
chasquido. Para cerrarla, empuje la ventila hacia dentro hasta que se oiga un chasquido.
Para quitar los componentes de la ventila de brote:
1) Empuje el tapón de ventilación hacia abajo hasta la posición de no ventilar.
2) Desde el fondo o desde el interior de la tapa o de la puerta, desenrosque el
componente de anclaje en el sentido contrario a las manecillas del reloj. Tal vez
tenga que retener el tapón en el lado opuesto de la tapa o de la puerta para evitar
que éste dé vueltas.
3) Una vez que desconecte el componente de anclaje del tapón, tire de la tapa hacia
arriba hasta que salga completamente del agujero de ventilación
Para instalar los componentes de la ventila de brote:
1) Ponga el componente del tapón dentro del agujero de ventilación desde la parte
superior o desde la superficie exterior de la tapa o de la puerta, empújelo
completamente dentro del agujero hasta que se detenga (en la posición de no
ventilar).
2) Desde el fondo o desde el lado interior de la tapa o de la puerta, enrosque el
componente del anclaje en el sentido de las manecillas del reloj. Tal vez tenga que
retener el tapón en el lado opuesto de la tapa o de la puerta para evitar que éste dé
vueltas. Cuando los dos componentes están completamente conectados, deje de
darles vuelta. No los apriete con exceso.
* Los UPCS y los Camcarriers®que se cargan por arriba tienen una ventila incorporada,
de manera que estas instrucciones NO atañen a estos modelos.
2
Piezas e instrucciones de armado
Pièces et consignes de montage
Para Quitar
Para Instalar
Introduction
Félicitations
Vous êtes maintenant possesseur d’une nouvelle unité de transport Cambro
isotherme. Ce manuel du propriétaire indique la marche à suivre pour monter, utiliser et
entretenir cette unité. Si vous avez quelque question que ce soit, n’hésitez pas à contacter
votre représentant Cambro. Vous pouvez aussi consulter www.cambro.com ou appeler notre
service clientèle au 800 833 3003 (Amérique du Nord).
(A) Clapet d’aération et attache – Installation et emploi
Les couvercles et portes fabriqués par Cambro après mars 2007 se distinguent par un gros
orifice (19,05 mm) doté d’un ensemble clapet d’aération-attache qui sert à égaliser la pression et à évacuer la vapeur.*
Pour ouvrir le clapet, tirez-le fermement jusqu’à ce qu’un déclic se fasse entendre. Pour le
fermer, appuyez-dessus jusqu’à ce qu’il se réenclenche.
Démontage du clapet d’aération:
1) Appuyez sur le clapet pour le mettre en position fermée.
2) Par dessous (côté interne du couvercle ou de la porte), dévissez l’attache en sens
horaire inverse. Il peut être nécessaire de tenir le clapet de l’autre côté pour
l’empêcher de tourner.
3) Une fois l’attache détachée du clapet, tirez le clapet pour le sortir entièrement de
l’orifice.
Montage du clapet d’aération:
1) Insérez le clapet dans l’orifice d’aération par le haut (côté externe du couvercle ou de
la porte), en appuyant dessus jusqu’à ce qu’il se bloque (position fermée).
2) Par dessous (côté interne du couvercle ou de la porte), vissez l’attache en sens
horaire. Il peut être nécessaire de tenir le clapet de l’autre côté pour l’empêcher de
tourner. Une fois les deux pièces solidement fixées l’une à l’autre, cessez de visser.
Serrez sans forcer.
* Les unités UPCS et Camcarriers®à chargement par le haut ont un évent intégré et ces
consignes sont donc sans objet dans leur cas.
Retrait
Installation
Español Français
5
 Loading...