

Califone PL-19 Owners Manual
CAUTION
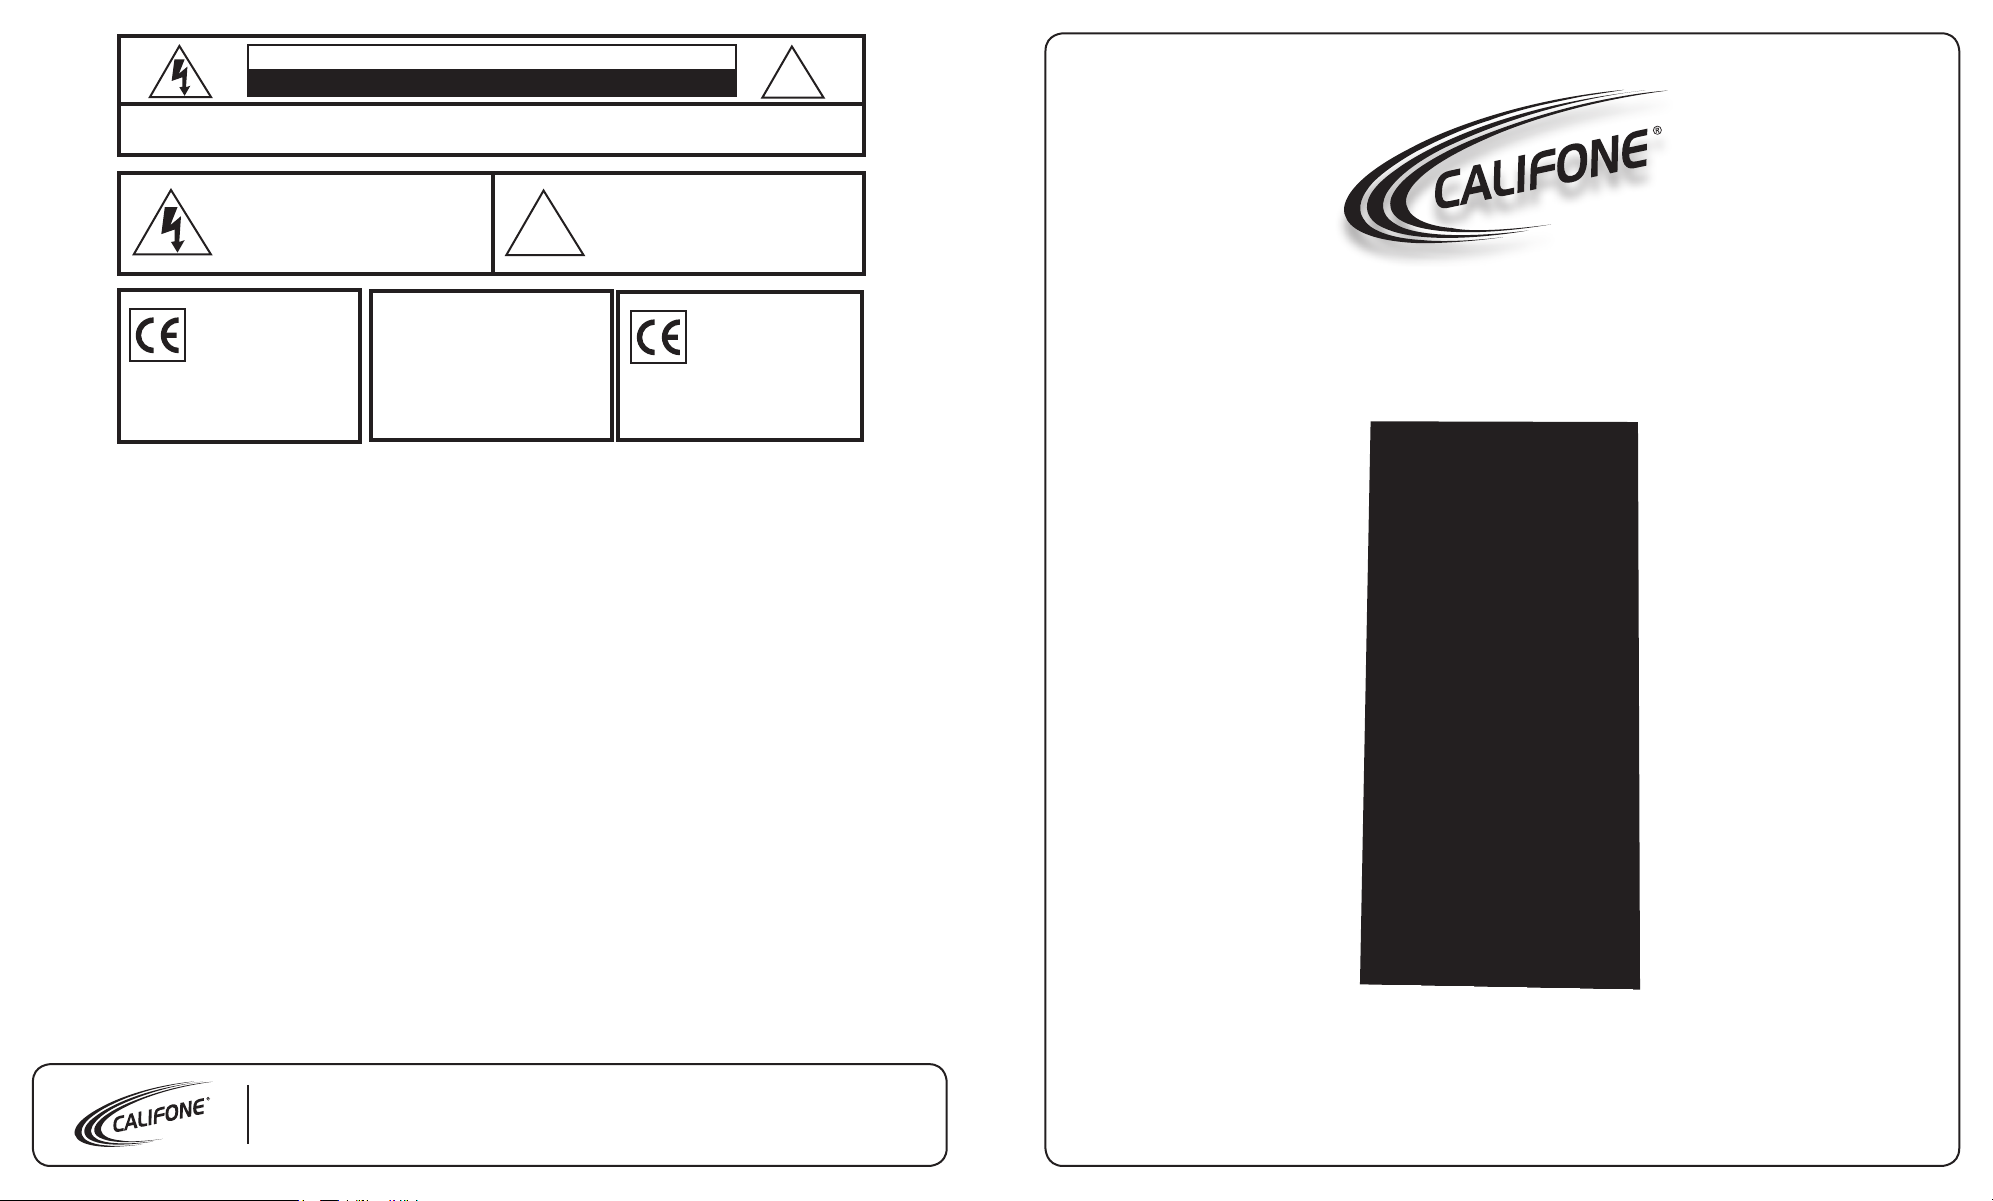
RISK OF ELECTRIC SHOCK - DO NOT OPEN
CAUTION: TO REDUCE THE RISK OF ELECTRIC SHOCK, DO NOT REMOVE COVER OR
BACK. NO USER SERVICEABLE PARTS INSIDE. REFER SERVICING TO QAULIFIED
PERSONNEL.
!
The lightening ash with arrowhead
within a triangle is intended to tell the
user that parts inside the product are a
risk of electric shock to persons.
This product is not designed to
function normally in strong electromagnetic elds. Consequently, the
product is exposed to strong electromagnetic elds.
Normal audio quality operation will be recovered
when the strong electromagnetic eld is no
longer present.
audio quality may degrade while the
IMPORTANT SAFETY INSTRUCTIONS
ATTENTION: ALL SAFETY AND OPERATING INSTRUCTIONS
SHOULD BE READ BEFORE OPERATING APPLIANCE. ALL OPERATING AND USE INSTRUCTIONS SHOULD BE FOLLOWED WHEN OPERATING THE APPLIANCE. HEED AND ADHERE
TO ALL WARNINGS ON THE APPLIANCE AND IN THE OPERATING
INSTRUCTIONS. RETAIN ALL SAFETY AND OPERATING INSTRUCTIONS FOR FUTURE REFERENCE.
WATER & MOISTURE - DO NOT USE THE APPLIANCE NEAR
WATER; IE. BATHTUB, WASHBOWL, KITCHEN SINK, LAUNDRY
TUB, WET BASEMENT OR SWIMMING POOL.
VENTILATION - DO NOT SITUATE THE APPLIANCE SO THAT
ITS LOCATION OR POSITION INTERFERES WITH ITS PROPER
VENTILATION. FOR EXAMPLE, THE APPLIANCE SHOULD NOT
BE SITUATED ON A BED, SOFA, RUG OR SIMILAR SURFACE THAT
MAY BLOCK THE VENTILATION OPENINGS. THE
APPLIANCE SHOULD NOT BE PLACED IN A BUILT-IN
INSTALLATION, SUCH AS A BOOKCASE OR CABINET, THAT
MAY IMPEDE THE FLOW OF AIR THROUGH THE VENTILATION
OPENINGS.
HEAT - SITUATE THE APPLIANCE AWAY FROM HEAT SOURCES
SUCH AS RADIATORS, HEAT REGISTERS, STOVES OR OTHER APPLIANCES (INCLUDING AMPLIFIERS) THAT PRODUCE HEAT.
POWER SOURCES - CONNECT THE APPLIANCE ONLY TO A
POWER SUPPLY TYPE DESCRIBED IN THE OPERATING INSTRUCTIONS OR MARKED ON THE APPLIANCE.
GROUNDING OR POLARIZATION - PRECAUTIONS SHOULD BE
TAKEN SO THAT THE GROUNDING OR POLARIZATION MEANS OF
THE APPLIANCE ARE NOT DEFEATED.
!
WARNING:
TO REDUCE THE RISK OF
FIRE OR ELECTRIC SHOCK, SO
NOT EXPOSE THIS APPLIANCE
TO RAIN OR MOISTURE.
POWER CORD PROTECTION - POWER SUPPLY CORDS
SHOULD BE ROUTED SO THAT THEY ARE NOT LIKELY TO BE WALKED
ON OR PINCHED BY ITEMS PLACED UPON OR AGAINST THEM, PAYING PARTICULAR ATTENTION TO CORDS
AT PLUGS, CONVENIENCE RECEPTACLES, AND THE POINT WHERE
THEY EXIT FROM THE APPLIANCE.
CLEANING - THE APPLIANCE SHOULD BE CLEANED ONLY AS RECOMMENDED BY THE MANUFACTURER.
NON USE PERIODS - UNPLUG THE APPLIANCE POWER CORD
FROM THE OUTLET WHEN LEFT UNUSED FOR A LONG PERIOD OF
TIME.
OBJECT & LIQUID ENTRY - CARE SHOULD BE TAKEN SO THAT
OBJECTS DO NOT FALL AND LIQUIDS ARE NOT SPILLED INTO THE
ENCLOSURE THROUGH OPENINGS.
DAMAGE REQUIRING SERVICE - THE APPLIANCE SHOULD BE SERVICED BY QUALIFIED SERVICE PERSONNEL WHEN: (A) THE POWER
SUPPLY CORD OR THE PLUG HAS BEEN DAMAGED (B) OBJECTS
HAVE FALLEN OR LIQUID HAS BEEN SPILLED INTO THE APPLIANCE
(C) THE APPLIANCE HAS BEEN EXPOSED TO RAIN (D) THE APPLIANCE DOES NOT APPEAR TO BE OPERATING NORMALLY OR EXHIBITS A MARKED CHANGE IN PERFORMANCE (E) THE APPLIANCE HAS
BEEN DROPPED OR THE ENCLOSURE DAMAGED.
SERVICING - THE USER SHOULD NOT ATTEMPT TO
SERVICE THE APPLIANCE BEYOND THAT DESCRIBED IN
THE OPERATING INSTRUCTIONS. ALL OTHER SERVICING REFER TO
A QUALIFIED SERVICE PERSONNEL.
The exclamation point within a
triangle is intended to tell the user
that important operating and servicing
instructions are in the papers with
the appliance.
Ce produit n’est pas conçu pour
un fonctionnement dans de forts
champs électromagnétiques. Par
conséquent, la qualité sonore peut
un fort champ életromagnétique. La qualité sonore
redeviendra normale après affaib-lissement du
champ électromagnétique.
diminuer si ce produit est exposé à
Model PL-19
Lectern
Califone® International Inc. • 1145 Arroyo Avenue, # A • San Fernando, CA 91340 USA
Toll Free 800.722.0500 | Toll Free Fax 877.402.2248
International Customers call 818.407.2400 or Fax 818.407.2405 califone.com
User Manual

Assembly Instructions
Lectern User Manual
Thank you for purchasing the Califone® PL-19 Lectern.
We encourage you to visit our website www.califone.com to register your product for its warranty coverage, to sign up to
receive our newsletter, download our catalog, and learn more about the complete line of Califone® audio visual products,
including portable and installed wireless PA systems, multimedia players and recorders, headphones and headsets,
computer peripheral equipment, visual presentation products and language learning materials.
Unpacking the Unit
Inspection and inventory of your system. Check
unit carefully for damage that may have occurred
during transit. Each PresentationPro™ product
is carefully inspected at the factory and packed
in a special carton for safe transport.
ALL DAMAGE CLAIMS MUST BE MADE
WITH THE FREIGHT CARRIER
Notify the freight carrier immediately if you
observe any damage the shipping carton or
product. Repack the unit in the carton and
await inspection by the carrier’s claim agent.
Notify your dealer of the pending freight claim.
Warranty Registration
Please visit the Califone website to register
your PresentationPro™ for warranty coverage.
Returning your unit for service or repairs
Should your unit require service, contact your
dealer or our Customer Service Department
at (800) 722-0500 to obtain a Return
Authorization (RA) number. All shipments
to Califone must include an RA number on
the carton and must shipped prepaid. C.O.D.
shipments will be refused and returned at
your cost.
Contents
• Lectern (shipped in two boxes – one for
the center pedestal of the lectern and the
other for the top and bottom)
• PL-MIC Gooseneck Mic with XLR
connector
• AC Power Cord
• User Manual
Assembly Tips
Assembly of Lectern is easy and should take no more than ten minutes. Please become familiar with all
instructions before beginning assembly.
Parts
(1) Reading Desk (top)
(1) Center Speaker Column (middle)
(1) Pedestal Base (bottom)
(4) 1.5” Phillips bolts
(1) 3” Height adjusting knob
Tools Required
• Phillips-head screwdriver (not included)
Step #1: Assembling the Base with Center Speaker Column
1. Place the Center Speaker Column upside down on a soft, clean surface (such as a carpet).
2. Take the Pedestal Base and place it upside down onto the current “top” of the Center Speaker
Column (which will be the pointing down once it is inverted into its nal position), lining up each
of the four holes on the Pedestal Base with the four holes on the under side of the Center Speaker
Column.
3. Insert and hand-tighten each the 1.5” Phillips bolts into each of the four holes.
4. Finish tightening all four bolts with a screw driver, making sure they are not over-tightened.
5. Gently turn the lectern over with the four wheels on the oor (right side up now).
Step #2: Attaching the Reading Desk
1. Turn the remaining part, the Reading Desk, right side up and gently rest a portion of it on the top of
the Center Speaker column.
2. Take the 2’ patch cord from the underside of the Reading Desk and connect it with the plug in the
hollow center of the top of the Center Speaker column.
3. Slip the Reading Desk into the center of the Center Speaker column. Make sure it slides all the way
down into position.
4. Secure the Reading Desk to the Center Speaker column with the 3” height adjusting knob and adjust
to the appropriate height.
5. Attach the gooseneck mic to the connection on the tabletop.
1 2
 Loading...