

Getting Started

Apple, Apple Logo, Mac, the Mac logo, Macintosh, are trademarks of Apple
Computer Inc. Microsoft, Windows and Windows Logos are registered
trademarks or trademarks of Microsoft Corporation. All other trademarks are
the property of their respective owners.
*Specications and package contents are subject to change without
notice.
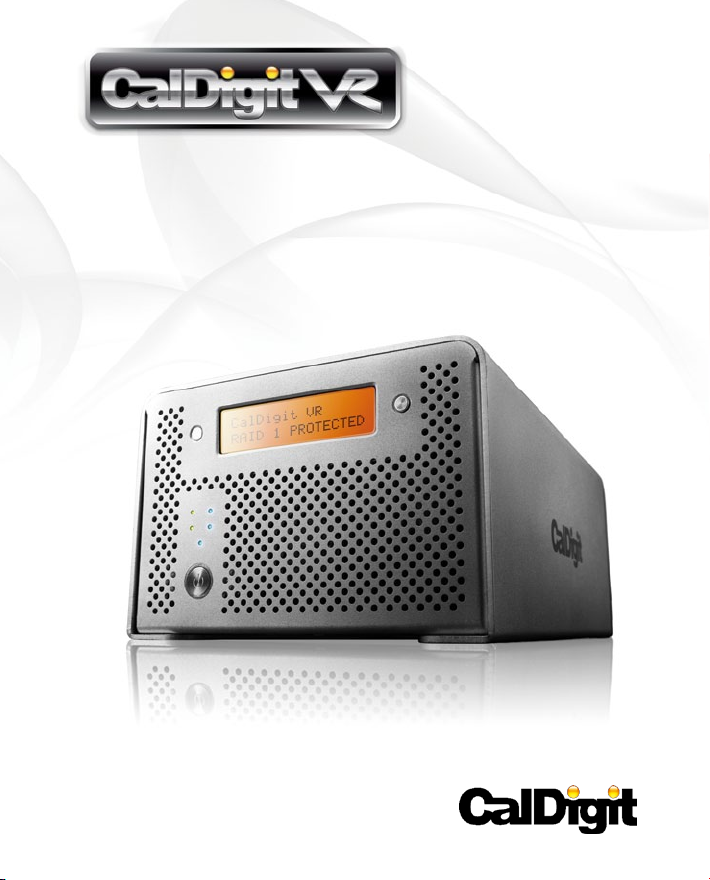
Thank you for choosing the CalDigit VR, please
use the following quick installation instructions to
setup your CalDigit VR.
Package Contents:
1. (One) CalDigit VR
2. (Two) CalDigit drive modules
3. (One) FireWire 800 cable
4. (One) eSATA cable
5. (One) CalDigit eSATA extender
6. (Two) drive module keys
7. Quick Installation Guide
8. CalDigit VR RAID Tool CD
9. (One) Power supply kit
The following accessories should be in the box. Please contact
your reseller for any faulty components or missing parts.
3
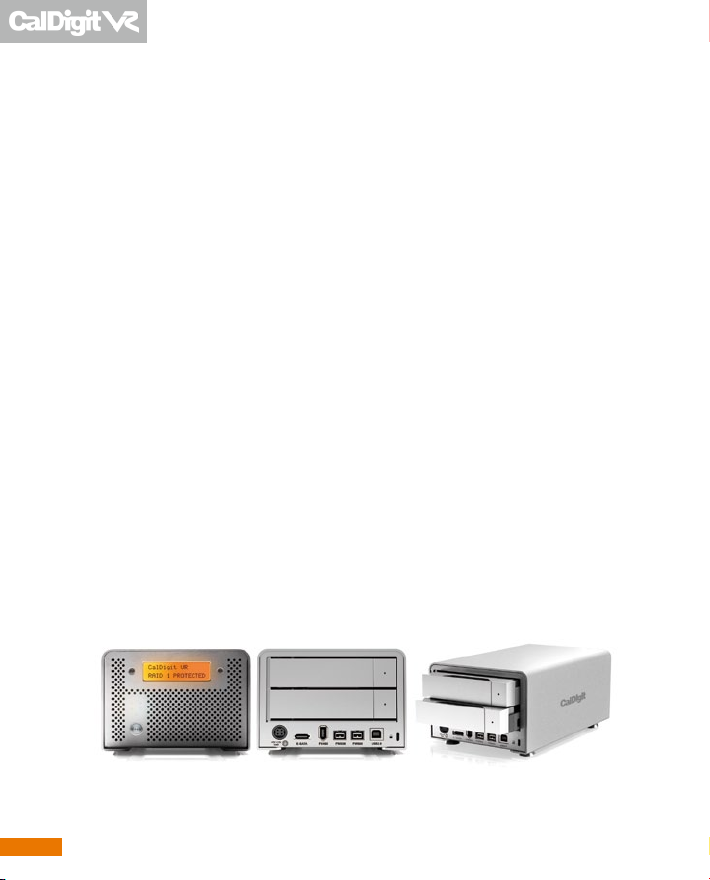
Index page
5 A. Installing the CalDigit VR
77 B. Feature Overview
LCD display information and instructions
77
RAID Tool feature overview
10
13 C. Conguring your RAID
Using LCD
13
Using RAID Tool
16
19 D. Order accessories and parts
4

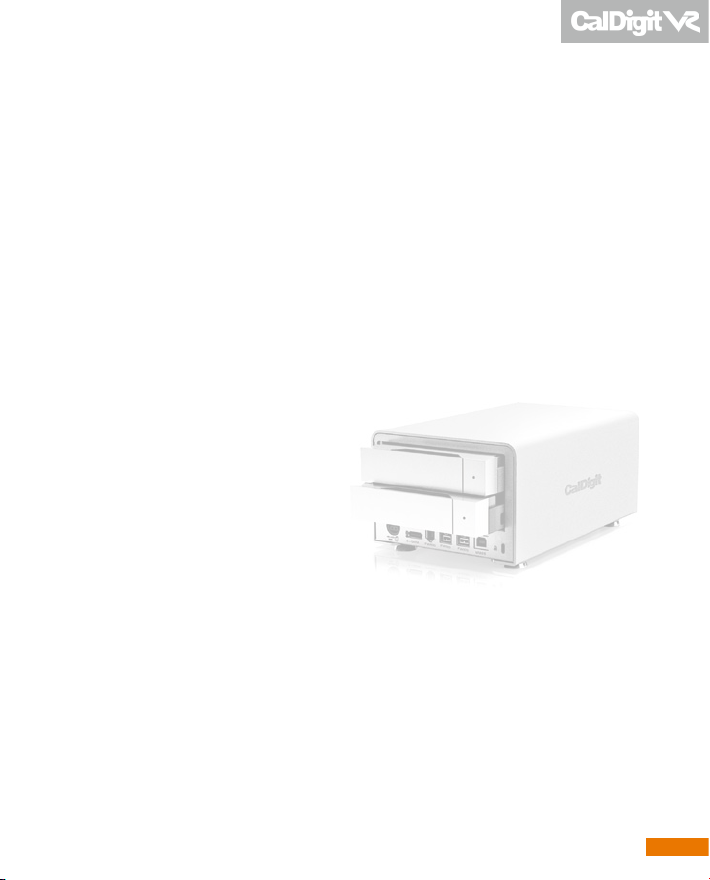
A. Installing the CalDigit VR
The CalDigit VR is ready to use out of the box.
1. Select the desired interface, FireWire 400, FireWire 800, USB
2.0 or eSATA. A FireWire 800 and eSATA cable are included.
2. Connect the power supply to the CalDigit VR, then connect
the desired interface cable.
Note: If you would like to use eSATA, there are two
options. If you already have an eSATA controller
card or port simply connect the eSATA cable. If you
have a Mac or PC workstation that has internal SATA
port (late model Mac Pros) you can use the included
eSATA extender*. For installation instructions please
refer to the CalDigit eSATA Extender manual. If your
workstation does not have an internal SATA port and
you would like to use eSATA with the CalDigit VR
you can purchase one of CalDigit's eSATA controller
cards (FASTA-1ex, FASTA-2e or FASTA-4e). For more
information visit www.caldigit.com.
5

3. Press the CalDigit VR's power button. The CalDigit VR will
boot. You should see the CalDigit VR mount and it's ready
to use.
4. To change the RAID level or to customize your CalDigit
VR use the LCD or the RAID Tool software. For further
instructions see the Conguring your RAID section of this
manual.
*The eSATA extender included with the CalDigit VR does
not support hot plugging of additional eSATA devices, even
though there are 2 ports. The computer must be shut down
prior to adding additional devices. In order to use the eSATA
hot plugging capabilities with the CalDigit VR, you will need
to utilize either the FASTA-1ex, FASTA-2e or FASTA-4e eSATA
controller cards.
6
 Loading...