

Page 1
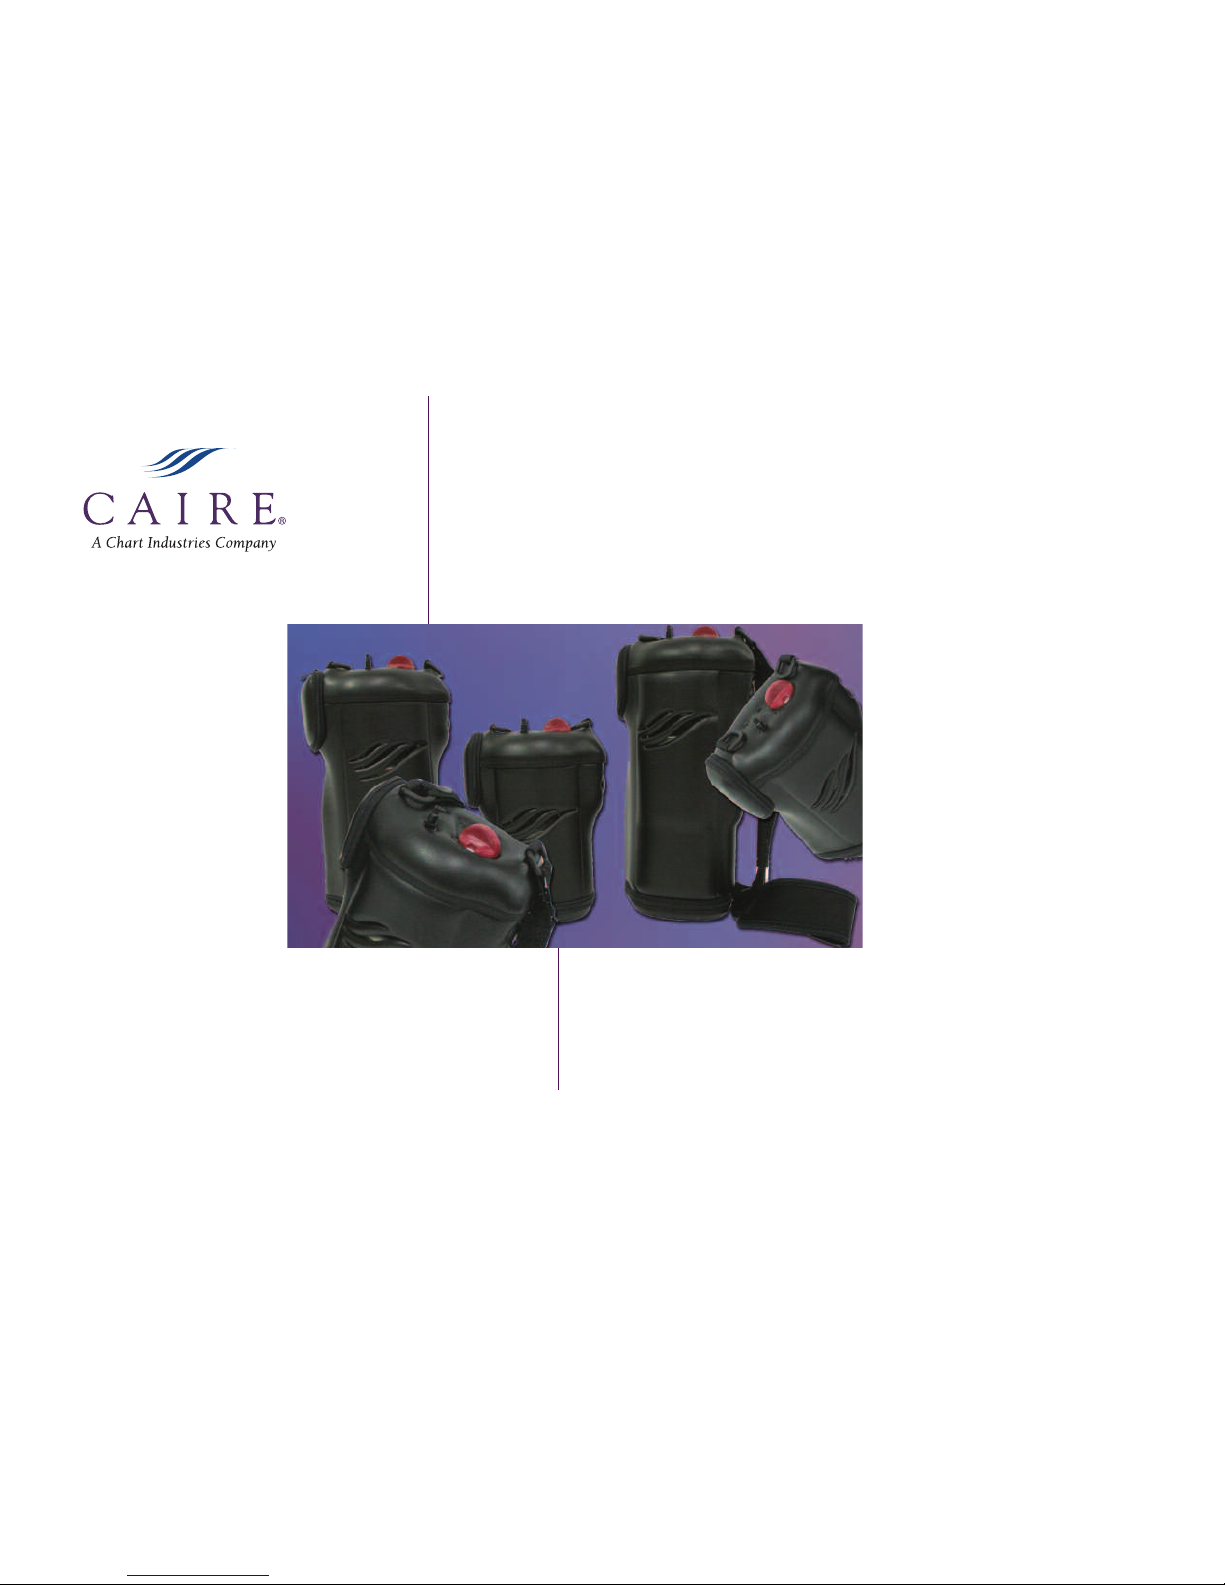
PAT I E N T
O P E R ATI N G
I N S T R U C T I O N S
Spirit
SP IR I T 30 0 /6 0 0/1 200
Page 2
1
• In the event of an accidental tip-over, immediately
but cautiously return unit into an upright position.
If any liquid oxygen is escaping, leave the area
immediately and call your health care provider.
• Do not touch the frosted parts of any unit.
• Do not store or operate the portable coupled to the
Liberator/Low Loss.
• Applicable EMC information can be found in the
Spirit Service Manual at www.cairemedical.com.
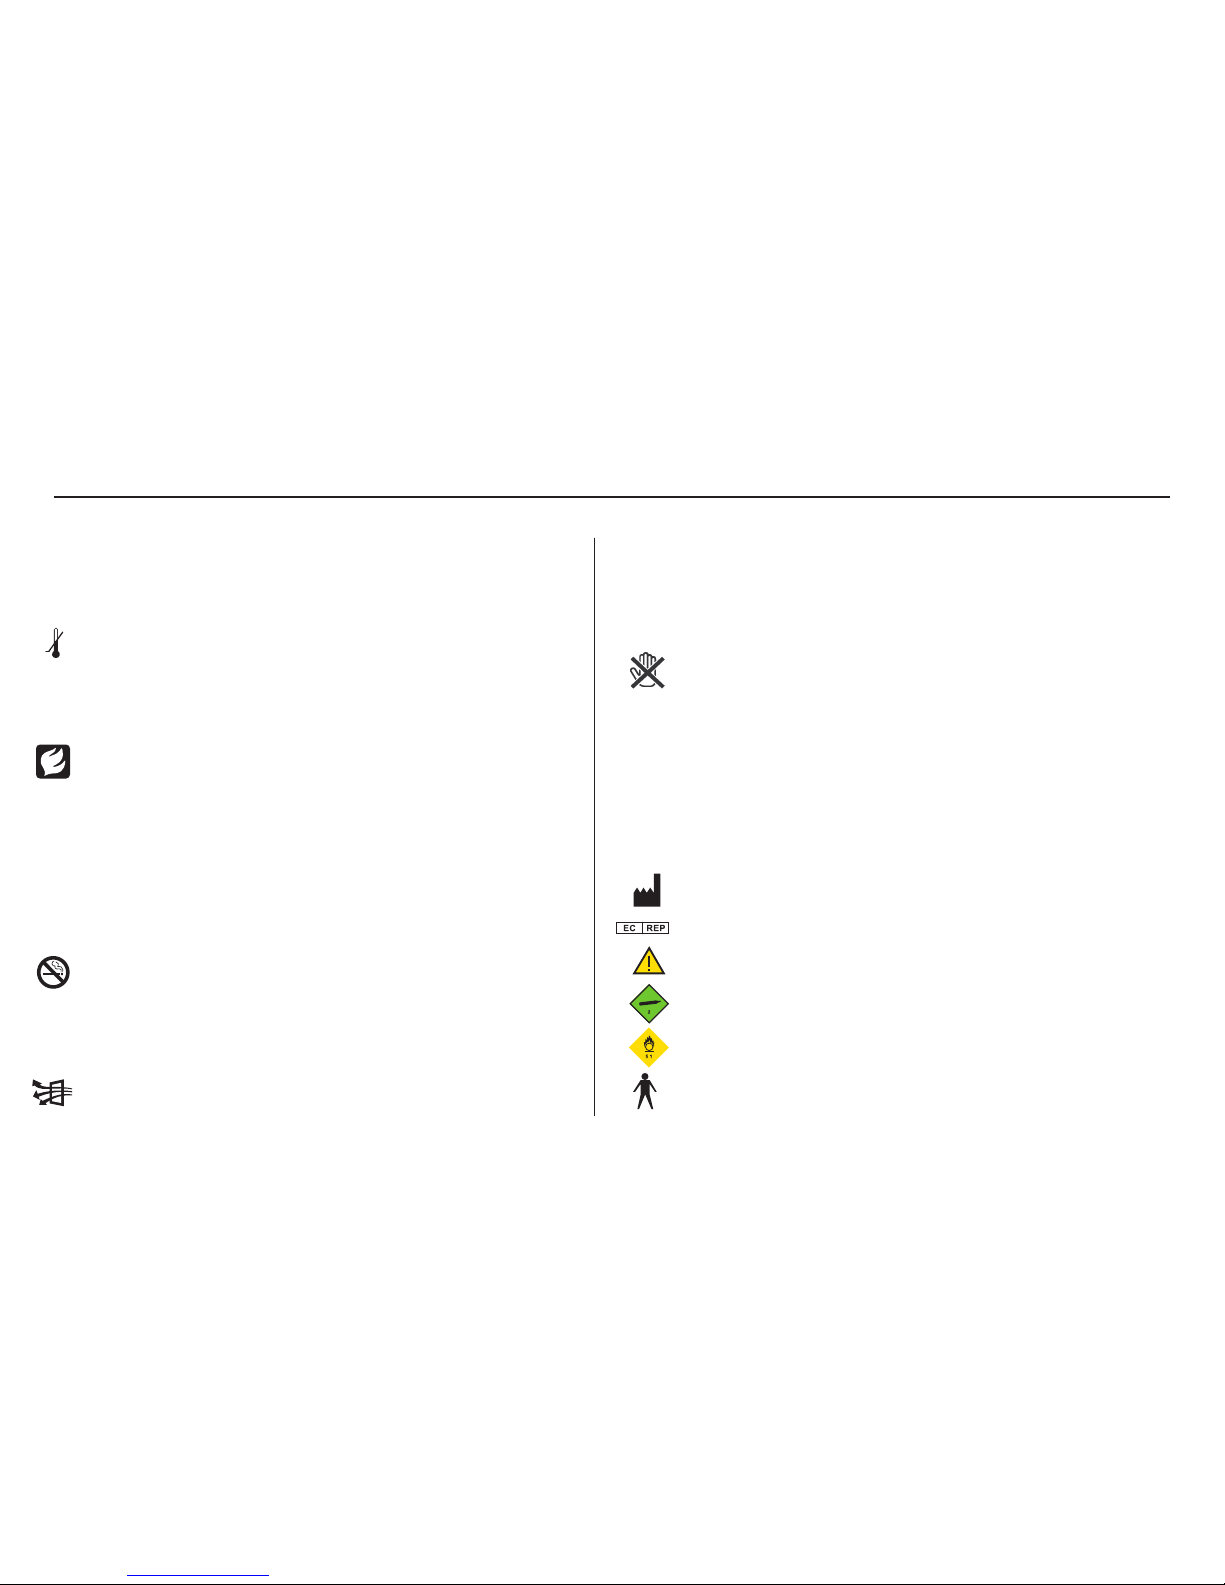
Explanation of Other Symbols
Name and address of manufacturer
Authorized representative in the European Community
Caution, consult accompaning documents
Non-flammable gas
Oxidizing substances
Type B Applied Part (degree of protection against
electric shock).
Warning Information
Read this page carefully before using your unit.
• The unit contains liquid oxygen which is extremely
cold; almost 300 degrees below zero Fahrenheit.
Exposure to such a low temperature can cause
severe frostbite.
• Liquid and gaseous oxygen, though nonflammable,
cause other materials to burn faster than normal.
This hazard, along with the low temperature of
liquid oxygen, warrants certain safety precautions.
• Do not use or store your unit in an area where
combustible materials such as oils, greases, aerosol
sprays, lotions or solvents are present.
• Do not smoke while operating unit.
• Do not use or store your unit within five feet of
electrical appliances, especially stoves, heaters,
toasters, and hair dryers.
• Keep your unit in a well-ventilated area.
Spirit Portable
Page 3

2
Patient’s Records
Patient’s Name __________________________________________
Prescribed Oxygen Flow Setting __________________________________________
Doctor’s Telephone Number __________________________________________
Distributor’s Name __________________________________________
Person to Contact __________________________________________
Distributor’s Emergency Telephone Number __________________________________________
Special Instructions __________________________________________
__________________________________________
__________________________________________
__________________________________________
__________________________________________
Page 4

3
Spirit
®
Portable
Table Of Contents
Introduction
----------------------------------------------
4
Physician Notes ----------------------------------------5
Controls ----------------------------------------------6–7
Filling Instructions
----------------------------------
8–11
Operating Instructions --------------------------12–17
Additional Information ------------------------------18
Important: Read this manual thoroughly before
operating the Spirit
®
unit.
Rx only.
Warning: This device is not intended for life
sustaining use.
Caution: Use the Spirit
®
only as directed by your
doctor.
Warning: If you feel the equipment is not operating
properly, call your health care provider. Do not
attempt to repair or adjust the units yourself.
Specifications:
• Mode of Operation: Continuous
• Type of Protection Against Electric Shock: Internally
Powered Equipment
• Degree of Protection Against Electric Shock: Type B
Applied Part
• Classification according to the degree of protection
against ingress of water: IPX0 - Ordinary Equipment
• Equipment is not suitable for use in the presence of
flammable mixtures
Page 5

4
Spirit
®
Portable
Introduction
The liquid oxygen system includes a stationary unit and
the Spirit®, which provides supplementary oxygen as
prescribed by your physician. This POI contains the
instructions for using the Spirit
®
. Refer to the POI
supplied with the stationary unit for its operation.
The Liberator®is the larger container and is intended for
stationary use. You may take oxygen directly from the
Liberator
®
. The Liberator®is filled by your health care
provider.
The Spirit®Portable provides an ambulatory source of
oxygen for an extended period of time. You fill the Spirit
®
from a liquid oxygen stationary unit. The compact,
lightweight Spirit
®
was developed to increase mobility
and improve comfort of the typical supplemental oxygen
patient.
Spirit
®
300 Shown
Page 6

5
Spirit
®
Portable
4. Use only a standard, single tube, 7' (or shorter) nasal
cannula. Do not use a pediatric (low flow) nasal
cannula or mask.
5. Do not use other equipment (i.e. humidifier,
nebulizer, etc.) in conjunction with the Spirit
®
.
Physician Notes
1. Do not use with Patients who breathe below
12 breaths per minute (BPM) or above 40 BPM.
2. Do not use with Patients who consistently fail to
trigger equipment (i.e. very light mouth breathers).
3. Verify Patient is getting adequate PaO
2
or SaO
2
levels, while using the Spirit®.
Page 7

6
Spirit
®
Portable
Controls
1. Contents Indicator
2. Flow Rate Selection Knob
3. Oxygen Outlet Connector
4. Fill Connections
(See next page for QDV Identification)
5. Vent Valve
6. Batteries (2) C-Cell (inside case)
3
6
5
4
2
1
Page 8

7
Spirit
®
Portable
Portable
Connector:
Stationary
Connector:
QDV Style: CAIRE LINCARE CRYO2 LIFE-OX PENOX TAEMA PB
Side Fill (UC)
SF Locking TF Locking TF Push-on
Quick Disconnect Valve (QDV) Identification
Page 9
8
Spirit
®
Portable
To Fill the Top Fill Spirit®:
1. Clean the fill connectors on both the stationary and
the Spirit®with a clean, dry, lint-free cloth.
Caution: The fill connectors must be dry, because
moisture can cause your Spirit
®
and stationary unit
to freeze together.
2. Make sure the flow control knobs
on both the Spirit and reservoir
are in the off (0) position.
3. Position the fill connector in
the upright position over the
stationary unit’s connector.
4. a. If your connector is a push-on :
Lower the Spirit
®
unit onto the stationary until you
feel the connector engage.
b. If your connector is Cryo2, then rotate Spirit
®
until
you feel the connectors engage. Then, carefully and
firmly, rotate the Spirit
®
counterclockwise ( ) while
pressing downward.
c. If the connector is a Penox, Life-Ox, or Lincare:
Rotate Spirit
®
until you feel the connector engage.
Then, carefully and firmly, rotate the Spirit
®
clockwise ( ) while pressing downward.
5. Now the units are locked together
Note: Continued on step 6 (page 10).
Step 3
Step 4a Step 4b Step 4c
Page 10

9
To Fill the Side Fill Spirit®:
1. Clean the fill connectors on both the stationary and
the Spirit®with a clean, dry, lint-free cloth.
Caution: The fill connectors must be dry, because
moisture can cause your Spirit
®
and stationary unit
to freeze together.
2. Make sure the flow control knobs on both the Spirit
and reservoir are in the off (0) position.
3. Mate the Spirit®fill connector in the upright position
to the stationary connector.
4. Rotate the Spirit®counterclockwise ( ) until you feel
the pin and slot engage.
5. Carefully and firmly rotate the Spirit®back to the
upright position. Now the units are locked together.
Note: Continued on step 6
Step 3
Step 4 Step 5
Spirit
®
Portable
Page 11

10
Spirit
®
Portable
Note: For push-on style connector, hold the unit in
place throughout the fill.
6. Open the vent valve to begin filling your Spirit®. You
should hear some oxygen escaping; do not worry. The
hissing sound you hear is perfectly normal.
7. You may also see vapor around the connection. This is
normal and is due to the great difference in
temperature between the liquid oxygen and the warm
air surrounding the units.
8. When the unit is full, close the vent valve. You can tell
that the unit is full when the hissing sound changes in
tone, and some liquid comes out of the vent line.
Note: Closing the valve after a nearly continuous
stream of liquid is discharging fills the Spirit
®
most
completely, but wastes some liquid oxygen.
Step 6
Page 12

11
Spirit
®
Portable
Warning: Should the leakage be excessive to the
point that a stream of liquid is present, leave the
area and call your health care provider immediately.
Caution: If the Spirit
®
is being refilled immediately
after a period of use, fill the Spirit
®
and then wait 10
minutes after filling with the flow rate selection knob
set at zero for the pressure to stabilize. Then
operate as normal.
Warning: Liquid or cold gaseous oxygen can
frostbite the skin. Oxygen will result in increased
fire hazard.
Note: Closing the valve at the first sign of liquid
discharge does not fill the Spirit
®
as completely, but
saves liquid oxygen.
9. For the push-on style connectors, push the release
button down until the units separate. For all other
connectors, rotate the unit until it separates from the
stationary unit.
Caution: Check liquid level gauge only after the
valve is closed.
Caution: If the Spirit®does not separate easily, do
not use force. The units may be frozen together.
Wait until the units warm up—then they’ll separate
easily. Do not touch any frosted parts. Should there
be any liquid leakage from the stationary unit or
Spirit
®
after separation, reattach the Spirit
®
immediately. Again separate the units. If the problem
persists, leave units coupled and call your health
care provider.
Portable Release
Button (push-on
style only)
Page 13

Note: Make sure that the flow selector knob fully
engages at the selected setting. If the knob is
between settings, the unit will turn off and then back
on and deliver a prolonged burst of O2 as it powers
up.
Note: The Spirit
®
delivery system is designed for a
maximum breathing rate of 40 BPM. With breathing
rates greater than 40 BPM oxygen dosage may not
be delivered with each breath.
Note: When turning the flow control knob from
either (0) or (CF) to a flow setting, there will be a
prolonged burst of O2 delivered through the
cannula*. Please do not be alarmed as this is
normal operation.
12
Spirit
®
Portable
Operating Instructions
1. Push the cannula breathing tube firmly on to the
oxygen tube connector.
2. Adjust the cannula breathing tube to the proper
position so that you will be able to breath the oxygen
comfortably.
3. Turn the flow rate selection knob on top of the Spirit
®
clockwise until the prescribed flow rate (numeral) is
visible in the knob “window” and a positive detent is
felt.
4. With each breath, you should now be receiving a set
dosage of oxygen gas. The LED will illuminate green
with each breath, signaling that the Spirit
®
delivery
system is being triggered. When the LED illuminates
red with each breath, it is time to replace the
batteries.
*Cannula is not included.
Page 14
13
Spirit
®
Portable
Note: The LED will illuminate green with each
detected breath, regardless of the liquid oxygen
contents, even if the Spirit
®
has no liquid oxygen left.
5. To stop the oxygen delivery system, turn the flow rate
selection knob counterclockwise back to the off
position.
Caution: always turn the flow control knob off (0)
when not in use.
6. The Spirit®delivery system is powered by (2) C-Cell
alkaline batteries. When the LED illuminates red, it
is time to replace the batteries. As long as the red
LED illuminates, the Spirit
®
will deliver oxygen
unless it is empty.
7. To replace the batteries, unzip the side zipper, as
shown in the picture.
Step 7 Step 7
Step 3
Page 15

14
Spirit
®
Portable
Note: If replacement batteries are not readily
available, turn the flow rate selection knob to the
furthest clockwise position labeled (CF). The Spirit
®
will now deliver a continuous flow rate of 2 liters per
minute (LPM).
Warning: Using the Spirit®in the continuous flow
(CF) mode will consume the oxygen at a faster rate.
Monitor the contents indicator, so you do not run out
of oxygen.
Note: The continuous flow (CF) mode is not
powered by the batteries, so it can be used whether
the low battery LED is on or not.
Note: When using the Spirit
®
in continuous
flow, the LED will NOT illuminate green or red with
each breath.
Page 16

15
Spirit
®
Portable
8. Use the following chart as a guideline to determine the length of time the Spirit®will operate:
Note: Times are in hours.
Note: Times indicated for 20 breaths per minute (BPM) patient. Faster breathing rates will result in shorter use times.
Note: The “Nominal” times are for ideal conditions, (i.e. maximum fill, good loss rate, little movement, etc.). These times are the maximum
expected.
Note: Your individual results will vary.
Flow Rate Setting
Model Off 1.0 1.5 2.0 3.0 4.0 5.0 CF
Spirit 300 Nominal 16.0 14.5 10.0 7.0 4.7 3.5 3.0 2.0
Spirit 600 Nominal 32.0 29.0 20.0 14.0 9.4 7.0 6.0 4.0
Spirit 1200 Nominal 64.0 58.0 40.0 28.0 18.8 14.0 12.0 8.0
Page 17

16
Spirit
®
Portable
9. To verify the level of liquid oxygen in unit with the
contents indicator:
• Support the unit directly above the black contents
indicator spring scale chamber.
• Allow the unit to stabilize (i.e. not bounce up and
down), then read the exposed colored scale for
approximate liquid oxygen contents.
Note: If the unit is empty, only the red colored band
of the scale will be exposed. If this is the case, the
unit must be filled prior to use.
Page 18

17
Spirit
®
Portable
Condensate Pad Maintenance:
1. Under certain environmental conditions, especially
with continuous flow and little movement, the Spirit
®
may develop excess frost around the vaporizer coil and
on the case. You may reduce this frost by tapping the
unit and/or wiping any accumulated frost off the case.
2. After the Spirit
®
is empty and has warmed up to
room temperature, remove any moisture from the
condensation pad.
• Unzip the zipper at the base of the unit to access the
condensation pad.
• Remove the pad and wring out any absorbed
moisture. Allow the pad to dry completely before
replacing it back in the unit.
• Place dry pad back in the unit. Make sure to
completely rezip the zipper.
Page 19
18
Cleaning Standard
Warning: Clean only after unit is empty and vented.
• Clean by applying household glass cleaner to a lint-
free cloth and wipe external surfaces—do not get
glass cleaner on any internal components or valves.
• Allow unit to dry thoroughly before using.
Note: Note to health care provider: For
reprocessing procedure, see applicable service
manual.
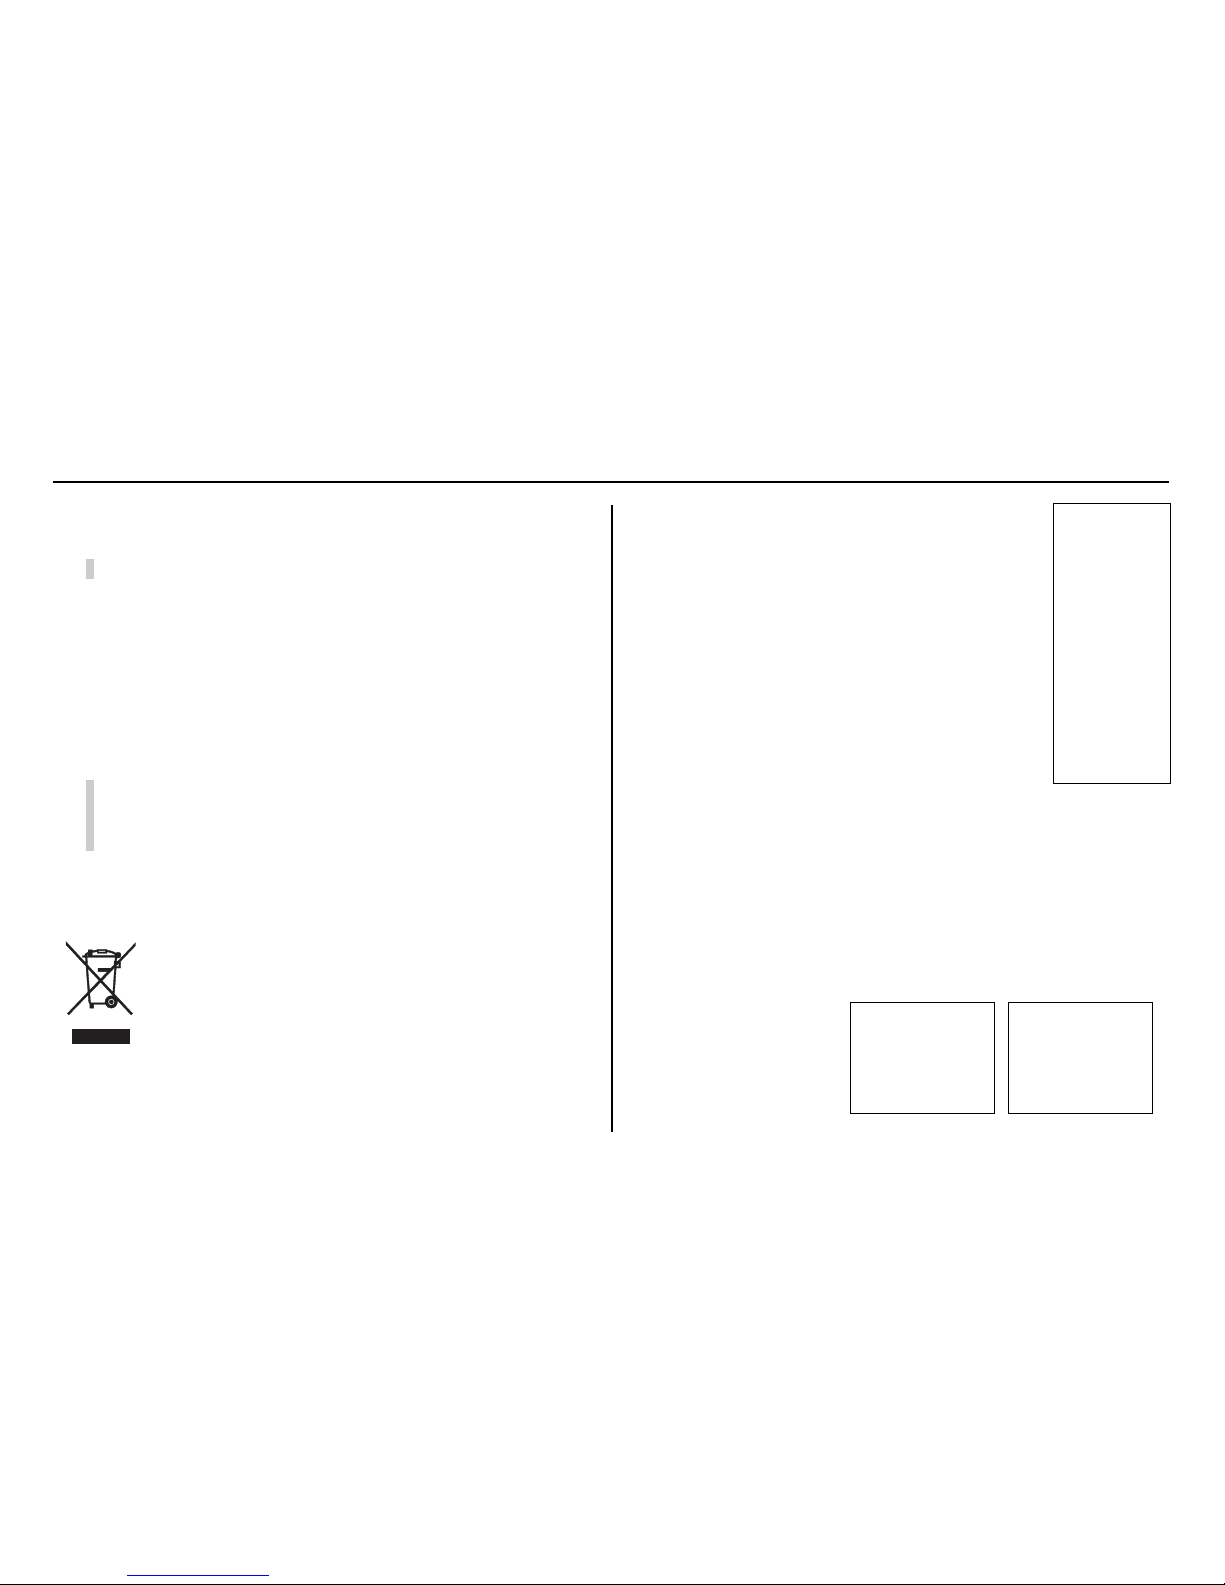
WEEE and RoHS
This symbol is to remind the equipment
owners to return it to a recycling facility at
the end of its life, per Waste Electrical and
Electronic Equipment (WEEE) Directive.
Our products will comply with the
Restriction of Hazardous Substances
(RoHS) directive. They will not contain
more than trace amounts of lead or other
hazardous material content.
Accessories
The light weight carrying cart weighs only
3-1/4 lbs. The cart accommodates all
Spirit
®
units.
The padded belt pack was designed for patient comfort.
The adjustable belt fits waist sizes 28"–45" (71–144 cm).
The dual function waist extension allows the belt pack to
extend to fit 45"–69" (114–175cm), which allows the belt
pack to easily convert into a back pack (see photos).
Spirit
®
Portable
Page 20
R e f 1 3 1 3 8 0 1 7 E
M . D . D . R e p r e s e n t a t i v e : M e d i c a l P r o d u c t S e r v i c e s
B o r n g a s s e 2 0
3 5 6 1 9 B r a u n f e l s , G e r m a n y
0029
2 2 0 0 A i r p o r t I n d u s t r i a l D r . , S t e . 5 0 0
B a l l G r o u n d , G A 3 0 1 0 7
U . S . A .
w w w . c a i r e m e d i c a l . c o m
 Loading...