

Page 1
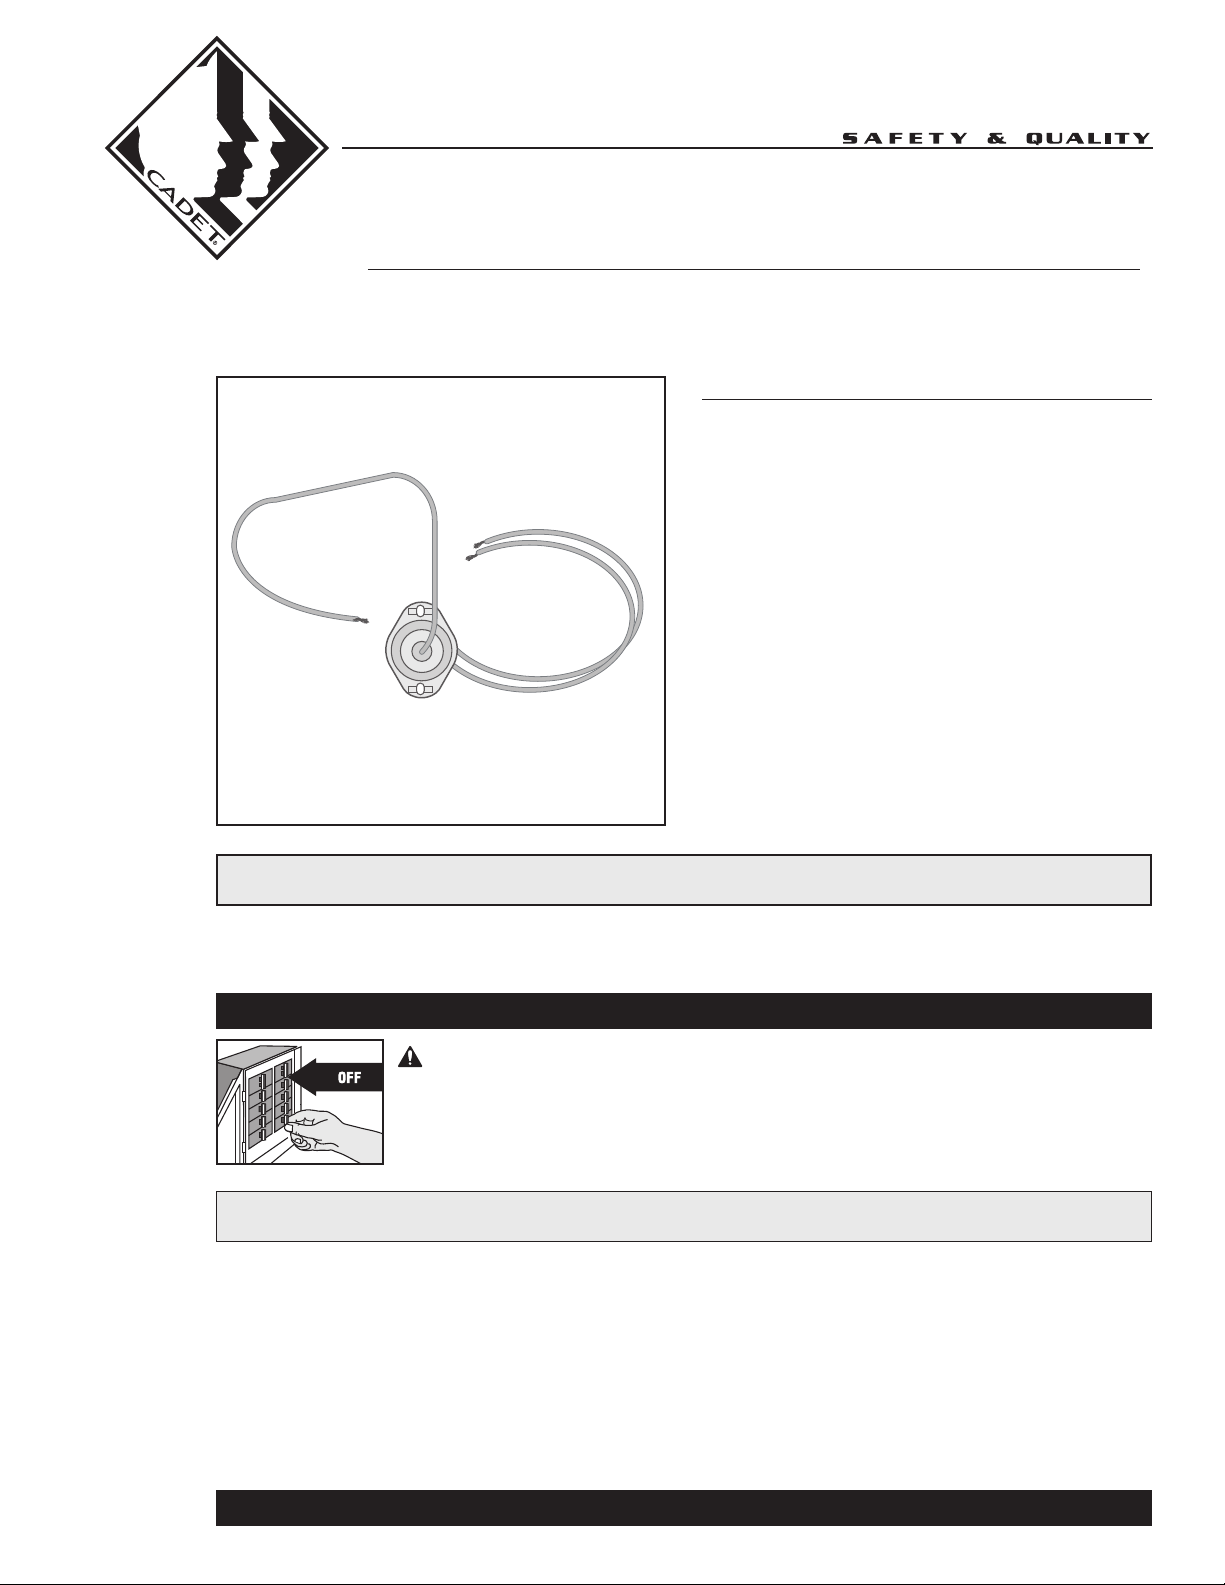
The Com-Pak Plus Manual Reset
replacement instructions
ODELS
M
he Com-Pak Plus
T
C202, C152, C122, C102, C072,
C151, C101, C051, C208
Note:
Now is the perfect opportunity to clean your heater. See
original product Owner’s Guide or go to www.cadetco.com
and find detailed cleaning instructions under Other Links for
the Com-Pak Plus.
he Com-Pak Twin Plus
T
CT402, CT302, CT408,
TOOLS REQUIRED:
•
Small Flathead Screwdriver
•
Wire Connectors
•
Phillips Screwdriver
•
Wire Stripper
•
Wire Cutter
•
Crimping Tool
•
Cable or Wire Ties
•
Needle Nose Pliers
IMPORTANT INSTRUCTIONS
WARNING
Turn the electrical power off at the electrical panel board (circuit breaker or fuse box) and lock or
tag the panel board door to prevent someone from turning on power while you are working on the
heater. Failure to do so could result in serious electrical shock, burns, or possible death.
IF YOU ARE UNCOMFORTABLE WORKING WITH ELECTRICAL APPLIANCES, UNABLE TO FOLLOW THESE GUIDELINES,
OR DO NOT HAVE THE NECESSARY EQUIPMENT, CONSULT A LICENSED ELECTRICIAN.
1. It is important that you verify power has been turned off
and no power is going to the heater before proceeding.
Circuit breakers are often not marked correctly and
turning the wrong breaker off could mean electricity is
flowing to the heater, even if the heater does not appear
to be working.
2. Once you verify the power has been turned off correctly,
proceed to the next step.
3. Please see your product Owner’s Guide for additional
installation, operation and maintenance instructions for
both reset and heater. Owner’s Guides may be
downloaded at www.cadetco.com.
SAVE THESE INSTRUCTIONS
www.cadetco.com Tel: 360-693-2505 P.O. Box 1675 Vancouver, WA 98668-1675
1
Page 2
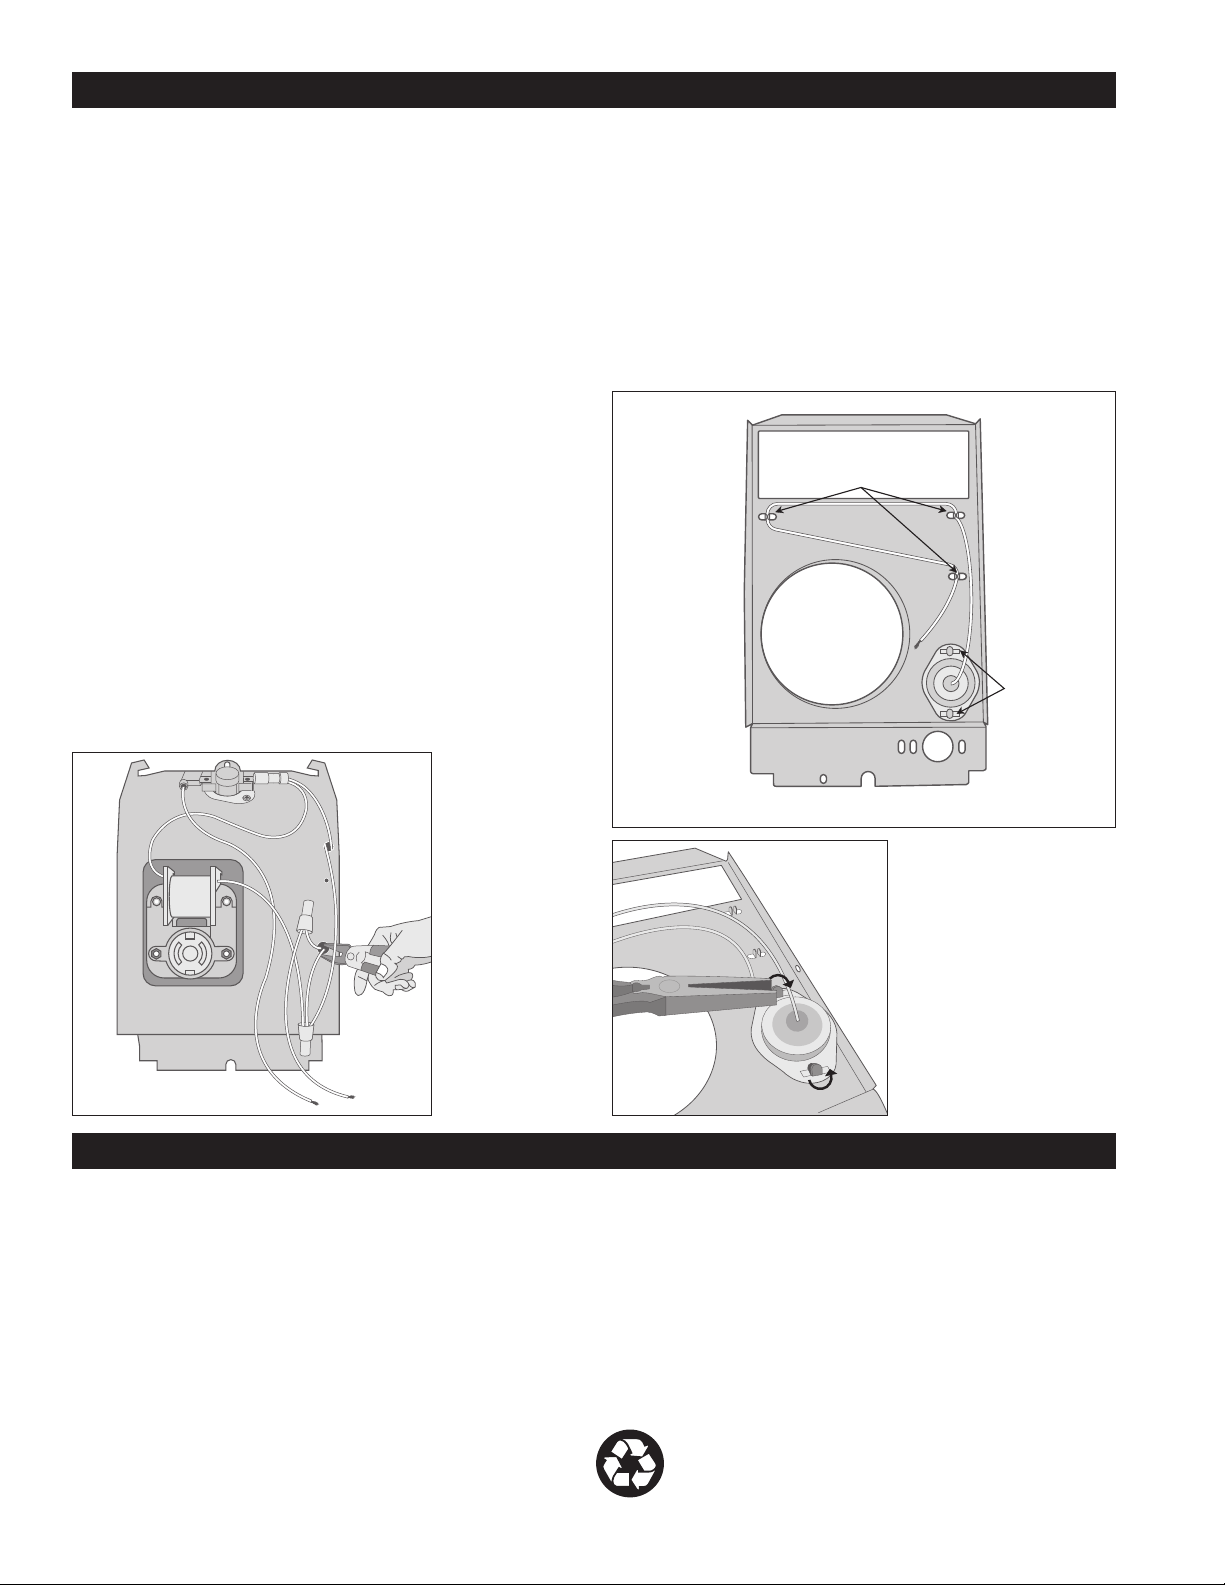
Installation Instructions
LOWER
5/16”
HOLE
Point 2
Point 1
Point 3
C
ONTAC T
P
OINT TABS
R
ESET
T
ABS
TWIST
TWIST
1. Remove knob (if applicable) and screws to remove grill.
. Remove grill.
2
3. Remove heatbox from wall can by loosening screw at top.
4. Unwiring
A. Remove insulated wire connectors that connect heatbox
to wall can.
B. Cut as many wire ties on back of heater as necessary for
easier accessibility.
. Cut reset wires coming out of lower 5/16” pass through hole
C
on back of heatbox. (See Figure 1)
. Turn heater upward, remove screw at the bottom of face cover,
5
just above thermostat location.
6. Lift face from bottom and slide over tab on top of box. Set motor
and element assembly aside.
7. Turn face cover so reset limit and wires are facing you.
Carefully unclamp contact point tabs using a flathead
screwdriver (See Figure 2).
8. Twist tabs that reset approximately 90 degrees. This will allow
the reset to easily slip out of place (See Figure 3).
9. Bend both tabs to original position. Snap new reset in place.
10. Place copper wire in contact point tabs as shown in Figure 2.
Clamp wire in place with pliers, being careful not to damage,
kink or cut copper wire. Be sure capillary tube (limit tubing)
lays flat against cover. (See Figure 2)
11. Feed wires back through 5/16” hole of motor and element
assembly, making sure to take out all slack. (See Figure 1)
12. Replace face cover over tab on top. Be sure to hold wires and
snap in place.
13. Tighten securing screw on bottom of face by thermostat or hole
ocation.
l
14. Wiring
A. Connect new Reset wires to lead wires previously cut, using
wire connectors.
B. Fasten wiring with wire ties so all wires fit neatly to the side of
the motor and are out of the way. Cut off wire tie ends.
C. Reconnect supply lead wires to heater securely, using wire
connectors. Double check connections for tightness.
15. Reinstall heater into wall can tabs first, then attach screw.
6. Attach grill.
1
17. Turn power on and test heater.
Figure 1
Back of Heatbox
LIMITED 90 DAY WARRANTY: Cadet will repair or replace any Cadet part
found to be defe ctive within 90 days fro m the d ate of p urchase. Thi s
warranty only applies to parts purchased or installed after the expiration of
any other applicable warranty period.
These warranties do not apply:
1. Damage occurs to the product through improper installation or incorrect
supply voltage;
2. Damage occurs to the product through improper maintenance, misuse,
abuse, accident, or alteration;
3. The product is serviced by anyone other than Cadet;
4. Refurbished products;
5. If the date of manufacture of the product cannot be determined;
6. If the product is damaged during shipping through no fault of Cadet.
7. CADET’S WARRANTY IS LIMITED TO REPAIR OR REPLACEMENT AS SET
OUT HEREIN. CADET SHALL NOT BE LIABLE FOR DAMAGES SUCH AS
PR OPERTY DAMAG E OR F OR CON SEQUENT IAL DAM AGES AND/OR
INCIDENTAL EXPENSES RESULTING FROM BREACH OF THESE WRITTEN
WARRANTIES OR ANY EXPRESS OR IMPLIED WARRANTY.
8. IN THE EVENT CADET ELECTS TO REPLACE ANY PART OF YOUR CADET
PRODUCT, THE REPLACEMENT PARTS ARE SUB JECT TO THE SAME
WARRANTIES AS THE PRODUCT. THE INSTALLATION OF REPLACEMENT
PARTS DOES NOT MODIFY OR EXTEND THE UNDERLYING WARRANTIES.
2
Figure 2
Back of Heatbox Face Cover
Figure 3
Warranty
REPLACEMENT OR REPAIR OF ANY CADET PRODUCT OR PART DOES NOT
CREATE ANY NEW WARRANTIES.
9. These warranties give you specific legal rights, and you may also have
other rights which vary from state to state. Cadet neither assumes, nor
authorizes anyone to assume for it, any other obligation or liability in
connection with its products other than as set out herein.
If you believe your Cadet part is defective, please contact Cadet Manufacturing
Co. at 360-693-2505, during the warranty period, for instructions on how to have
the repair or replacement processed. Warranty claims made after the warranty
period has expired will be denied. Products returned without authorization will be
refused.
Parts and Service
Visit http://support.cadetco.com for information on where to obtain Parts or
Service.
Reduce-Reuse-Recycle
This product is made primarily of recyclabl e materials. You can
reduce you r carb on footpr int by rec ycling this product at the
en d of it s use ful l ife . Con tac t you r loc al re cyc lin g sup por t
center for further recycling instructions.
©2011 Cadet Manufacturing Co. Printed in U.S.A. Rev. 12/11 #720202
 Loading...