

Page 1
4 x 2 HDMI™ Matrix Switch
Model: 40444
Operation Manual ver 1.0
Page 2
Operation Manual
4 x 2 HDMI™ Matrix Switch
4 inputs and 2 outputs for flexible audio/video distribution
Model: 40444
Thank you for purchasing the Matrix Switch. We recommend that you read this manual
thoroughly and retain for future reference.
Function:
Simultaneously route any 4 devices to your choice of two monitors/displays, or deliver one
signal to both displays. Connect all your HDTV products such as DVD players, satellite receivers,
cable set-top boxes, or gaming systems and watch any picture on either of two plasma, CRT,
LCD, or projection televisions with complete independence.
The HDMI matrix switch supports all video resolutions up to full 1080p high-definition, and is
compatible with HDCP and DDWG standards. The attractive device may be placed on a shelf or
mounted in a 19" professional rack. Display selections may be made with the included discrete
command remote control, front panel buttons, or via RS-232 for seamless integration in more
advanced control systems.
Package Contents
● 40444 HDMI Matrix Switch
● 5VDC Power Adapter
● Infrared Remote Control
● Mounting Hardware
● Operation Manual
ii
Page 3

Table of Contents
Functions …………………………………………………………………………...ii
Package Contents……………………………………………………………….....ii
Features……………………………………………………………………………..1
Connecting the Matrix Switch …………….…….………………………………...1
Operating the Matrix Switch......……………………………………………………
Operating the Matrix Switch with the remote control............................2
Operating the Matrix Switch from the front panel.................................2
Operating the Matrix Switch via RS-232………………………………...3
Troubleshooting………………………………………………………………….....5
Specifications…………………………………………………………………….....5
Replaceable Parts……………………………………………………………….....6
Warranty/Important Safety Information…………………………………………..6
iii
Page 4

Features:
Supports up to 1080p
•
Supports 480i, 480p, 720p, 1080i, 1080p resolutions
•
Slim Line Remote Control
Operate the switch from a distance or program commands into your existing remote
control system
•
Blue LEDs
Blue LEDs to enhance appearance and match existing equipment in your system
•
RS-232 Control Capability
Seamlessly integrate this unit into an existing home automation system
•
Infrared Extension Jack
Extend the reach of IR signals for remote control
Connecting the 40444 HDMI 4 X 2 Matrix Switch:
● For Optimal performance, use high-quality high-speed HDMI™ cables.
● The Switch’s input and output jacks are clearly marked making it simple for easy cable
connections
● To connect the switch to your digital equipment perform the following tasks:
1. Power down all components that will be connected to the switch.
2. Connect an HDMI cable from each of the HDMI sources to an input on the Matrix Switch
3. Connect an HDMI cable from an output on the Matrix switch to each display
4. Connect a DB9 cable for RS-232 option (if required)
5. Connect a 3.5mm cable for remote control extender (if required)
6. Power on the matrix switch and all connected equipment
Diagram of connections:
1
Page 5

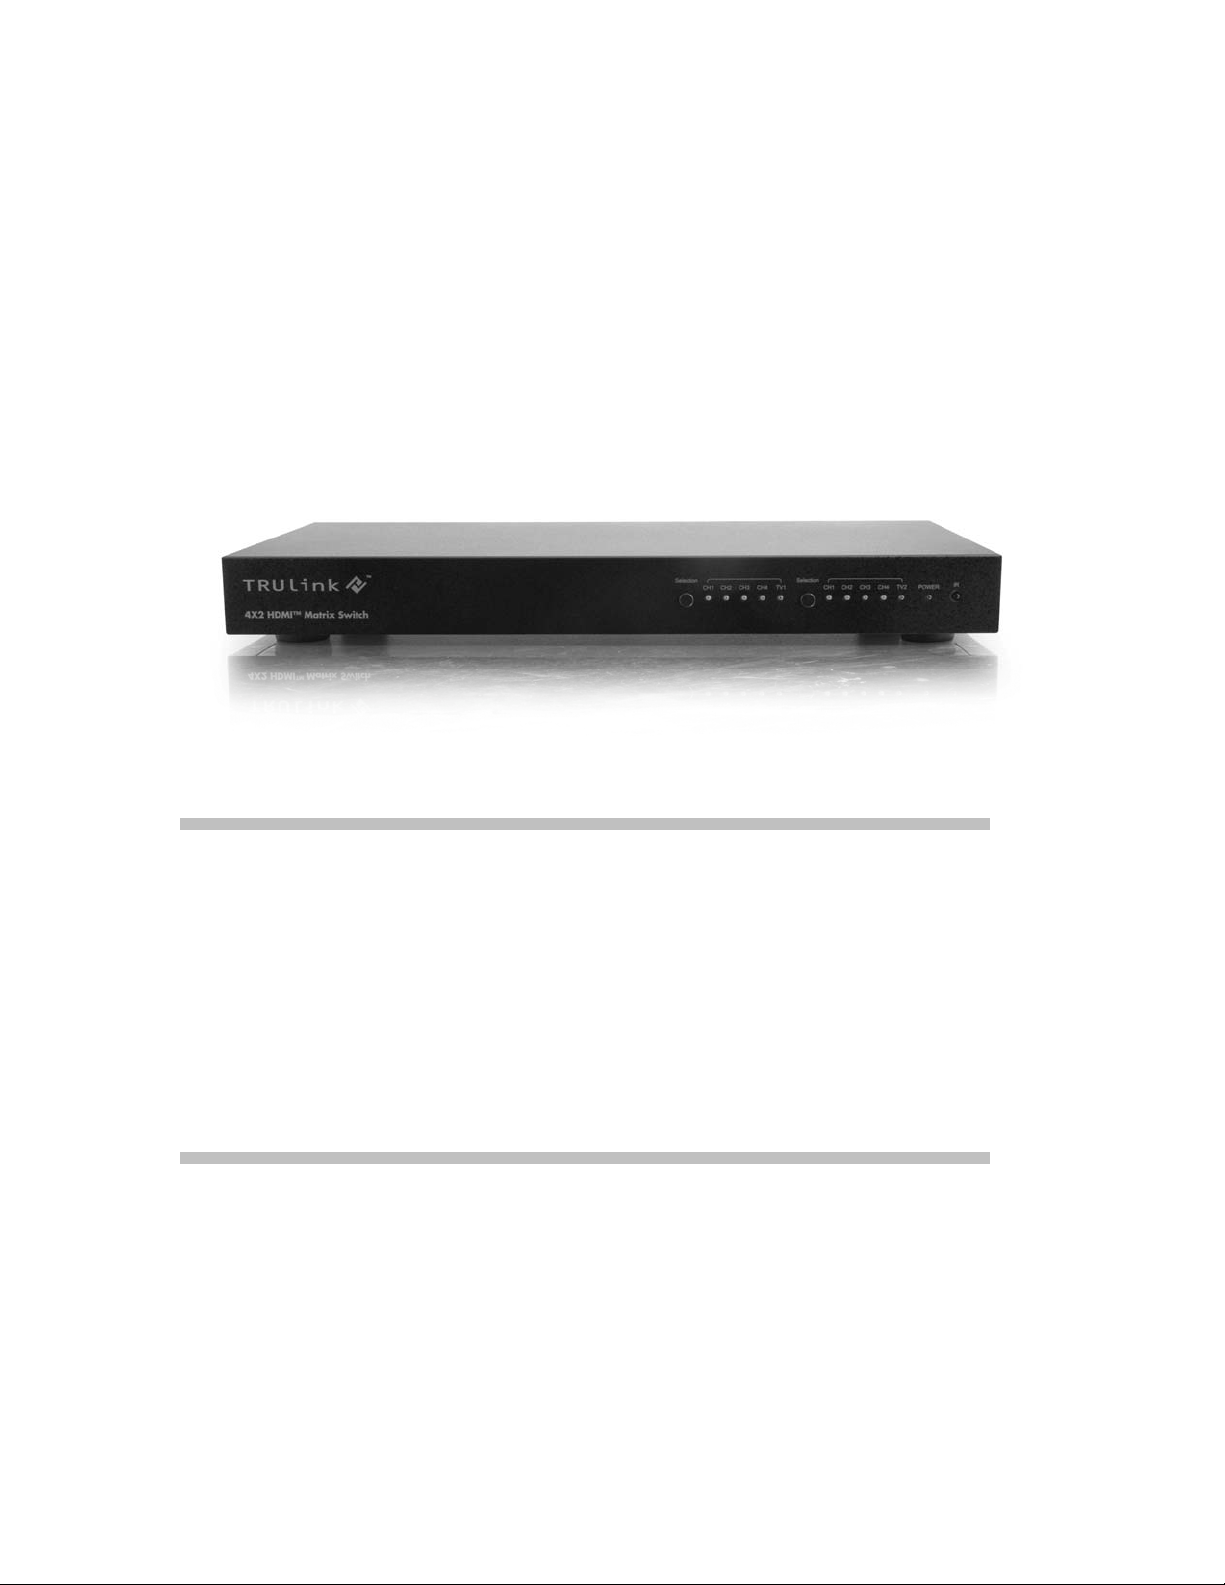
Operating the Matrix Switch from the Front Panel
1. Power on the switch via remote control or RS-232 control (Note: There
is no power switch on the front pane of the switch.)
2. The front panel includes two sets of input/output selectors for each TV.
Press and release the selection button to scroll through the inputs until
the appropriate display is achieved. For example to switch from input
#1 to input #3, press the selection button two times.
Operating the Matrix switch with the remote control
The remote control features 3 distinct areas of operations.
1. Power on the switch by pressing the green “ON” button on the remote
control. (Note: There is a separate red “OFF” button use to power
down the switch.
2. Choose the TV you wish to set by pressing “1” or “2” in the Receiver
Selection area of the remote control. A green light will illuminate on the
switch to identify the TV you have chosen.
3. In the Source area of the remote control, press one of the four
“channel” buttons to select the input you wish to display on the current
TV. For example, to view connected input #3, press “CH3” on the
2
Page 6

Operating the Matrix Switch via RS-232 control
Transmission Format:
Baud Rate: 57600 BPS
Data Byte: 8 bits
Parity: None
Stop Bit: 1
Flow control: None
Modem Cable Pinouts:
Switcher End Controller End
Pin Definition Pin Definition
1 NC 1 NC
2 TxD 2 RxD
3 RxD 3 TxD
4 NC 4 NC
5 GND 5 GND
6 NC 6 NC
7 NC 7 NC
8 NC 8 NC
9 NC 9 NC
Command Code Description
0x01 TV 1 Output Port On
0x02 TV 2 Output Port On
0x05 CH 1 Input Port On
0x06 CH 2 Input Port On
0x07 CH 3 Input Port On
0x08 CH 4 Input Port On
0x09 TV Output Power On/Off
Using Optional Infrared (IR) Extender Jack
The IR extender jack is for situations requiring the Matrix Switch to be mounted in a location
where direct line-of-sight is not available. If you have purchased a standard IR extension module,
connect it to the Extend IR jack of the unit and position the module in a manner that allows the
furnished remote to be pointed at it without any obstructions between the remote and the IR
extension module. The cable length will vary according to the manufacturer of the IR extension
module.
Operation using the extended IR module accessory is the same as with the standard IR remote
capability.
3
Page 7

Attaching Rack Mount Hardware
This switch may be installed in a standard equipment rack. Simply attach the included mounting
hardware to the sides of the switch and affix the assembly to the rack.
4
Page 8

Problem Solution
No Power
No Sound
No Picture
Troubleshooting:
Specifications:
Interface
HDTV Resolutions
Make sure power source is operational
1. Make sure all connections are secure
2. Make sure all audio equipment is on proper settings
1. Make sure all connections are secure
2. Check the front panel of the switch to see if the proper
input by color code has been selected
3. Make sure that proper HDMI output is selected on
equipment
Inputs Outputs
HDMI TMDS (4) HDMI TMDS (2)
480p, 720p, 1080i, 1080p
Dimensions (H-W-D)
Remote Control
Replacement Parts
Power
Weight
1.73” x 16.97” x 8” (44x431x203mm)
Serial Interface RS-232
IR remote control
IR Remote Control 98029
AC/DC Adapter 98028
External Power Supply 5VDC@3A
5.0lbs. (2265g)
5
Page 9

Replaceable Parts
In the event of a lost or damage part, the
following replaceable accessories are
available. Please call 1-800-506-9606 for
order information.
IR Remote Control 98029
AC/DC Adapter 98028
Cables To Go™ One Year Warranty
At Cables To Go, we want you to be totally confident in your purchase. That is why we offer a one
year warranty on this device. If you experience problems due to workmanship or material defect
for the duration of this warranty, we will repair or replace this device. To request a Return
Merchandise Authorization (RMA) number, contact customer service at 1-800-506-9606 or
www.cablestogo.com.
Important Safety Information
! Do not plug the unit in any outlet that does not have enough current to allow the switch to
function. Refer to the specifications in this manual for power level of the unit.
!
Liquid:
If this unit or its corresponding power adapter has had liquid spilled on or in it, do not attempt to
use the unit.
Do not attempt to use this product in an outdoor environment as elements such as rain, snow,
hail, etc. can damage the product.
!
In case of a storm, it is recommended that you unplug this device from the outlet.
!
Avoid placing this product next to objects that produce heat such as portable heaters, space
heaters, or heating ducts.
! THERE ARE NO USER SERVICEABLE PARTS
Do not attempt to open this product and expose the internal circuitry. If you feel that the
product is defective, unplug the unit and refer to the warranty information section of this
manual.
6
 Loading...