

Page 1
Burnside Telecom Ltd
Burnside House
Isington
Alton
GU18 5SA, UK
Tel: +44 (0)8 700 762 766
Email: [email protected]
Web: www.burnsidetelecom.com
E&OE
LCD specifications depend on model
Burnside Follow Me
T910 fixed cellular terminal
quick start guide
a percentage level and in more
technical dBm units. You should
aim to get a level of at least 50%
or more. Although it is possible to
have a perfectly acceptable performance with a weaker signal. If
you are located in a particularly
poor reception area, we can supply a higher performance antenna.
To set up callforwarding lift the
handset and dial 0#4250. You are
now prompted to enter the phone
number or use the phone book.
Enter a number such as
07123456789#. Note that the #
tells the terminal you are at the
end of the number. It will then
briefly show "Accepted". To tell
the terminal to now forward calls
to this number either replace the
handset (or navigate using the
key) to menu 423 (direct dial
0#423). Press 0 to set forwarding.
The display will show line for-
warded.
You can also set your local phone
to ring when the terminal forwards
a call by entering 0#422. To make
it easier for you to change the
setup store these key sequences
in the memory keys of your phone
if it has them.
To set up call forwarding when
away from the office you can
send an SMS text message from
your mobile to the terminal. A
message nnnnFOR-
WARD07123456789 where nnnn
is the terminal PIN will forward
calls to mobile 07123456789.
362060 V2
The message nnnnCANCEL
cancels call forwarding. nnnn is
only required if the terminal PIN is
set. Default PIN is 1234. The terminal will send a text message
back confirming that it has received the new instruction.
For moreinformation please refer
to the manual on the supplied CD
or if you need help call us on:
Help Line: +44 (0)1 258 821 402
Page 2
Before you start
You will need a standard telephonethat
could normally be connect directly to an
analogue landline. Note that the Burnside terminal is only compatible with dial
tone telephones and will not work with
special digital phones that connect to
some PBX equipment. If in doubt, check
that the phone can connect directly to a
landline socket and that it works normally.
Connecting everything
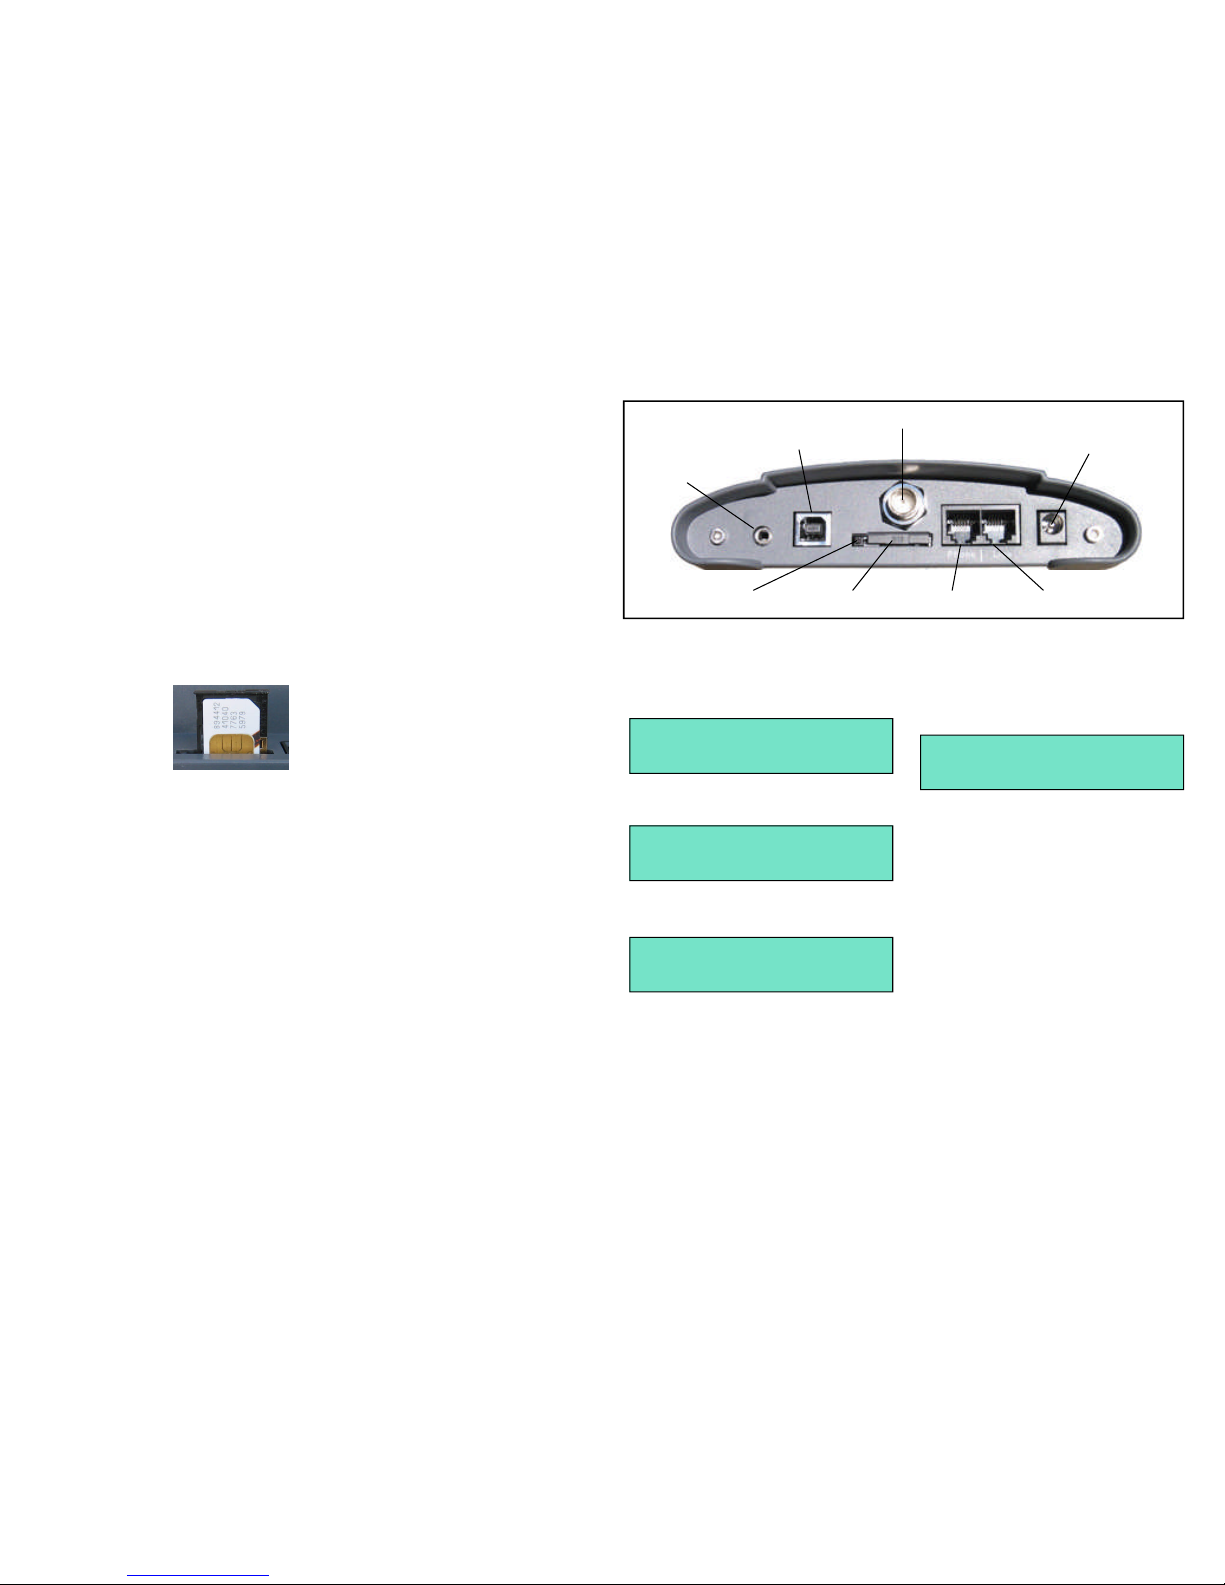
Remove the SIM tray by pressing
the ejector with a pointed object
such as a
ball point
pen. Place
your SIM in
the tray and
insert tray
into the terminal as viewed with the bottom
of the terminal facing you.
Assemble the supplied antenna
by screwing the antenna shaft
onto the base. Insert the antenna
plug into socket on the rear of the
terminal. Turn the nut so that it is
finger tight. Place the antenna in
a strong signal location like a window sill.
Take the supplied cable with a
small clear plug [RJ11] on one
end and a white [BT] plug on the
other and plug the clear plug into
the right hand socket marked
LINE at the rear of the terminal
Plug the white [BT] plug end into
the your landline wall socket.
Take the supplied BT/RJ11 adap-
tor and plug the small clear plug
[RJ11] into the left hand socket
marked PHONE. Plug the connector from your standard telephone into the adaptor.
Take the supplied power adaptor
and plug the cylindrical connecter
into the DC Input socket.. Plug
the adaptor into a suitable wall
socket and switch on. Take care
that this socket is not accidentally
switched off as the terminal needs
to be powered up to make, receive and forward calls.
Checking everything out
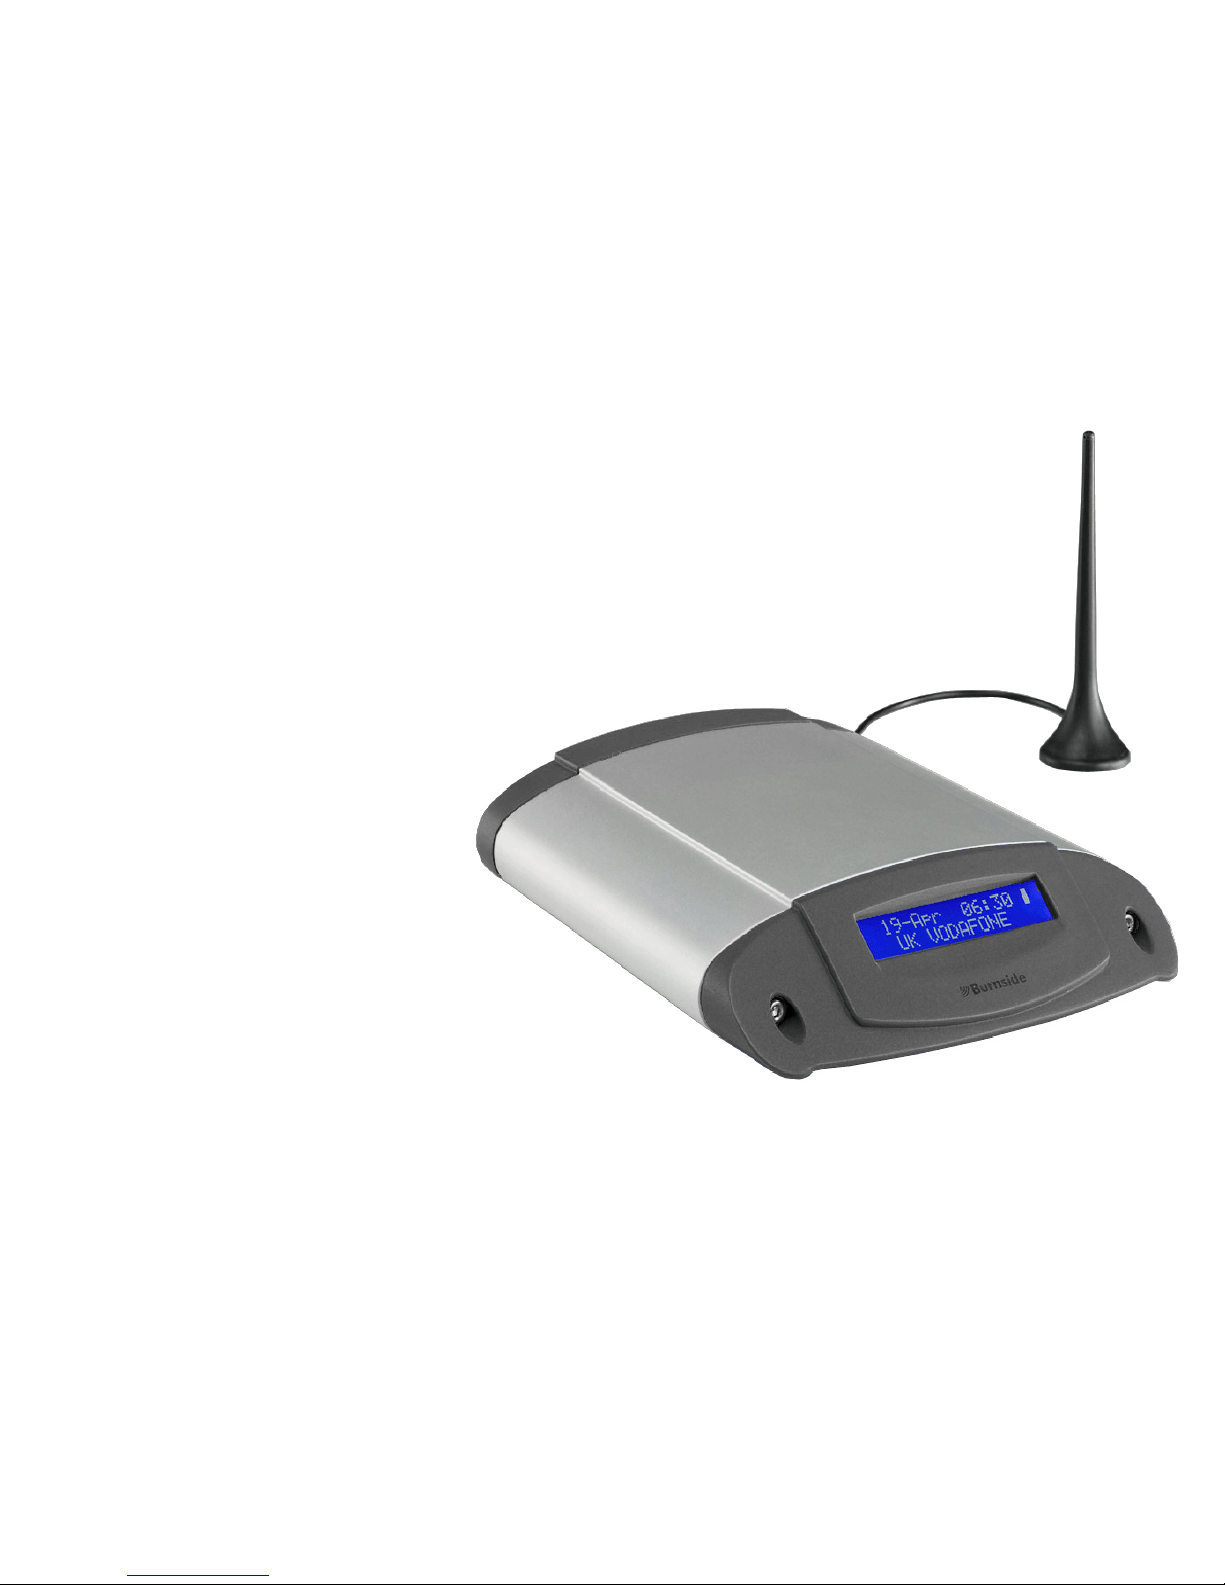
Notice the display on the terminal
is on and that it shows the name
of your mobile network operator.
This takes about 45 seconds from
when the unit is first powered up.
Lift the handset and listen for a
dial tone. You are ready to make
your first call.
To make a call, just dial a number
as normal. If the number begins in
07, the GSM network will be used
to connect your call. All other
numbers will be made via the land
line. Incoming calls will ring the
phone normally.
Configuring the terminal
You may want to set the clock
now. You only need to do this
once because there is an internal
battery which will maintain the
clock in the event of power failure.
It will also familiarise you with the
menu system.
Lift the handset of your phone
and dial 0# Thedisplay will
show:
Press the # key again and the
display will show:
Press the # key again and the
display will show:
You are now using the menu system. If you press the key, the
menu will return to the previous
level.
Once you are at the item you
want, press the 0 key to select.
The number shown on the lower
right of the display, for example 1
or 2 is the menu number which
can be dialled directly.
We want to set the clock so replace the handset and lift it again
then dial 0#550 this will take you
directly to the clock setting function.
If you want to change the clock
now, press the 0 key and follow
the instructions. Then hang up.
So to recap, you can navigate the
menu by pressing # & 0 keys
or directly dial a menu item
using the menu number.
You have now mastered the
menu system so you can now
configure every terminal parameter.
To get the best call quality you
must find the optimal position for
the antenna. For example a
stronger signal may be at the opposite end of the window sill
where it is now! To help you locate the optimal position, lift the
handset and dial 0#51310. You
will see the signal level shown as
Computer
DC Input
Antenna
Input/Output
Tray Ejector SIM Tray Phone Landline
*=Back/Up 0=OK
#=Fwd/Down/Next
Phone book
1
Messages
2
10-Mar 13:01
Change?
 Loading...