

Page 1
Page 2

Page 3

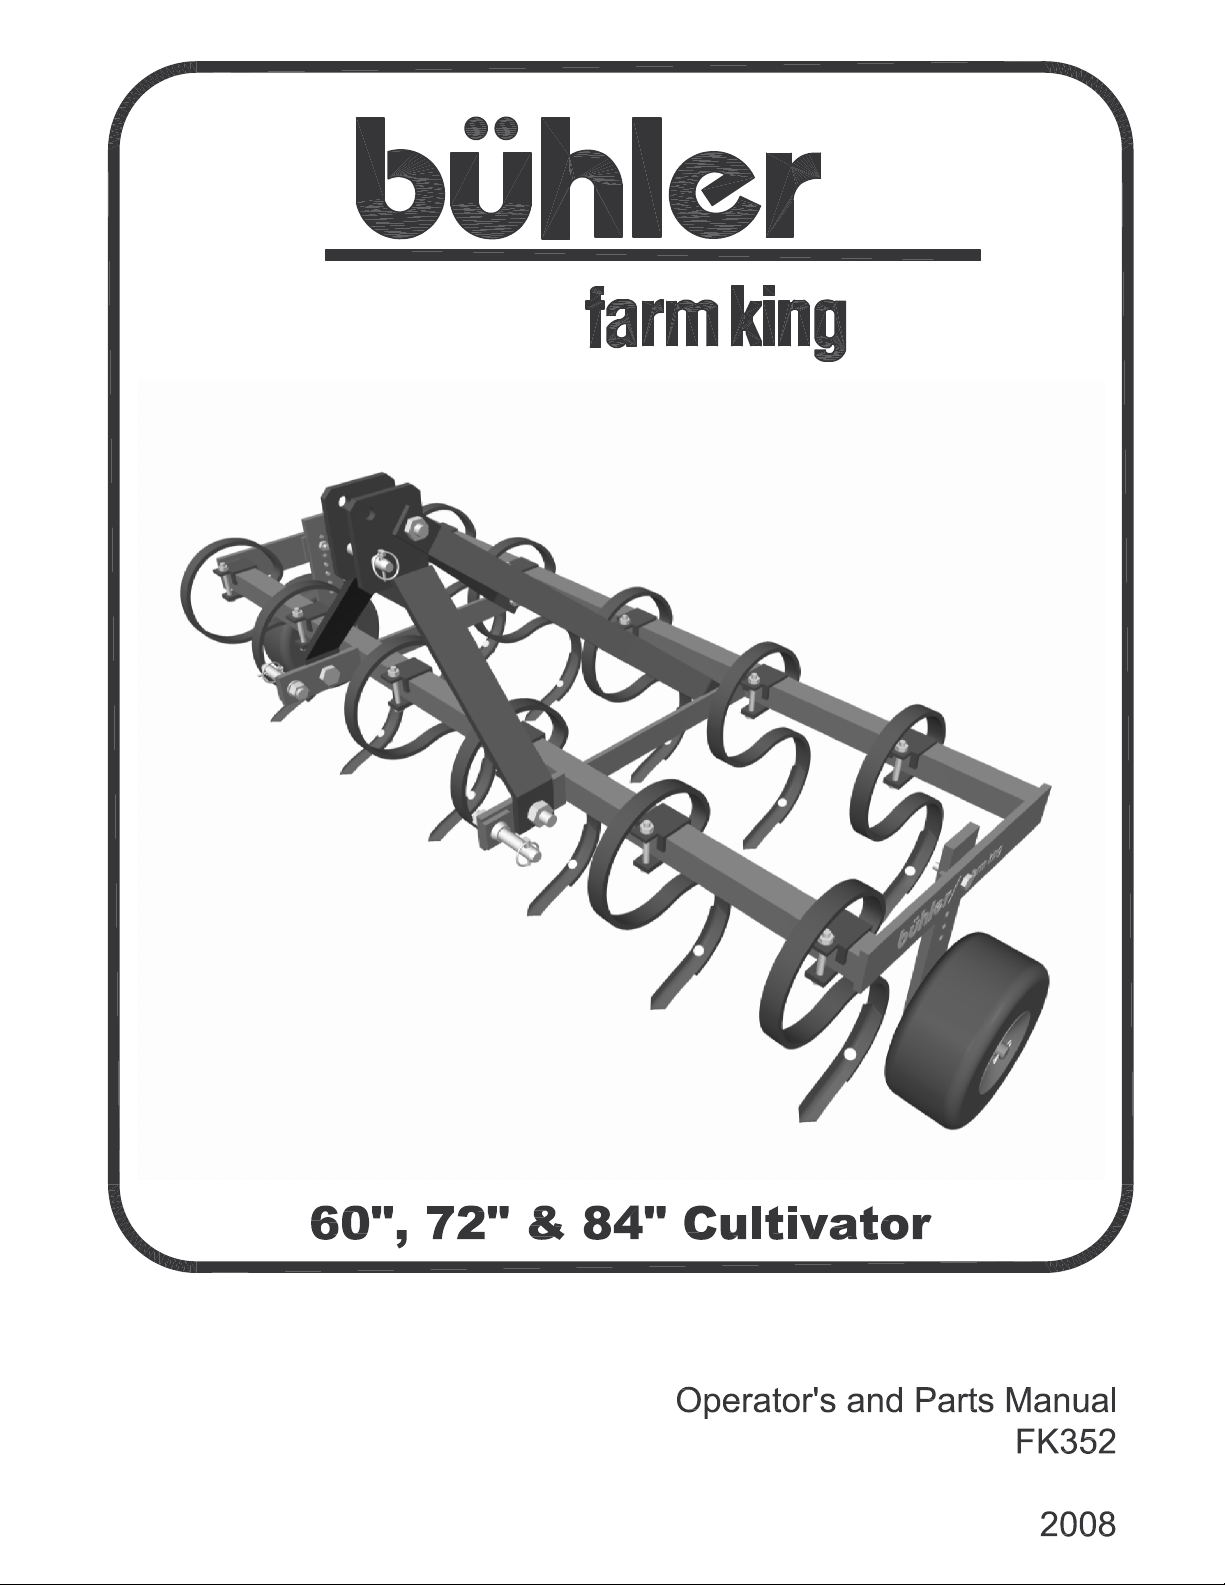
Cultivator
TABLE OF CONTENTS
DESCRIPTION PAGE
WARRANTY................................................................1
INTRODUCTION .........................................................2
SAFETY.......................................................................3
Safety.....................................................................3
General Safety .......................................................4
Start-up Safety .......................................................4
Operation Safety ....................................................4
Transport Safety.....................................................4
Service and Maintenance Safety............................5
Storage Safety........................................................5
Safety Signs...........................................................5
Safety Sign Installation...........................................5
ASSEMBLY.................................................................6
S-Tine Spacing.......................................................6
OPERATION ...............................................................7
Theory of Operation of Cultivator ...........................7
Reversible Point Replacement or Reversal............7
MAINTENANCE .......................................................... 8
Bolt Torque.............................................................8
PARTS DRAWINGS....................................................9
Cultivator Drawing..................................................8
Cultivator Parts List ................................................10
SHIPPING KIT AND BUNDLE NUMBERS .................11
Page 4

Cultivator
WARRANTY POLICY
Buhler Manufacturing products are warranted for a period of twelve (12) months (90 days for
commercial application) from original date of purchase, by original purchaser, to be free from
defects in material and workmanship under correct, normal agricultural use and proper
applications.
Buhler Manufacturing’s obligations under this warranty shall be limited to the repair or
exchange, at Buhler Manufacturing’s option, of any Buhler Manufacturing product or part which
proves to be defective as provided. Buhler Manufacturing reserves the right to either inspect
the product at the buyer’s location or have it returned to the factory for inspection.
The above warranty does not extend to goods damaged or subject to accident, abuse or misuse
after shipment from Buhler Manufacturing’s factory, nor to goods altered or repaired by anyone
other than an authorized Buhler Manufacturing representative.
Buhler Manufacturing makes no Express Warranties other than those, which are specifically
described. Any description of goods, including any references and specifications in catalogues,
circulars and other written material published, is for the sole purpose of identifying goods and
shall conform to such descriptions. Any sample or model is for illustrative purposes only and
does not create an Express Warranty that the goods conform to sample or model shown.
The purchaser is solely responsible for determining suitability of goods sold. This warranty is
expressly in lieu of all other warranties expressed or implied. Buhler Manufacturing will in no
event be liable for any incidental or consequential damages whatsoever. Nor for any sum in
excess of the price received for the goods for which liability is claimed.
WARRANTY CLAIMS:
Warranty requests must be prepared on Buhler Manufacturing Warranty Claim Forms with all
requested information properly completed. Warranty Claims must be submitted within a thirty
(30) day period from date of failure repair.
WARRANTY LABOR:
Any labor subject to warranty must be authorized by Buhler Manufacturing. The labor rate for
replacing defective parts, where applicable, will be credited at 100% of the dealer’s posted shop
rate. Defective parts will receive an extra 10% discount to assist with freight or other incidental
costs.
GOVERNMENT LEGISLATION:
Warranty terms and conditions are subject to Provincial or State legislation.
IMPORTANT FACTS:
Buckets and Bucket Tines Carry No Warranty
Bent Spears Carry No Warranty
Snowblower Fan Shafts Carry No Warranty
Mower Blades Carry No Warranty
Portable Auger Parts Have Two (2) Year Warranty
Loader Parts Have Two (2) Year Warranty
IMPORTANT NOTE: This warranty does not apply to rentals
1
Page 5

Cultivator
INTRODUCTION
The Buhler Farm King Cultivator features a solid welded frame construction with 2” x 2”
x .250 wall tubing. There is a simple one bolt shank allowing for easy spacing
adjustment. “S” tines are forged steel and feature reversible points. Optional gauge
wheels and a 7” sweep are also available. This product is Quick Hitch compatible.
Keep this manual handy for frequent reference. All new operators or owners must
review the manual before using the equipment and at least annually thereafter. Contact
your Buhler Dealer if you need assistance, information, or additional copies of the
manual. Visit our website at www.buhler.com for a complete list of dealers in your area.
The directions left, right, front and rear, as mentioned throughout this manual, are as
seen facing in the direction of travel of the implement.
2
Page 6

Cultivator
SAFETY
Remember, YOU are the key to safety. Good safety practices not only protect you, but
also the people around you. Make these practices a working part of your safety
program. Be certain that everyone operating this equipment is familiar with the
recommended operating and maintenance procedures and follows all the safety
precautions. Most accidents can be prevented. Do not risk injury or death by ignoring
good safety practices.
The alert symbol is used throughout this manual. It indicates attention is required and
identifies hazards. Follow the recommended precautions.
The safety alert symbol means…
ATTENTION! BECOME ALERT! YOUR SAFETY IS INVOLVED!
CAUTION
The caution symbol indicates a potentially hazardous situation that, if not
avoided, may result in minor or moderate injury. It may also be used to
alert against unsafe practices.
WARNING
The Warning Symbol indicates a potentially hazardous situation that, if
not avoided, could result in death or serious injury, and includes hazards
that are exposed when guards are removed. It may also be used to alert
against unsafe practices.
DANGER
The Danger Symbol indicates an imminently hazardous situation that, if
not avoided will result in death or serious injury. This signal word is to be
limited to the most extreme situations, typically for machine components
that, for functional purposes, cannot be guarded.
3
Page 7

Cultivator
GENERAL SAFETY INSTRUCTIONS
Have a first-aid kit available for use and know how to use it.
Have a fire extinguisher available, stored in a highly visible location, and know how to
use it.
Wear appropriate protective gear. This list may include but is not limited to:
- hard hat
- protective shoes with slip resistant soles
- protective glasses or goggles
- heavy gloves
- wet weather gear
- hearing protection
- respirator or filter mask
Read and understand the Operator’s Manual and all safety signs before operating,
servicing, adjusting, repairing, or unplugging the equipment.
Do not attempt any unauthorized modifications to your Buhler product as this could
affect function or safety, and could affect the life of the equipment.
Inspect and clean the working area before operating.
Keep hands, feet, clothing, and hair away from moving parts.
Ensure bystanders are clear of the area before operating.
START-UP SAFETY
Do not let inexperienced operators or children run this equipment.
Operate only with ROPS and seatbelt equipped tractors.
OPERATION SAFETY
Do not permit riders.
Do not wear loose fitting clothing during operation.
TRANSPORT SAFETY
Review Transport Safety instructions in tractor manual before moving.
Check with local authorities regarding transport on public roads. Obey all applicable
laws and regulations.
Make sure the SMV (Slow Moving Vehicle) emblem and all the lights and reflectors that
are required by the local highway and transport authorities are in place, are clean, and
can been seen clearly by all overtaking and oncoming traffic. Always travel at a safe
speed.
4
Page 8

Cultivator
SERVICE AND MAINTENANCE SAFETY
Stop engine, set brake, remove ignition key, and wait for all moving parts to stop before
servicing, adjusting, repairing, or unplugging.
Support the equipment with blocks or safety stands before working beneath it.
Follow good shop practices including:
- keep service area clean and dry
- be sure electrical outlets and tools are properly grounded
- use adequate light for the job
Use only tools, jacks, and hoists of sufficient capacity for the job.
Use heavy leather gloves to handle sharp objects.
STORAGE SAFETY
Store the unit in an area away from human activity.
Do not permit children to play on or around the stored machine.
Support the frame on stands and blocks to provide a secure base.
SAFETY SIGNS
The following illustration shows the approximate location and detail of safety signs.
Keep all safety signs clean and legible and replace any that are damaged or missing.
When original parts are replaced, any safety signs affixed to those parts should be
replaced as well. Replacement safety signs are available from your local dealer.
INSTALLATION OF SAFETY SIGNS
To install safety signs, ensure the installation area is clean and dry. Decide on the
exact position before you remove the backing paper. Remove the smallest portion of
the split backing paper and align over the specified area. Carefully press in place.
Slowly peel back the
remaining paper and
smooth the remaining
portion in place. Small
air pockets can be
pierced with a pin and
smoothed out.
5
Page 9

Cultivator
ASSEMBLY
S-TINE SPACING
Each cultivator main frame is divided up into 3 sections by two braces. Space tines
equally within these sections.
6
Page 10

Cultivator
OPERATION
THEORY OF OPERATION
REVERSIBLE POINT REPLACEMENT OR REVERSAL:
1. Raise the Cultivator off the ground.
2. Securely block up the frame
3. Remove the Plow Bolts as required.
4. If the top side of the reversible point has not been used, reverse and reattach.
If it has been used, replace reversible point.
5. Install plow bolts and re-tighten.
6. Replace points if the tips are badly worn. The plow bolts should also be
replaced if the heads become badly worn.
7
Page 11

Cultivator
MAINTENANCE
8
Page 12

Cultivator
9
Page 13

Cultivator
WHEN ORDERING PARTS
Always give your dealer the Model, Color and Serial Number of your machine to assist
him in ordering and obtaining the correct parts. Use the exploded view and tabular
listing of the area of interest to exactly identify the required part.
Cultivator
Item Part # Description
1 906795 60'' Frame Weldment
906796 72'' Frame Weldment
906797 84'' Frame Weldment
2 F0351 Hitch Weldment
3 906794 Hitch Brace
4 967561 S-Tine Only
967248 S-Tine Assembly
5 967562 S-Tine Clamp
6 967549 Reversible Point
7 965809 Lift Arm Pin with Nut & Washer (Category 1)
8 965807 Top Link Pin (Category 1)
9 965911 Linch Pin (7/16'')
10 906770 Spacer 1''OD x 2 1/4''
11 84277 1/2'' x 1 1/2'' Hex Bolt (pl)
12 81637 1/2'' Lock Washer (pl)
13 81636 1/2'' Hex Nut (pl)
14 967563 3/8'' x 1 1/2'' Contour H.D. Plow Bolt (pl)
15 964001 3/8'' Flat Washer (10 GA.) (pl)
16 81593 3/8'' Lock Washer (pl)
17 81592 3/8'' Hex Nut (pl)
18 811751 3/4'' x 5'' Hex Bolt (pl)
19 967298 7/16'' x 3 1/2'' Carriage Bolt (pl)
20 81615 7/16'' Lock Washer (pl)
21 81614 7/16'' Hex Nut (pl)
22 811791 1/2'' x 2'' Hex Bolt (pl)
23 967138 12'' Solid Rubber Wheel
24 9812438 1'' I.D. x 14 GA #8 Narrow Rim Washer (pl)
25 9812434 1/4'' x 1 1/2'' Cotter Pin (pl)
26 901133 Gauge Wheel Weldment (Optional)
27 F11 7'' Sweep (Optional)
28 966563 Wheel Bushing (included with wheel)
29 812365 3/4'' Lock Nut (pl)
30 966527 7/8'' x 2 1/2'' Hex Bolt (pl)
31 81723 7/8'' Lock Washer (pl)
32 81722 7/8'' Hex Nut (pl)
10
Page 14

Cultivator
SHIPPING KIT AND BUNDLE NUMBERS
The following is a list of Kit Numbers for this product and the Bundle Numbers,
Descriptions, and Quantities for each Kit.
QUANTITY BUNDLE NO. DESCRIPTION
Y60FC 60” CULTIVATOR
1 F0351 Hitch
1 F0372 Frame 60”
1 F6510 Tines
1 F0379 Carton of Parts
Y607FC 60” CULTIVATOR w/gauge wheel and sweeps
1 F12 Gauge Wheel
1 F0351 Hitch Bundle
1 F0372 Frame 60”
1 F6510 Tines
1 F0379 Carton of Parts
1 F6590 7” Sweeps
Y72FC 72” CULTIVATOR
1 F0351 Hitch
1 F0373 Frame 72”
1 F6513 Tines
1 F0380 Carton of Parts
Y727FC 72” CULTIVATOR w/gauge wheel and sweeps
1 F12 Gauge Wheel
1 F0351 Hitch
1 F0373 Frame 72”
1 F6513 Tines
1 F0380 Carton of Parts
1 F6592 7” Sweeps
Y84FC 84” CULTIVATOR
1 F0351 Hitch
1 F0374 Frame 84”
1 F6516 Tines
1 F0381 Carton of Parts
11
Page 15

Cultivator
SHIPPING KIT AND BUNDLE NUMBERS – cont’d.
Y847FC 84” CULTIVATOR w/gauge wheel and sweeps
1 F12 Gauge Wheel
1 F0351 Hitch
1 F0374 Frame 84”
1 F6516 Tines
1 F0381 Carton of Parts
1 F6591 7” Sweeps
The following is a list of options available for the Kits listed above.
F11 7” Sweep
967549 Reversible Points
F12 Gauge Wheel
12
Page 16

NOTES
Page 17

NOTES
Page 18

NOTES
Page 19

Page 20

Farm King Division
301 Mountain Street S.
Morden, MB R6M 1X7
Ph.: (204) 822-4467
Fax: (204) 822-6348
Allied/Inland Division
1260 Clarence Avenue
Winnipeg, MB R3T 1T2
Ph.: (204) 284-6100
Fax: (204) 477-2325
B.I.I. Division
1330 43
rd
Street N.W.
Fargo, ND 58102
Ph: (701) 282-7014
Fax: (701) 282-5865
B.C., Abbotsford
(604) 864-2665
AB, Edmonton
(780) 962-6991
SK, Regina
(306) 781-2300
ON, Woodstock
(519) 539-0435
QC, Dorion
(450) 455-4840
AR, West Memphis
(870) 732-3132
GA, Stone Mountain
(770) 908-9439
ID, Meridian
(208) 887-6006
IN, Clarksville
(812) 284-3376
KS, Wichita
(316) 265-9577
MN, Lakeville
(952) 469-5267
MT, Billings
(406) 248-7771
ND, Bismarck
(701) 223-1886
Burando Hill
Katanning
W. Australia
011-618-98-214422
011-52-158-90306
Chihuahua, Mexico
ND, Fargo
(701) 282-7003
NE, Blair
(402) 426-8211
OH, Youngstown
(330) 793-0862
OR, Beaverton
(503) 641-1865
SD, Huron
(605) 352-8616
TX, Houston
(713) 928-2632
UT, Salt Lake City
(801) 972-4321
WI, Portage
(608) 742-1370
John Kerr Equipment Ltd.
Wilcoxholm Farm
Linlithgow, W. Lothian
Scotland
011-441-506-842280
Skovde, Sweden
011-46-500-452651
Naestved, Denmark
011-45-557-29511
Buhler Manufacturing
301 Mountain Street S.
Morden MB.
R6M 1X7
Ph.: (204) 822-4467
Fax: (204) 822-6348
www.buhler.com
Printed in Canada
 Loading...