

Buffalo HD-QS4.0TSU2/R5, DriveStation Quattro HD-QSTSU2/R5 Mac User Manual
Mac User Guide
HD-QSTSU2/R5 DriveStation Quattro
Package contents:
• Main Unit (DriveStation)
• Power Cord
• USB Cable
• eSATA Cable
• eSATA Backplate
• DriveNavigator Installation CD
• User Guides
2
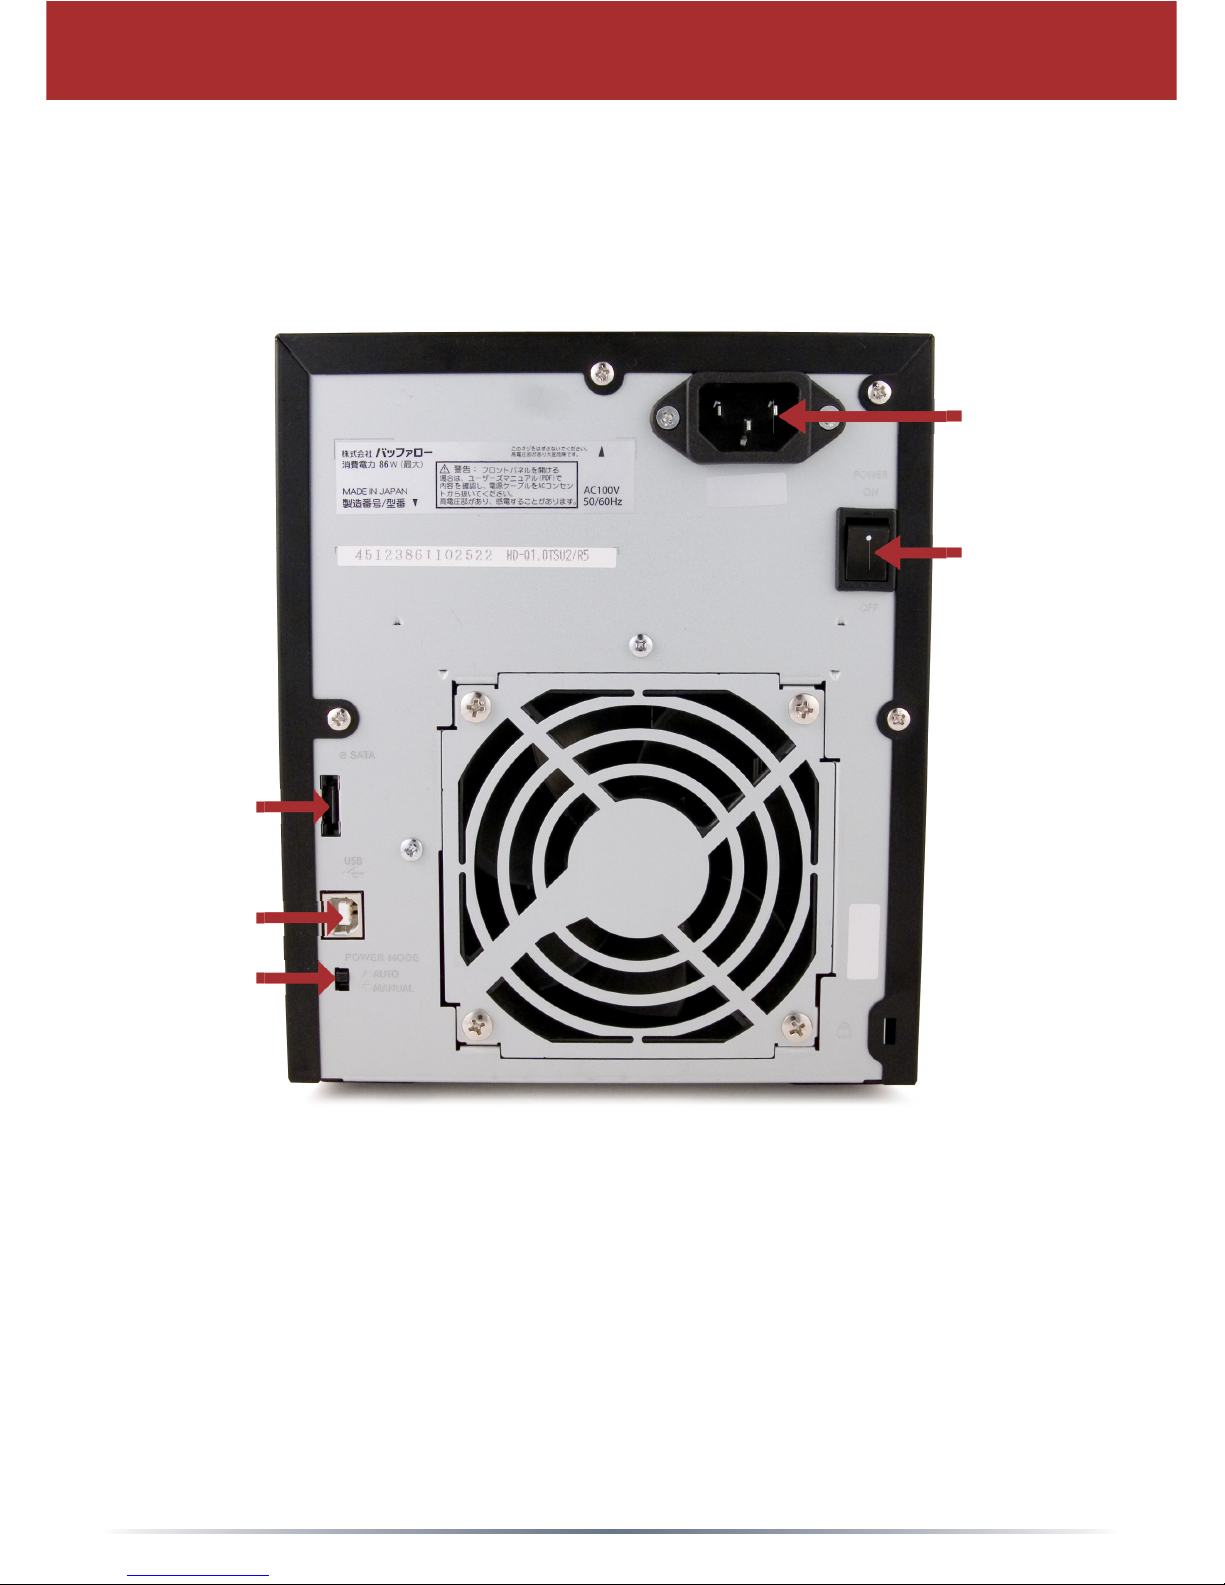
Back Panel Layout
Power On
Off
Socket for
Power Cord
Auto On/Off
Manual On/Off
USB
eSATA
Note: Changing between RAID modes is done with the RAID Utility, included
with the software on your DriveNavigator CD.
3
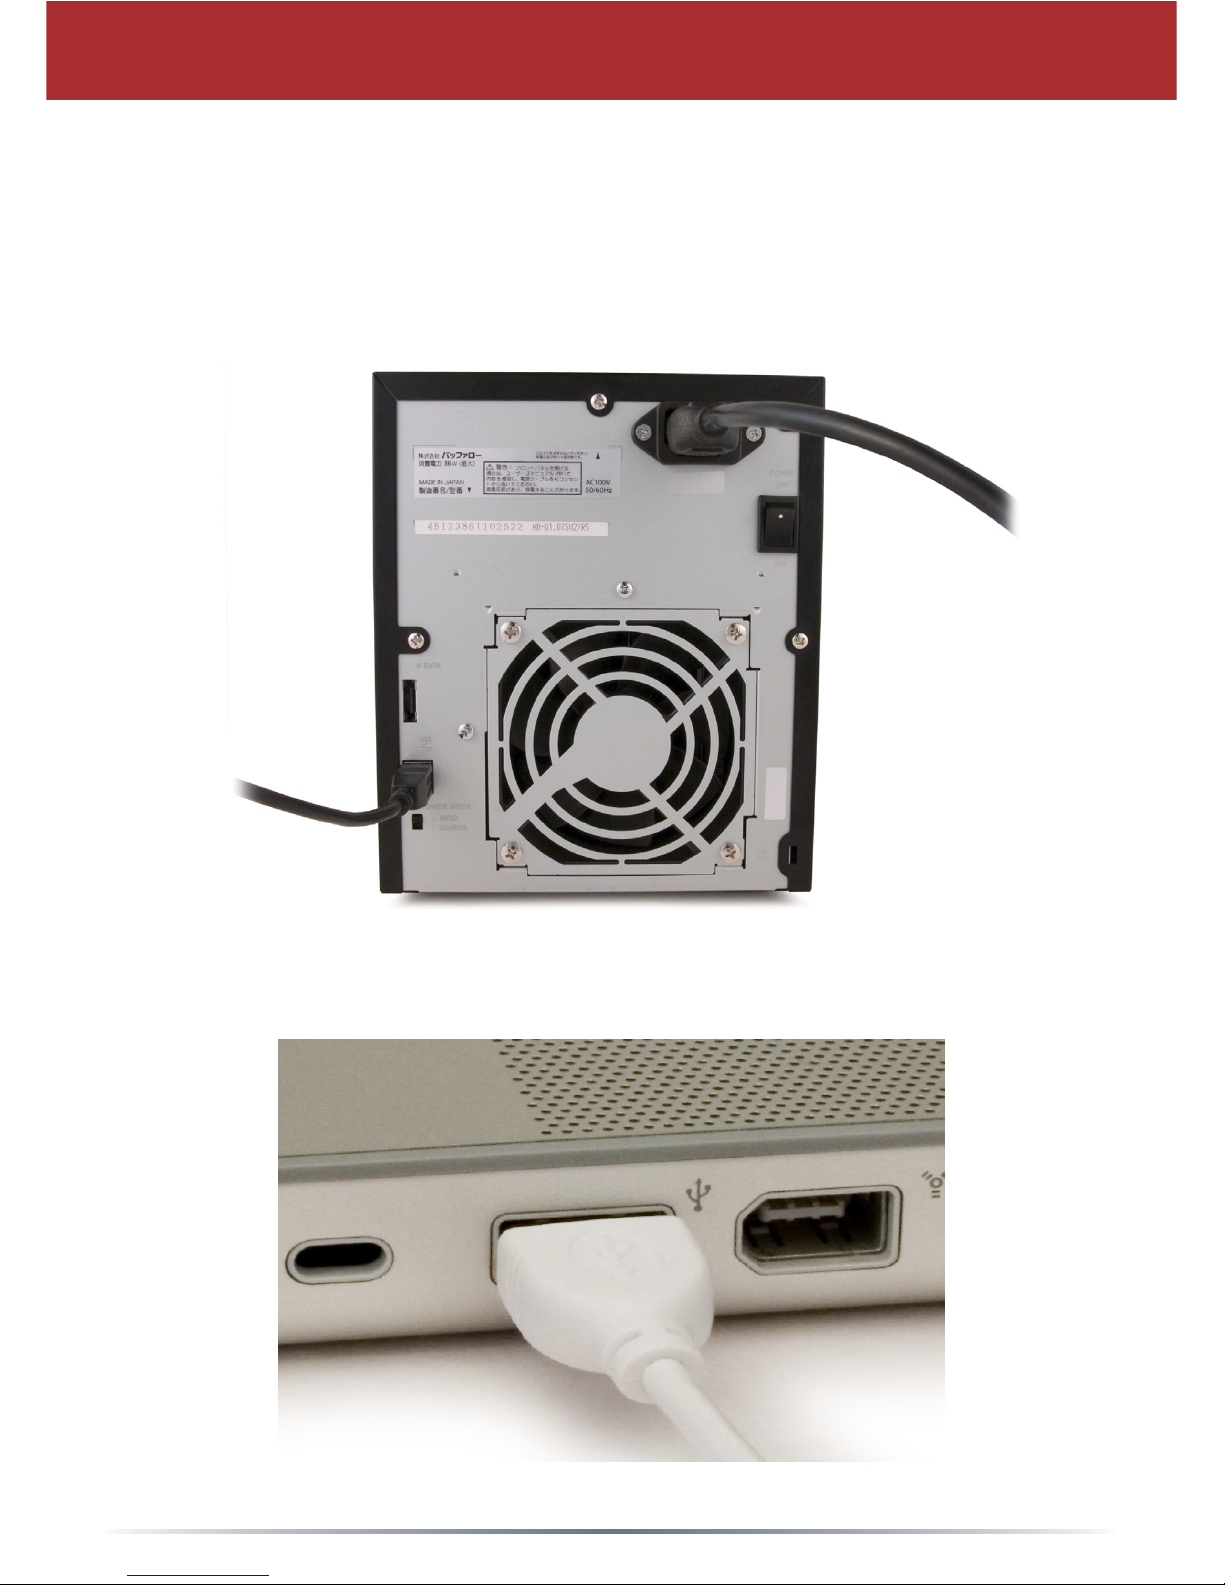
Flip the power switch on the back of the DriveStation to the OFF position. Plug
DriveStation’s power cord into the power socket as shown, as well as a power
outlet or surge protector. Then, connect a USB or eSATA cable into a matching
port on the back of the DriveStation.
DriveStation Setup
Connect the USB or eSATA cable to your Mac or other device you are adding
the DriveStation to.

4
Flip the power switch on the back of the DriveStation to the ON (“I”) position.
Your Mac will detect the new drive and place an icon on your desktop.
Your DriveStation is now ready for use! Double-click on the icon to open the hard
drive.
DriveStation Setup
 Loading...