

Buffalo AirStation WLI-U2-KG125S User Manual
User Manual
Wireless 54 Mbps
USB Adapter
with Antenna Interface
WLI2-USB-G54
www.buffalotech.com
v1.1
User Manual - WLI-U2-KG125S
AirStation 11g 125Mbps
Wireless LAN USB Adapter

2
Congratulations on your purchase! The AirStation WLI-U2-KG125S Turbo G wireless USB
2.0 Adapter connects your notebook computer or desktop PC to a 2.4ghz 802.11g or b
network.
System Requirements
• A compatible G or B band access point.
• A PC running Windows XP, 2000, ME, or 98se that has a USB 2.0 port.
Package Contents
• WLI-U2-KG125S USB Adapter
• Utility CD with Manual
• Quick Setup Guide
• Warranty Statement
Introduction

3
Table of Contents
Getting Started ................................................................ 4
Installing Drivers .............................................................. 5
Installing with Windows XP ............................................. 7
Installing with Windows 98, Me, 2000 ............................ 8
Installing Client Manager ............................................ 11
Using Client Manager .................................................. 14
AOSS .............................................................................. 21
Wireless Zero Config ..................................................... 25
Specifications................................................................ 28
Troubleshooting/FAQ ................................................... 29
FCC/CE Information ..................................................... 32
Contact Information ..................................................... 44

4
Getting Started
1. Installing Drivers:
Insert the AirNavigator CD into the CD-ROM drive of the PC. Do not insert the USB key
into a USB port yet.
If setup.exe does not launch
automatically, click Start
and select Run. Enter
D:\Setup.exe in the Open
eld, where D: is the letter
assigned to your CD-ROM.
Click OK to launch the
wizard.
5
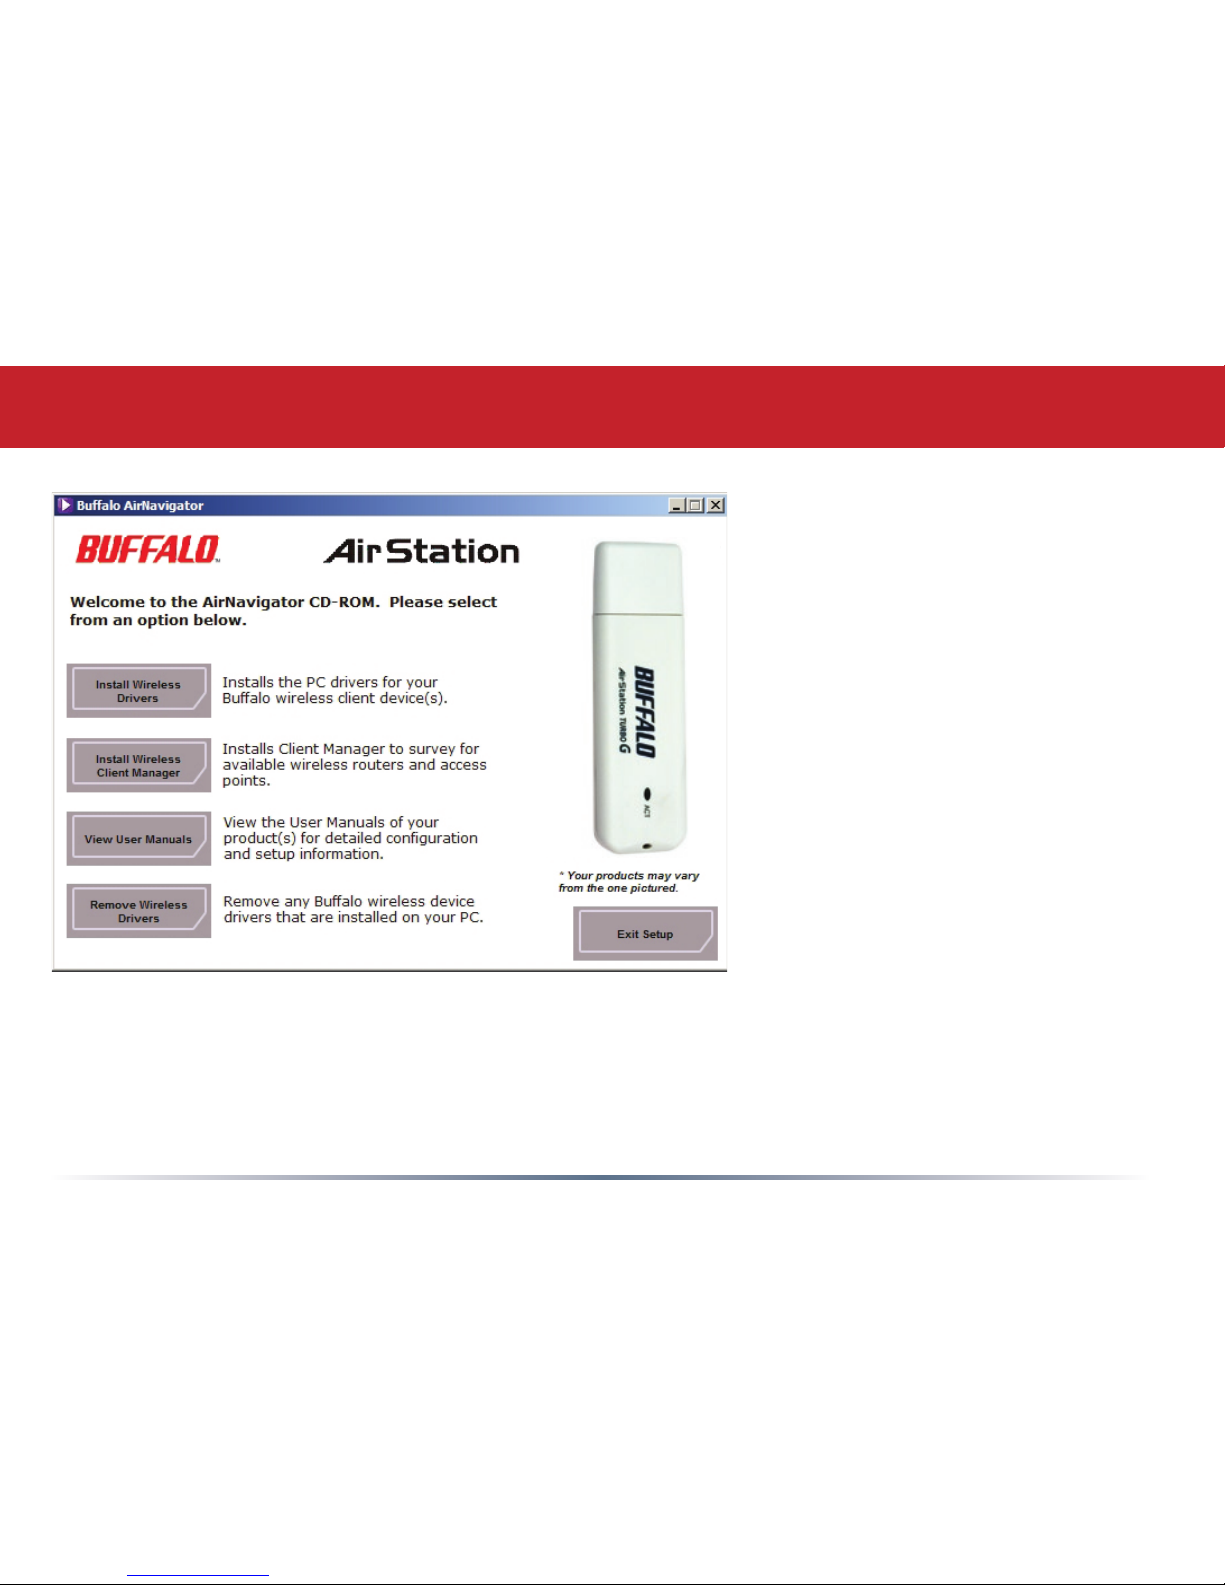
Select Install Wireless Drivers.
Click Next.
AirNavigator

6
The Software License Agreement will appear. Select
Agree and then click Next.
If you have Windows XP on your PC, turn to page 7 to
install your adapter. If you are using Windows 98se,
Me, or 2000, turn to page 8.
AirNavigator - Installing Drivers

7
Installing with Windows XP
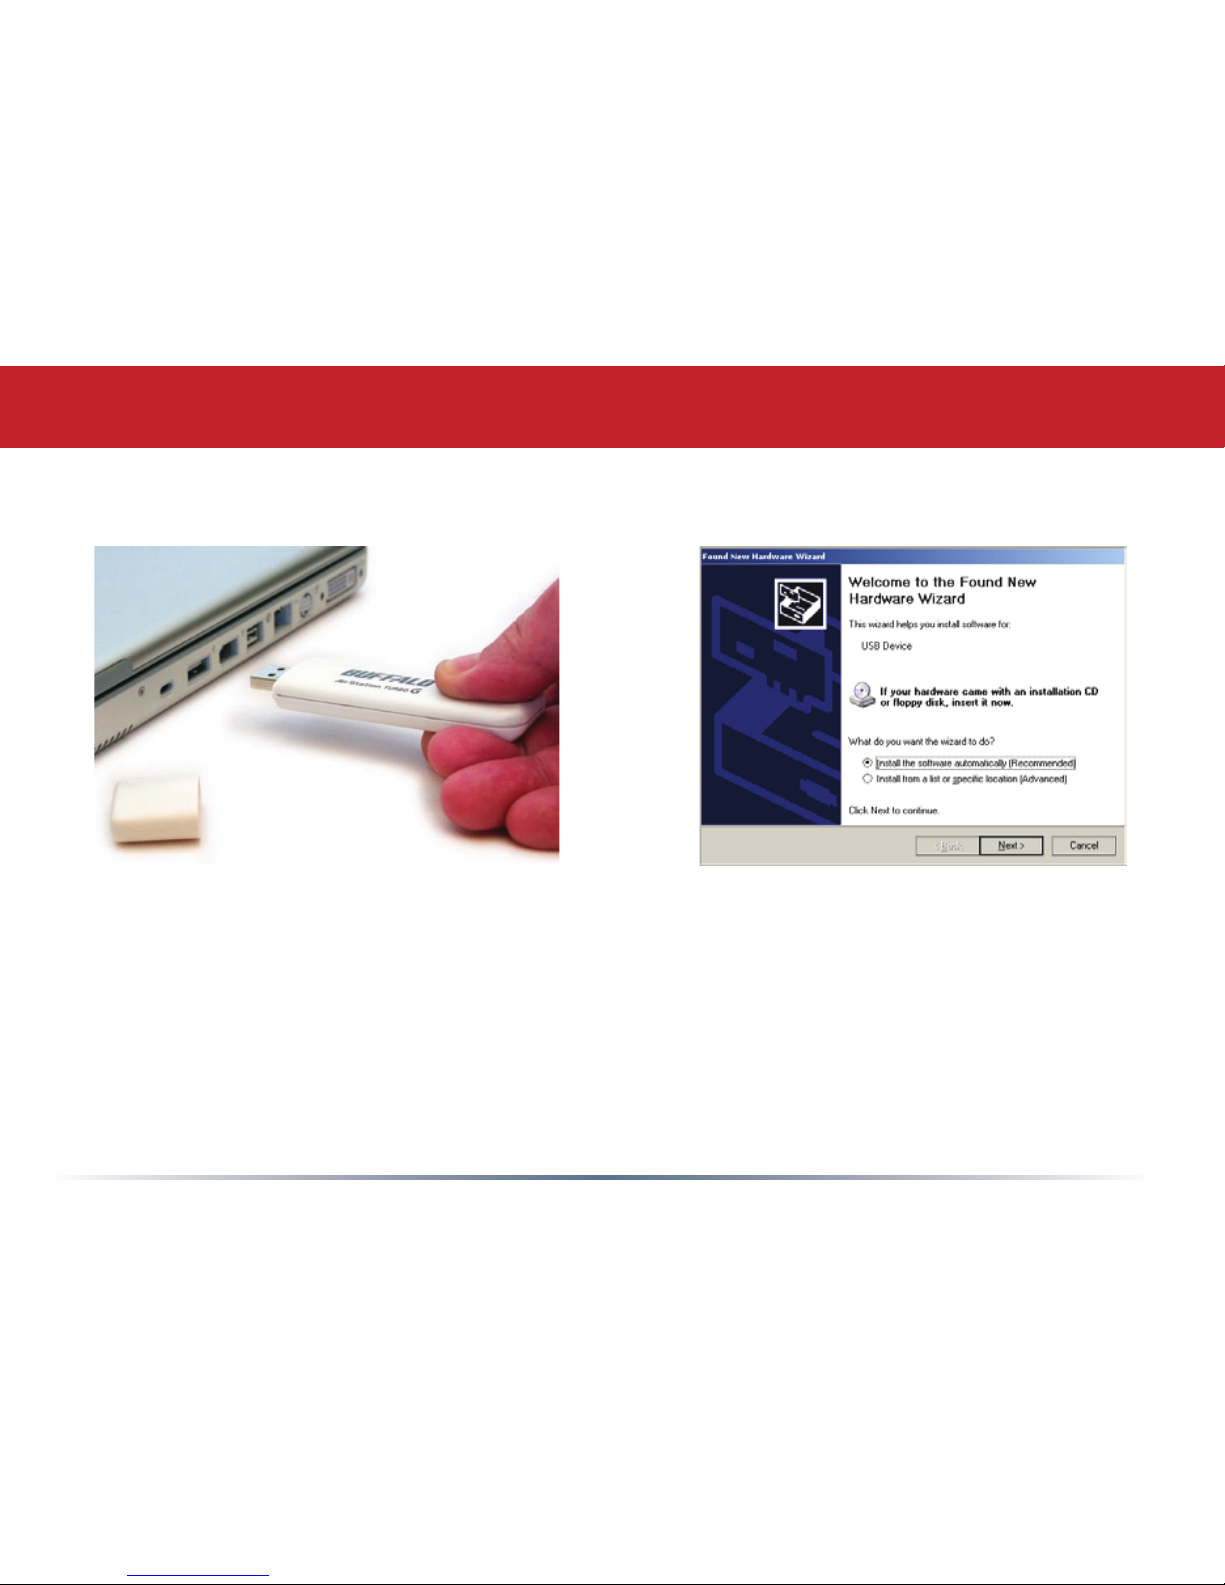
2. Installing the Wireless USB Adapter with Windows XP*:
Plug the Wireless USB Adapter or stand into an available USB port on your PC. The
Found New Hardware Wizard will launch automatically.
If this screen doesn’t appear, remove the Wireless USB Adapter and restart the notebook.
Reinsert the Wireless USB Adapter once the notebook has rebooted.
If the wizard doesn’t run automatically, select Install the software automatically, and click
Next, then Finish.
* If you’re using Windows 98se, Me, or 2000, turn to page 8 for alternate instructions.
8
Installing with Windows 98/ME/2000
2. Installing the Wireless USB Adapter with Windows 98se/Me/2000:
1. Installing the Wireless USB Adapter:
Power on the notebook PC and let it boot into Windows. Plug the Wireless USB Adapter
into an available USB port on your PC. The Found New Hardware Wizard will launch
automatically.
If this screen doesn’t appear, remove the Wireless USB Adapter and restart the notebook.
Reinsert the Wireless USB Adapter once the notebook has rebooted.
Select Install the software automatically. Click the Next button.
9
Installation / Setup
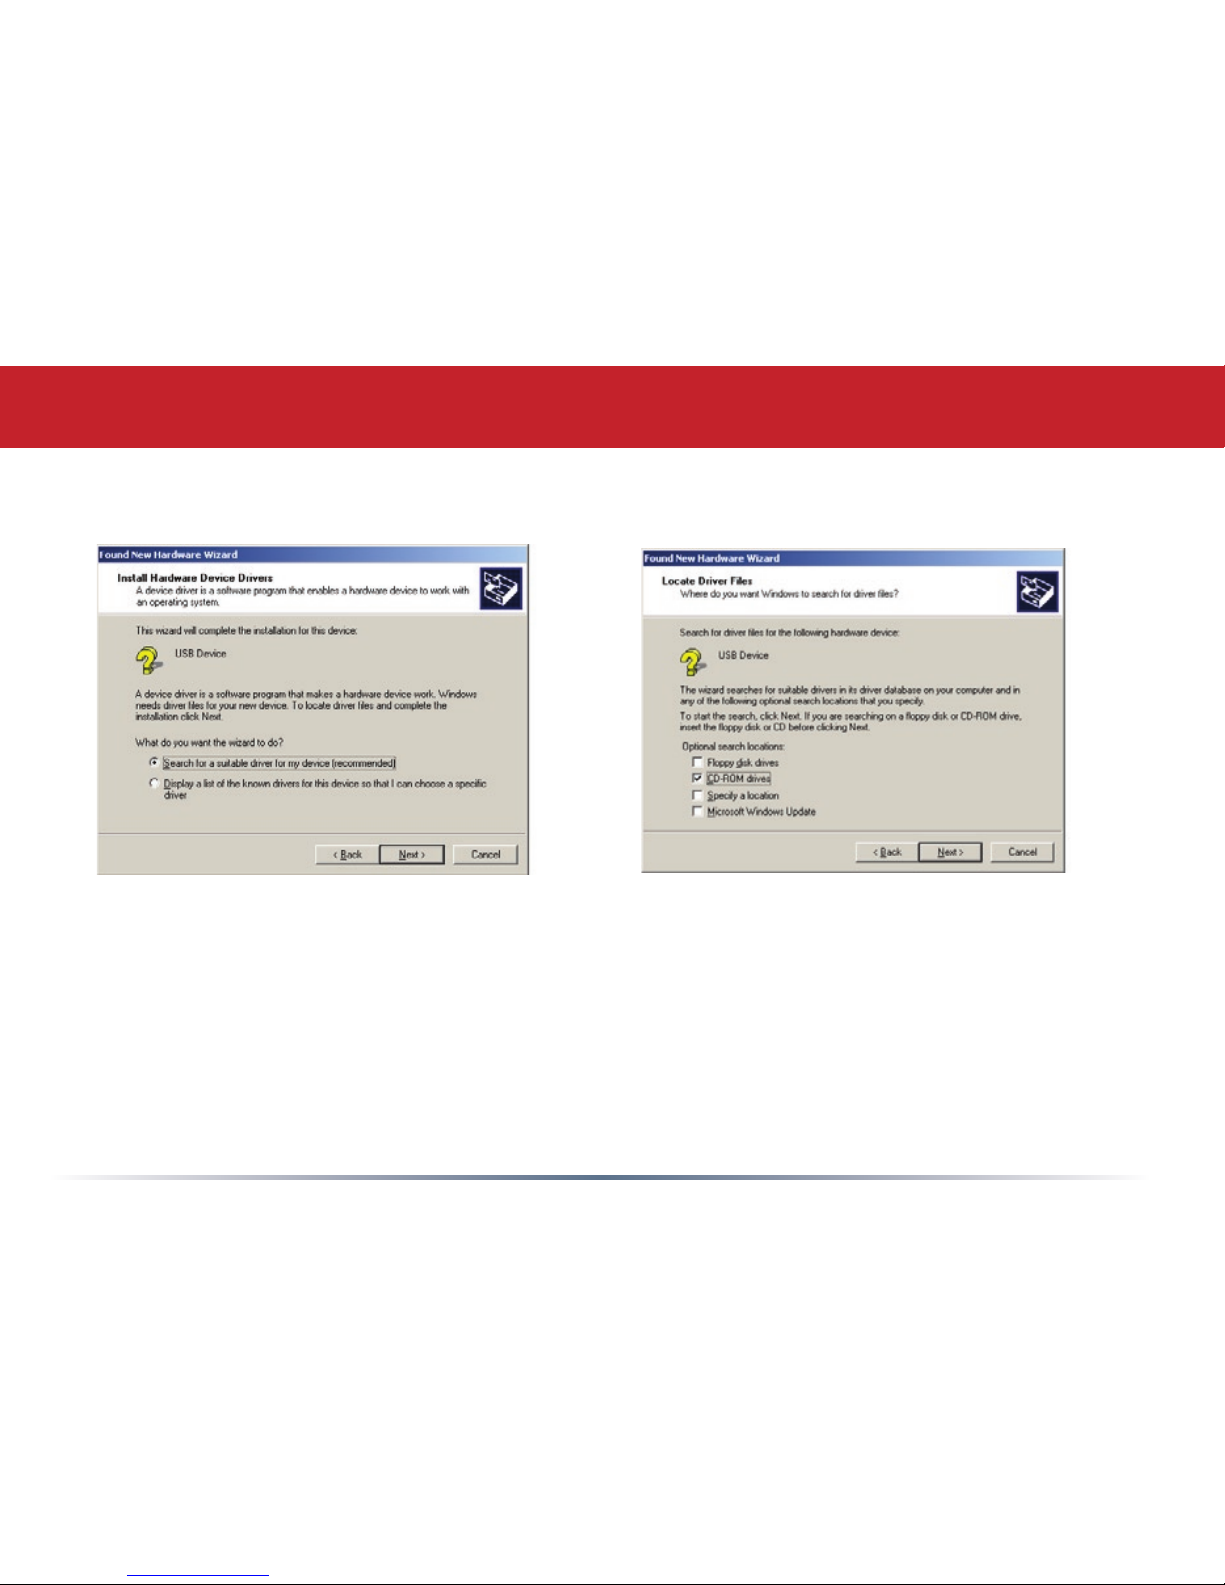
Insert the AirNavigator CD. Click Next at the Welcome to the Found New Hardware
Wizard. Select Search for a suitable driver for my device. Click Next to continue.
Check only the CD-ROM drives checkbox, and clear any other checkboxes that are
selected. Click Next to continue.
10
Installation / Setup
Windows will display a driver you can use with the Wireless USB Adapter.
Click Next.
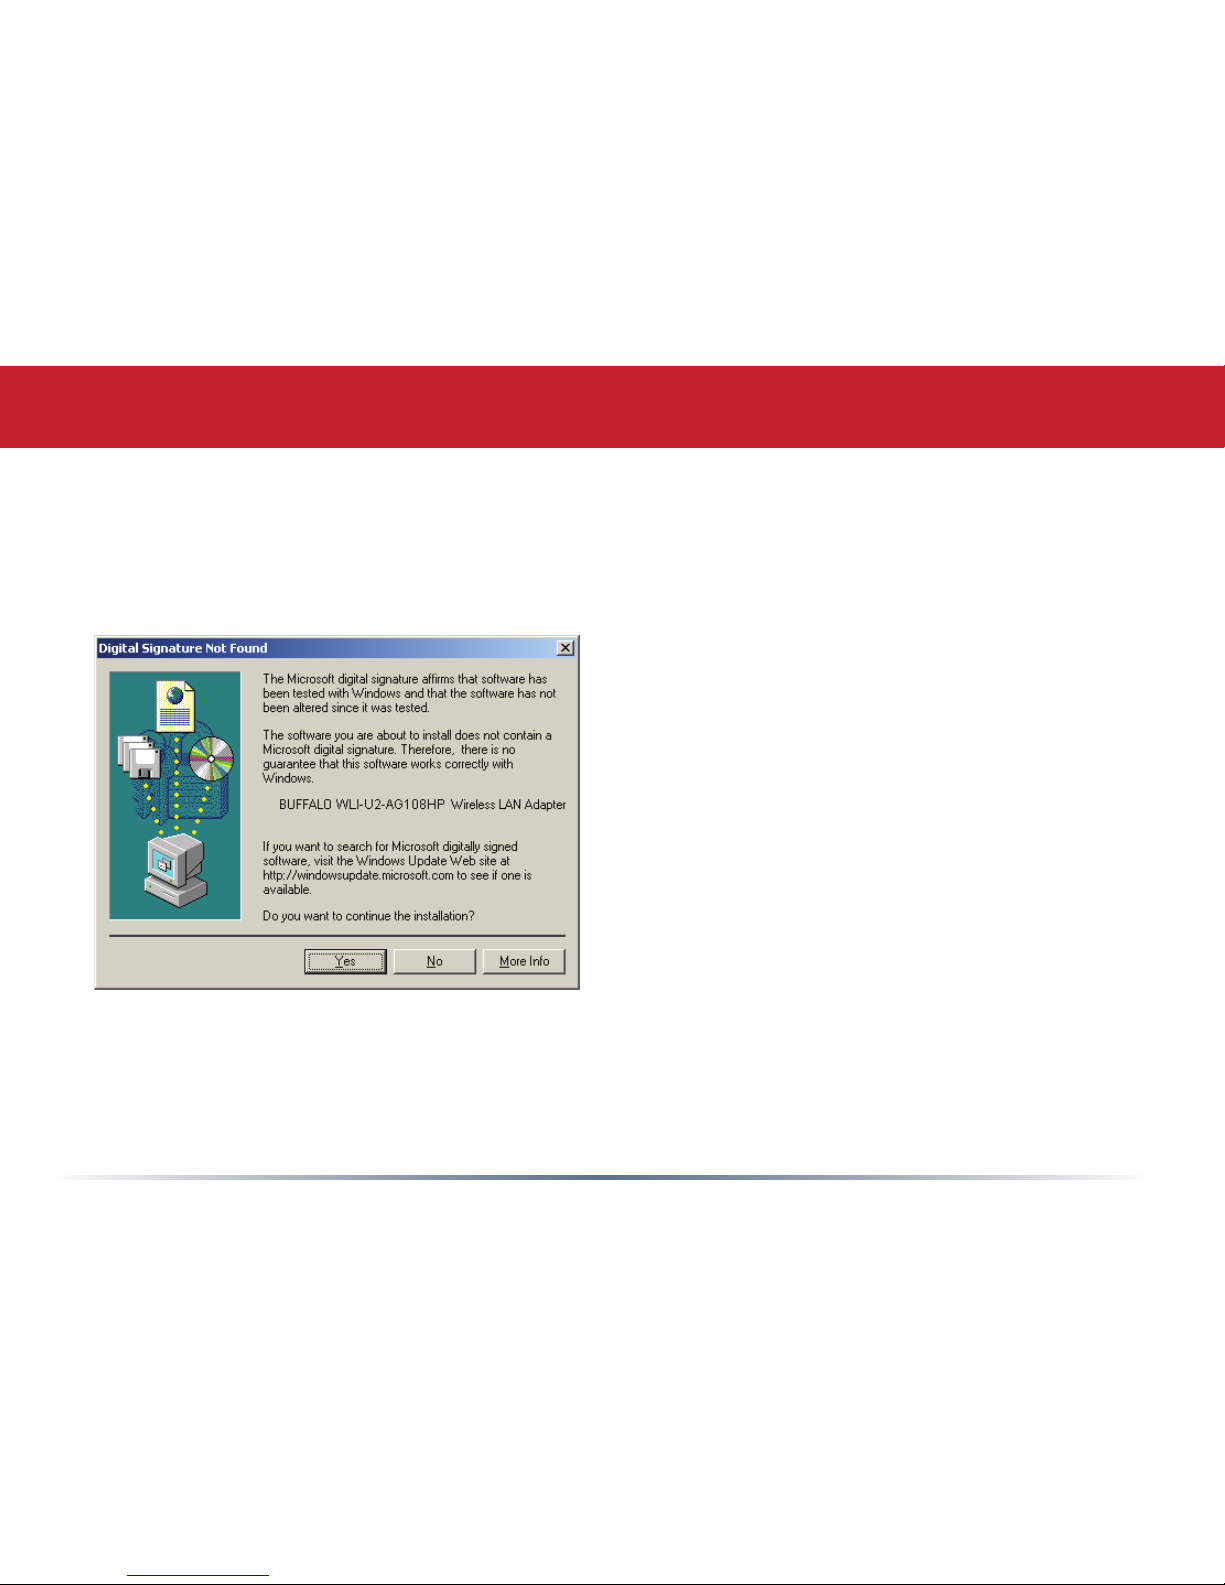
In Windows 2000, if the Digital Signature
Not Found page opens as shown, click Yes to
continue the installation process.
When the Wireless USB Adapter is
successfully installed, click Finish. Restart
your computer if prompted.
See the next page to install the Client
Manager.
11
3. Installing Client Manager
Client Manager lets you congure your wireless network, survey and connect to available
access points, enable and use WEP encryption, initiate AOSS, and create connection proles.
Note: During Installation, Client Manager disables Windows XP’s Zero Conguration Tool.
If you have Windows XP, and you don’t want to install or use Client Manager, turn to page
25 to use the built in Windows Zero Conguration Tool instead.
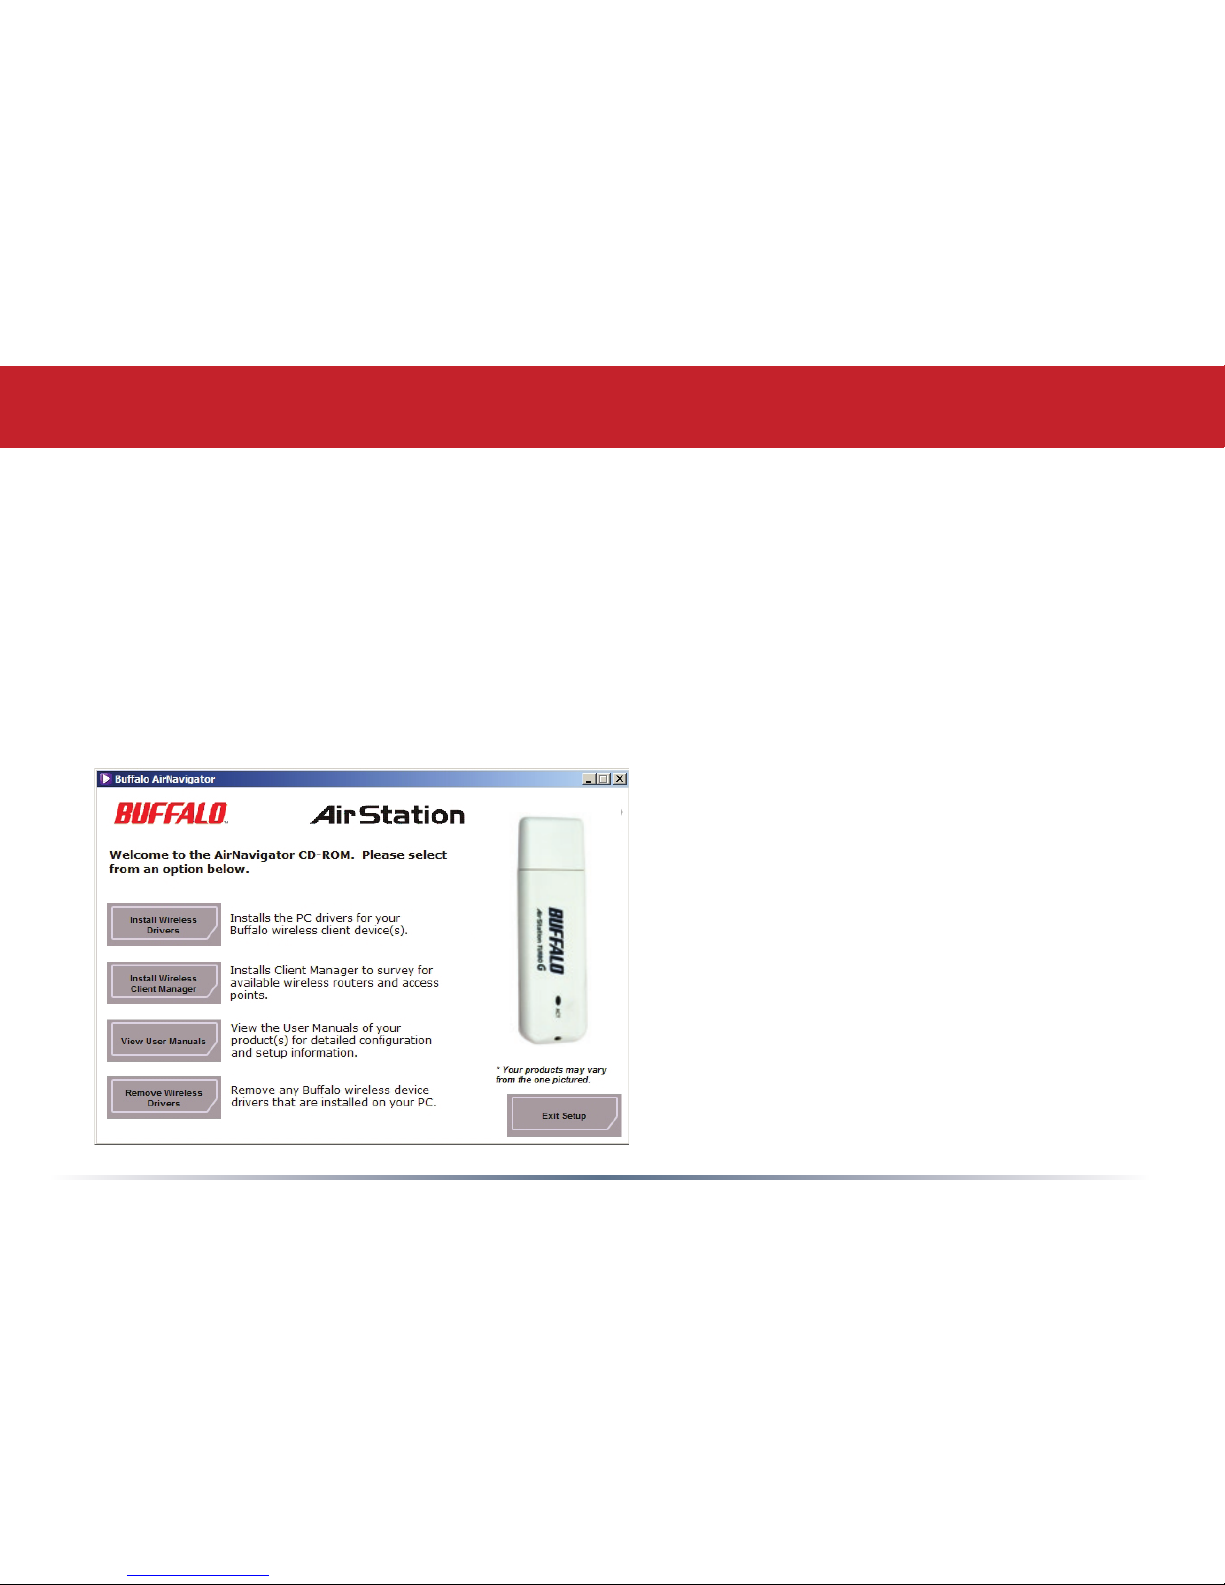
Insert the AirNavigator CD. The
AirNavigator dialog box should open
automatically. If it does not, click Start,
then Run, and enter D:\Setup.exe in the
“Open” eld, where D: is the letter assigned
to your CD-ROM drive. Click the OK button.
Select Install Client Manager to launch the
InstallShieldWizard.
Client Manager
12
Client Manager
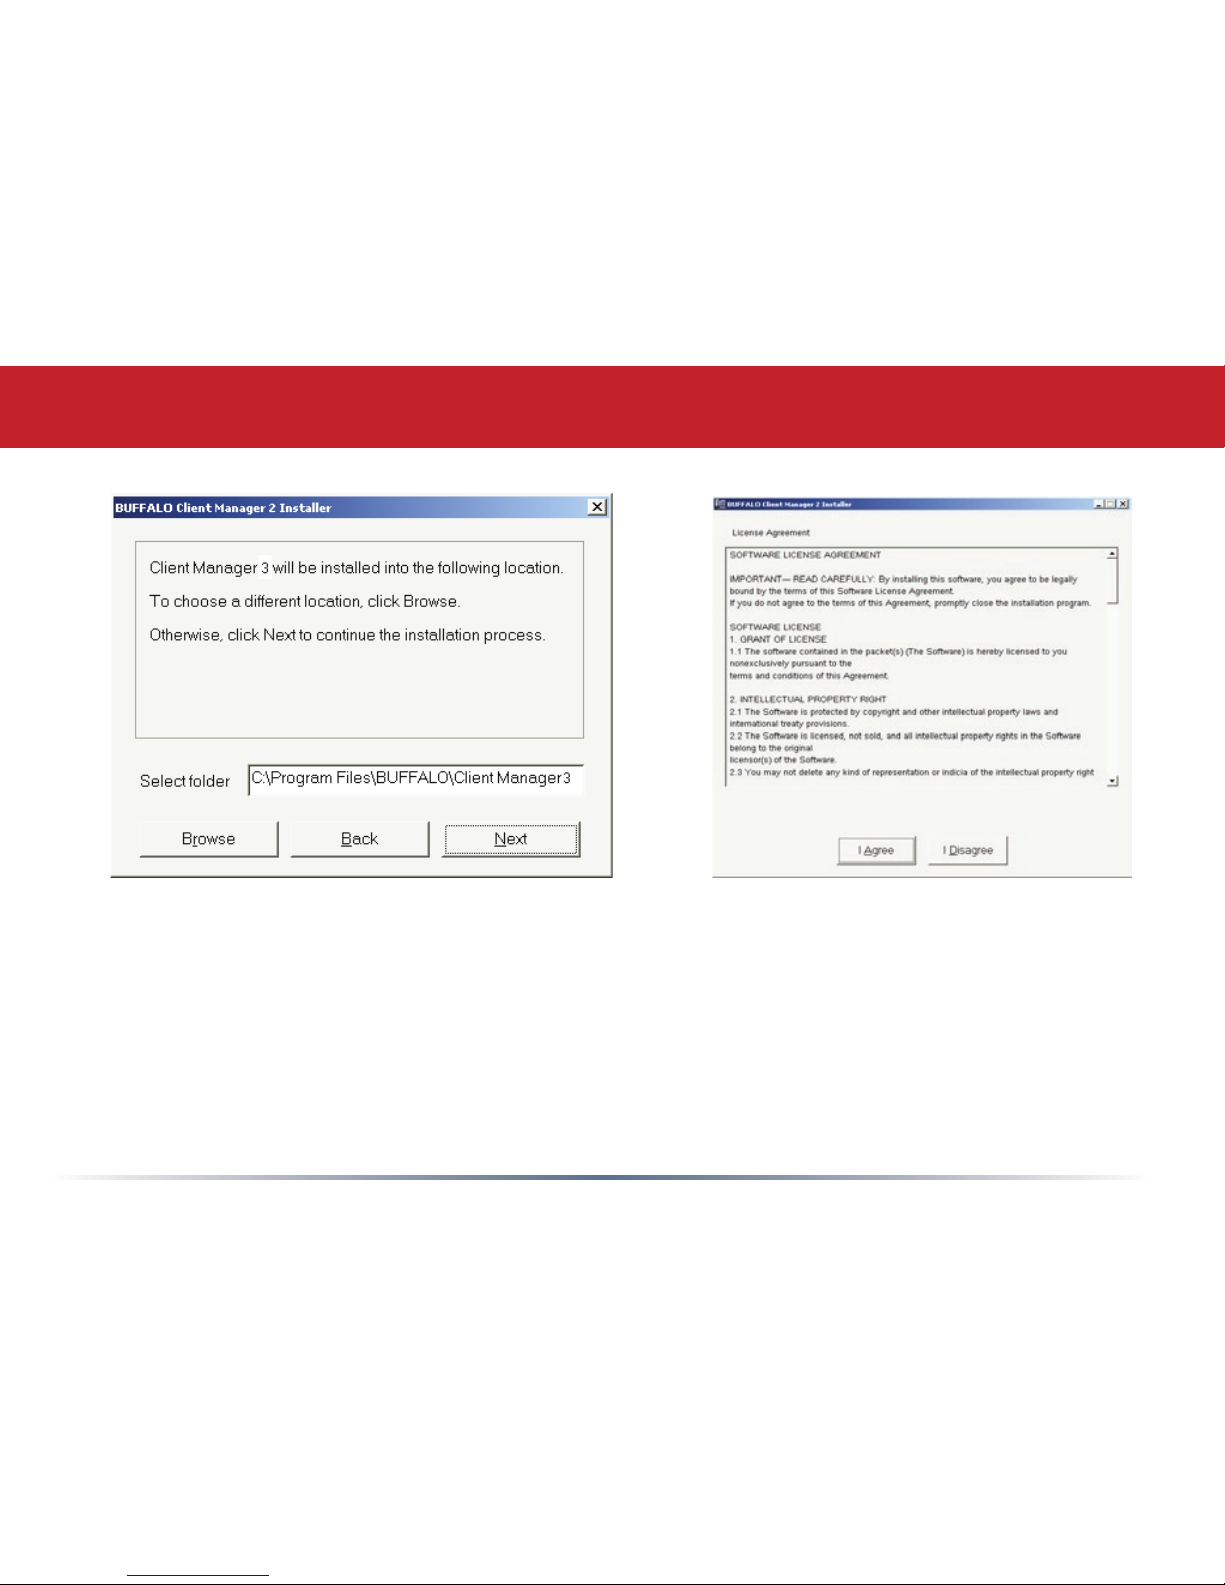
Once the Installer Wizard launches, click the Next button to begin the software
installation.
Press I Agree to accept the license agreement and continue the installation process.
13
Client Manager
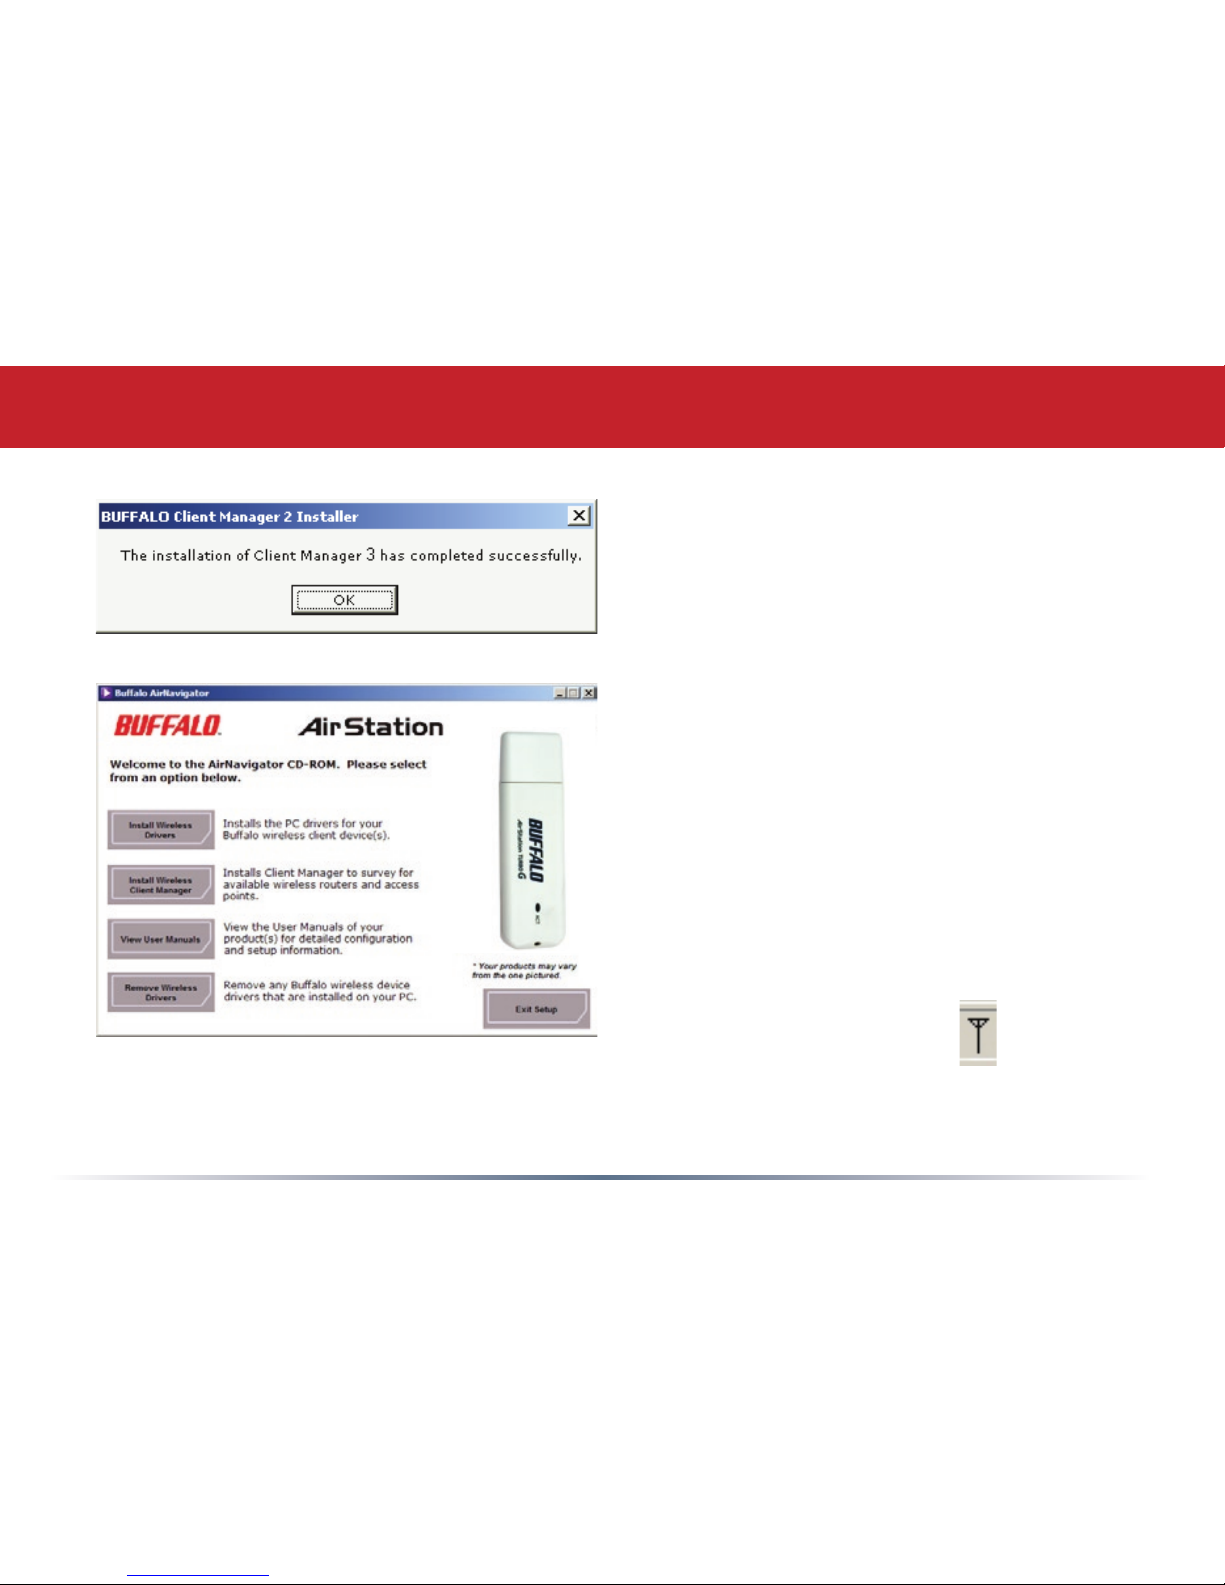
Press the OK button to nish and close the
installation program.
Press the Exit Setup button to close the
AirNavigator installation utility.
The Buffalo Client Manager is now installed
and running; clicking on its icon (the black
antenna icon) will allow you to begin using
it.
14
You may use Client Manager to congure your wireless network manually. Client
Manager consists of the Status page, the Survey page, and the Proles page. You can
access each page by clicking the corresponding button at the top of Client Manager.
Several dialog boxes are also available. You can access the Edit Prole dialog box, New
Prole dialog box, IP Conguration dialog box, or WEP Conguration dialog box using the
Client Manager pages. You may also initiate AOSS (page 21).
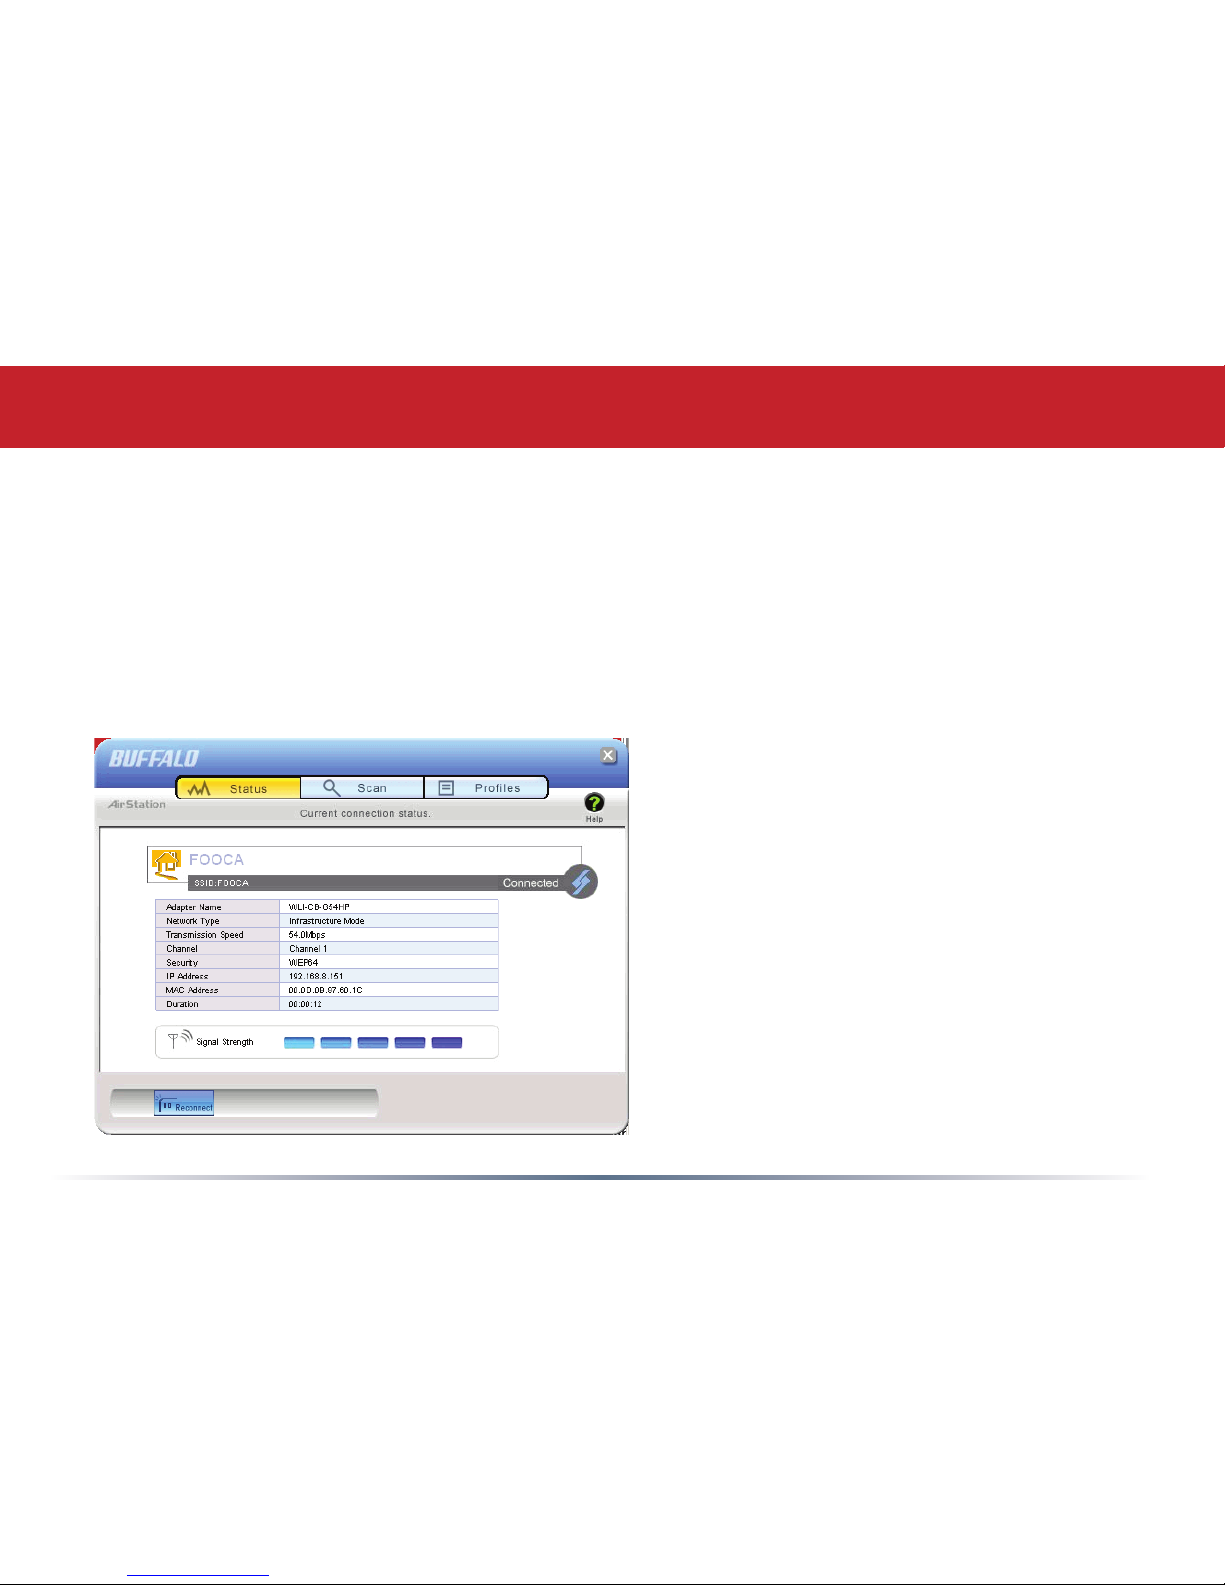
Status Page
Click Status to open this page. By
default, this page is displayed when
you start Client Manager. Details of
connection status are displayed.
This page only displays connection
information; no changes to settings are
made here.
This page includes the following
components:
• Adapter Name – Displays the part
number of the wireless adaptor that is
being used.
Client Manager Configuration
 Loading...