

Buffalo AirStation MIMO 240 WLI-CB-G240 User Manual
User Manual
AirStation MIMO 240
Wireless Notebook Adapter
WLI-CB-G240
v1.3
2
• Insert the AirNavigator CD
into the CD-ROM drive of your
computer. The AirNavigator
Setup Wizard should launch
automatically.
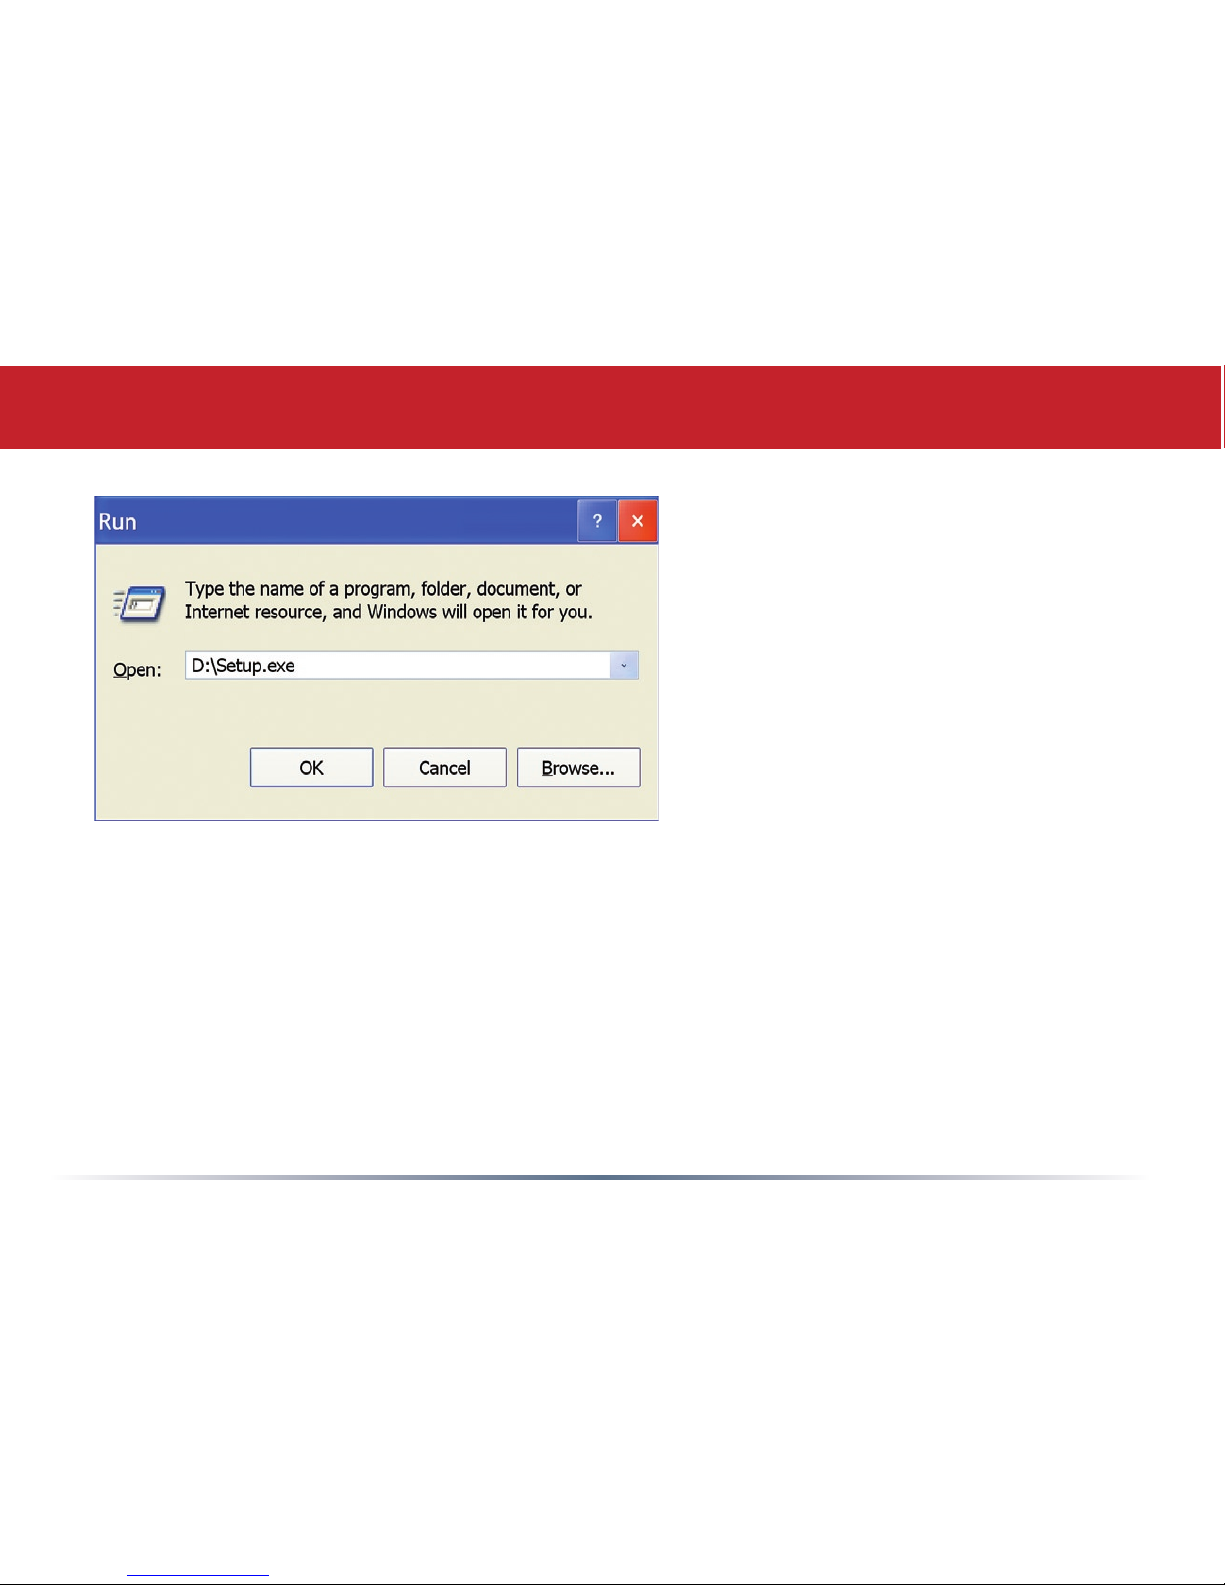
• To launch the AirNavigator
Setup Wizard manually, click
Start, then Run. Type “D:\
Setup.exe”, where D is the drive
letter assigned to your CDrom.
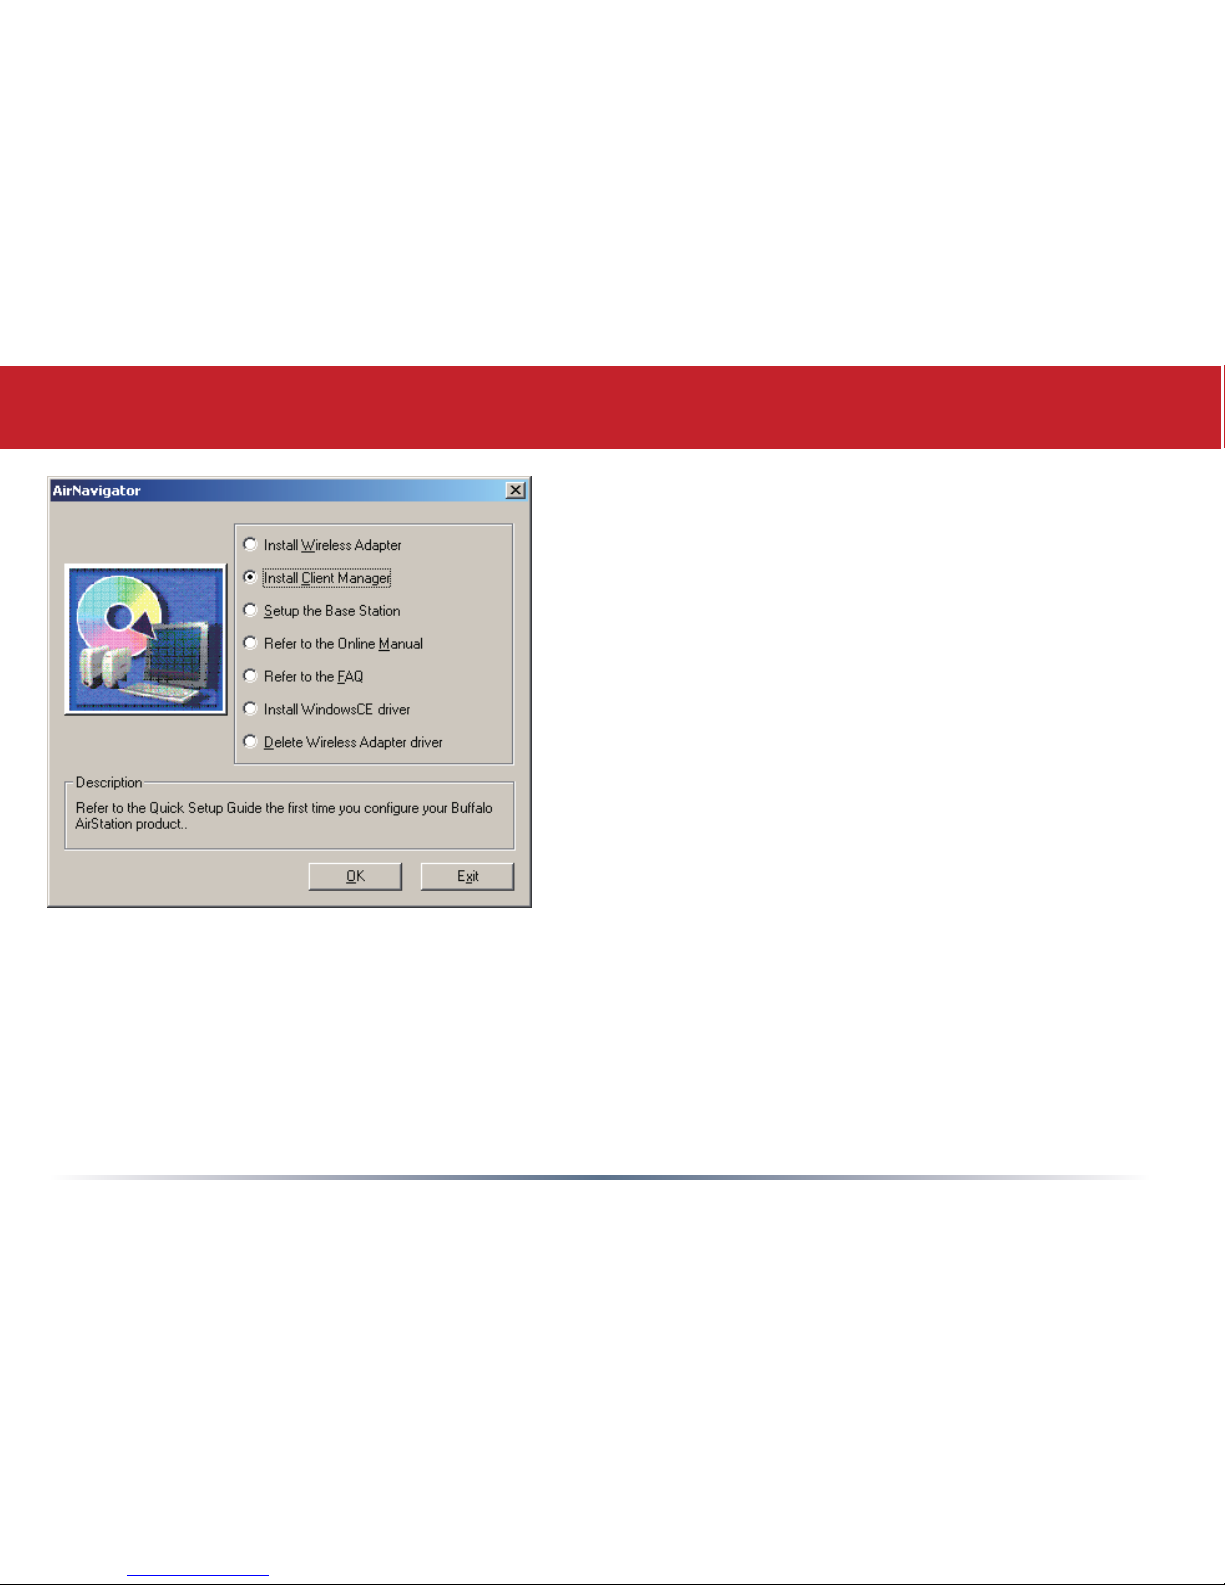
• Click OK to launch the wizard.
3
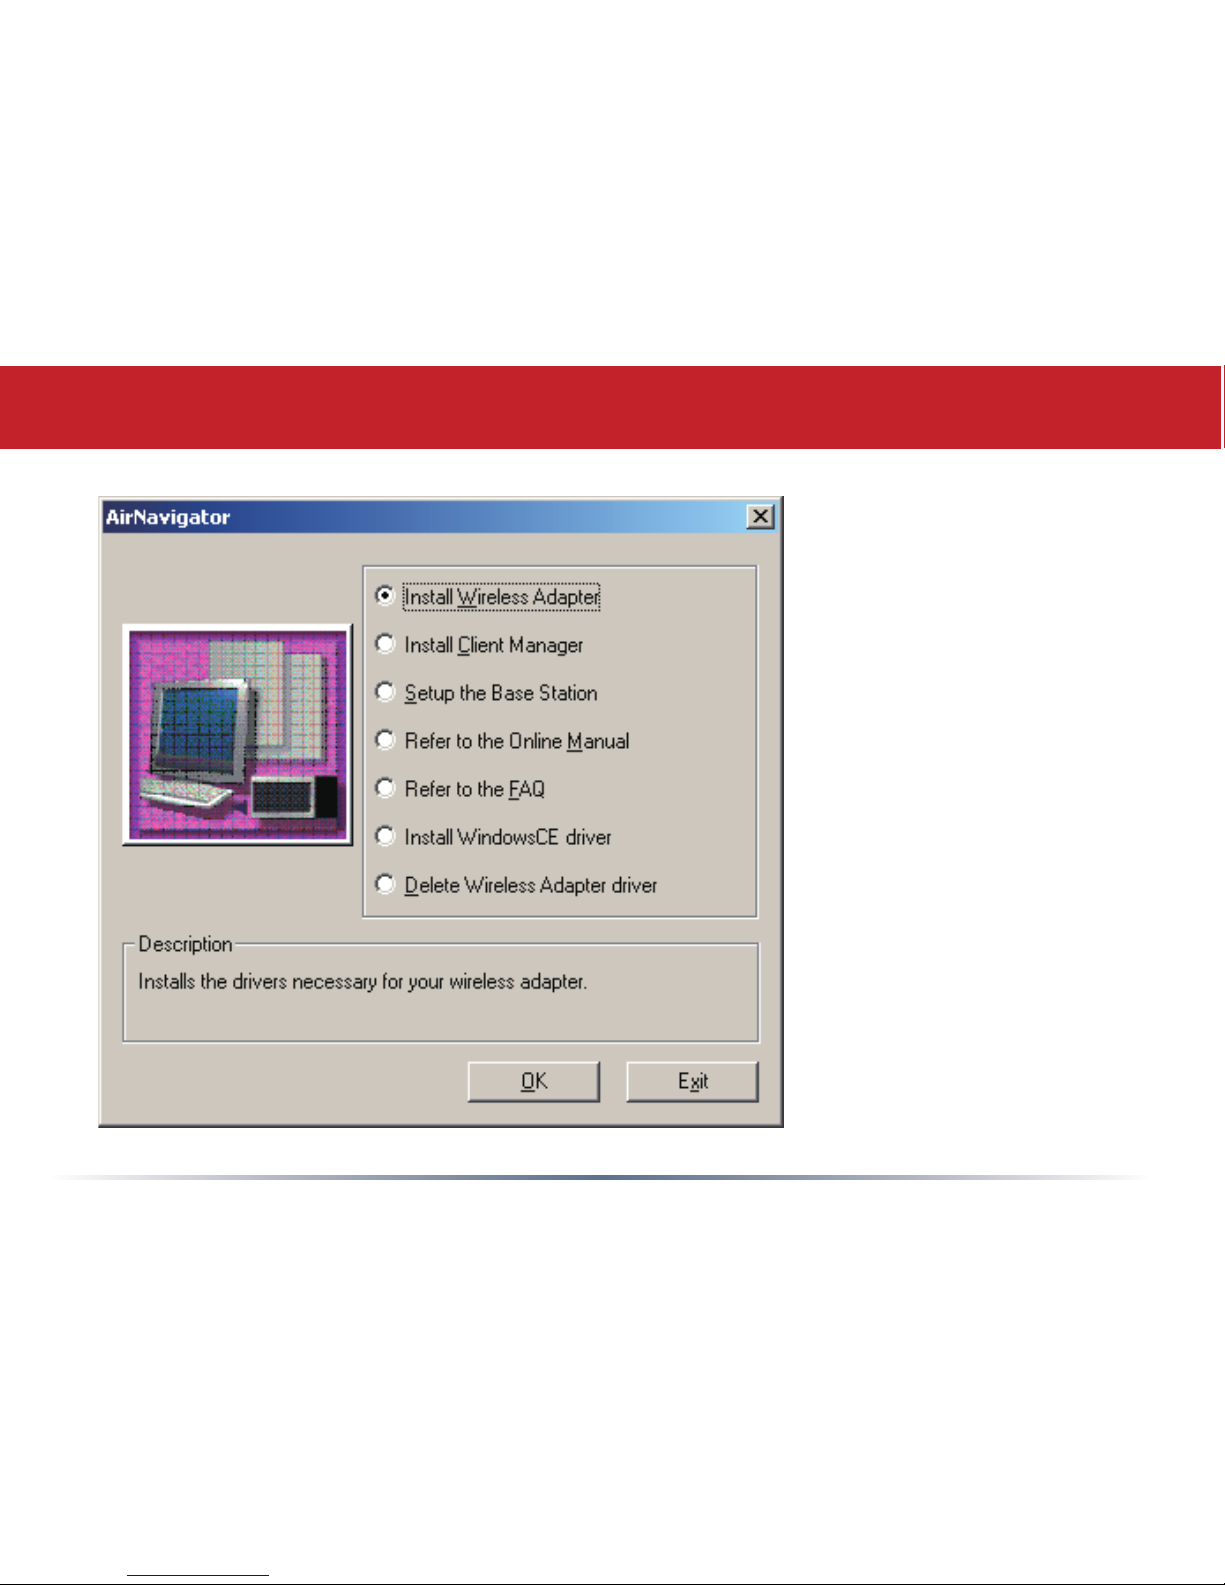
• Select Install Wireless
Adapter. Click OK.
• Click Next.
• Click Yes to agree to
the Software License
Agreement.

4
• Click Next to install a driver for the CardBus.
• Select Agree and click Next to continue the process after reviewing the license
agreemennt.
• A window will appear prompting the insertion of the Wireless CardBus Adapter into the
notebook. Firmly insert the AirStation into a CardBus slot on your notebook.
5
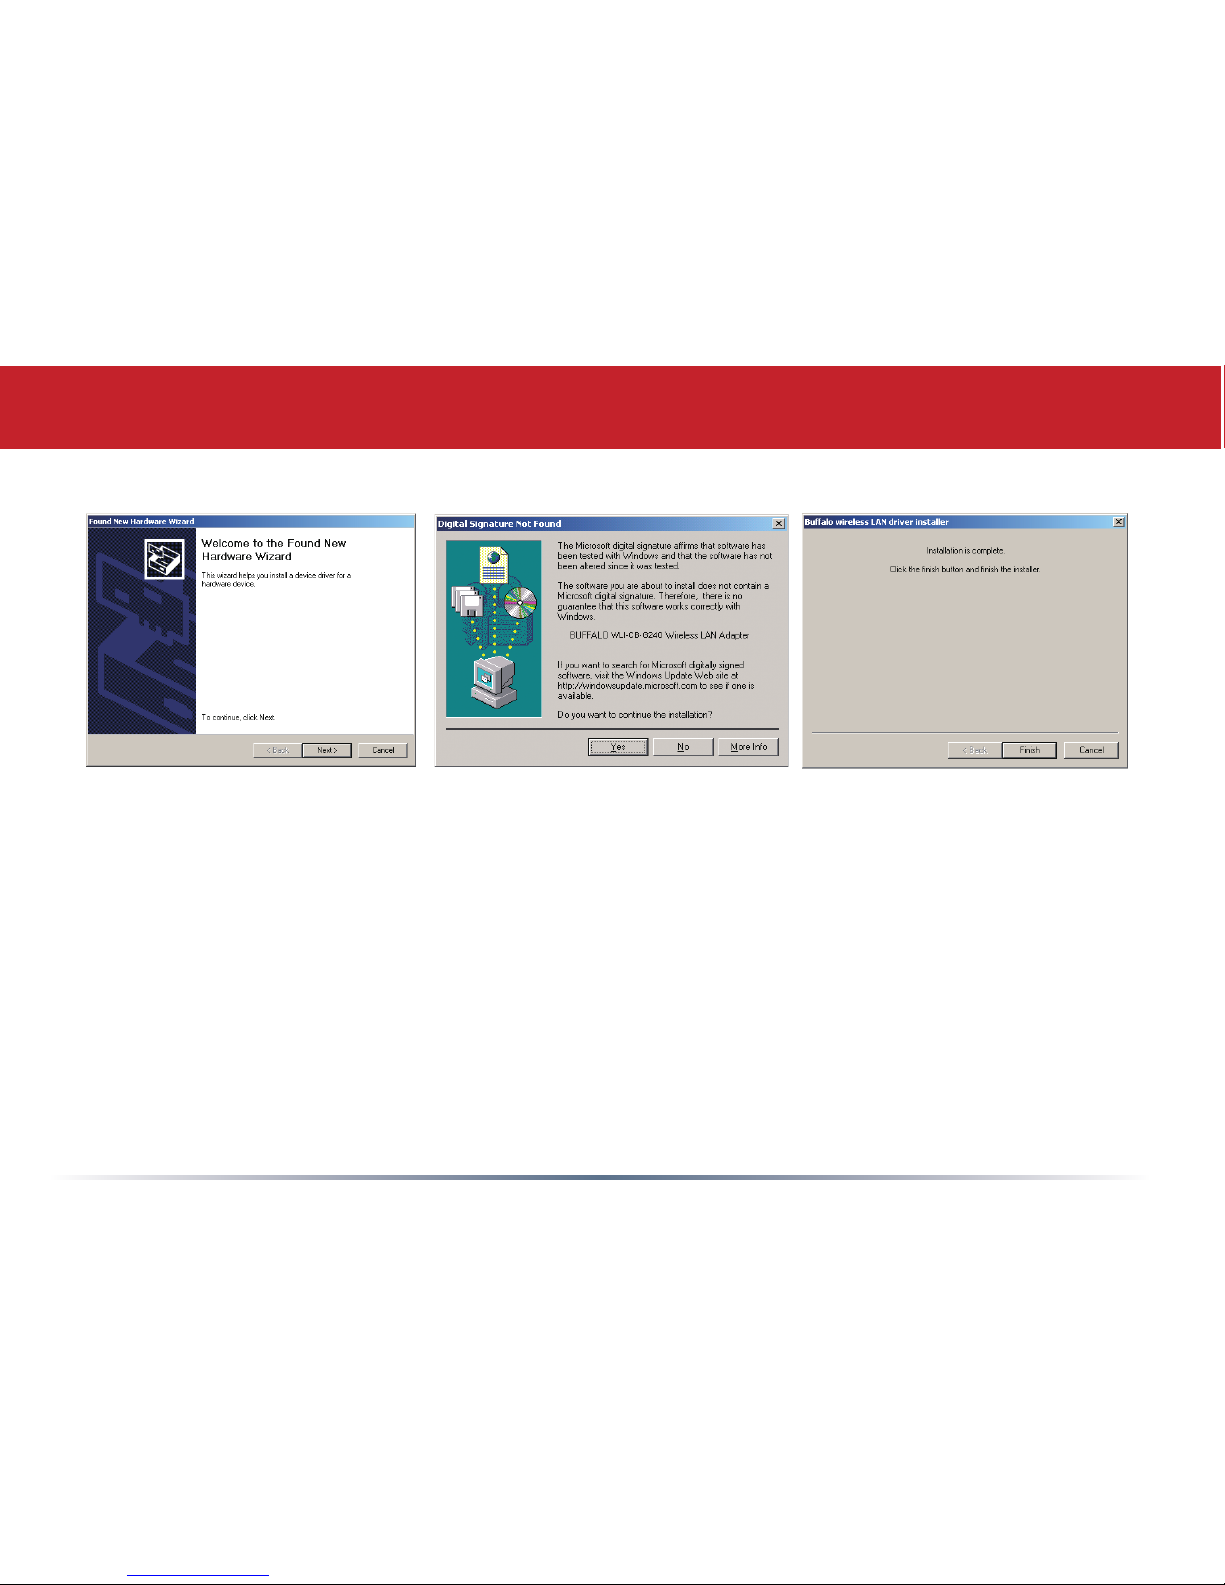
• When the ‘Found New Hardware Wizard’ launches, click Next to run the wizard.
• If the ‘Digital Signature Not Found’ page opens, click Yes.
• When the Wireless CardBus Adapter is successfully installed, click Finish. Restart your
computer if prompted.
6
Connecting Wireless Clients to your Network
Buffalo supports three different methods
for connecting your wireless client device
to your network.
If your AP supports it, use the simple,
utterly secure AOSS to connect.
Install the Client Manager from your
AirNavigator CD (page 15) and turn to
page 7.
You may also use the Client Manager
software from your AirNavigator CD to
configure your network manually. See
page 15 for more on Client Manager.
If you’re running Windows XP on your
PC, you may use its built-in Zero
Configuration tool to connect to your
router/AP. See page 10 for more on Zero
Configuration.
7
The AOSS button for this wireless client
is in its Client Manager software. Start
Client Manager by right clicking on the
black antenna icon in your System Tray,
or by launching the Client Manager from
your Start Menu: Programs >> Buffalo
>>AirStation Utility >> Client Manager.
AOSS (AirStation One-Touch Secure
System) is a simple, one-touch setup for
connecting wireless clients to an access
point while enforcing the most secure
possible connection encryption type.
Users no longer need to worry about
choosing the proper security protocols,
IP addresses, or SSID. AOSS determines
the optimal connection and congures
itself in seconds. If your router doesn’t
support AOSS, turn to page 9 to
congure your connection manually.
Using AOSS
8
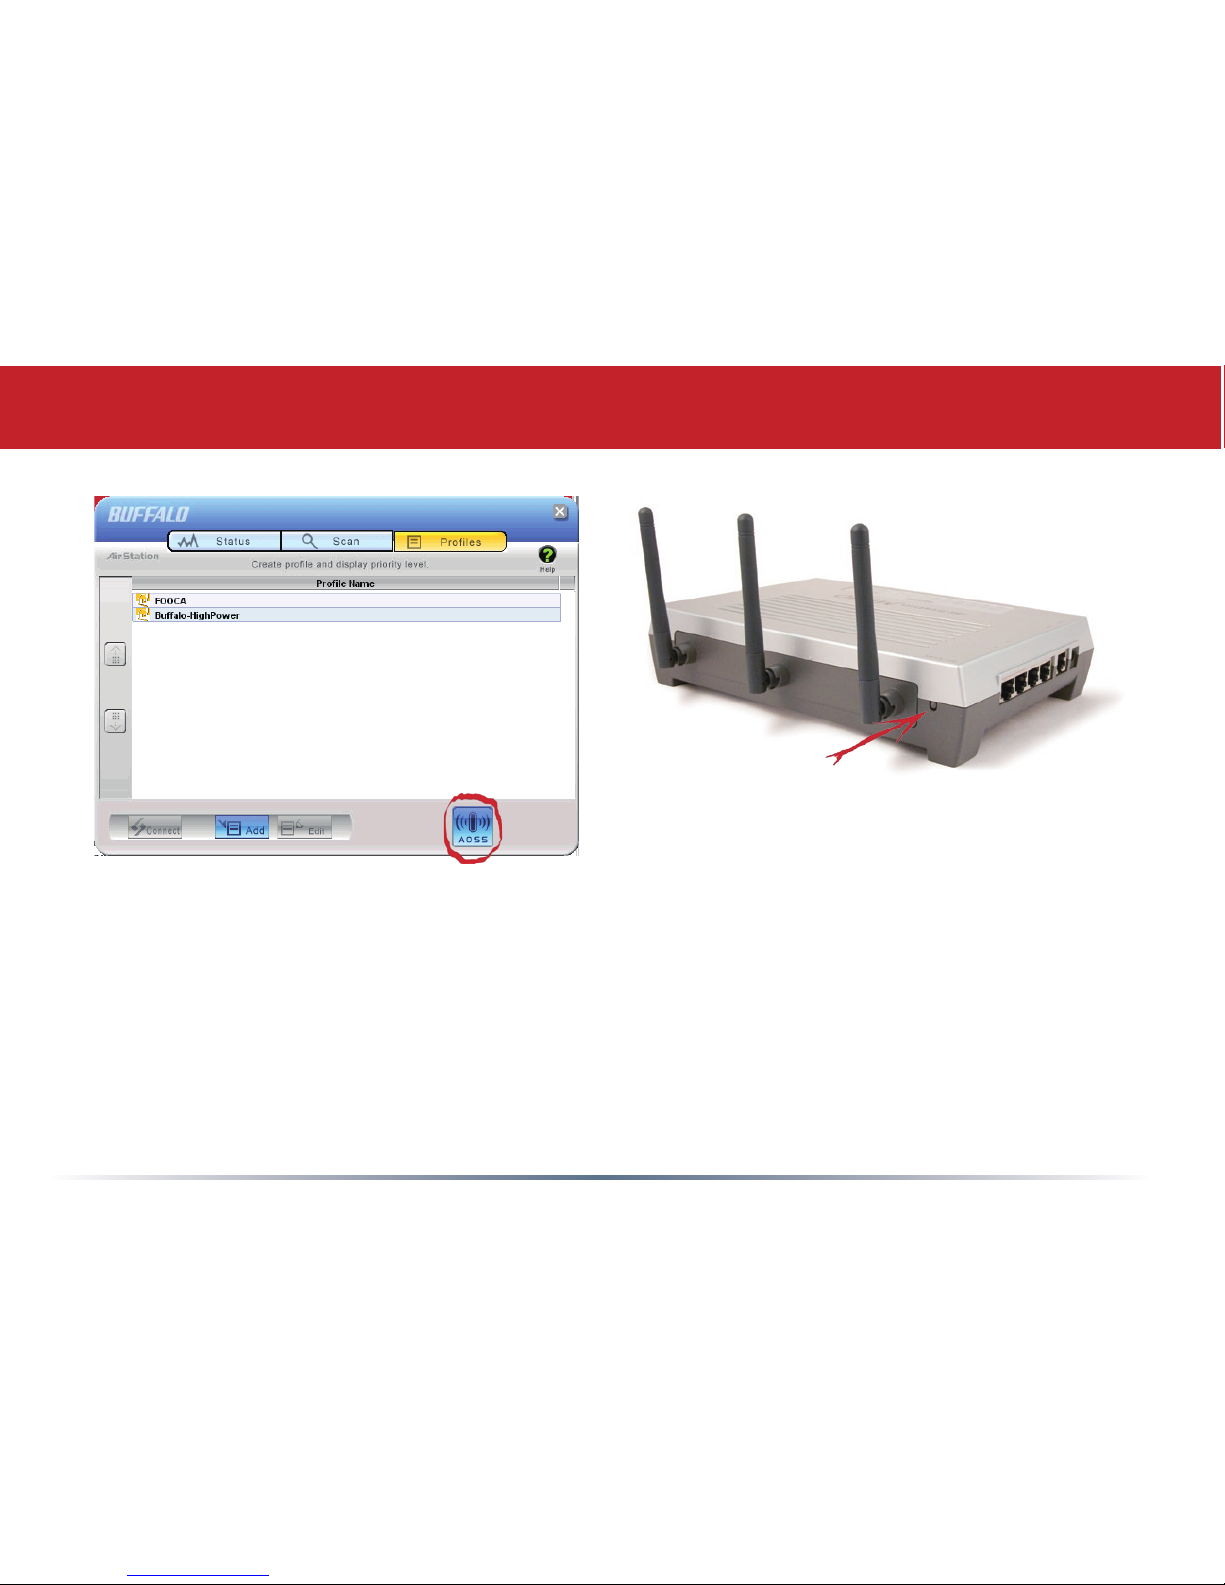
• From the Status Screen, select the Proles tab.
• Initiate AOSS by pressing the AOSS button on the Access Point. Hold it down until the
AOSS LED begins to ash.
• Now, click the blue AOSS button on the Client Manager’s screen. The AOSS wizard will
appear.
Using AOSS
9
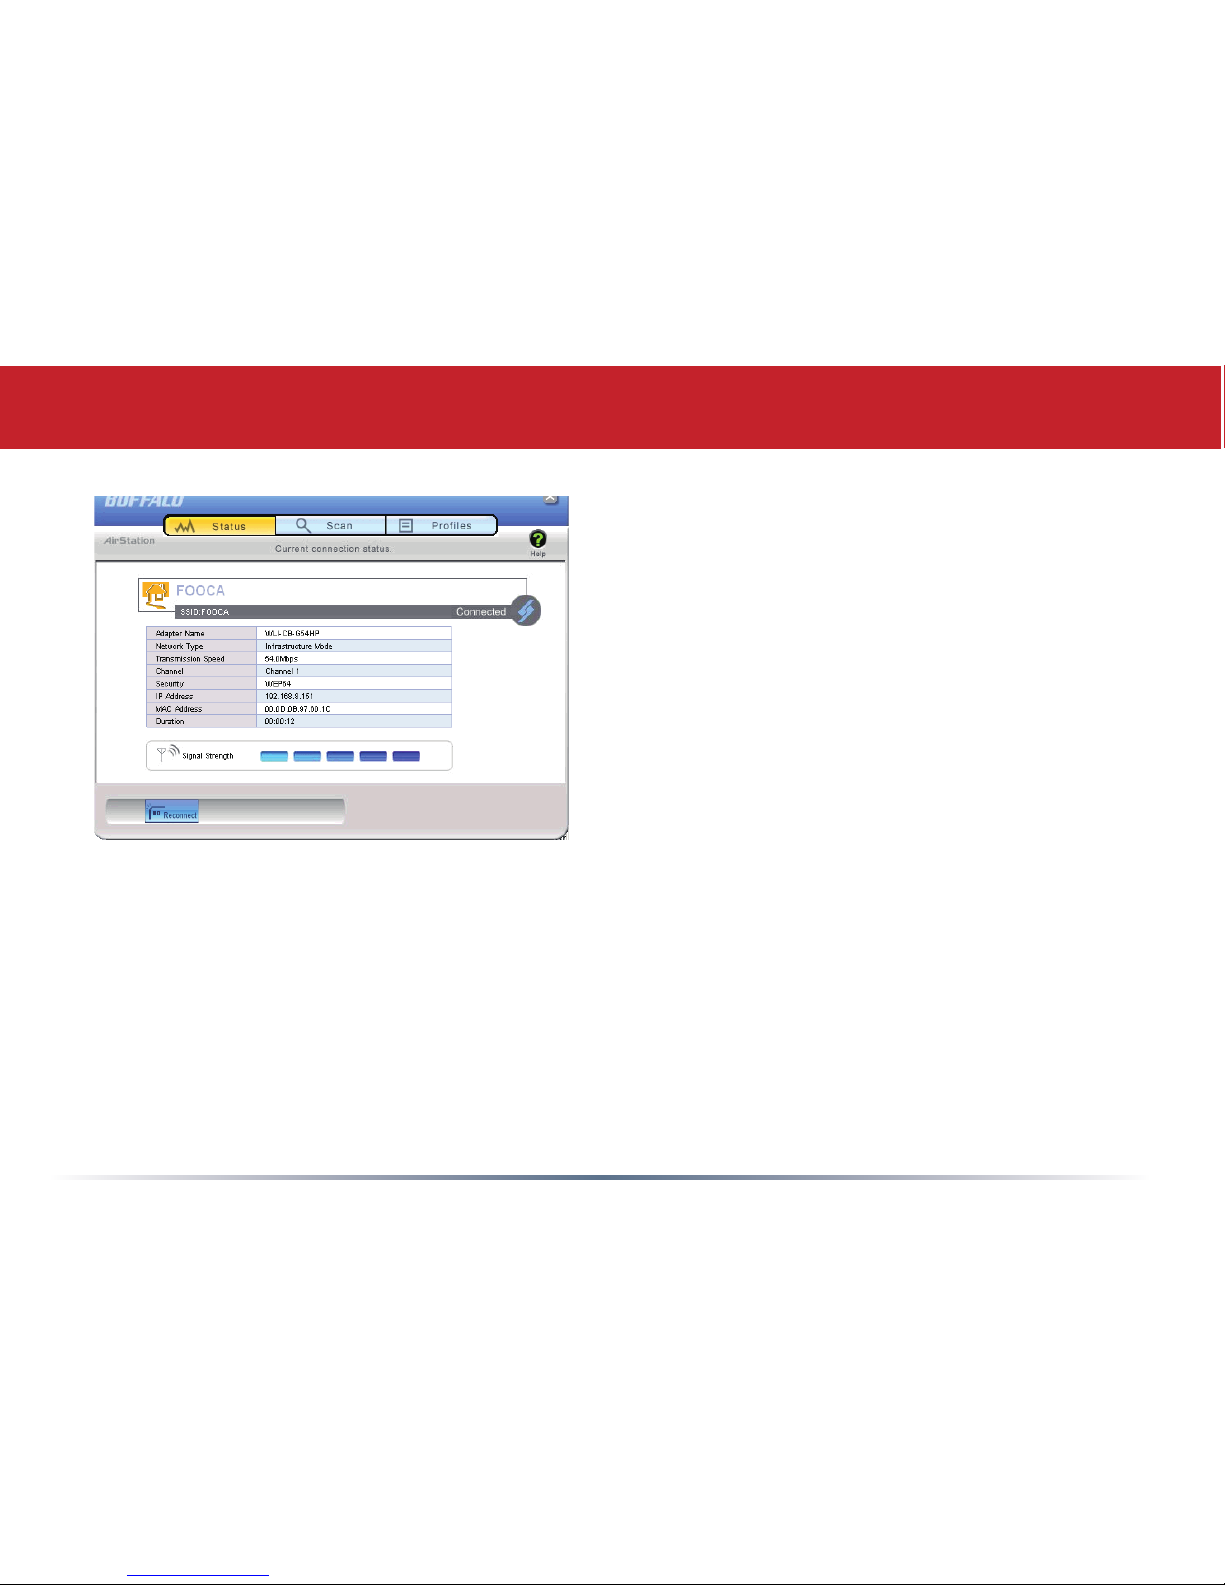
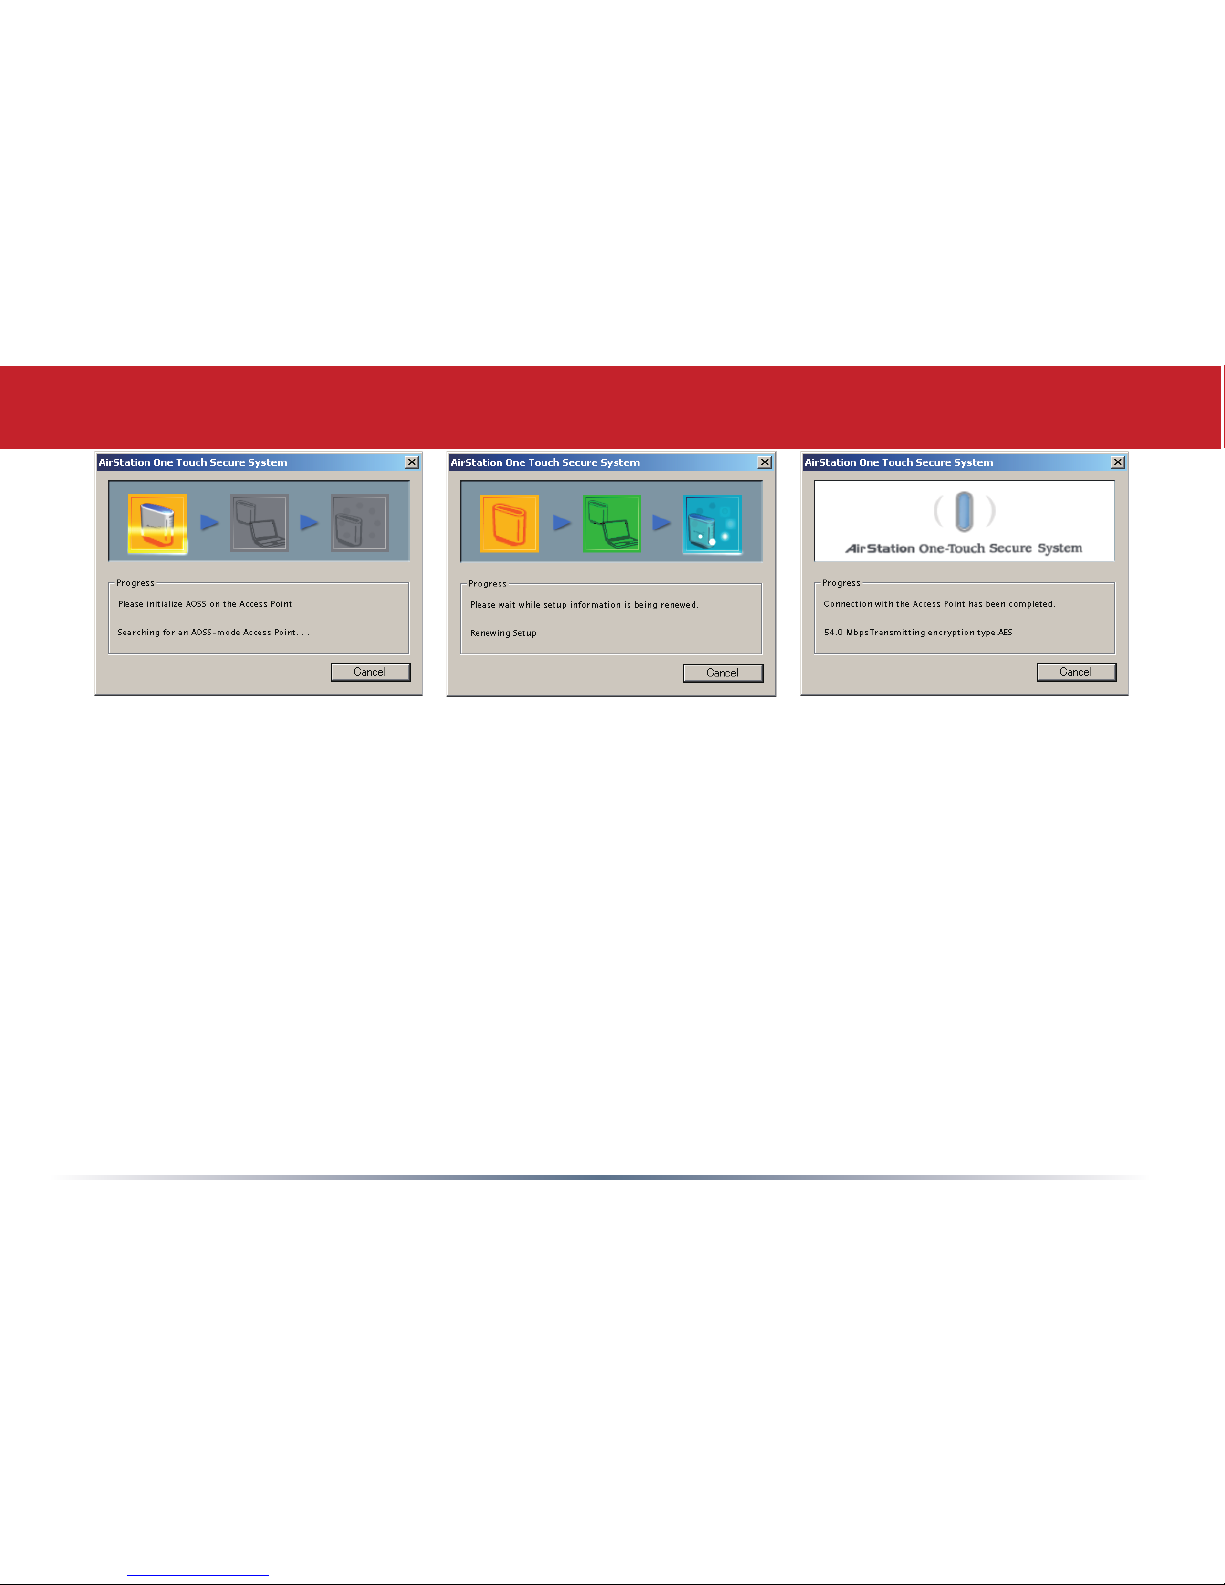
Once AOSS is complete (about 30 seconds), the connection is archived as a prole for
later use. To minimize Client Manager to the system tray, click the ‘X’ in the top right
corner.
Notes:
AOSS will scan for an AOSS partner for about two minutes. If it times out before nding
one, just press the AOSS buttons again.
Output power is reduced to 25% of normal during AOSS for security reasons. If you’re
having trouble making an AOSS connection, temporarily move the devices closer together.
AOSS will automatically use the highest level of security available for all currently
connected wireless devices.
If you have trouble connecting with AOSS, temorarily disable all personal rewalls on
your PC, such as ZoneAlarm or Microsoft Personal Firewall. These programs may be re-
enabled after AOSS has nished.
Using AOSS
10
Windows XP includes the Zero Conguration Service, a
built in serrvice to congure your wireless clients from
within Windows. Skip to page 13 if you would rather
use Buffalo’s Client Manager to congure your wireless
client.
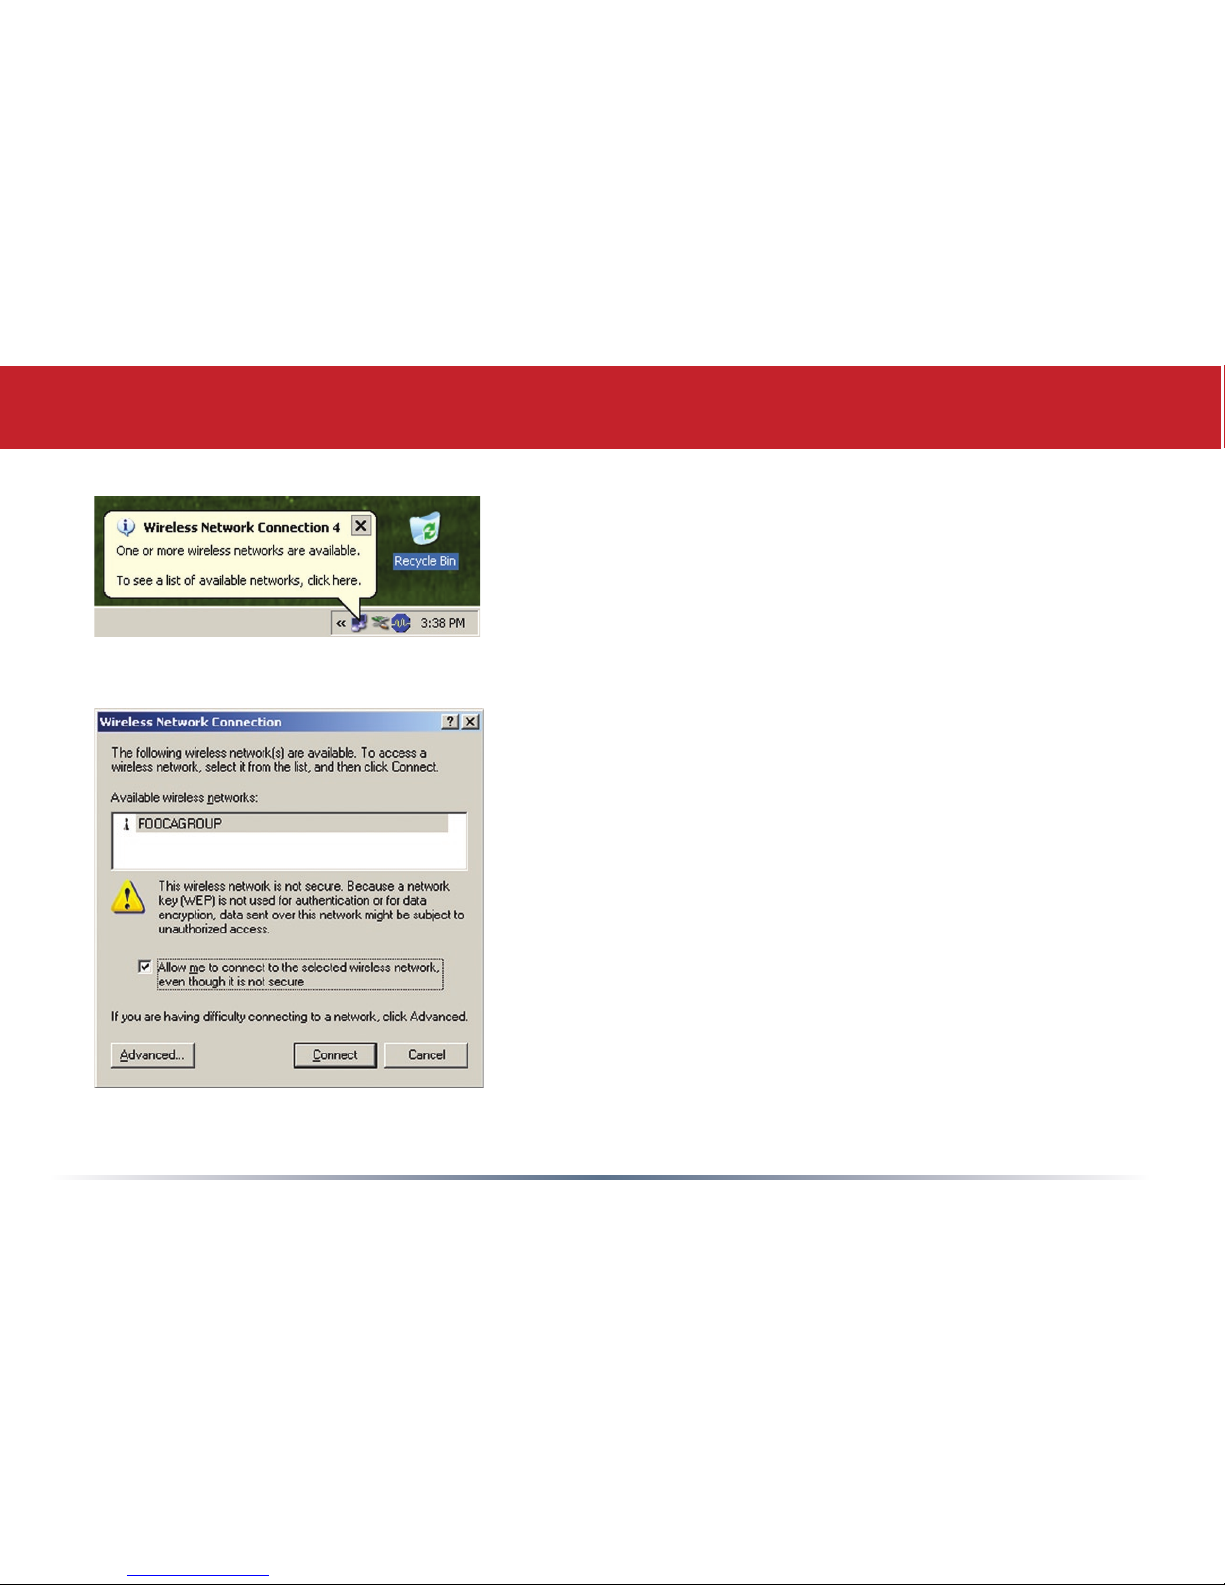
• If the Wireless Zero Conguration Service is activated,
Windows will scan for available wireless access points
once the Wireless CardBus Adapter is properly installed.
If Windows detects one or more access points, a
networking icon appears within the system tray. “One
or more wireless networks are available” will appear as
a caption accompanying the icon.
To start Wireless Zero Configuration manually, click
Start >> Control Panel >> Administrative Tools >>
Services. Select Automatic in the Startup Type field of
Wireless Zero Configuration Service.
• Right click the networking icon in the taskbar and
select View Available Wireless Networks. Select an
SSID and click Connect. You may need to check the
box indicating you are connecting to an unsecured
network. See page 11 if you need to enter an SSID
network name or WEP/WPA encryption key.
Zero Configuration Service
11
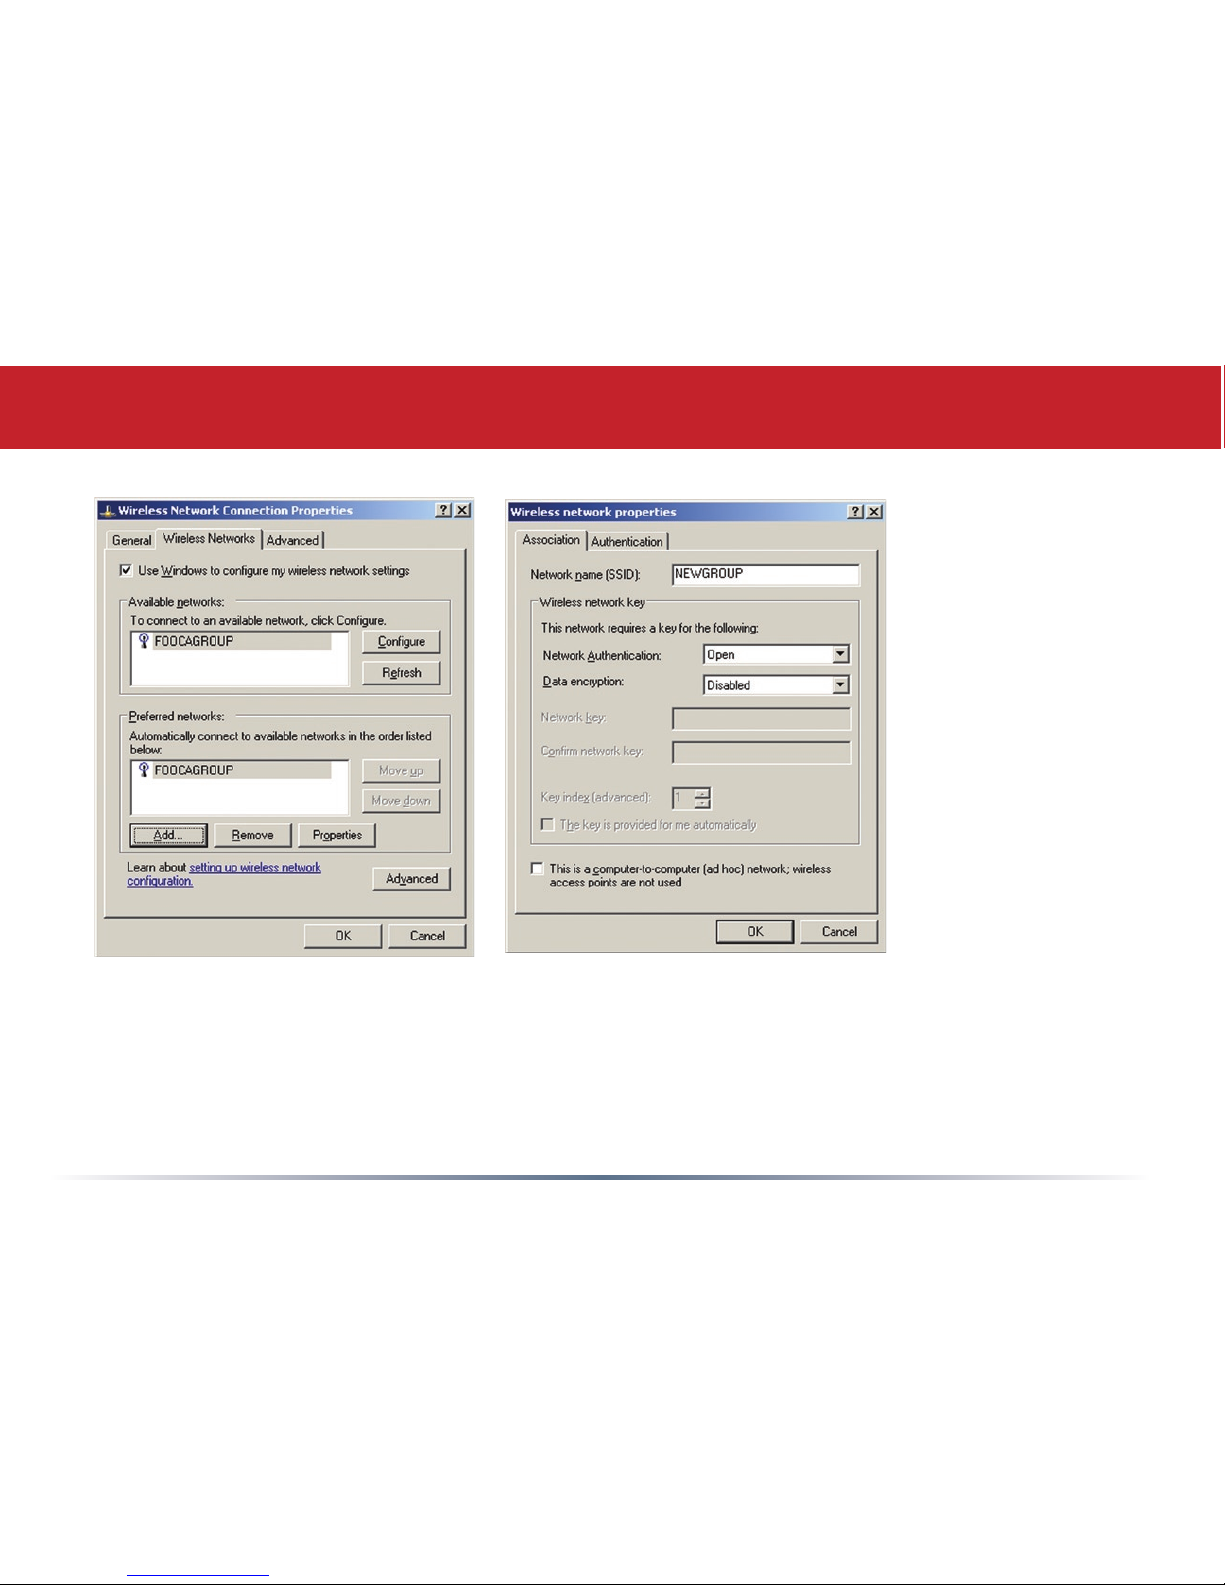
• Click the Advanced tab to enter an SSID network name or WEP/WPA encryption key if
necessary. To add an SSID network name that is not listed, click Add.
Zero Configuration Service

12
• To congure a WEP/WPA encryption key, select the
wireless network and click Congure.
• From the pull down menu, select the Network
Authentication and Data Encryption types for the
wireless network. Enter and conrm the Network
Key and Key Index. Click OK when nished.
Zero Configuration Service

13
Wireless Zero Configuration
Wireless Zero Configuration Service (Windows XP)
Windows XP offers the Wireless Zero Conguration Service to support 802.11b and
802.11g wireless networking. This service automatically polls the area for available
wireless access points. If an available wireless access point is found, Windows attempts
to connect to the access point. If no available wireless access points are found, you must
manually add the access point information to connect (for example when the SSID is not
broadcasted).
Note: The Wireless Zero Conguration Service and Client Manager do not function
properly together. If you want to use Client Manager, you must disable the Wireless Zero
Conguration Service.
Enabling the Wireless Zero Configuration Service
Click Start >> Control Panel >> Administrative Tools >> Services to open the Services
conguration window. Select Automatic in the Startup Type eld of Wireless Zero
Conguration Service to enable the Wireless Zero Conguration Service and click apply.
Note: The default Startup Type value of Wireless Zero Conguration Service is Automatic.
Disabling the Wireless Zero Configuration Service
Click Start >> Control Panel >> Administrative Tools >> Services to open the Services
conguration window. Select Disabled in the Startup Type eld of Wireless Zero
Conguration Service to disable the Wireless Zero Conguration Service.
 Loading...