

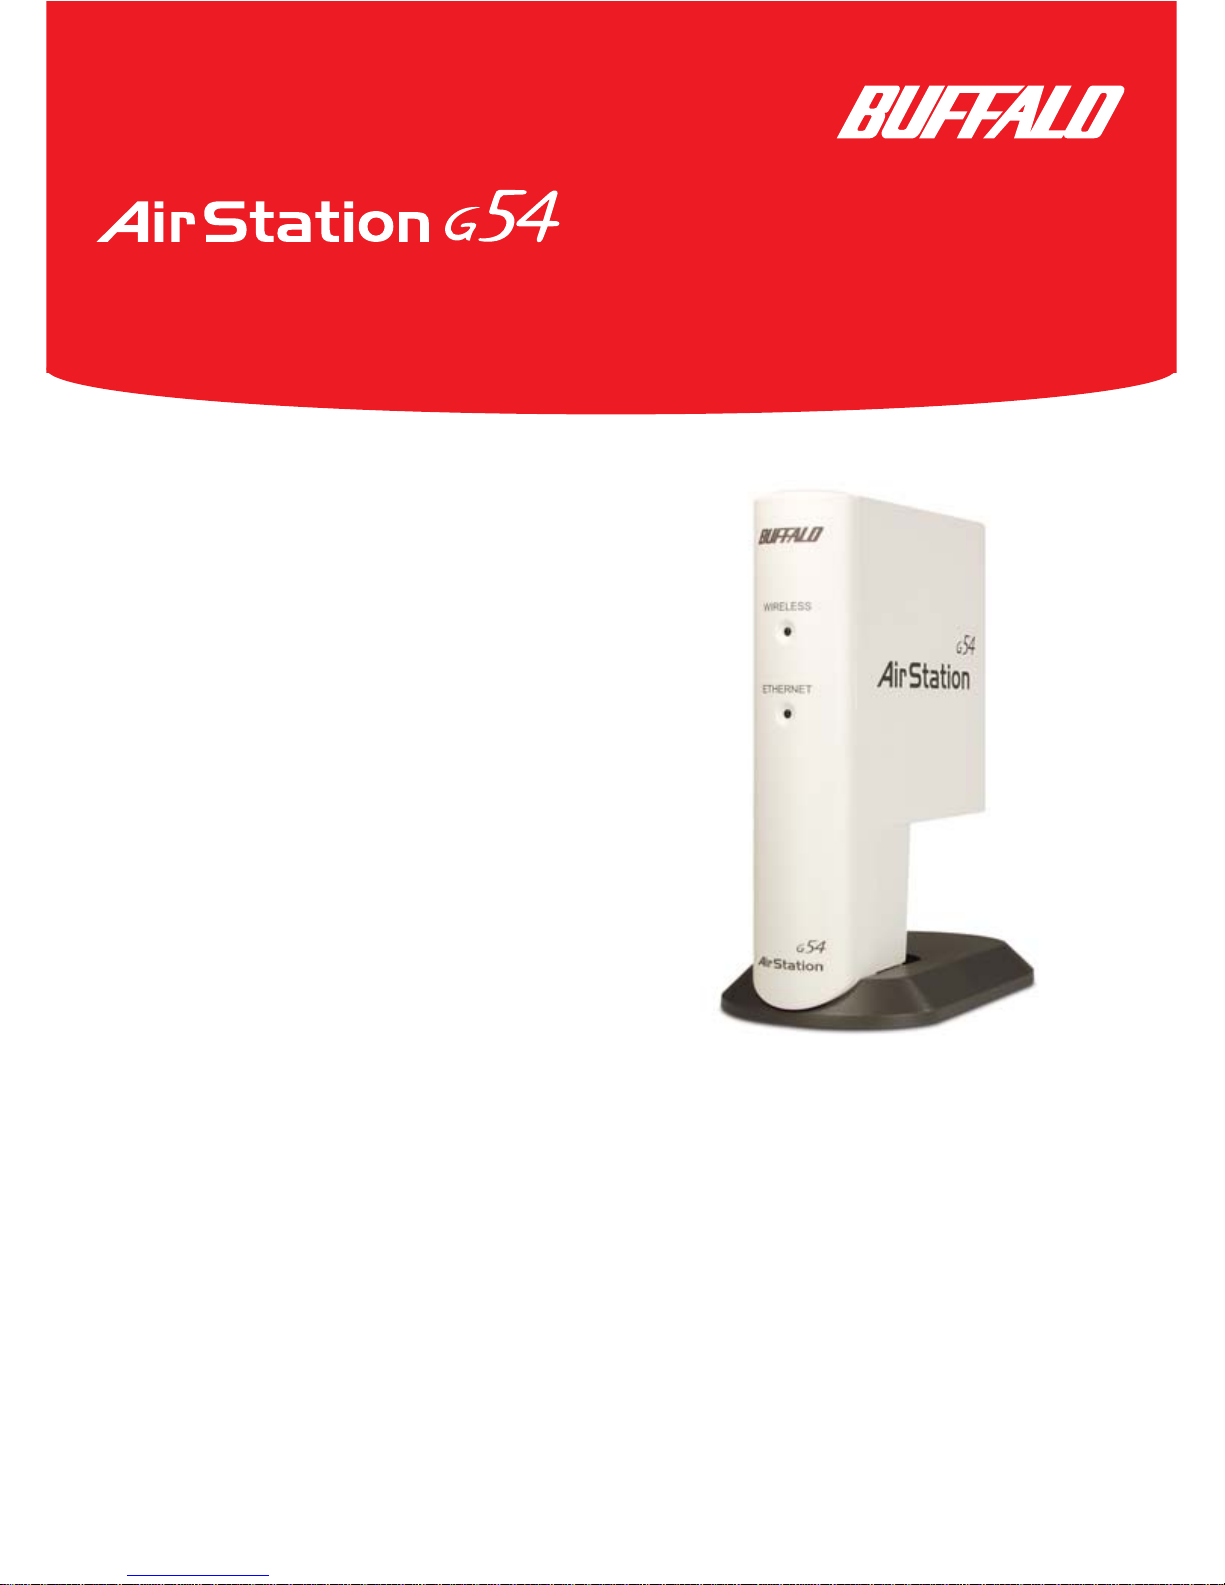
Buffalo WLI-TX1-G54, AirStation G54 WLI-TX1-G54 Quick Setup Manual
1
®
Quick Setup Guide
54Mbps Wireless Ethernet Converter-g
WLI-TX1-G54
Use this guide to quickly and easily install
your Wireless Ethernet Converter-g.
For detailed information, refer to the User
Manual on the Utility CD or refer to the
Buffalo Wireless Support Web Pages.
Contents
◗ 54Mbps Wireless Ethernet Converter
◗ CD-ROM
◗ 7ft. Ethernet Cable
◗ AC Adapter
◗ Quick Setup Guide
◗ Warranty Statement
If any items are missing, please contact
the reseller from whom you purchased
this product.
System Requirements
◗ Desktop or Notebook Computer
with an available Ethernet (RJ-45)
port
◗ Web browser 5.0 or later
◗ 802.11b or 802.11g access point
(Infrastructure Mode) OR a different
computer with an 802.11b or 802.11g
wireless adapter (Ad-hoc Mode).
www.buffalotech.com/wireless
PY00-29007-DM20 Rev A
2
2
Installation & Configuration
Using Web Interface
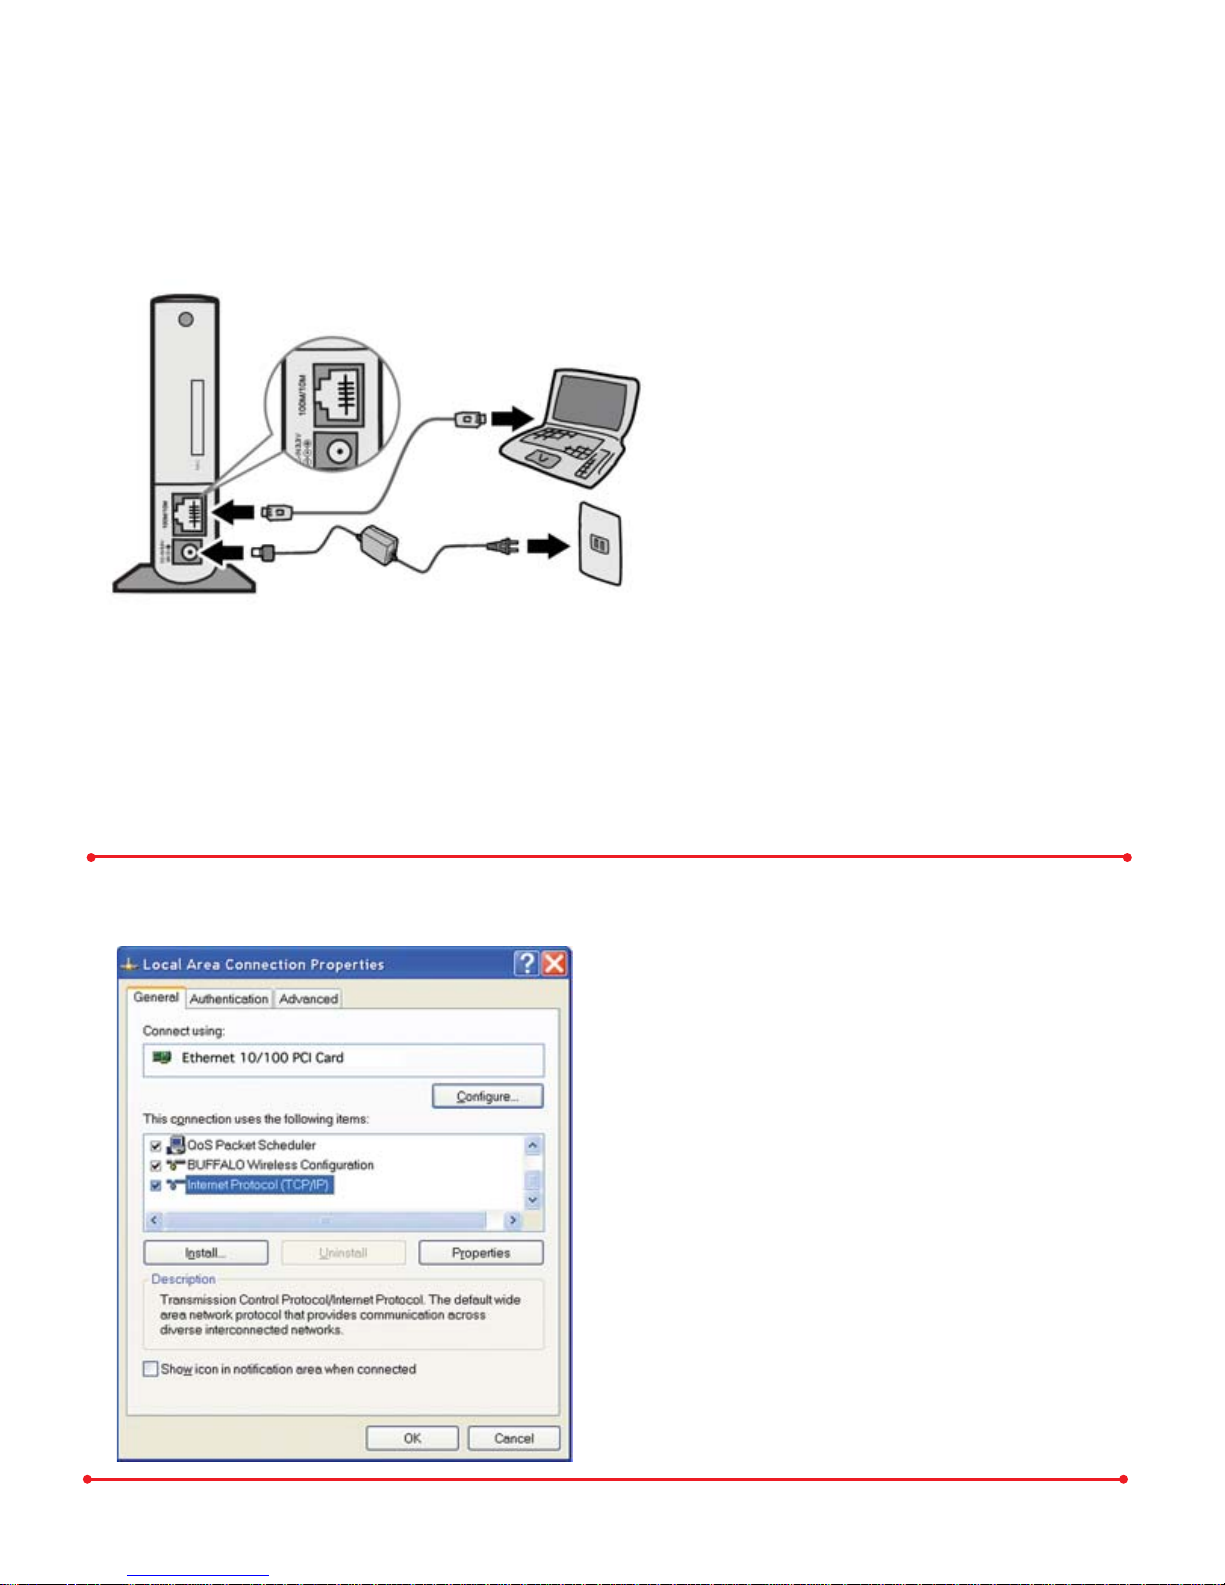
Step Installing the Wireless
Ethernet Converter-g
Install the Ethernet Converter to
a computer by connecting one end
of the included Ethernet cable into
an available Ethernet port on your
computer and the other end to the
Ethernet Converter. Ethernet ports
are usually located in the rear of the
computer.
Plug the AC Adapter into a wall
socket or surge protector
(recommended). Connect the AC
Adapter to the Ethernet
Converter.
(Be sure to use the AC Adapter
included with this product or
damage may result.)
Step Configure the TCP/IP
settings of your computer
Open your network properties.
Connect Using should be set to use
your active Ethernet NIC Card.
Select Internet Protocol
(TCP/IP).
Click Properties
Windows Setup
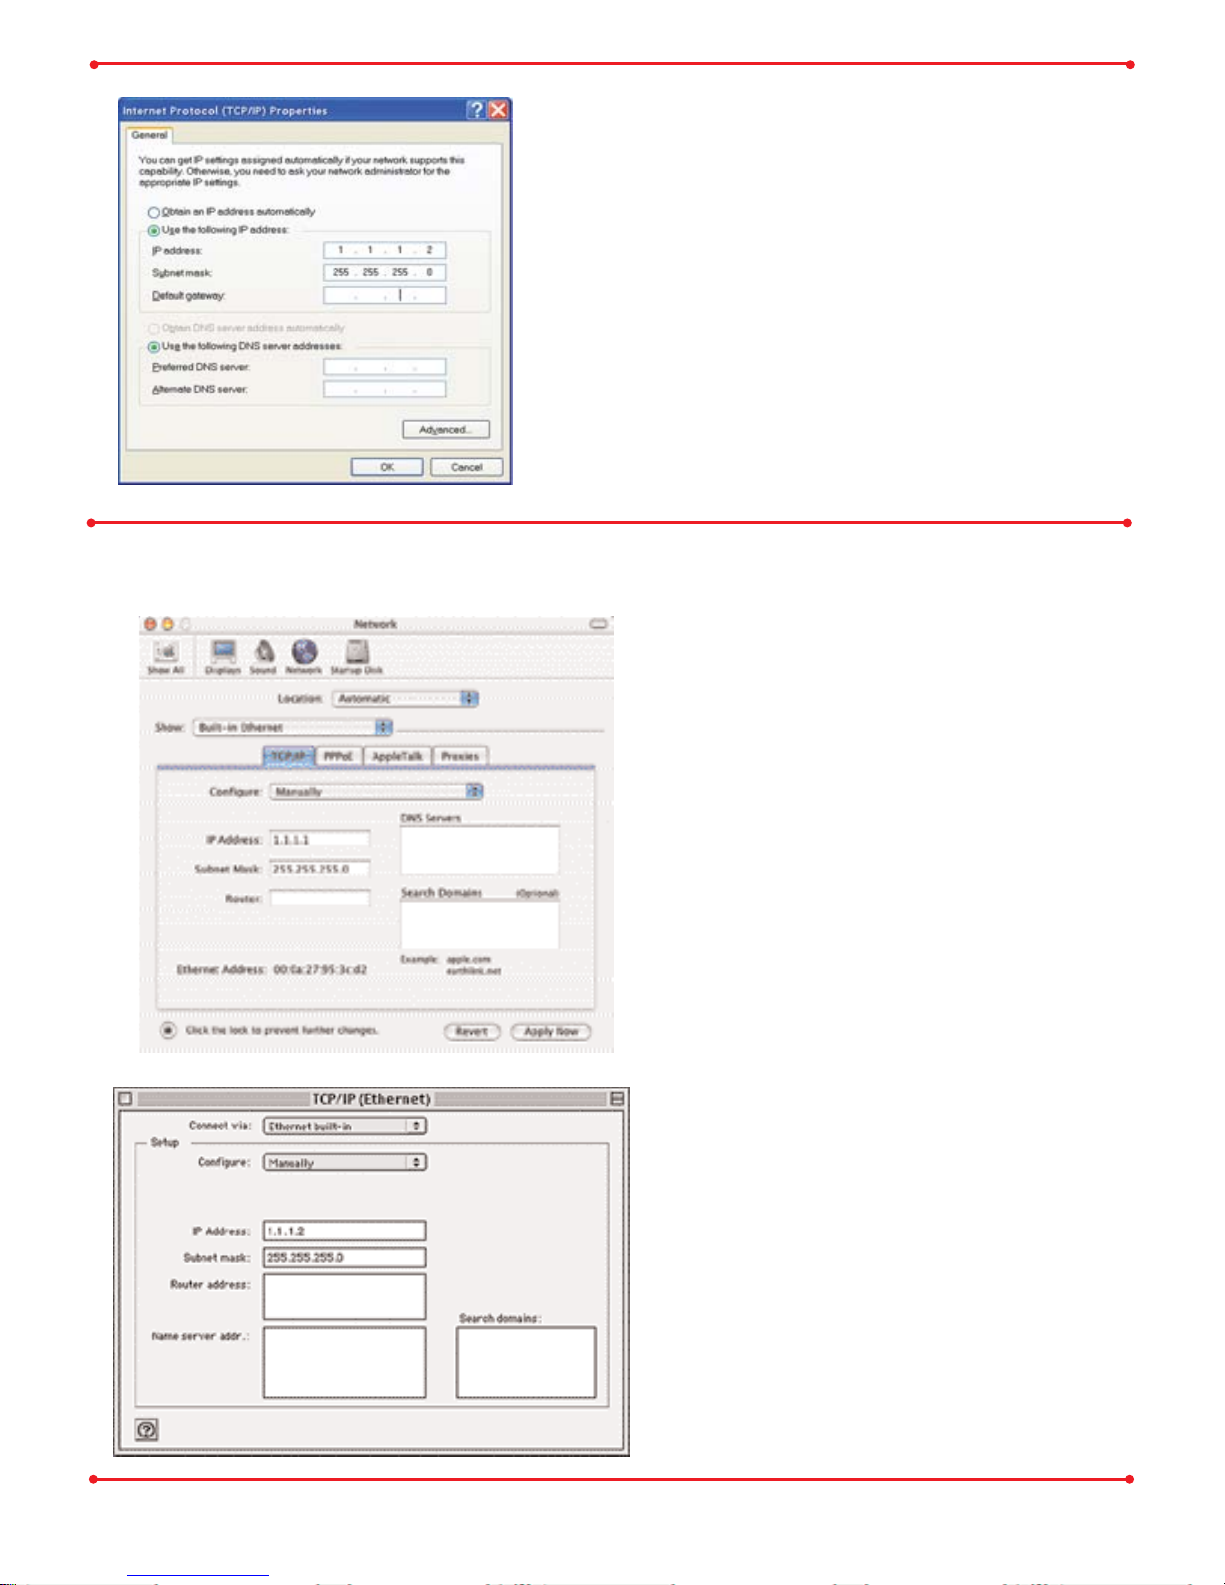
3
Select Use the following IP
Address.
Enter 1.1.1.2 into the IP Address field.
Enter 255.255.255.0 into the Subnet
Mask field.
Click OK.
Click OK again under the Network Properties
window.
OSX - Open your System
Preferences and select Network.
Set Show to Built-in Ethernet
Set Configure to Manually
Enter 1.1.1.2 into the IP Address
field.
Enter 255.255.255.0 into the
Subnet Mask field.
Click Apply Now.
OS9 - Open your Control Panels
and select TCP/IP.
Set Connect via to Built-in
Ethernet
Set Configure to Manually
Enter 1.1.1.2 into the IP Address
field.
Enter 255.255.255.0 into the
Subnet Mask field.
Close and Save.
Macintosh Setup
 Loading...