

Buffalo WLI-PCI-G54, AirStation G54 WLI-PCI-G54 User Manual
WWW. BUFFALO TECH.COM/WIRELESS
®
54Mbps Wireless Desktop PCI Adapter- g
User Manual
WLI-PCI-G54
®
Technical Support is available 24 hours a day,7 days a week,
Toll-Free:866-752-6210
email:info@buffalotech.com
4030 W .Braker Ln.Suite 120
Austin,Texas 78759
Tel:800-456-9799
Fax:512-794-8606
2
1
54 Mbps Wireless Desktop PCI Adapter-g
Windows XP
Installation & Configuration
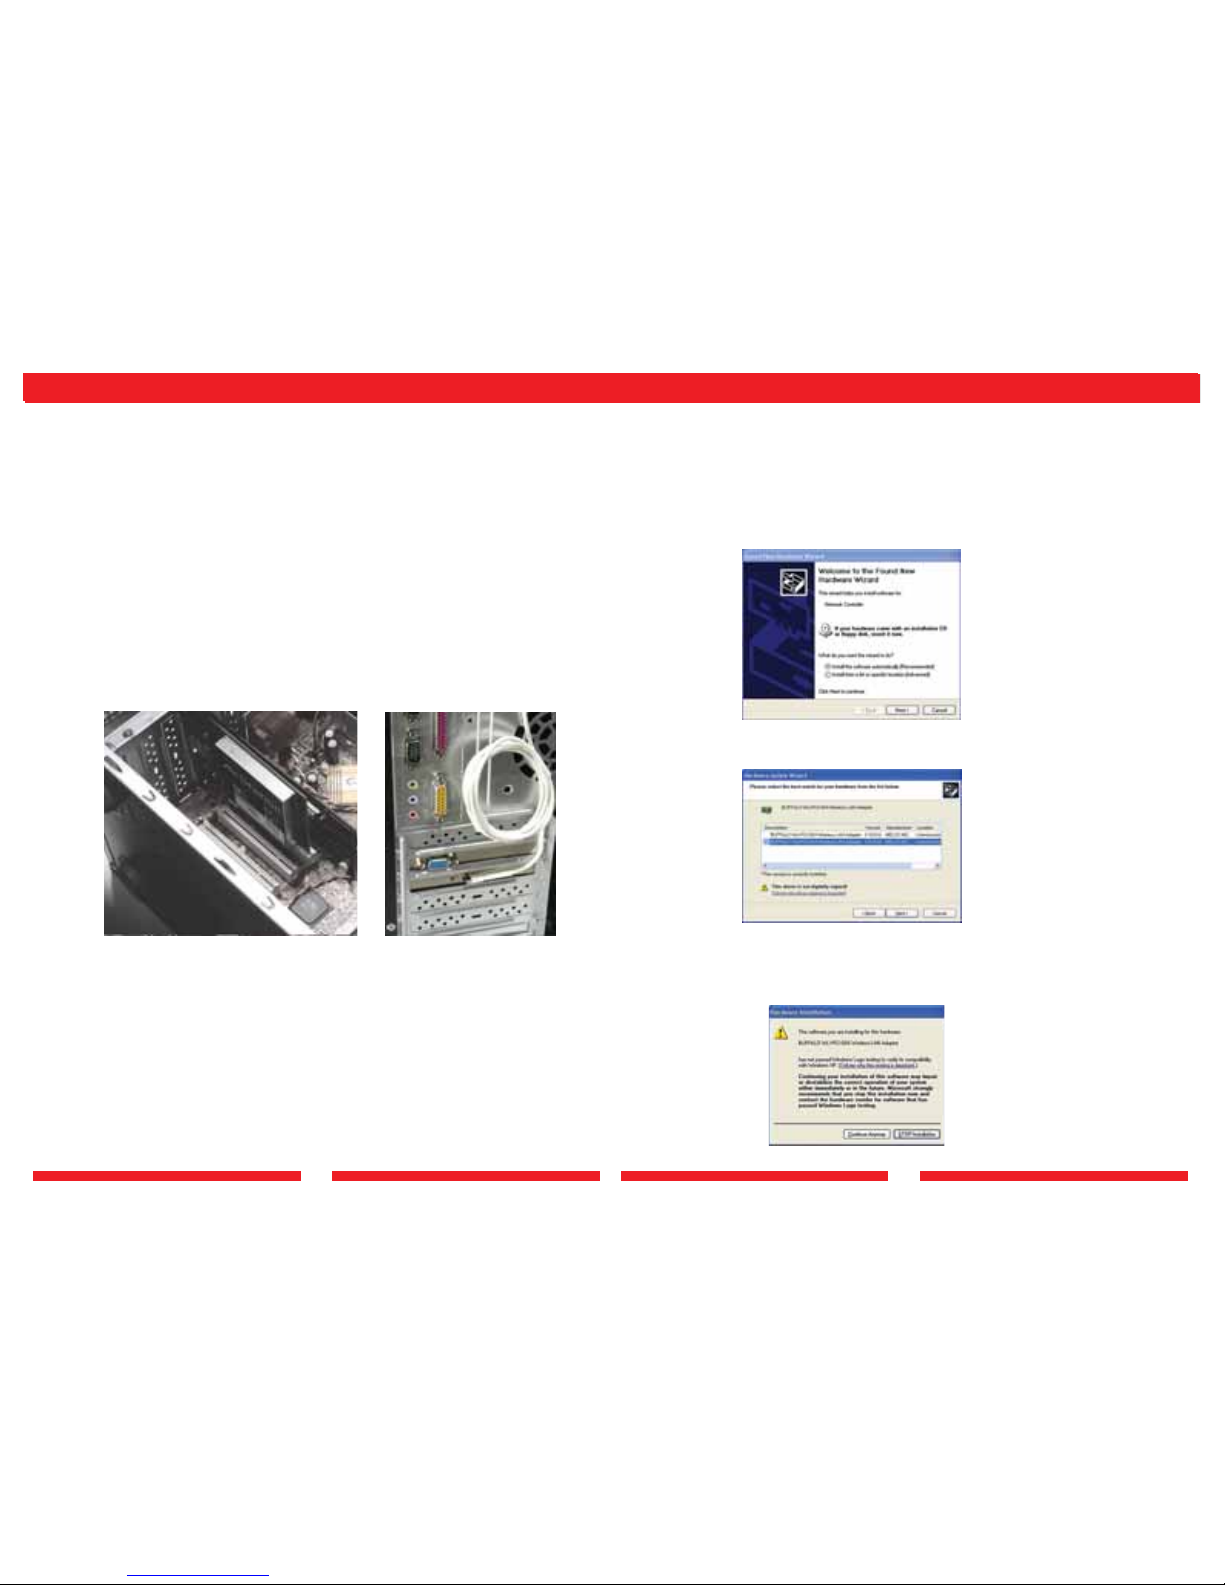
1.Installing the Wireless Desktop PCI Adapter:
a.With the computer powered down and the cover removed to expose the inside of
the system,insert the 54Mbps PCI Desktop Adapter into an available PCI slot. The
card should fit firmly into the slot and should be screwed into the chassis.
NOTE: Care should be taken not to unplug any cables or unseat any other cards
installed in the computer during installation of the Wireless Desktop PCI Adapter.
Replace the cover of the computer.
b.Plug the antenna cable into the Wireless Desktop PCI Adapter. For optimal
performance, locate the antenna away from the computer to ensure good signal
reception.
Once the cover has been replaced and the antenna has been installed,the computer
can be powered on. Upon loading Windows,the Found New Hardware Wizard
will launch automatically.
2.Installing the Wireless Desktop PCI Adapter Driver s:
a.Insert the AirNavigator CD.
b.Select Install the Software Automatically. Click the Next button to continue.
.
c. Select the driver you
want to install.If multiple drivers are listed,select the most recent driver version.
Click the Next button.
d.If a window opens, stating that your driver does not pass Windows Logo testing,
click the Continue Anyw ay button.When the Wireless Desktop PCI Adapter
Drivers are successfully installed,click the Finish button. Restar t your computer if
prompted.

3 4
3.Configuring Wireless Zero Configuration Service:
a.If the Wireless Zero Configuration Service is activated, Windows will scan for
available wireless access points once the Wireless PCI Adapter is properly installed.
If Windows detects one or more access points,a networking icon appears on the
task bar. One or more wireless networks are available appears as a caption
accompanying the icon.
b.Right click the networking icon in the taskbar,and select View Available Wireless
Networks to display a list of available wireless networks. Select an access point
network name or SSID and click the Connect button to establish a connection.
You may need to check the box indicating you are connecting to an unsecured
network. See step C if you need to enter an SSID network name or WEP/WPA
encryption key.
c. Click the Advanced button to enter an SSID network name or WEP/WPA
encryption key, if either is necessar y. To add an SSID network name that is not
available,click the Add button.
e. To configure a WEP/WPA encryption key, select the appropriate wireless network
and click the Configure button.
f. From the pull down menu,select the appropriate Network Authentication and Data
Encryption for the wireless network. Enter and confirm the Network Key and Key
Index. Click the OK button when finished.
Note: Buffalo Technology recommends that users of the Wireless Zero Configuration
Service upgrade to the latest version freely available at:
http://www.microsoft.com.
For advanced support in using Window’s XP’s Wireless ZeroConfiguration Service, refer
to the Buffalo Support Web Site:
http://www.buffalotech.com/wireless/support
Note: If the Wireless Zero Configuration Service is not functioning, select
Start>Control Panel>Administrative Tools>Services.Select Automatic in
the Startup T yp e field of Wireless Zero Configuration Service to enable the
Wireless Zero Configuration Service.The default value of Wireless Zero
Configuration Service is Automatic.
5 6
Windows 98/ME/2000
Installation & Configuration
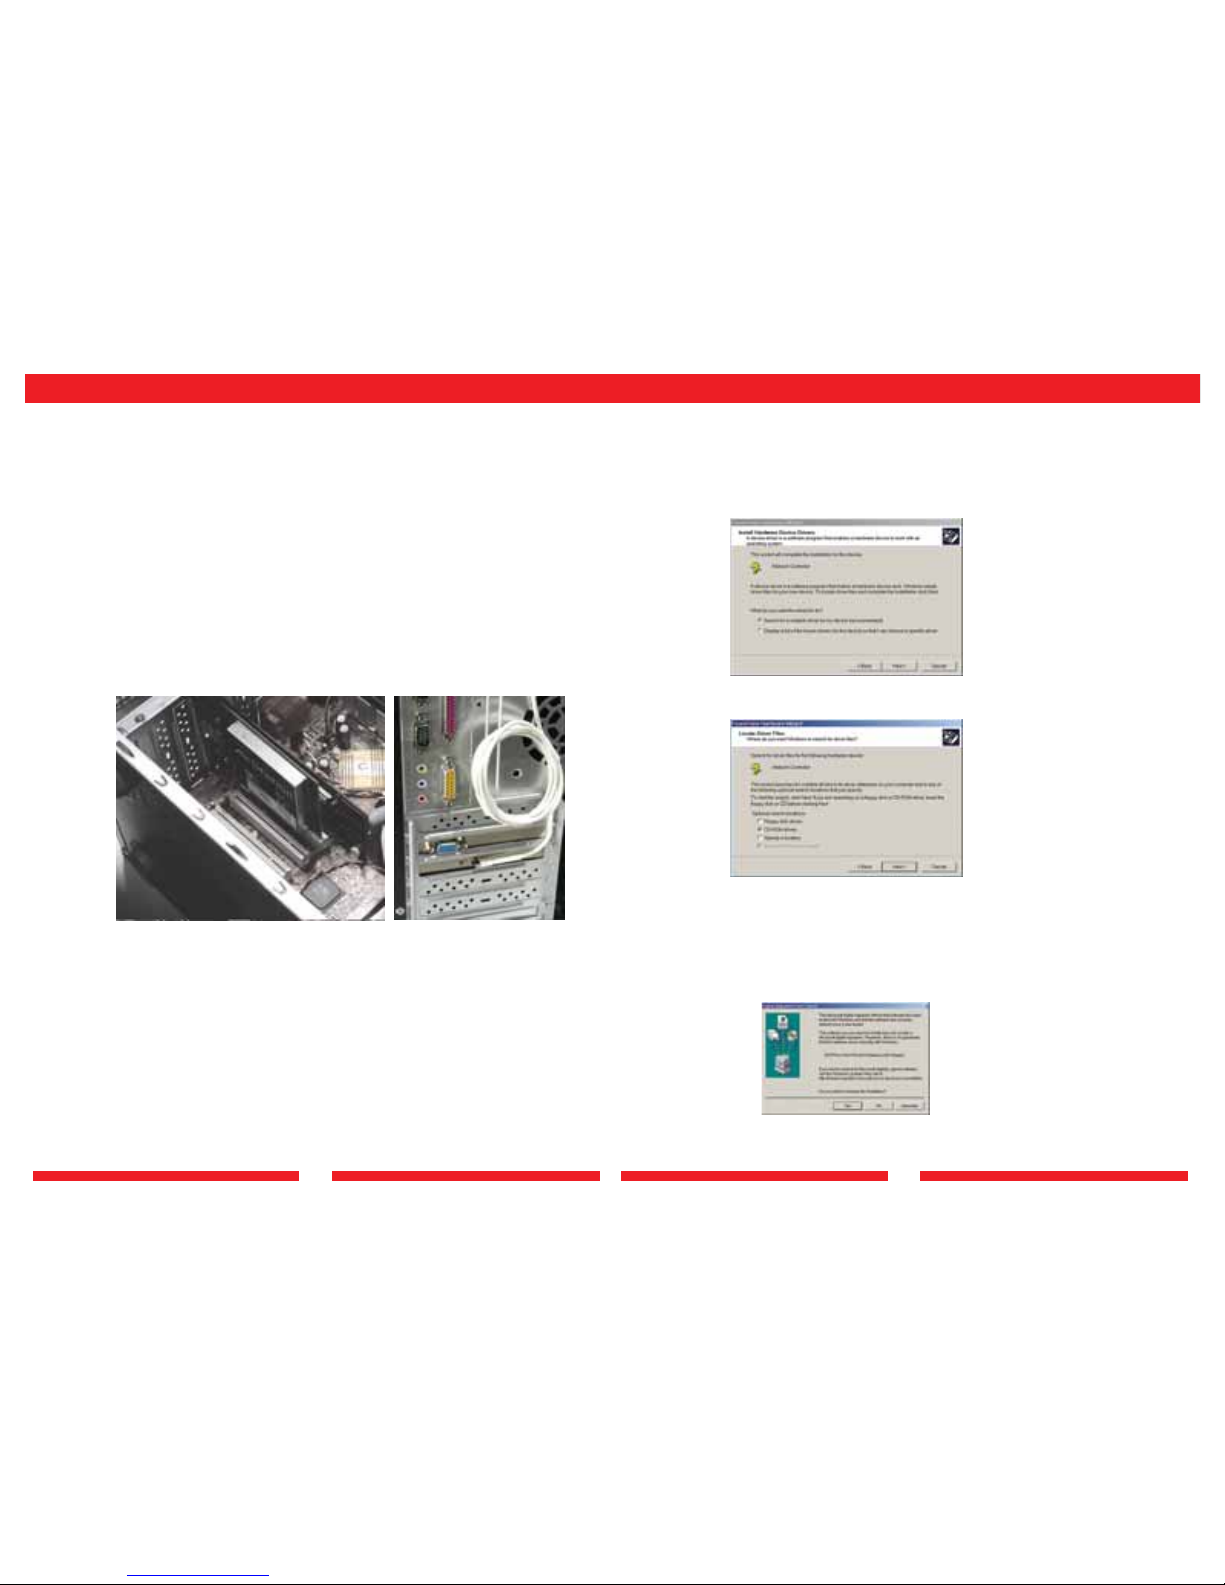
1.Installing the Wireless Desktop PCI Adapter:
a.With the computer powered down and the cover removed to expose the inside of
the system,insert the 54Mbps PCI Desktop Adapter into an available PCI slot. The
card should fit firmly into the slot and should be screwed into the chassis.
NOTE: Care should be taken not to unplug any cables or unseat any other cards
installed in the computer during installation of the Wireless Desktop PCI Adapter
Replace the cover of the computer.
b.Plug the antenna cable into the Wireless Desktop PCI Adapter. For optimal
performance, locate the antenna away from the computer to ensure good signal
reception.
Once the cover has been replaced and the antenna has been installed,the computer
can be powered on. Upon loading Windows,the Found New Hardware
Wizard will launch automatically.
2.Installing the Wireless Desktop PCI Adapter Drivers:
a.Insert the AirNavigator CD. Click Next at the Welcome to the Found New
Hardware Wizard. Select Search for a suitable driver for my device. Click the
Next button to continue.
b.Select only the CD-ROM drives checkbox,and clear any other checkboxes that
are selected. Click the Next button to continue.
c. Windows will display a driver you can use with the Wireless Desktop PCI Adapter.
Click the Next button to continue.
d. Windows 2000: If the Digital Signature Not Found page opens,informing
that no digital signature exists for the driver you are installing, click the Yes button
to continue the installation process. When the Wireless Desktop PCI Adapter is
successfully installed,click the Finish button. Restart your computer if prompted.
See the Installing Client Manager section to install the Client Manager.
7 8
Client Manager
Use Client Manager to configure your wireless network.Use Client Manager to survey
and connect to available access points,enable and use WEP encryption, and create
connection profiles.
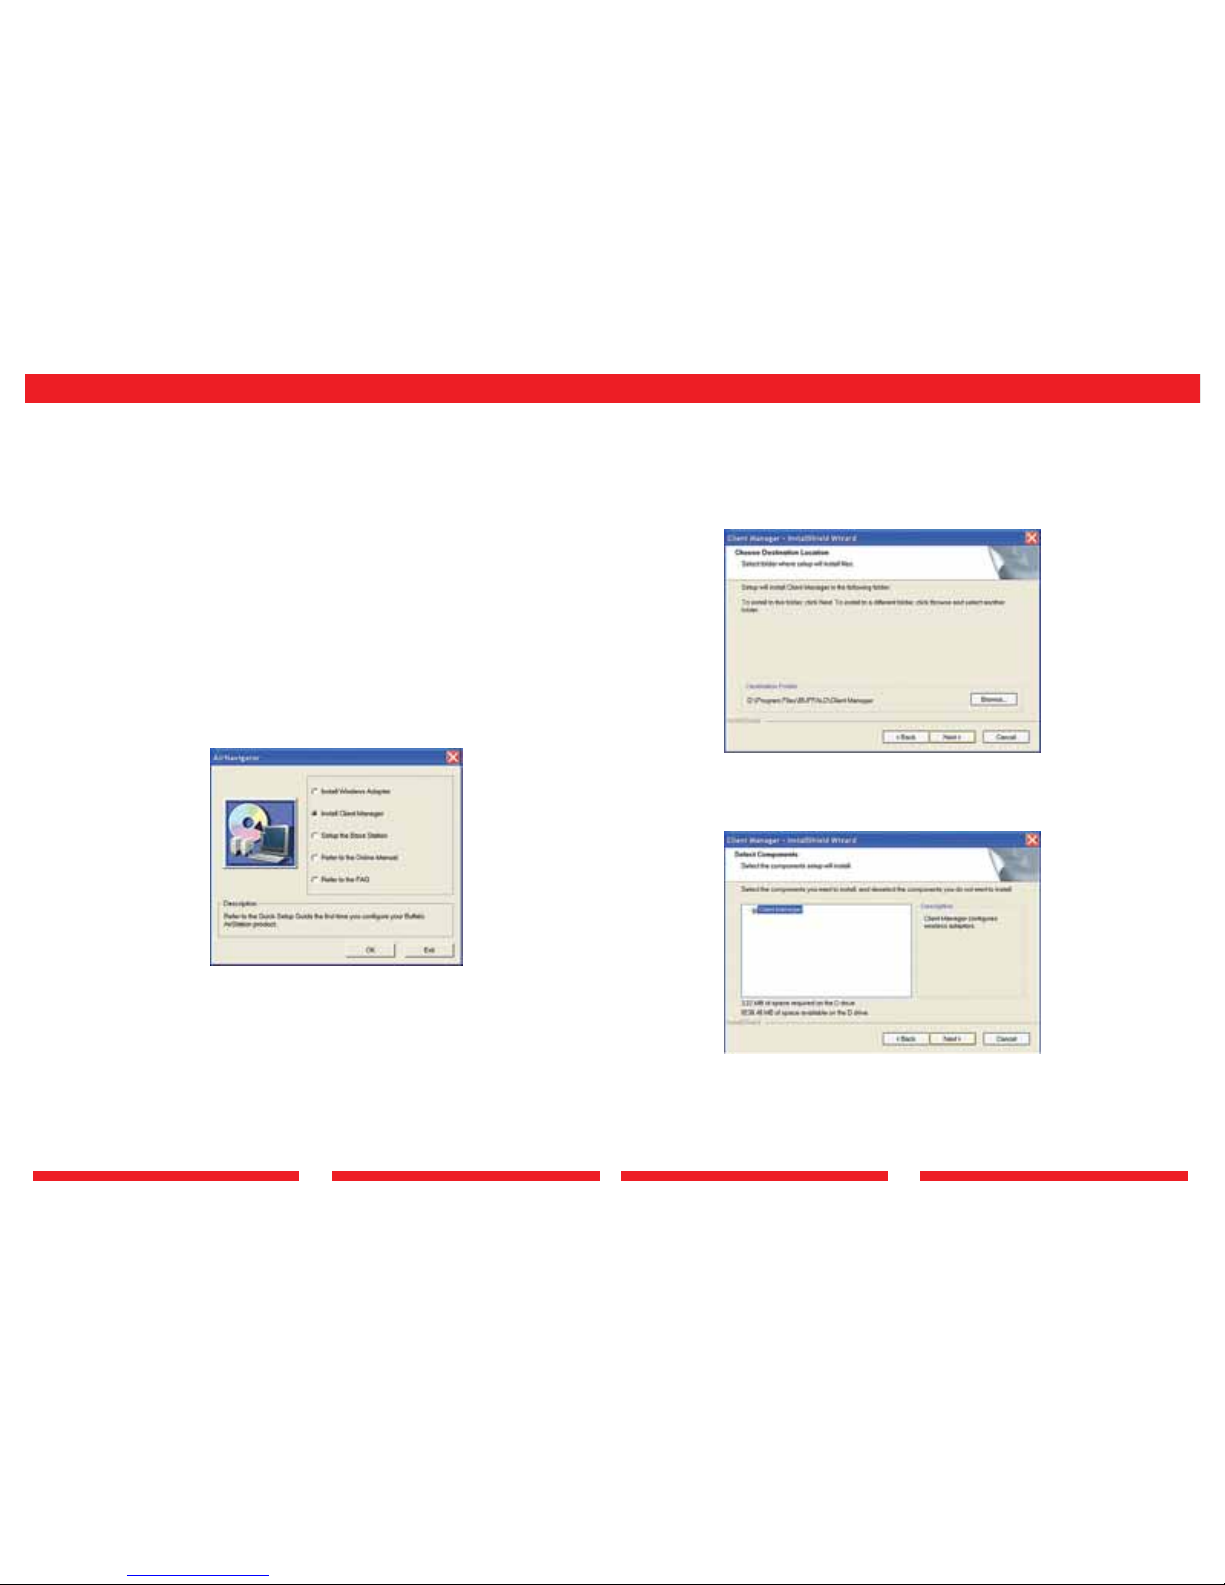
Installing Client Manager
1.Insert the AirNavigator CD. The AirNavigator dialog box will open automatically.If
the AirNavigator dialog box does not open automatically, select Start»Run and enter
D:\Setup.exe in the Open field to open the dialog box manually. D:represents the
letter assigned to the CD-ROM drive.If another letter is assigned to the CD-ROM
drive,your command should reflect that difference.Click the OK button. Select Install
Client Manager to launch the InstallShieldWizard.
2.Once the InstallShield Wizard launches, click the Next button to begin the software
installation.
3.Confirm that the installation location for the software is acceptable. To select an
alternate installation location,click the Browse button and select another location.
Click the Next button to continue to the Select Components page.
4.Select the components you want to install and click the Next button to continue to
the Start Copying Files page.
Note:Client Manager does not function properly if the Windows XP Wireless Zero
Configuration Service is enabled.
 Loading...