

Budda Superdrive 30 Series II, Superdrive 18 Series II, Superdrive 80 Series II Quick Manual
Page 1
Superdrive 30 Series II Manual
Thank you for purchasing the finest tube amplifier in the business. We appreciate your support and
look forward to providing you with years of trouble free service. Before we get into the features of your
amplifier, we would like to note that tube amplifiers require a little bit of care and maintenance that we
would like to share with you. When you first turn on your amplifier remember to leave it on rest for
at least 30 seconds before turning it to go. This will give the tubes plenty of time to warm up and will
extend tube life. The chassis is built out of aluminum which is a conductor of heat. It may feel warm to
the touch, but no need to worry.
Check to make sure that the impedance switch is set to the correct ohmage for your cabinet. Improper
loading may cause excess tube and transformer wear and eventual failure. Use high quality speaker and guitar
cables to ensure maximum performance. For tube related problems, we’ve included a trouble shooting
section on page three off your manual.
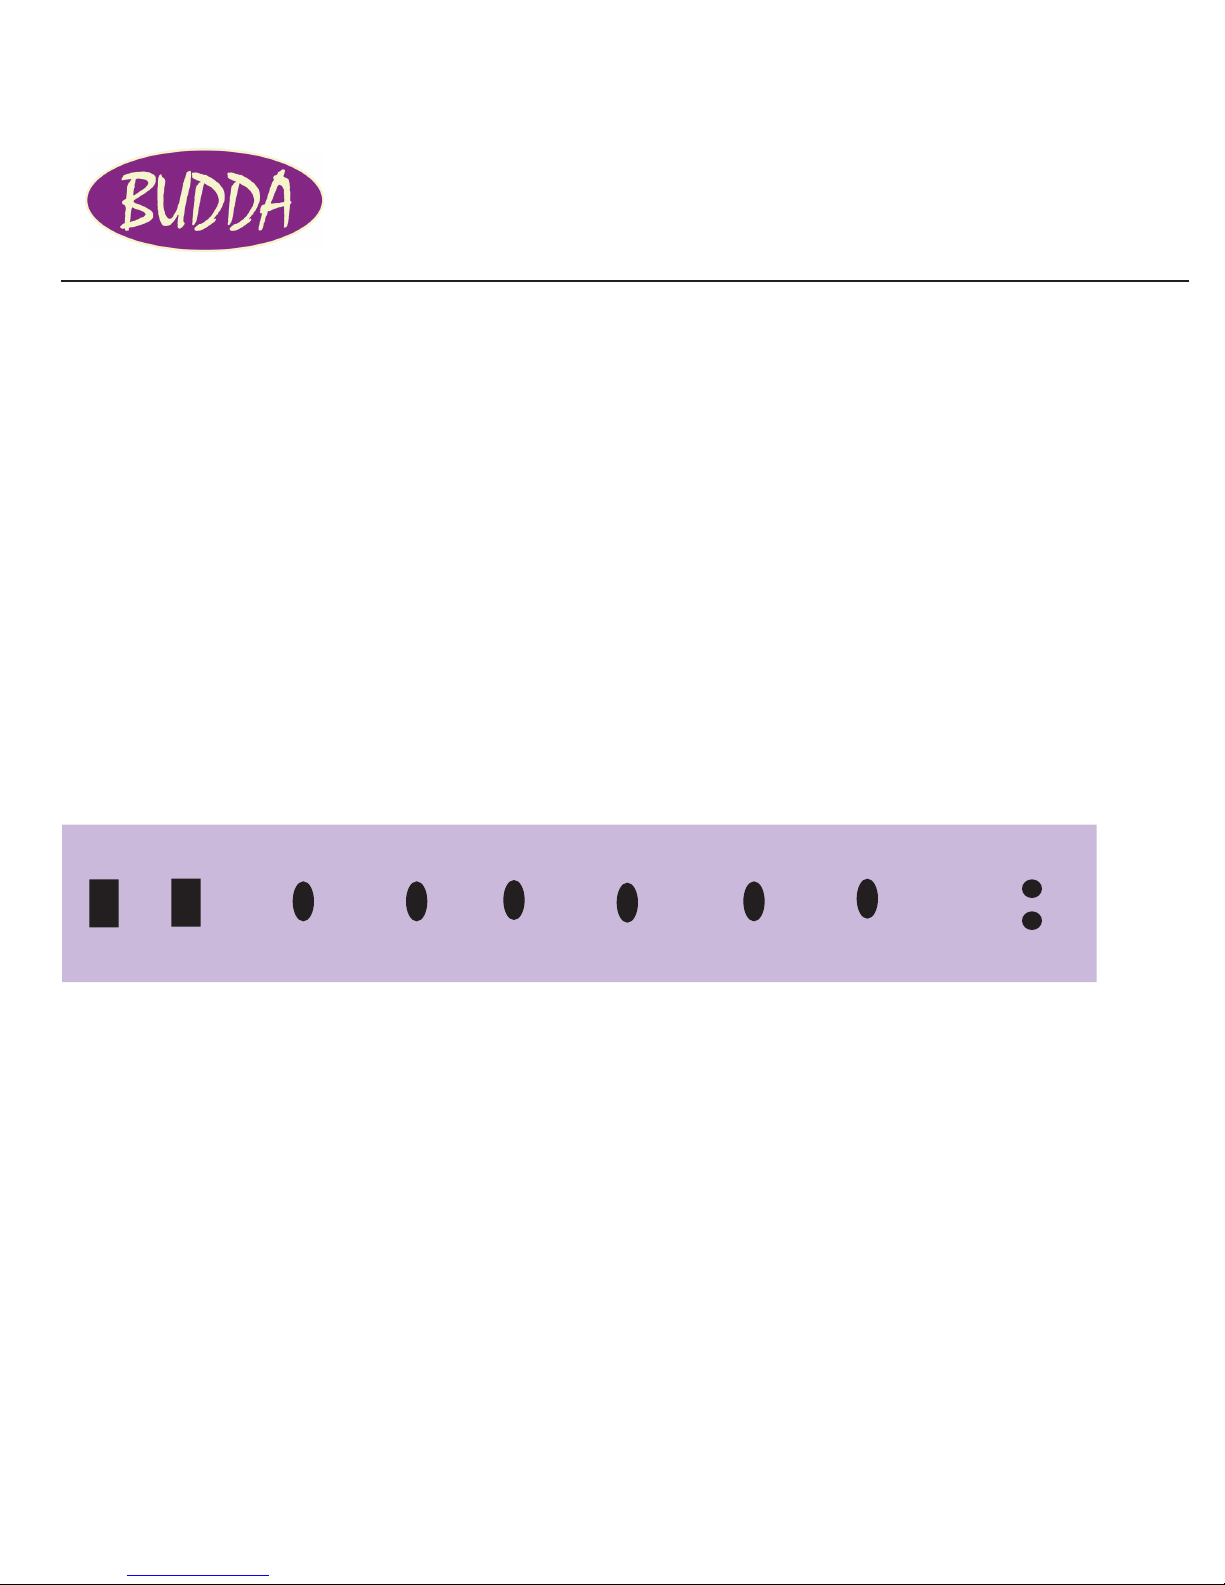
Now, lets take a look at the features of your amp by starting with the front panel.
on go master bass mid treble drive rhythm
input
off rest pull channel pull modern pull brite footswitch
On / Off - Power on and off switch
Go / Rest - Standby control
Master - Controls the overall volume of your amplifier.
Pull channel - Access the hi gain channel by pulling out, for rhythm channel leave pushed in
Bass - Controls the bass frequency of your amp
Mid - Controls the mid range frequencies of your amp by adding and cutting from bass and treble
Pull Modern - Reduces mids while increasing bass and treble frequencies so that your amp has more presence
Treble - Controls the treble frequency’s of your amp.
Drive - Controls the overall amount of distortion of your hi gain channel
Rhythm - Controls the gain and volume of your clean channel
Pull Brite - Adds treble boost to your rhythm channel.
Input - Instrument input
Footswitch - 1/4” jack for footswitch that channel switches your amp between clean and hi gain channels.
pg1
Page 2
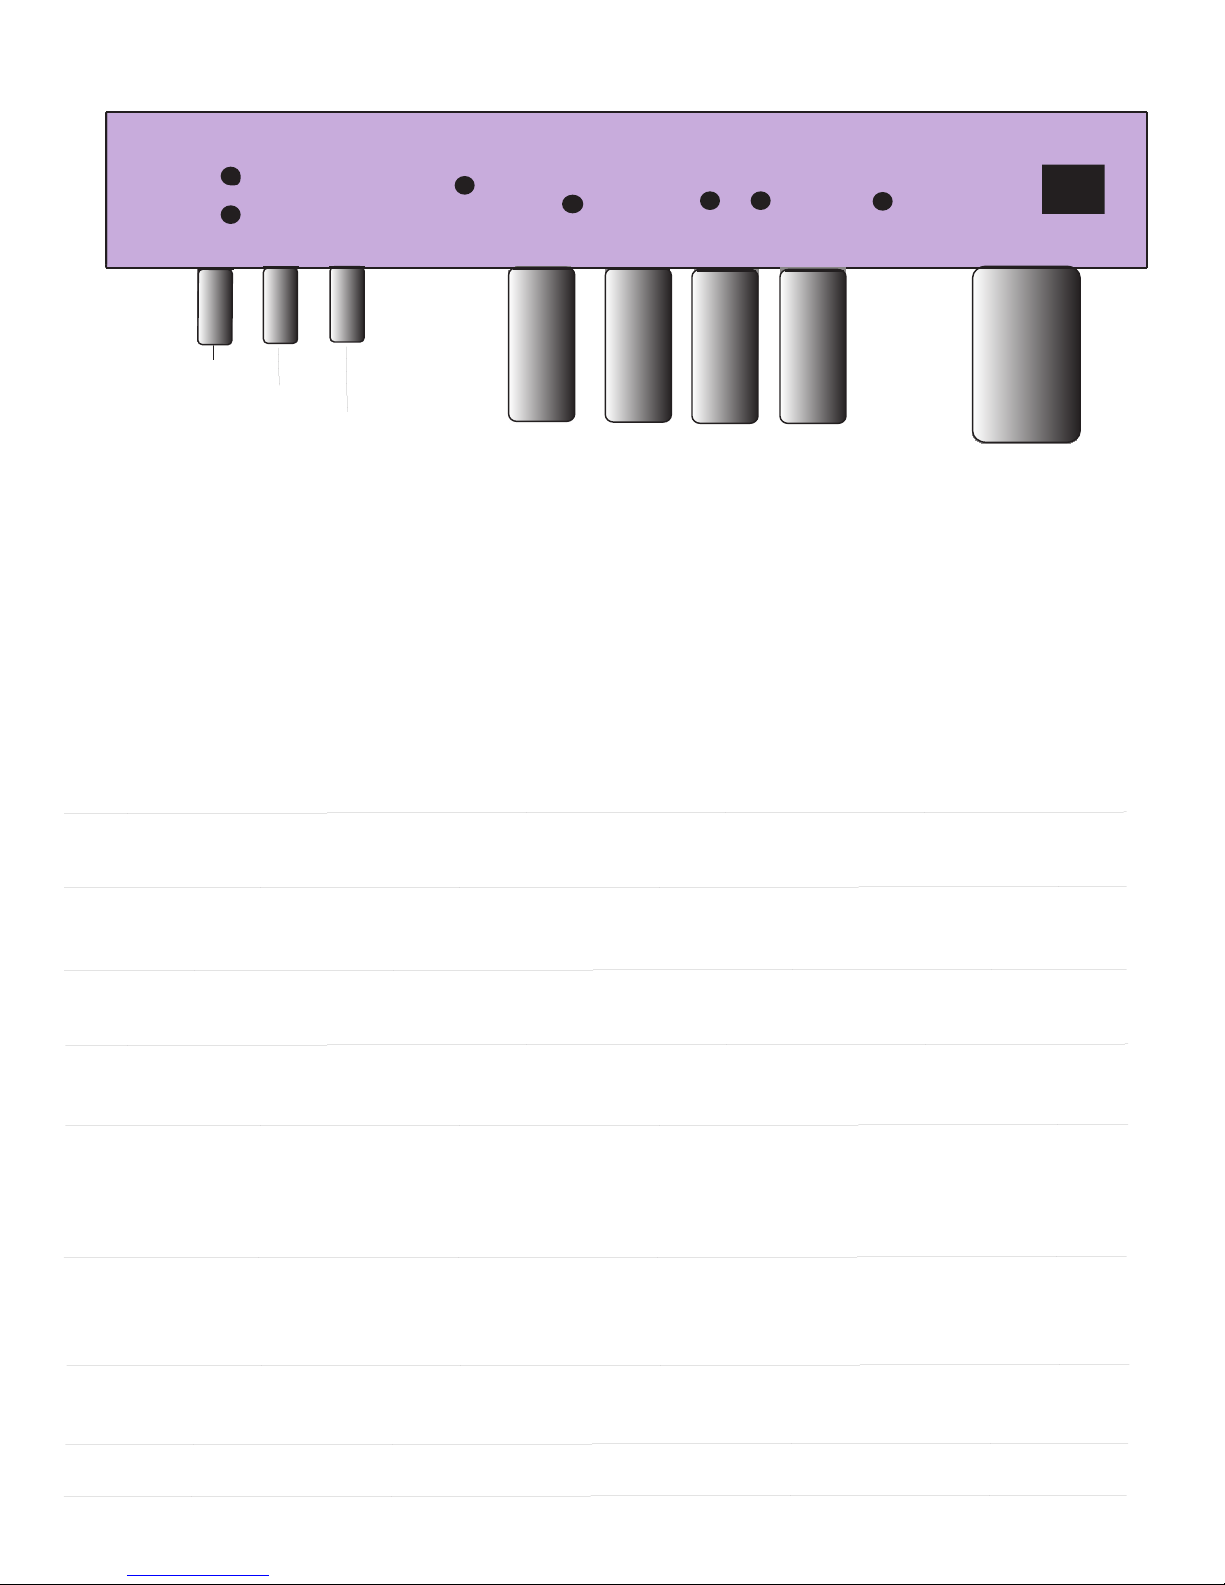
Rear Panel Superdrive 30 Series II
effects loop
send slave 1 2 impedance
16
8
return slave level speakers
4
12ax7wb
el84 el84
12ax7wa
12ax7wa
el84el84
el84el84
el84el84
el84
el84el84
el84
Send - Preamp output signal, post eq & master volume
Return - Power amp input
Slave - 100 ohm line level output derived from speaker signal
Slave Level - Slave output level
Speakers - Speaker Outputs
Impedance - Ohmage selector for speaker
5u4 5u4
s
l
o
r
t
n
o
C
l
e
n
a
P
t
n
o
r
F
Master: The master controls the overall volume of your amplifier. The higher the setting, the louder the output and
tube saturation. Start off setting the control at around 9 o’clock am and then dial in your rhythm control in the clean
channel until it begins to distort. This will be a good reference for your rhythm channel. Pull the master control and
then dial in your gain control for the amount of distortion.
Bass: Use this control to dial in your bass frequency’s. Depending upon your pickup configuration, single coils will
require more bass and humbuckers less.
Mid - Use this control to dial in your mid range frequency’s. Mids are the most active part of the eq circuit, cutting
scoops your tone, sort of like creating a “V” in a graphic equalizer. Boosting them will add presence.
Pull Modern: This radically changes the eq of your amplifier. Pulling this control will slightly reduce the mids while
raising the bass and treble frequencies. Works best in the drive mode with mid control at minimum settings.
Treble: Use this control to dial in your treble frequency’s. Depending upon your pickup configuration, single coils
will require less treble and humbuckers more.
Drive: This controls the overall distortion of your amplifier. We reccommend setting the drive control at 9 am and
slowly dial it in until you are satisfied with your overdrive. Lower settings will offer more of a blues type of gain,
mid settings are good for crunch and higher settings for metal. Use your master to add girth to the drive control,
(notice how the amp sustains a note longer when the master is turned up).
Rhythm: Use the rhythm control to adjust the gain of your clean channel. The higher the setting, the more distortion
you will add to your signal. We recommend starting at around 1 o’clock. As you rotate the knob clockwise
listen to your signal until it begins to distort. Dial in the amount of gain according to the syle of music you play.
Pull Brite: This control adds presence to your clean channel. Use this to create shimmery clean tones and to give
your treble a boost when using guitars with humbuckers and darker sounding woods.
Input: This is where you plug in your instrument.
Footswitch: Plug your single button footswith cable here to access both the rhythm and drive channel of your amp.
If you forget your switch at the gig, you can pull the master control to access the lead channel.
Page 3

Effects Loop: Superdrive amps have series loops. This is where you plug in your effects devices.
Send : Use this jack to send your signal to an effect unit input, or to another amplifiers effects return. This path of
the signal comes from the preamp and includes the eq section and master volume of your amplifier.
Return: Use this jack to receive the output of your effects device or amplifiers send our direct out. This path of the
signal includes the power amp and is post eq and master volume.
Slave: The slave out is a 100 ohm compensated signal that is parallel to the speaker out which includes both the preamp
and power amp output of your amp. Use this output to send your signal to a power amplifier connected to multiple speaker
cabinets for a louder version of your amp.
Slave Level: This controls the level of the output from your slave out. If slaving to an effects unit in a stereo amp
rig, use the units input sesitivity LED lights as a guage to set the slave level. Use this control to avoid overloading the
input of your slave amp or effects unit.
Speakers: This is where you plug in your speaker cabinets.
Impedance: Select the proper ohmage of your speaker load. Our combos and cabinets are wired at 8 ohms unless
otherwise stated.
Trouble Shooting Tips
Preamp and power tubes may become microphonic and lose power over time. A few of the common symptoms
are a high pitch squealing sound when you turn on your amp, and or a static sound emulating when your guitar
volume is turned down. A loss of output or a muddy signal is a sign that it is time to change the tubes in your amp.
One simple test to determine whether your amp is experiencing preamp or power tube problems can be
sussed out by plugging your guitar into the effects return of your amp. If the static or squealing noise continues,
then the problem is related to the power tubes or diver tube (3rd from left) and they should be replaced. If the static noise
goes away then the preamp tubes are the culprit and should be changed. Start by replacing the first position tube, farthest
to the left looking at the rear of your amp.
*You can get a copy of our tube layout chart on-line at www.budda.com, click on resources.
We suggest swapping out power tubes every 6 months for those who play their amp more then an hour per
day 3 to 5 times a week. We reccommend replacing tubes with the Groove Tube brand. They are reliable and
will maintain the optimum performance of your amp.
If you experience a problem outside of the above descriptions, please contact us for a consultation over the
phone to determine the problem. We will issue you a return authorization number and provide you with
details as to where to ship your amp and how to pack it.
We offer customer support between the hours of 10 and 5pm Pacific standard time and can be reached toll
free at 877-866-3439. Or email us at [email protected].
We are excited to be an important part of your sound.
.
Enjoy the tones, and from all of us at Budda, “play it like it’s on 11!”
Sincerely,
The Buddaguys
 Loading...