

Browning Sub Micro Series, BTC-5HD-APX, Strike Force Apex Instruction Manual

PLEASE READ THIS MANUAL BEFORE USE
MODEL BTC-5HD-APX
INSTRUCTION MANUAL

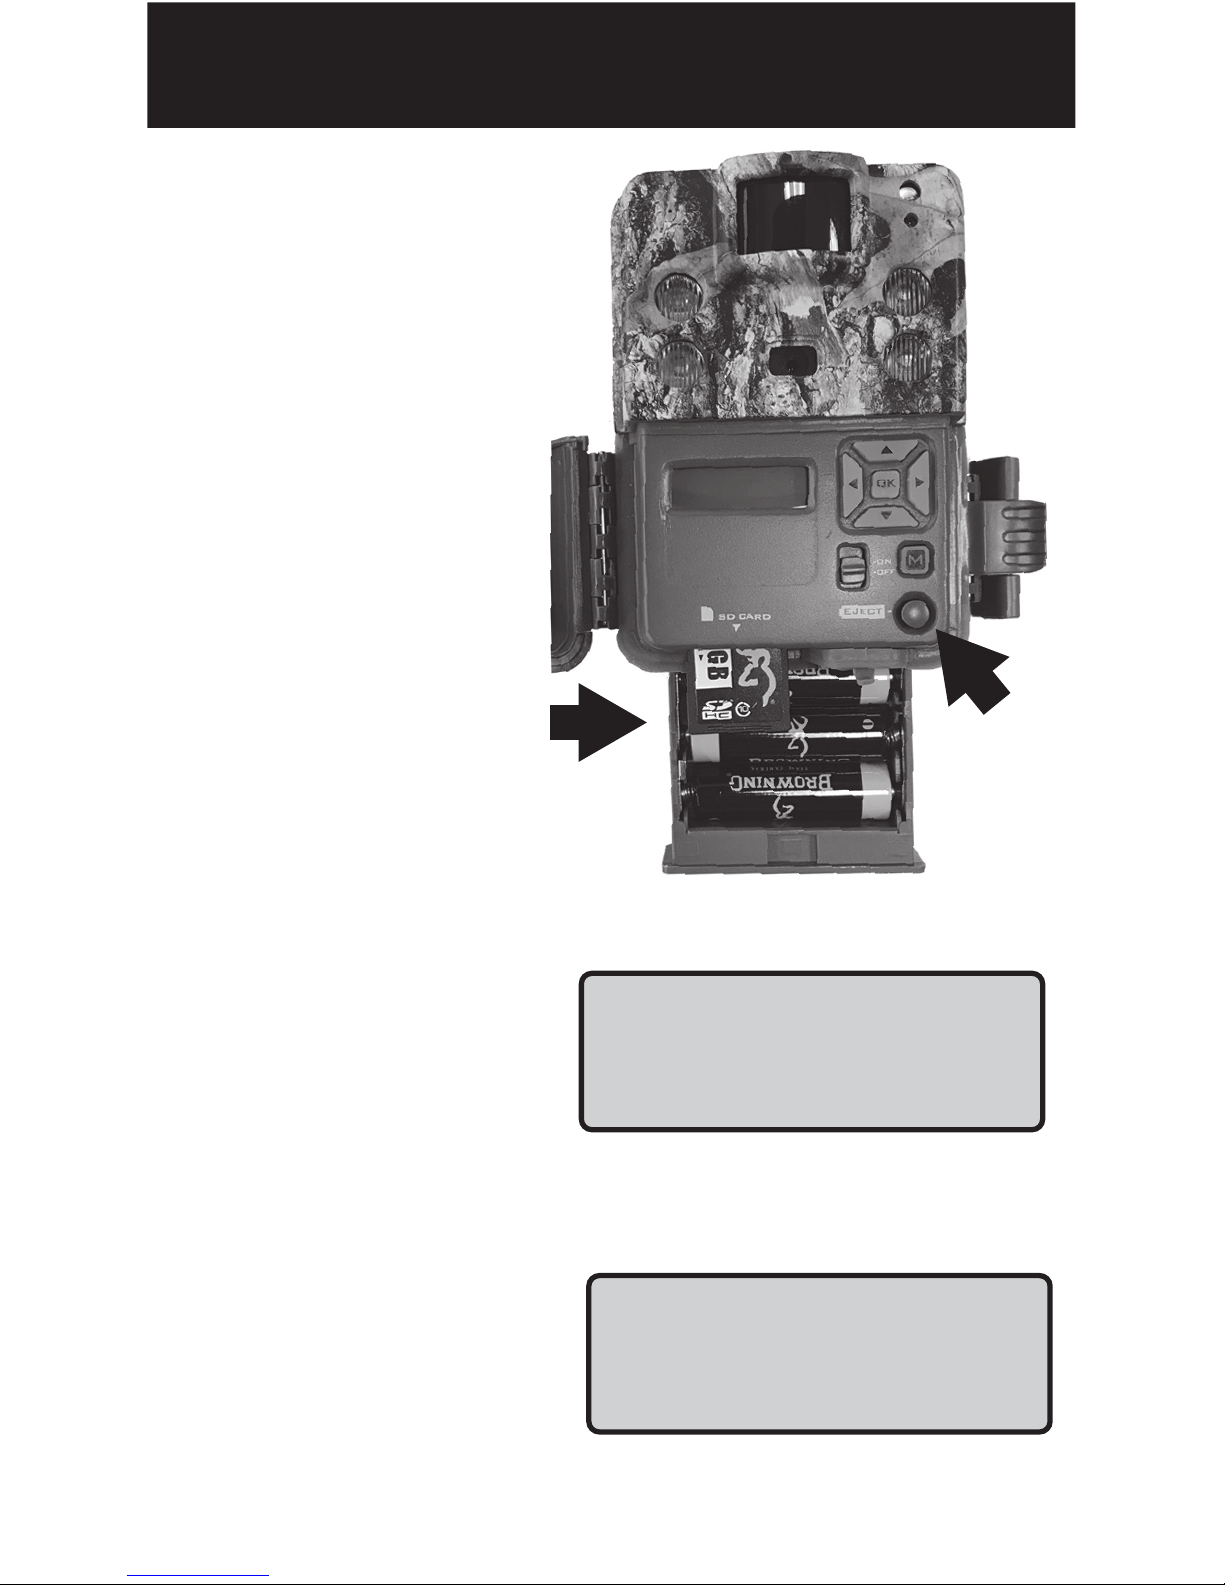
STEP 1
Press the battery
tray eject button
to release the
battery tray.
The tray will eject
about 1/2”.
Insert6 AA
Alkaline Batteries
and an SD card
into the camera.
Insert
SD Card
Battery
Eject
STEP 2
Using the control pad,
set the time and date.
STEP 3
Press the MODE button
once.Camera will
countdown a 20 second
delay and then be
ready to capture images.
Set Date
02/12/19
Trail DLY20
0004/3800
QUICK START GUIDE

TABLE OF CONTENTS
Package Contents 1
Batteries and SD cards 1
Camera Diagram 2
Battery Installation 3
Home Screen 4
Time and Date 5
Capture Mode 6
Capture Delay / Picture Size 7
Video Quality / Video Length 8
Multishot Setting 9
Smart IR / Night Exposure 10
Timelapse Settings 11
Temp Units / Info Strip / SD Management 12
Motion Test / Camera Name 13
Default Settings / Delete Images 14
Software Upgrade 14
Image Retrieval 15
Timelapse Viewer Software 16,17
Field Installation 18
Warranty 19
Accessories 20
FCC 21
Camera Specifications / SD card size chart 22
1
Getting Started
Package contents:
1- Trail Camera
1- 6’ Tree Strap
1- Instruction Manual
SD Card Selection
Install a good quality memory card.
The best brands of SD cards are
Browning branded cards,
Sandisk or Kingston branded cards.
Your camera can operate on standard
class 10 or higher SD cards ranging
from 4-32 GB . You can also use
higher capacity SDXC cards ranging
from 64-512GB.
Please see page 22 for a graph
showing how many photos, videos
and timelapse segments can be
stored on SD cards from 4-32GB.
Based on your intended camera
usage, this table will help you
determine what size SD card you
need to usein your camera.
2
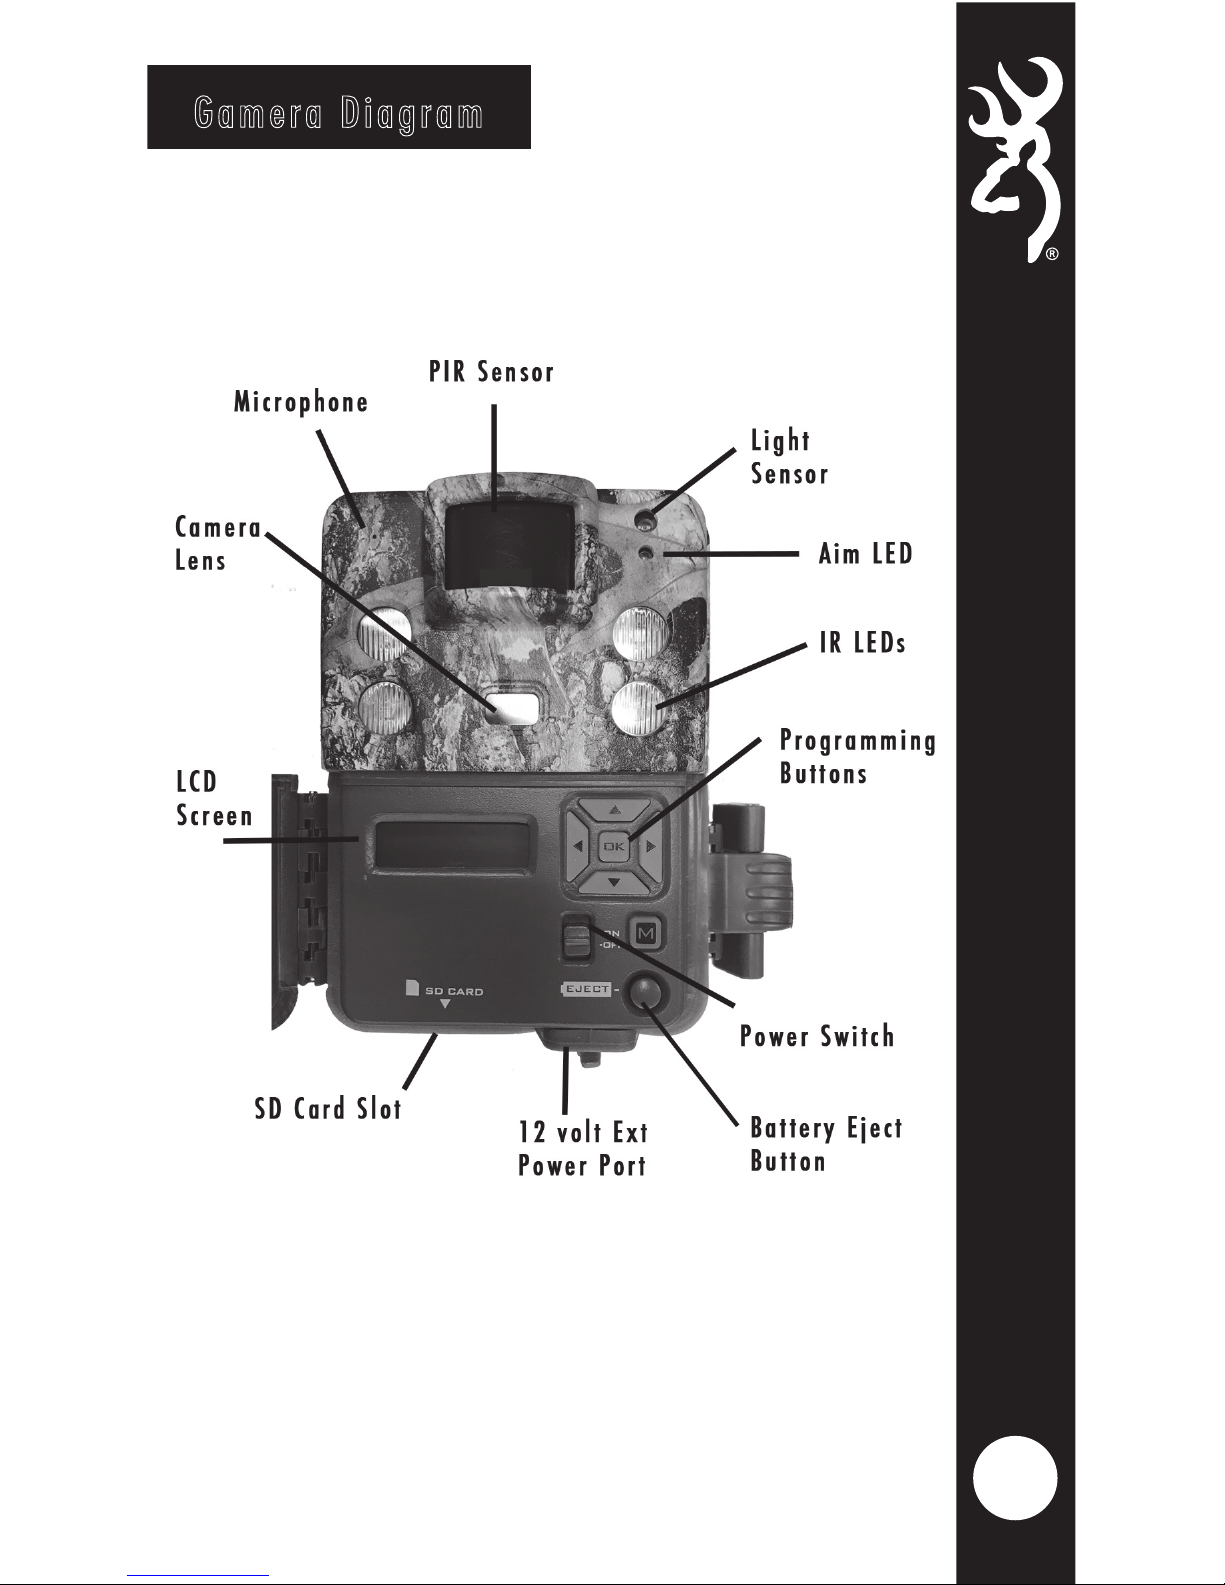
Gamera Diagram
3
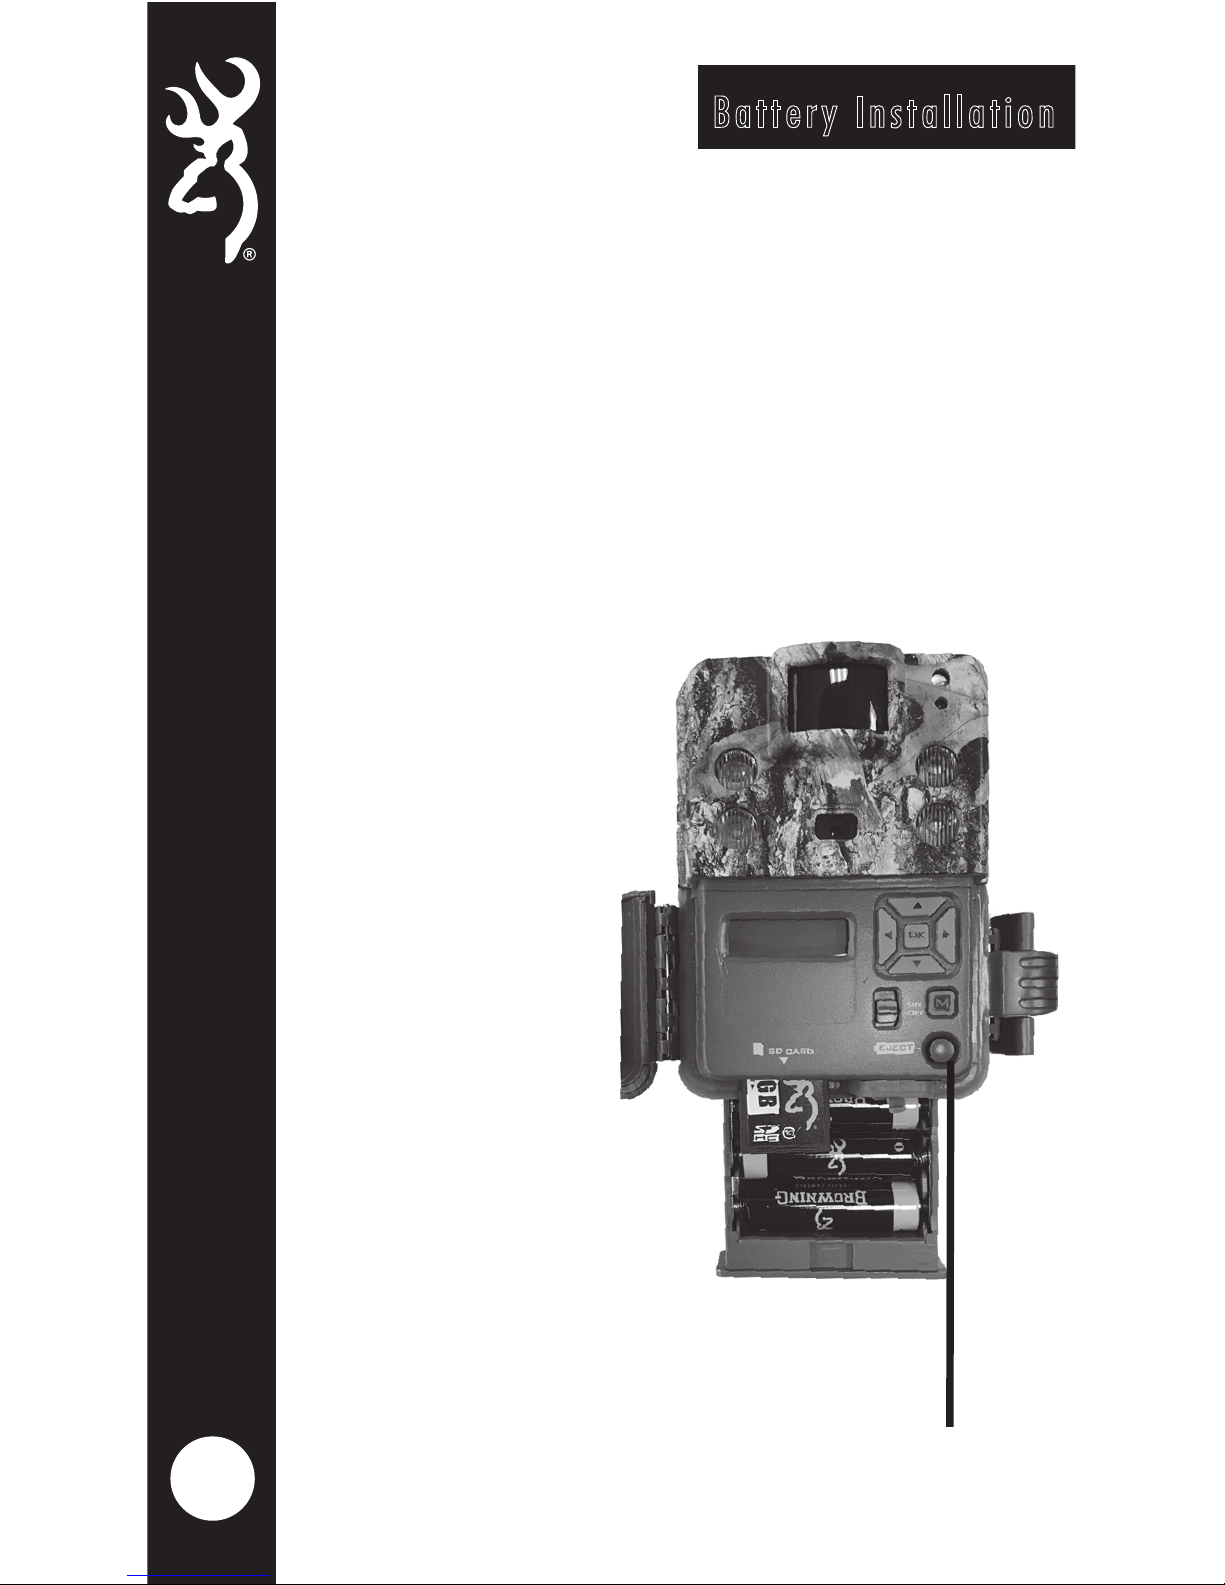
Battery Installation
Release the battery tray by pressing the
Battery Eject button. The battery tray will
eject about 1/2”. To completely remove
the battery tray, simply pull the tray with
a bit of force.
Install 6 AA Alkalineor Lithium batteries in
the battery tray. Make sure you install the
batteries with the
correct polarity,
following the
markings on the
battery tray. For
opimtimal
performance we
recommend using
Browning
branded
batteries,Energizer
or Duracell.
Slide the battery
tray into the
closed position.
Battery
Eject
Button
4
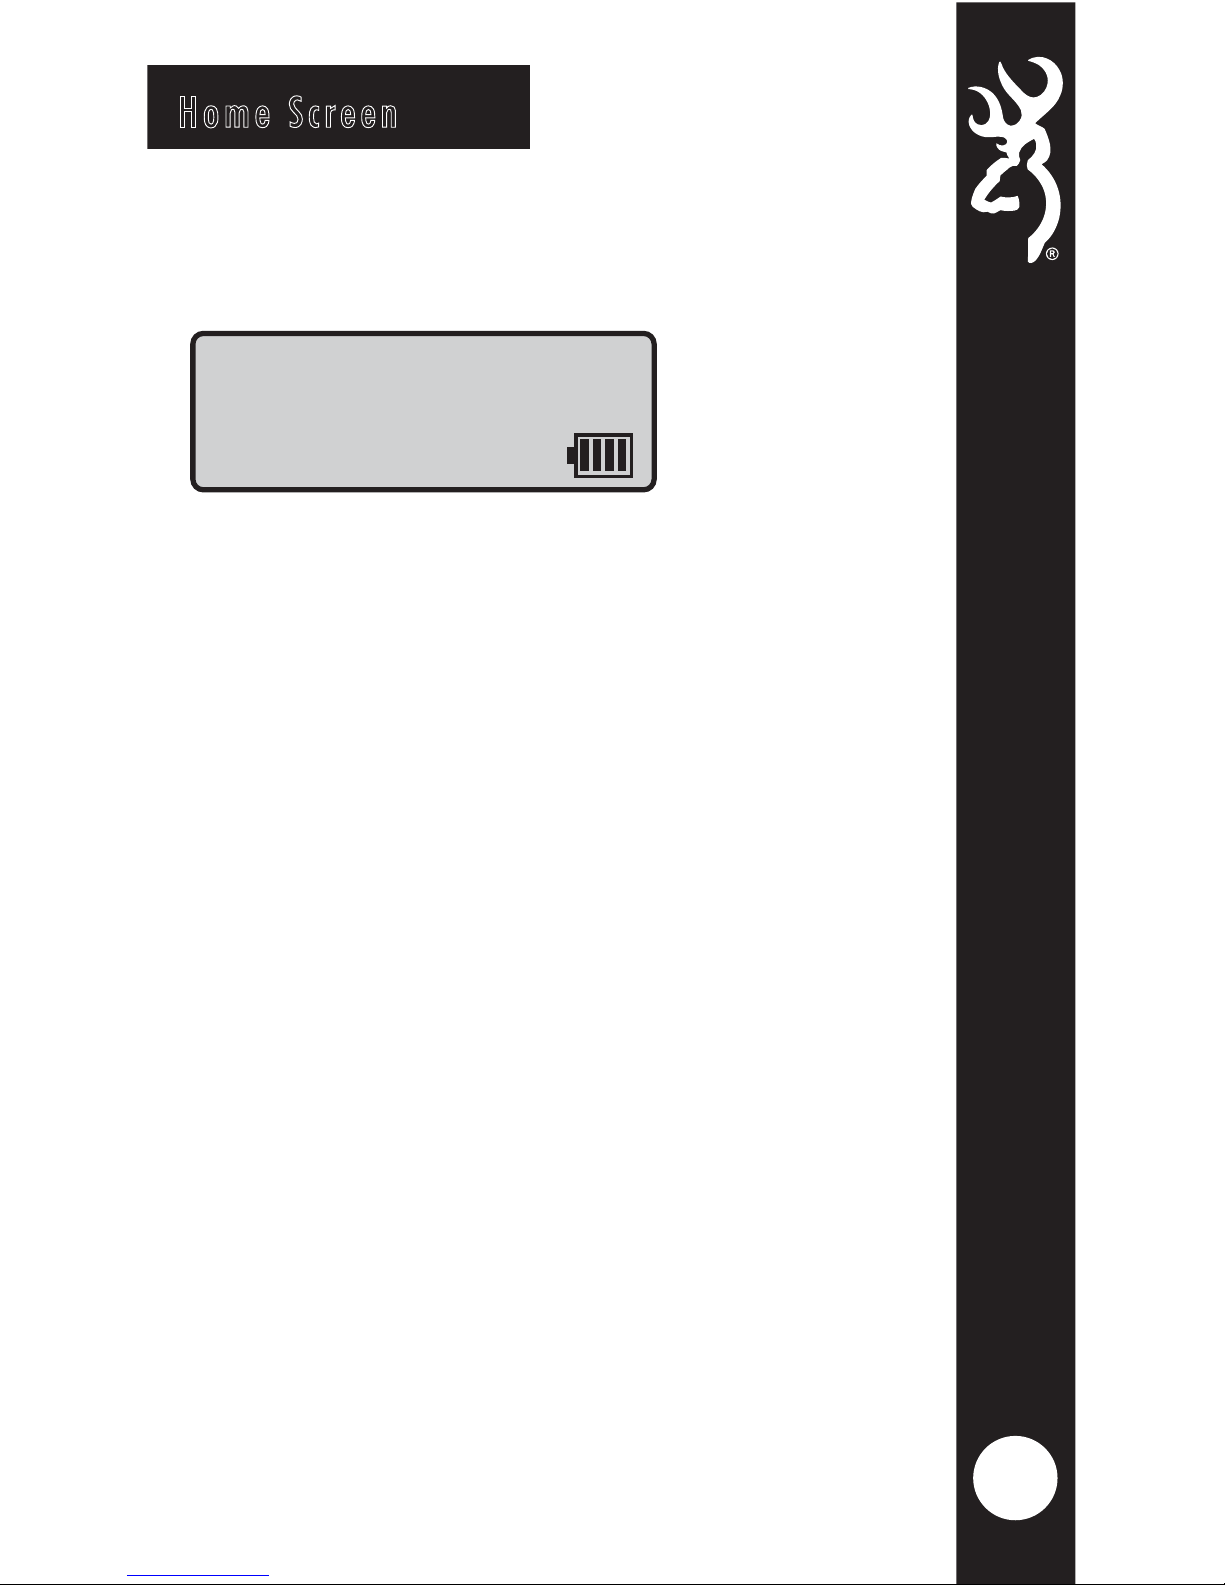
Home Screen
Turn the camera’s power on by sliding
the power switch to the ON position.
The home screen displays the camera
operation mode, pictures or videos
taken, pictures or videos possible on
the SD card, camera delay countdown
and battery life meter. With home
screen displayed, the camera is armed
and ready to start taking pictures.
The possible camera modes displayed are
Trail, Video,and Timelapse Plus (TL+).
The battery life meter shows the charge
left in your batteries.
The battery indicator changes to EXT
when an external battery is plugged into
the external power port.
Trail DLY19
0005/3500

5
To Set the time and date:
From the HOME screen, press the MODE
button once. This will take you to the
SET DATE screen.
Press the OK button once. The month
selection will highlight. Use the UP and
DOWN buttons to set the correct month.
When finished setting the month, press the
RIGHT ARROW key to advance to set the
correct day. Use the UP and DOWN buttons
to change selections. Press the RIGHT
ARROW to set the correct year using the UP
and DOWN arrow keys. Press the OK button
to save your settings.
Press the DOWN button once to set the
current time of day.
Use the UP and DOWN arrow to adjust the
correct hour. Continue to set the correct
minute and AM/PM selection. Once finished,
press the OK key save your settings.
Press the DOWN ARROW key to set the
CAPTURE MODE.
Set Date
01/14/19
Time and Date
 Loading...