

Page 1
BABY TO SLEEP
Version: 2.4
Age:14+
Please retain the packaging for future reference since it contains important information.
Page 2

Table of Content
Table of Content
Table of ContentTable of Content
IMPORTANT SAFETY INSTRUCTIONS 4
CAUTION 4
CHOKING 4
POWER ADAPTER PRECAUTIONS 4
WARNING
WARNING 5
WARNINGWARNING
FCC INFORMATION
FCC INFORMATION FCC ID : ZRB
FCC INFORMATION FCC INFORMATION
RSS210
RSS210 INFORMATION
RSS210RSS210
BABY TO SLEEP PARTS 1 7
BABY TO SLEEP PARTS 2 8
AC ADAPTOR INSTALLATION 8
15° BASE INSTALLATION 9
WALL MOUNT INSTALLATION 9
INFORMATION 6
INFORMATION INFORMATION
FCC ID : ZRB849264
FCC ID : ZRBFCC ID : ZRB
849264 5
849264849264
SWITCH ON BABY TO SLEEP 10
BABY TO SLEEP DEVICE OPERATION 10
BABY TO SLEEP APP OPERATION 12
PLATFORMS 12
BABY TO SLEEP DIRECT CONNECT 12
BABY TO SLEEP ROUTER CONNECT((((WLAN)))) 13
2
Page 3

BABY TO SLEEP APP INTERFACE 14
INFORMATION 19
LED
LED STATUS
STATUS 19
LEDLED
STATUS STATUS
RESET 20
CARE AND MAINTENANCE 20
SPECIFICATION 20
3
Page 4

IMPORTANT SAFETY INS
IMPORTANT SAFETY INSTRUCTIONS
IMPORTANT SAFETY INSIMPORTANT SAFETY INS
TRUCTIONS
TRUCTIONSTRUCTIONS
AC ADAPTOR : ............. IN:ACV100-240 OUT:DCV5.0
DISTANCE :................... About 25 meter (unobstructed) in DIRECT CONNECT
All of the safety and operating instructions should be read, adhered to and followed before
the unit is operated.
WARNING
WARNING
WARNINGWARNING
Please keep this packaging since it contains important information.
Close supervision is necessary when this unit is used by or near children or mentally
disabled individuals.
Use this unit only for its intended use as described in this manual.
The unit should be situated away from direct sunlight or heat sources such as radiators,
electric heaters, heat registers, stoves or other units that produce heat.
Respect the privacy of others when using the Baby to sleep.
CAUTION
CAUTION
CAUTIONCAUTION
For ages 8 and up.
The Baby to sleep is recommended for indoor use only.
The Baby to sleep is not waterproof. Do not spray or pour liquid on it, and do not
immerse it in liquid.
Nearby Wi-Fi™ equipment can cause interference on the connection between the
Baby to sleep and your smartphone or your tablet computer.
Do not place your device near an electromagnetic source (television, speakers, etc.),
which can cause disruptions.
CAMERA : ..................... 320 x 240 @ 25 FRAME / SEC.
Wi-Fi : ............................ 802.11b/g/n
CHOKING
CHOKING
CHOKINGCHOKING
WARNING: This product may contain small parts which may pose a choking hazard to
children.
POWER
POWER ADAPTER
POWER POWER
1. STRANGULATION HAZARD - Keep the adapter cord out of baby's reach.
2. NEVER place the adapter cord within the cot / crib.
3. Secure the adapter cord some distance away from baby's reach.
4. Never use extension cords with AC Adapter. Only use the AC Adapter provided.
5. Only use the power adapter provided. Do not use other power adapters as this may
damage the device.
4
ADAPTER PRECAUTIONS
ADAPTERADAPTER
PRECAUTIONS
PRECAUTIONS PRECAUTIONS
21
Page 5

Press the RESET button for 5 seconds to reset the device back to factory setting.
Switch off the power of the device and unplug the AC adaptor before
cleaning.
Apply soft and dry cloth onto the product ONLY.
RESET
RESET
RESETRESET
CARE AND MAINTENANCE
CARE AND MAINTENANCE
CARE AND MAINTENANCECARE AND MAINTENANCE
6. Do not touch the plug contacts with sharp or metal objects.
7. Do not spray or pour liquid on the unit, and do not immerse it in liquid.
8. The AC/DC adapter which provides disconnection from mains supply shall remain
readily operable. Unplug this product when unused for long period of time.
9. Heed all warnings.
10. Follow all instructions.
11. Do not block any ventilation openings. Install in accordance with the manufacturer’s
instructions.
12. Do not install near any heat as radiators. Heat registers stoves or other product
(including amplifiers) that produce heat.
13. Unplug this product during lightning storms or when unused for long periods of time.
14. WARNING: To reduce the risk of fire or electric shock, do not expose this product to
rain or moisture and objects filled with liquids, such as vases, should not be placed on
this product. This product is designed for indoor use only. Do not expose the product to
outside temperatures below 5°C or above 40°C. The product could be damaged. Avoid
placing the product near a source of heat or exposing it to sunlight (even through a
window). Similarly, excessively low temperatures and humidity could damage the
device.
WARNING
WARNING
WARNINGWARNING
Make sure there is no hair or lint caught between the wheels, the drive
shafts and the camera joint. Clean carefully with your fingers or a pair of
tweezers.
DIMENSION: ................... DIAMETER : 14.8CM
HEIGHT: 16.2CM
HEIGHT (WITH BASE) : 19CM
WEIGHT : ........................ 0.62kg(BODY)
.............................. 0.15kg(15° BASE)
..............................0.08kg(MOUNTING)
20
SPECIFICA
SPECIFICATION
SPECIFICASPECIFICA
TION
TIONTION
Strangulation Hazard-Children have STRANGLED in cords. Keepthis cord out of thereach
of children (more than 3 ft (0.9m) away).Do not removethis tag
FCC INFORMATION
FCC INFORMATION
FCC INFORMATION FCC INFORMATION
"This device complies with Part 15 of the FCC Rules. Operation is subject to the following
two conditions: (1) This device may not cause harmful interference, and (2) this device must
accept any interference received, including interference that may cause undesired
operation."
WARNING: Changes or modifications to this unit not expressly approved by the party
responsible for compliance could void the user’s authority to operate the equipment. Note:
This equipment has been tested and found to comply with the limits for a Class B digital
FCC ID : ZRB
FCC ID : ZRB849264
FCC ID : ZRBFCC ID : ZRB
849264
849264849264
5
Page 6

device, pursuant to Part 15 of the FCC Rules. These limits are designed to provide
reasonable protection against harmful interference in a residential installation. This unit
generates uses and can radiate radio frequency energy and if not installed and used in
accordance with the instructions, may cause harmful interference to radio communications.
However, there is no guarantee that interference will not occur in a particular installation. If
this equipment does cause harmful interference to radio or television reception, which can
be determined by turning the equipment off and on, the user is encouraged to try and correct
the interference by one or more of the following measures:
Reorient or relocate the receiving antenna.
Increase the separation between the equipment and receiver.
Connect the equipment to an outlet on a circuit different from that to which the receiver
is connected.
Consult the dealer or an experienced radio/TV technician for help.
WARNING: To comply with FCC's RF radiation exposure limits for general
population/uncontrolled exposure, the antenna(s) used for this transmitter must be installed
to provide a separation distance of at least 20 cm from all persons and must not be
collocated or operating in conjunction with any other antenna or transmitter.
RSS210
RSS210 INFORMATION
RSS210RSS210
INFORMATION
INFORMATION INFORMATION
INFORMATION
INFORMATION
INFORMATIONINFORMATION
Press to enter the INFORMATION screen:
To comply with Industry Canada's RF radiation exposure limits for general
population/uncontrolled exposure, the antenna(s) used for this transmitter must be installed
to provide a separation distance of at least 20 cm from all persons and must not be
collocated or operating in conjunction with any other antenna or transmitter.
This device complies with Industry Canada licence-exempt RSS standard(s). Operation is
subject to the following two conditions: (1) this device may not cause interference, and (2)
this device must accept any interference, including interference that may cause undesired
operation of the device.
Le présent appareil est conforme aux CNR d'Industrie Canada applicables aux appareils
radio exempts de licence. L'exploitation est autorisée aux deux conditions suivantes : (1)
l'appareil ne doit pas produire de brouillage, et (2) l'utilisateur de l'appareil doit accepter tout
brouillage radioélectrique subi, même si le brouillage est susceptible d'en compromettre le
fonctionnement.
This Class B digital apparatus complies with Canadian ICES-003.
Cet appareil numérique de la classe B est conforme à la norme NMB-003 du Canada
6
LED
LED STATUS
LEDLED
STATUS
STATUS STATUS
Name
Name COLOR
NameName
Wi-Fi
INDICATOR
TIMER BLUE ON ASSOCIATED TIMER
SLEEP
ENHANCE
COLOR STATUS
COLORCOLOR
BLUE
BLUE ON
STATUS DESCRIPTION
STATUSSTATUS
ON CONNECTED
BLINK
RAPIDLY
BLINK
SLOWLY
DESCRIPTION
DESCRIPTIONDESCRIPTION
Wi-Fi Starting
Waiting to be connected
SLEEP ENHANCE MODE
in action
19
Page 7

10.
12.
14.
16.
SETTING
SETTING
SETTINGSETTING
Press to enter the SETTING PAGE:
1. CONTINOUS LISTENING
2. CLOSE
3. ROUTER SETUP / DEVICE
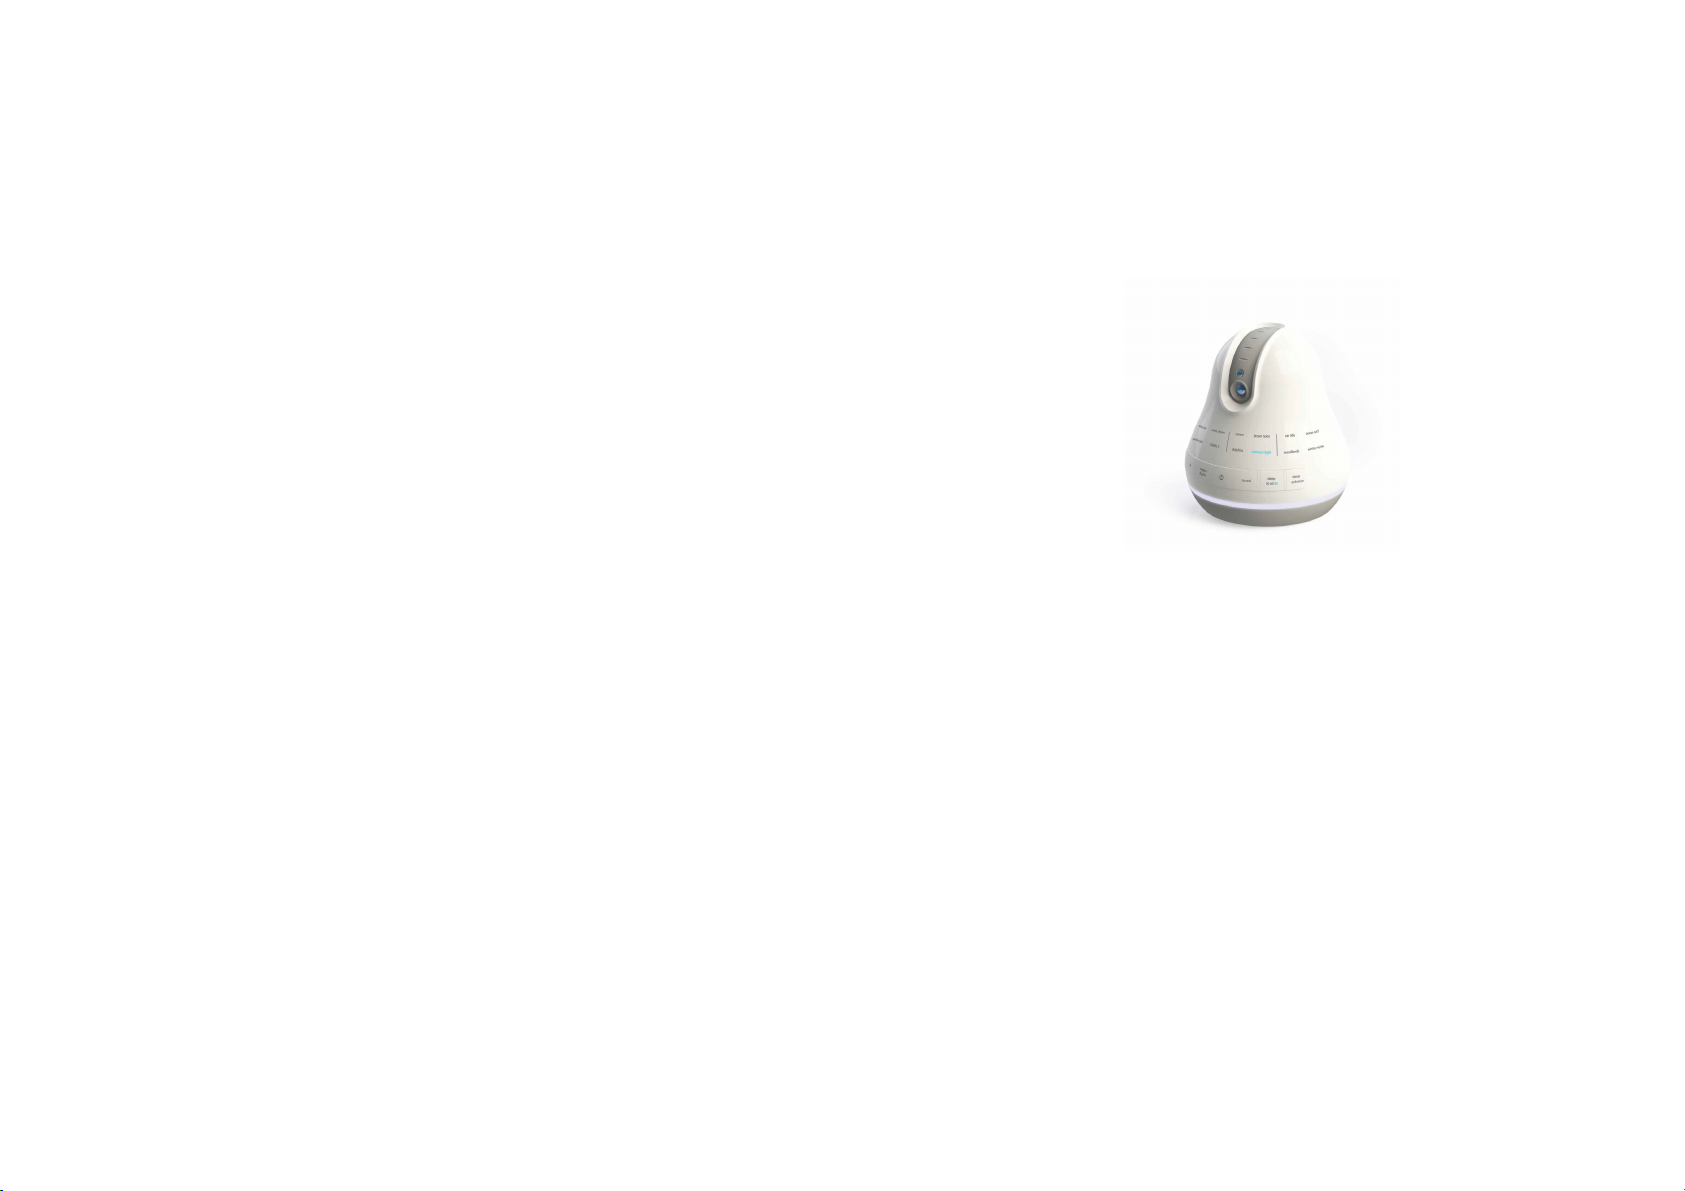
BABY TO SLEE
BABY TO SLEEP
BABY TO SLEEBABY TO SLEE
1. VOLUME (-) 2. VOLUME (+)
3. NIGHT LIGHT TOGGLE 4. Wi-Fi ON/OFF
MUSIC PLAY/STOP 6. SLEEP ENCHANCE 5.
LED NIGHT MODE TOGGLE 7. SLEEP TIMER
P PARTS
PARTS 1111
P P
PARTS PARTS
CONTINUOUS LISTENING allows you to listen to the monitored device even
the APP is exit. Please note the listening function will be stopped if another
app is using the microphone / speaker of your handheld device. (ie. Music
player)
ROUTER SETUP / DEVICE LIST allows you to select DIRECT CONNECT /
ROUTER MODE, as well as to select different device to be monitored.
18
8. BODY 9. MICROPHONE
LED NIGHT LIGHT 11. NIGHT VISION
CAMERA 13. MUSIC SELECTION
TIMER (30 MINUTES) 15. TIMER(60 MINUTES)
TIMER (90 MINUTES) 17. SLEEP ENHANCE
INDICATOR
7
Page 8

BABY TO SLEEP
BABY TO SLEEP PARTS
BABY TO SLEEP BABY TO SLEEP
PARTS 2222
PARTS PARTS
Please refer to SLEEP TIMER and SLEEP ENHANCE MODE of this manual
for associated instructions.
NIGHT LIGHT CONTROL
NIGHT LIGHT CONTROL
NIGHT LIGHT CONTROLNIGHT LIGHT CONTROL
Press to enter the NIGHT LIGHT CONTROL screen:
To select between “WHITE LIGHT” and “MULTI-COLOR LIGHT”.
1.
3.
5.
7.
9.
AC ADAPTOR HOLE 2. Wi-Fi Indicator
SSID 4. RESET
Wi-Fi MODE SWITCH 6. AC ADAPTOR
15° BASE 8. WALL MOUNT 1
WALL MOUNT 2
AC ADAPTOR INSTALLAT
AC ADAPTOR INSTALLATION
AC ADAPTOR INSTALLATAC ADAPTOR INSTALLAT
ION
IONION
MONITORING VOLUME CONTROL
MONITORING VOLUME CONTROL
MONITORING VOLUME CONTROLMONITORING VOLUME CONTROL
Press to activate the volume bar to control the volume level of environment to
be monitored.
8
17
Page 9

Device can move around 350° horizontally and 90° vertically.
Zoom in and out will be at 25% threshold between 100% to 200%. The zoom
ratio will b displayed on the screen.
Snapshot picture can be taken by your handheld device. Pictures will be
saved at default Picture folder at iOS, and at “/sdcard/P-BabyToSleep/Pictrue”
at Android.
You can see your babay at the dark by turning on the Night Vision. Video
stream will turn to Black and White in Night Vision Mode.
SOUND CONTROL
SOUND CONTROL
SOUND CONTROLSOUND CONTROL
Press to enter the SOUND CONTROL screen:
1. TO LEFT 2. MUSIC VOLUME
Put ONLY THE DESIGNATED AC ADAPTOR
into the connection hole and make sure it is
firmly connected.
15
15°°°° BASE INSTALLATION
BASE INSTALLATION
1515
BASE INSTALLATION BASE INSTALLATION
3. TIMER (60 MINUTES) 4. TIMER (30 MINUTES)
5. TIMER (90 MINUTES) 6. CLOSE
7. TO RIGHT 8. MONITORING VOLUME
9. SLEEP ENHANCE MODE 10. MUSIC SELECTION
In total 16 music:
Womb Car
Ride
Heart
beat
Prena
tal
Lullaby Lullaby2 Stream Wood
lands
Gentle
Rain
Dolphins Ocean
Surf
Summer
Night
White
Rain
Brown
Noise
White
Stream
White
Noise
Put the base below the product and apply the screw until it is firmly attached.
WALL MOUNT INSTALLAT
WALL MOUNT INSTALLATION
WALL MOUNT INSTALLATWALL MOUNT INSTALLAT
ION
IONION
Apply the screws onto the WALL MOUNT 1 and the wall. Apply the screw of the
WALL MOUNT 2 onto the product. Turn the product clockwise onto the WALL
MOUNT 1 unit to lock, anti-clockwise to unlock.
16
9
Page 10

SWITCH ON
SWITCH ON BABY TO SLEEP
SWITCH ON SWITCH ON
There is no power switch for the device. When the AC adaptor is connected, the
multi-color LED will turn on, and the device is in service after about 15 seconds,
when the LED turns off.
The touch panel of the device will be undergoing calibration every time power on
and off, and it is recommended not to touch it before the system is ready.
BABY TO SLEEP
BABY TO SLEEPBABY TO SLEEP
BABY TO SLEEP
BABY TO SLEEP DEVICE OPERATION
BABY TO SLEEPBABY TO SLEEP
DEVICE OPERATION
DEVICE OPERATION DEVICE OPERATION
1. SETTING 2. MUSIC CONTROL
3. CAMERA CONTROL 4. NIGHT LIGHT CONTROL
5. VOICE MONITORING 6. VIDEO SCREEN
7. INFORMATION
VOLUME““““-””””
Decrease the volume by 1/30 each time, and decrease rapidly when press and
hold.
VOLUME““““+””””
Increase the volume by 1/30 each time, and increase rapidly when press and hold.
NIGHT LIGHT TOGGLE
Press to toggle between “WHITE NIGHT LIGHT, “RAINBOW NIGHT LIGHT” and
NO Night light.
Wi-Fi ON/OFF
Default state of Wi-Fi connection is ON. The Wi-Fi indicator at the back of the
device will be in blink blue after turning on for around 30 seconds. Press ONCE
to turn of the Wi-Fi, and NO REMOTE ACCESS to the device will be built.
MUSIC PLAY/STOP
In total 16 music can be played / stop by pressing the associated “.” Default music
10
CAMERA CONTROL
CAMERA CONTROL
CAMERA CONTROLCAMERA CONTROL
Press to enter the CAMERA CONTROL screen:
1. MOVEMENT 2. NIGHT VISION TOGGLE
3. CLOSE 4. ZOOM IN
5. ZOOM OUT 6. SNAPSHOT
7. ZOOM RATIO
15
Page 11

7. Exit your APP.
The Wi-Fi indicator will change from rapid blinking to slow blinking if
connection to the router is made.
8. Turn on the Wi-Fi of your handheld device.
Connect to your router’s SSID.
Note: You shall not see the SSID of the device (Baby_xxxx)
showing, as in the DIRECT CONNECT MODE.
9. Run your APP.
You will see the video stream right the way if there is only one
device in the LAN environment.
10. If there is more than one device in the LAN, you will see similar
diagram as follows, and you have to select the device you want to
connect to:
is “White Noise”, if no particular music has been selected. Music List:
Womb Car
Ride
Heart
beat
Prena
tal
Lullaby Lullaby2 Stream Wood
lands
Gentle
Rain
Dolphins Ocean
Surf
Summer
Night
White
Rain
Brown
Noise
White
Stream
White
Noise
LED NIGHT MODE TOGGLE
By pressing and hold the button for 2 seconds, will toggle between LED NIGHT
MODE or DAY MODE.
Default:
LED DAY MODE: All LED on the device will be on and solid.
LED NIGHT MODE: All LED on the device (except Night Light) will be off in 5
seconds if no continuous operation. In this mode, if LED has been OFF, a
wake-up press of any button has to perform to activate the system before any
operation can be proceeded.
SLEEP TIMER
To toggle between 30 minutes, 60 minutes, 90 minutes and OFF.
11. You can always choose another device by clicking “ ” on the
main screen, and select Device.
BABY TO SLEEP
BABY TO SLEEP APP
BABY TO SLEEPBABY TO SLEEP
Main
Main Screen
Screen
Main Main
ScreenScreen
14
APP INTERFACE
APP APP
INTERFACE
INTERFACE INTERFACE
The volume of the music will be fading out to mute gradually if the sleep timer is
set.
SLEEP ENHANCE
Both the volume and the speed of the music will be fading out to 50% gradually if
the SLEEP ENHANCE is activated. The setting will be resumed to normal
volume and speed if SLEEP ENHANCE is deactivated.
11
Page 12

BABY TO SLEEP
CATEGORY
PARAMETER
iOS4.3
Android2.2
OR UP
BABY TO SLEEP APP OPERATION
BABY TO SLEEPBABY TO SLEEP
APP OPERATION
APP OPERATION APP OPERATION
BABY TO SLEEP
BABY TO SLEEP ROUTER CONNECT
BABY TO SLEEPBABY TO SLEEP
ROUTER CONNECT((((WLAN
ROUTER CONNECT ROUTER CONNECT
WLAN))))
WLANWLAN
baby to sleep APP INSTALLATION
Download Baby To Sleep from AppStore / GooglePlay.
PLATFORMS
PLATFORMS
PLATFORMSPLATFORMS
SYSTEM
ANDROID
HARDWARE
BABY TO SLEEP
BABY TO SLEEP DIRECT CONNECT
BABY TO SLEEPBABY TO SLEEP
1. The Wi-Fi MODE SWITCH at the bottom is set to 1. Turn on the
device, wait about 30 seconds, the Wi-Fi indicator will start to blink
rapidly.
CPU: 800MHz
RAM:512MB
ROM:512MB
DIRECT CONNECT
DIRECT CONNECT DIRECT CONNECT
1. Make sure your handheld device (iphone/Android) can connect to
your router and can browse internet.
2. You will need the username and password pair to connect to the
router.
Your router needs to be in DHCP mode, and dispatching IP
addresses.
3. Make sure your device is connected to your handheld device via
DIRECT CONNECT as described, and the Wi-Fi MODE SWITCH is
at 1.
4. Run your APP. At the main screen, click “Setting”, then “Router Set
Up”.
For iOS user, you have to provide your router’s SSID, for Android
user, you can select from the list.
5. Enter the username and password pair to connect to your router,
then click “SEND”.
2. Turn on the Wi-Fi of your hand held device, you will see the SSID
3. Run your APP, you shall see the video stream from the device. The
12
begins with (Baby_). Connect it, wait until you see the connected
symbol “ ”or there is a“√√√√”mark in front of the SSID.
Wi-Fi indicator will turn to solid blue.
6. Successful message will be shown.
Turn the Wif-Fi MODE SWITCH to 2.
The device will be reset.
13
 Loading...