

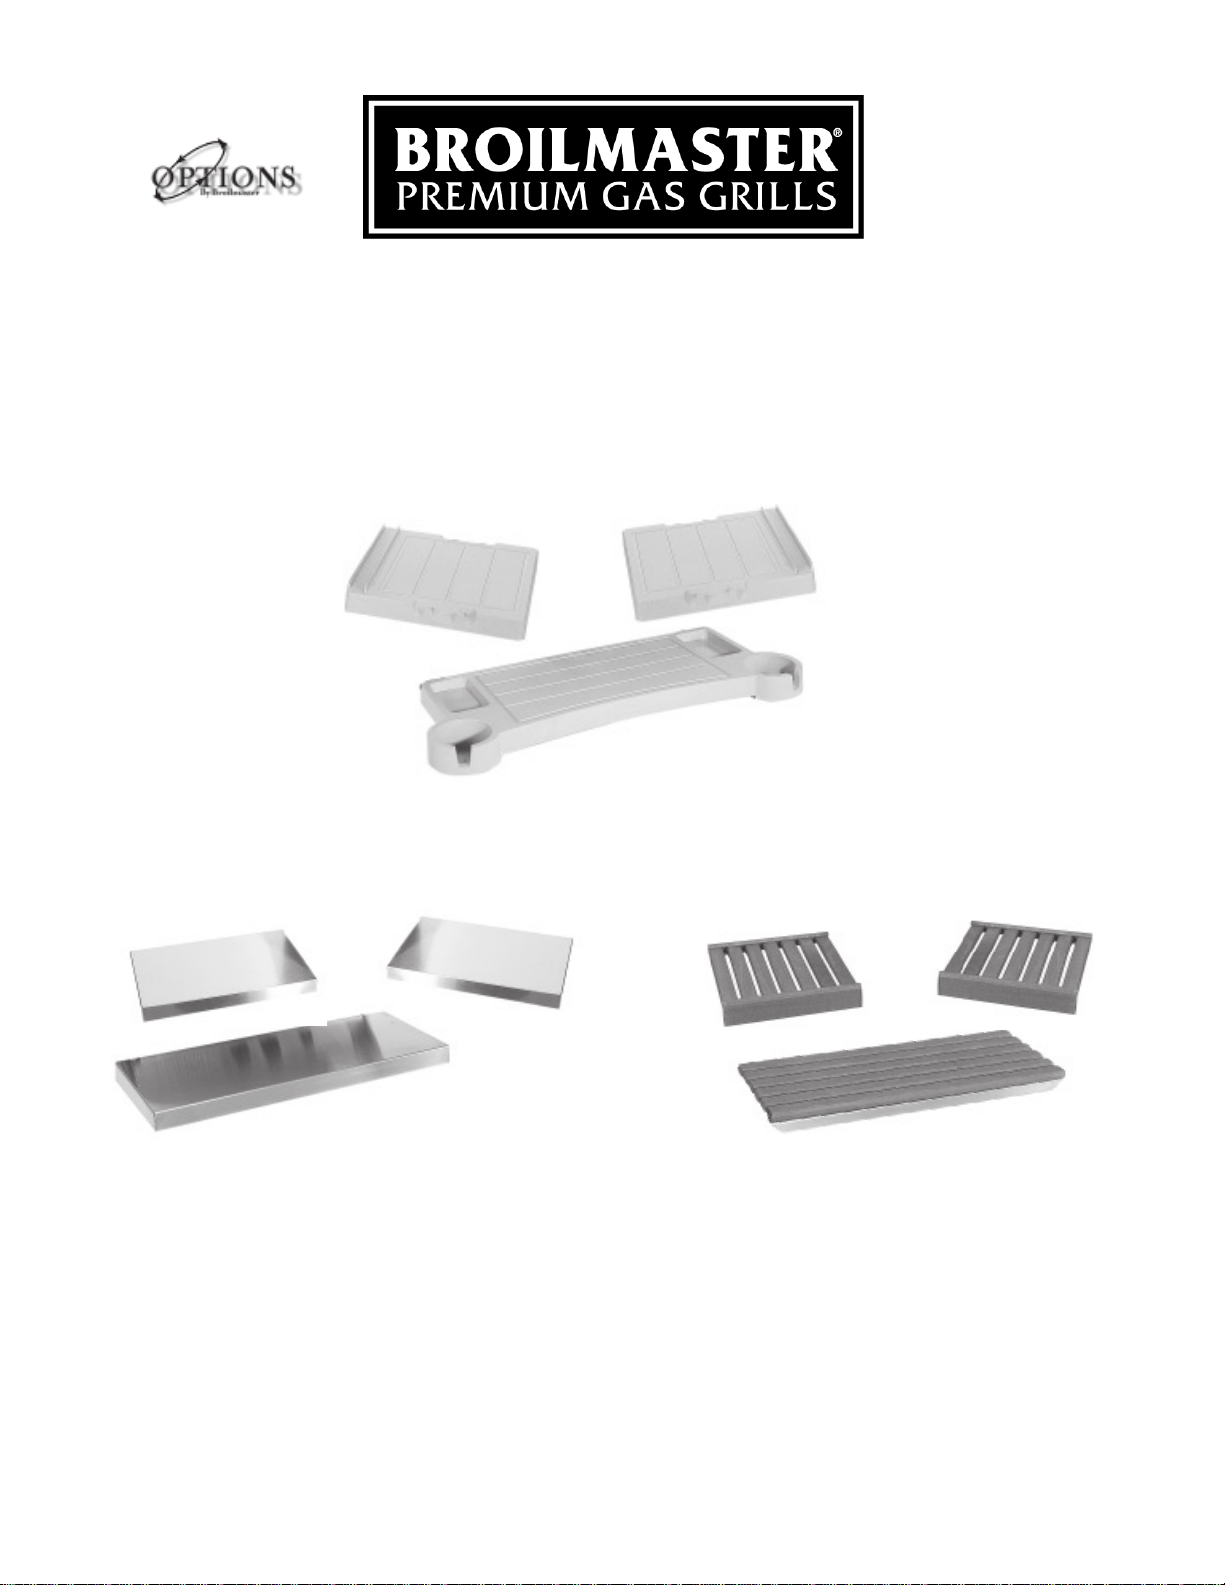
SHELF KIT OWNER’S MANUAL
FKSS, FKTAU, FKCHAR, FKWOOD
SKSS, SKTAU, SKCHAR, SKWOOD, SKPH
FOR USE WITH BROILMASTER® PREMIUM GAS GRILLS
RETAIN OWNER’S MANUAL FOR FUTURE REFERENCE.
B100004-0-0102
Shelf Kit Page 1

IMPORTANT INFORMATION
CONGRATULATIONS!
You have chosen the finest accessory for your outdoor cooking pleasure. Please take time
to read this entire manual before installing your premium Broilmaster® Shelf Kit.
C22
Diagram...............................................................................................................................3
Parts
Parts List ....................................................................................................................................
Side Shelf Installation...................................................................................................................5
Parts List ......................................................................................................................................6
Front Shelf Installation .................................................................................................................
Pull Handle......................................................................................................................................8
.4
7
IMPORTANT: THIS MANUAL SHOULD BE READ THOROUGHLY BY THE PERSON INSTALLING THE SHELF
AND ALL PERSONS WHO WILL USE AND MAINTAIN THE SHELF KIT. THE INSTALLER SHOULD BE SURE
KIT
MANUAL IS LEFT IN THE POSSESSION OF THE USER. THE USER SHOULD RETAIN THIS MANUAL FOR
THE
FUTURE
REPAIR
Before You Begin
This manual includes an illustration for each of
the five shelf kits available for your grill. Locate
the illustration that depicts the shelf kit you have
and then carefully follow all instructions pertaining
to your kit.
REFERENCE WHEN USING OR CLEANING THE SHELF KIT AND TO PROPERLY IDENTIFY ANY
PARTS THAT MAY BE REQUIRED.
Tools Required
These tools are required for the assembly of your
shelf kit:
• Phillips screwdriver
• Socket set or nut drivers
Each step of the installation is illustrated. In each
illustration parts are identified with “Key”
numbers. Key numbers appear in parenthesis
after a part name is mentioned for the first time in
the instructions and are labeled on the
illustrations. You can reference each part by its
key number on the Parts List if you need help in
identifying a part.
Compare the parts found in the shipping
container to the parts list. If any parts are missing
contact your Broilmaster
assembly.
®
dealer before beginning
CAUTION: PARTS MAY HAVE SHARP EDGES.
WEAR LEATHER WORK GLOVES AND HANDLE
PARTS
ASSEMBLY AND THE INSTALLATION.
Page 2
CAREFULLY DURING THE UNPACKING,
Shelf Kit
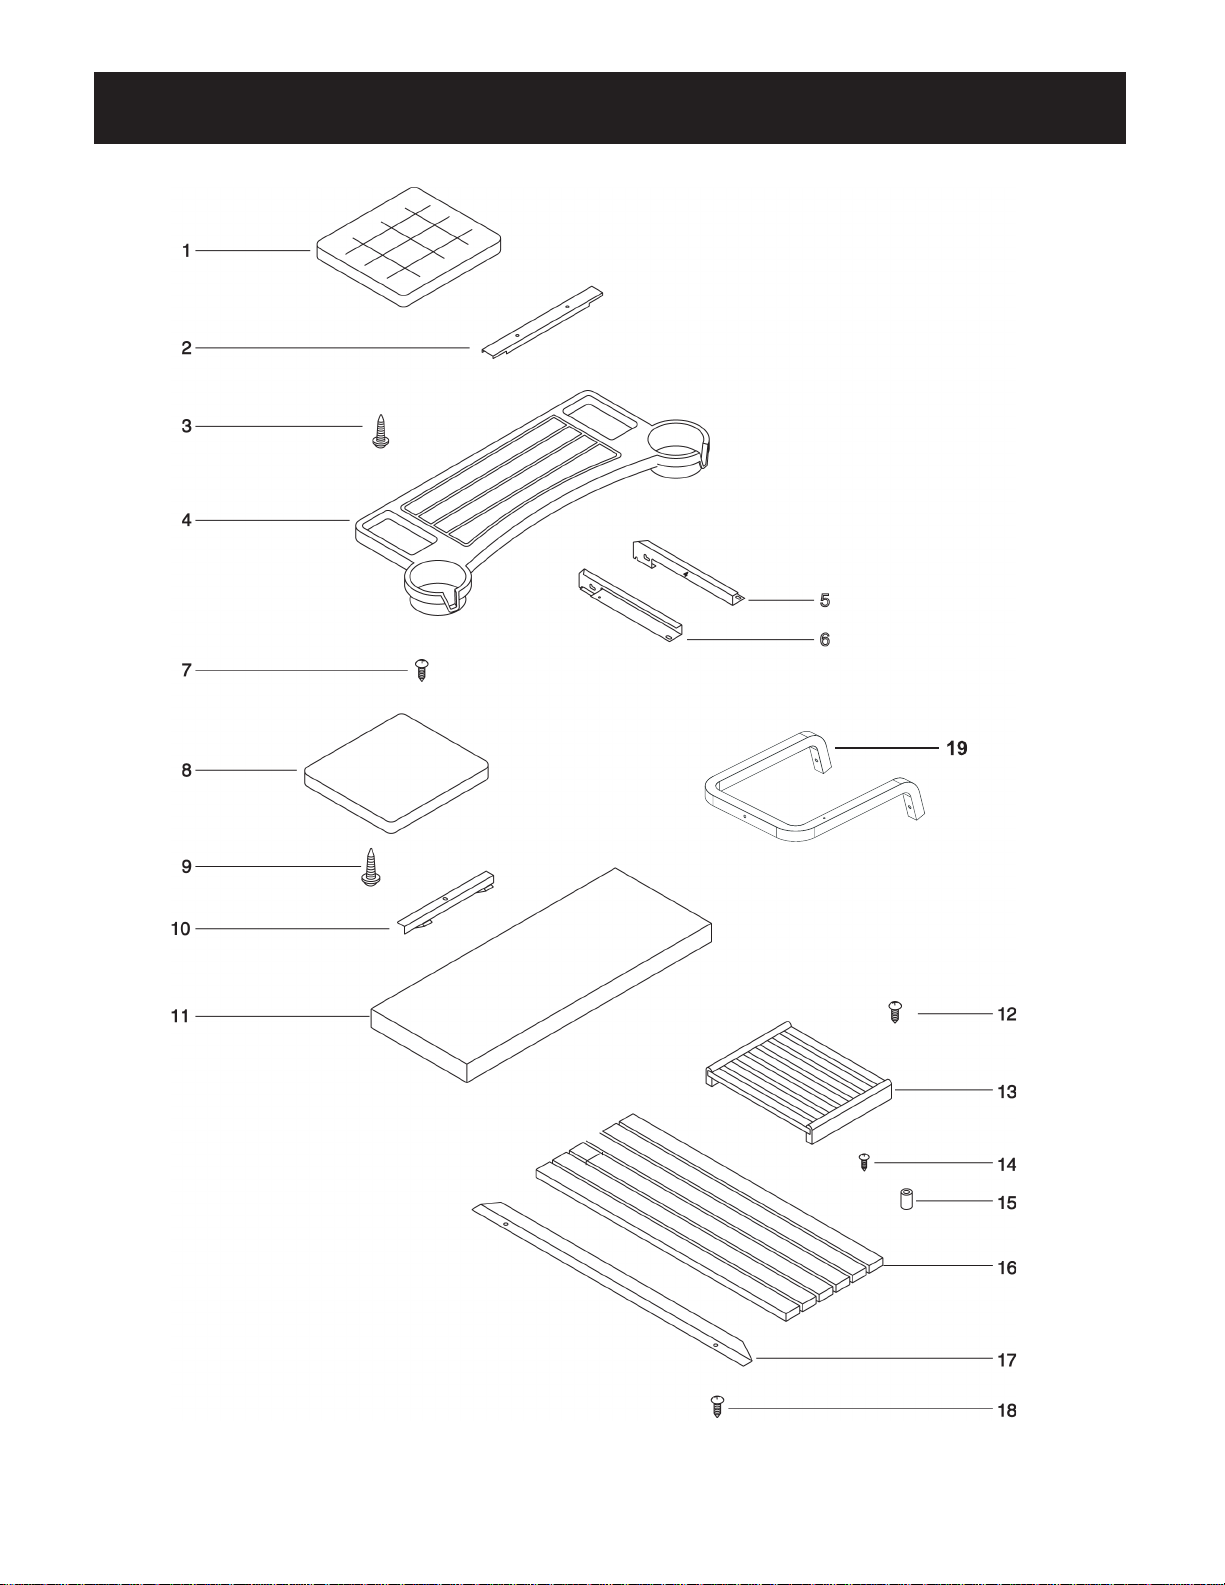
PARTS DIAGRAM
Shelf Kit Page 3

PARTS LIST — SIDE SHELF
All repair part orders should be placed through your local Broilmaster® dealer. To locate a dealer in your
area, contact Broilmaster Customer Service at 800-851-3153
accurate service, please provide the following information when placing a repair part order: Model Number
of your grill, Part Name, Part Number, and Quantity of parts needed.
Key Part Name Qty. SKCHAR SKTAU
No. Part No. Part No.
1 Side Shelf 1 B073262 B073264
2 Shelf Bracket 1 B072017 B072017
3 10-24 X 1 Phillips Truss Screw 2 B073978 B073978
19 Handle Shelf Bracket 1 B073100 B073100
20 Bolt 1/4-20 X 1 1/2 Stainless 2 B076330 B076330
21 9/32 I.D. X 5/8 O.D. Flat Washer 2 B076332 B076332
22 1-4 I.D. X 5/8 O.D Lock Washer 2 B076333 B076333
23 1/4-20 Hex Nut Stainless 2 B076331 B076331
Key SKSS
No. Part Name Qty. Part No.
8 Side Shelf 1 B076727
9 1/4-20 X 3/4 Phillips Truss Screw 1 B072217
10 Tool Hook 1 B073971
19 Handle Shelf Bracket 1 B073100
20 Bolt 1/4-20 X 1 1/2 Stainless 2 B076330
21 9/32 I.D. X 5/8 O.D. Flat Washer 2 B076332
22 1-4 I.D. X 5/8 O.D Lock Washer 2 B076333
23 1/4-20 Hex Nut Stainless 2 B076331
• WWW. broilmaster.com. T o ensure prompt and
Key SKWOOD
No. Part Name Qty. Part No.
13 Side Shelf 1 B048424
14 #8 X 1/2 Phillips Screw 1 B100140
15 Spacer 1 B662325
19 Handle Shelf Bracket 1 B073100
20 Bolt 1/4-20 X 1 1/2 Stainless 2 B076330
21 9/32 I.D. X 5/8 O.D. Flat Washer 2 B076332
22 1-4 I.D. X 5/8 O.D Lock Washer 2 B076333
23 1/4-20 Hex Nut Stainless 2 B076331
Page 4
Shelf Kit

SIDE SHELF INSTALLATION
3
14
SIDE
VIEW
10
8
9
PULL
HANDLE
PULL HANDLE
Solid Surface Side Shelf
Place solid surface side shelf (1) onto the grill pull
handle. Fasten shelf bracket (2) to the bottom of
the side shelf with two #10-24 x 1" screws (3).
FIGURE 1.
FIGURE 1
1
Stainless Steel Side Shelf
Slide the tool hook bar into the side shelf aligning
the holes in the tool hook bar (10) and the side
shelf. Slide each stainless steel side shelf (8)
onto the grill pull handle. Secure with one 1/4-20
screw (9). FIGURE 2.
9
FIGURE 2
Bottom View
2
3
Wood Side Shelf
Insert screw (14) through spacer (15) and into
hole on top of pull handle. Tighten.
Position wood side shelf (13) onto pull handle
with spacer (15) inserted between two wooden
shelf slats. F
FIGURE 3
IGURE 3.
13
14
15
Shelf Kit Page 5

PARTS LIST — FRONT SHELF
All repair part orders should be placed through your local Broilmaster® dealer. To locate a dealer in your
area, contact Broilmaster Customer Service at 800-851-3153 •
accurate service, please provide the following information when placing a repair part order: Model Number
of your grill, Part Name, Part Number, and Quantity of parts needed.
Key Part Name Qty. FKCHAR FKTAU
No. Part No. Part No.
4 Front Shelf 1 B073261 B073263
5 Left Front Bracket 1 B100034 B100034
6 Right Front Bracket 1 B100035 B100035
7 10-24 X 3/8 Phillips Screw 4 B100130 B100130
Key Part Name Qty. FKSS
No. Part No.
1 1 Front Shelf 1 B076726
5 Left Front Bracket 1 B100034
6 Right Front Bracket 1 B100035
12 10-32 X 1/2 Screw 4 B071494
WWW.broilmaster .com. To ensure prompt and
Key Part Name Qty. FKWOOD
No. Part No.
16 Front Shelf 1 B048423
17 Shelf Skirt 1 B063070
5 Left Front Bracket 1 B100034
6 Right Front Bracket 1 B100035
18 #8 X 1/2 Phillips Screw 6 B073979
Page 6
Shelf Kit

FRONT SHELF INSTALLATION
Front Shelf
Install the brackets using three of the four mount screws provided as shown by the following figures.
Note: The remaining screw is left out to allow the bracket to pivot during installation.
FIGURE 4
Insert the front control panel pin through the slots in the bracket. Install the remaining bracket screw at this
time.
FIGURE 5
Shelf Kit Page 7

Pull Handle
Pull Handle
Place two bolts (20) into holes in pull handle (19)
and through holes on left or right side of grill
bottom.
Fasten each bolt with a washer (21), lock washer
(22), and nut (23). F
Repeat procedure for the right side.
Part Description Qty. Part No.
Handle Shelf Stainless Bracket 1 B073100
Bolt 1/4-20 x 1/2 Hex Head Stainless Steel 2 B076330
1/4-20 Hex Nut Stainless Steel 2 B076331
9/32 ID x 5/8 00 Flat Washer Stainless 2 B076332
1/4 ID x 5/8 00 Lock Washer 2 B076333
IGURE 6.
FIGURE 6
SKPH
BROILMASTER
A Division of Empire Comfort Systems, Inc.
918 Freeburg Ave.
Belleville, Illinois 62220
Phone: 1-800-851-3153
FAX: 1-800-443-8648
VISIT OUR WEB SITE AT WWW.broilmaster.com
®
RETAIN OWNER’S MANUAL FOR FUTURE REFERENCE.
B100004-0-0102
Page 8
Shelf Kit
 Loading...