

Page 1
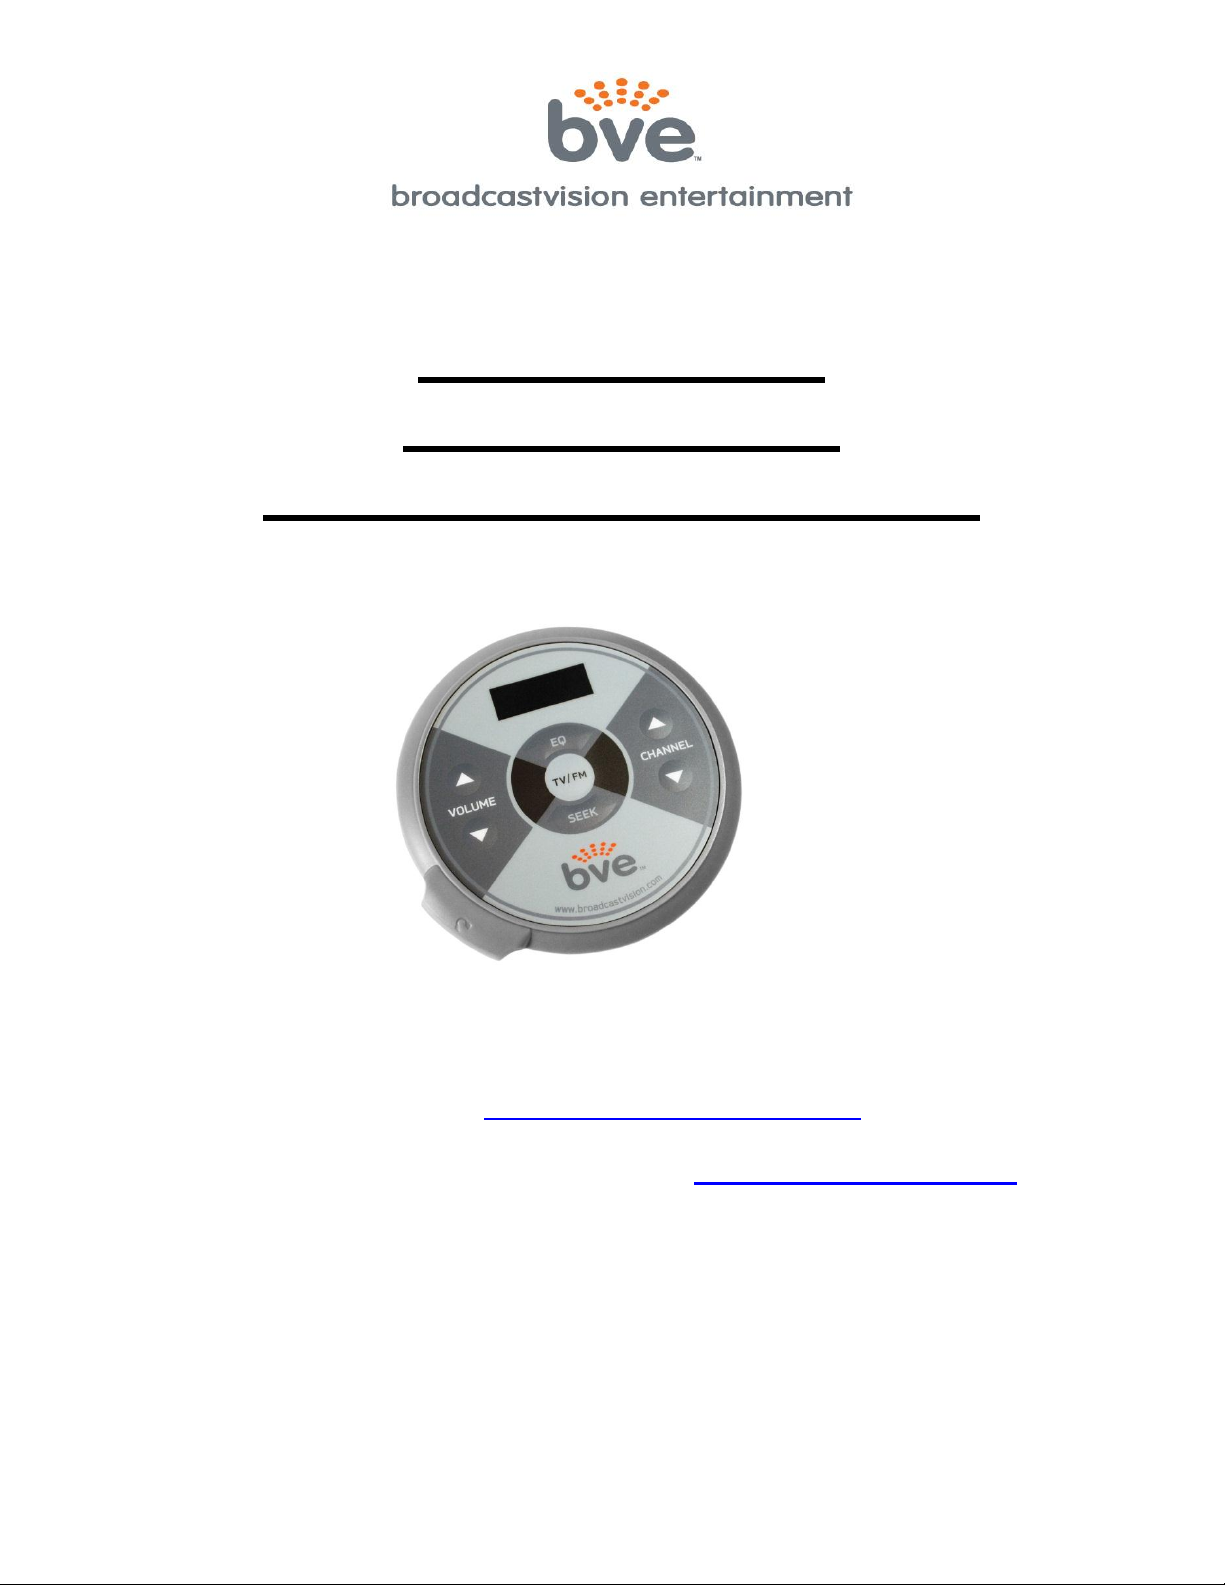
AXSUS9FMRT
Axcess RETRO
900MHz and FM Receiver
CUSTOMER SUPPORT CONTACT
Phone (888) 330-4283 • Fax (818) 583-1752
E-mail: [email protected]
Online Service Manuals available at: www.broadcastvision.com
BroadcastVision Entertainment : www.broadcastvision.com
Tel (888) 330-4283, Email: [email protected]
Page 1
Page 2
PROGRAMMING INSTRUCTIONS
1) PROGRAM 900MHZ PRESET CHANNELS
a) Tell the receiver the type 900MHz transmitter for your application:
(Most new applications are Broadcastvision Entertainment SERIES 2)
For the BVE SERIES 1 transmitter, Press and Hold “Channel Down” and “Volume Up”
simultaneously for 5 seconds.
For the BVE SERIES 2 transmitter, Press and Hold “Channel Down” and “SEEK”
simultaneously for 5 seconds.
For operation with Cardiotheater LCS transmitter, Press and Hold “VOLUME DOWN” +
“CHANNEL DOWN” + “SEEK” simultaneously for 5 seconds.
For operation with Cardiotheater xTV transmitter, Press and Hold “VOLUME DOWN” +
“CHANNEL UP” + “SEEK” simultaneously for 5 seconds.
For operation with Mye or Fantaay brand transmitter, Press and Hold “VOLUME UP” +
“CHANNEL DOWN” + “SEEK” + “TV/FM” simultaneously for 5 seconds.
b) The display will show “ch01”and will be flashing to indicate this channel is not saved. If you
clearly hear the audio that you want as channel 1, press the ‘EQ’ button to save this channel. The
display will stop flashing indicating the channel is now saved.
c) To advance to the next channel, press the VOL UP key. Press the ‘EQ’ button for each channel
to be saved (i.e.: turn from flashing to solid).
d) Simply press the volume up button to bypass unused channels. If an unused channel is
inadvertently selected, press the ‘EQ’ button again to toggle back to a flashing scenario.
e) Press and hold “Channel Down” and “Volume Down” simultaneously for 5 seconds to exit
900MHz Preset programming mode.
2) PROGRAM FM PRESET CHANNELS
Exercisers can enjoy listening to STRONG local FM radio stations in addition to the audio
channels preset above.
a) To enter FM programming mode, Press and Hold “Channel Down” and “Volume Down”
simultaneously for 5 seconds. The left most and right most decimal points will appear indicating
you are in the FM Preset Channel Program. Note that the first preset number displayed is the first
one that is available for presetting with an FM frequency. That is, the first available preset that
does not have a 900MHz channel preset in that slot.
b) Press the SEEK button (or use the channel up/down buttons) to find a strong FM radio station
to save as a preset.
c) Press the ‘EQ’ button to save the desired FM frequency to the corresponding preset number.
d) Repeat steps b and c above until all desired (CLEAR, STRONG reception) FM radio stations
are saved as presets up to 52 channels.
e) To delete a preset press and hold the ‘EQ’ key until the display flashes. It is easiest to start
with the lowest channel to be erased since the presets will automatically increment.
f) Press and hold “Channel Down” and “Volume Down” simultaneously for 5 seconds to exit FM
Preset programming mode.
BroadcastVision Entertainment : www.broadcastvision.com
Tel (888) 330-4283, Email: [email protected]
Page 2
Page 3

HELPFUL TIP: To identify which mode (FM or 900MHz) you’re in, pay attention to the decimal
points in the display:
left decimal lit and right decimal flashing = 863MHz or 900MHz programming mode
left and right decimal point lit = FM programming mode
channel number displayed and right most decimal point lit = standard mode and displayed channel
is a 863MHz or 900MHz.
channel number displayed and no decimal point lit = standard mode and displayed channel is a FM
frequency preset.
HEADPHONE JACK REPLACEMENT
1) Unscrew the Headphone Access Door retaining screw. The screw will remain captured in the door.
2) Open the hinged Access Door.
3) Using thumb nail or flat blade screw driver pry the headphone jack at its end until it comes loose on
the pin, then remove the old jack.
4) Insert a new headphone jack over the pin and push onto the pin until it fully seats.
5) Close the door and insure the pin is aligned in the hole of the door. Use a small screw driver if
necessary to insure it is centered in the hole in the door.
6) Secure the Headphone door by using the door screw.
FCC Compliance Statement
This equipment complies with Part 15 of the FCC Rules.
Operation of this device is subject to the following two conditions:
(1) This device may not cause harmful interference, and
(2) This device must accept any interference received, including interference that may cause undesired operation.
This equipment has been tested and found to comply with the limits for Part 15 of the FCC Rules. These limits are designed to
provide reasonable protection against harmful interference when the equipment is operated in a commercial environment. This
equipment generates, uses, and can radiate radio frequency energy and if not installed and used in accordance with the instruction
manual, may cause harmful interference to radio communications. However, there is no guarantee that interference will not occur
in a particular installation. If this equipment does cause harmful interference to radio or television reception, which can be
determined by turning the unit off and on, the user is encouraged to try to correct the interference by one or more of the following
measures:
• Reorient or relocate the receiving antenna.
• Increase the separation between the equipment and receiver.
• Connect the equipment into an outlet on a circuit different from that to which the receiver is connected.
• Consult Broadcastvision Entertainment or an experienced radio/TV technician for help
This equipment has been verified to comply with the limits for a Class B computing device, pursuant to the FCC Rules. Operation
with non-approved equipment is likely to result in interference to radio and TV reception. The user is cautioned that changed and
modifications made to the equipment without the approval of the manufacturer could void the user’s authority to operate this
equipment.
Canada Compliance Statement
(1) This device may not cause harmful interference, and
(2) This device must accept any interference received, including interference that may cause undesired operation.
BroadcastVision Entertainment : www.broadcastvision.com
Tel (888) 330-4283, Email: [email protected]
Page 3
Page 4

Broadcastvision Entertainment Terms and Conditions
BVE Stock Items Returned for Credit
BVE manufactured products may only be returned for credit with written authorization from BVE within 30
days of the original invoice date. A 25% restocking fee will be charged for all returns. All products being
returned to BVE require a Return Authorization number. Products must be returned in original condition
with the original packaging, components and support material. Credit is contingent upon inspection of
returned items.
Return Authorizations
A Return Authorization number must be issued from BVE prior to any item being returned for credit, repair
or exchange. Items returned without approval will be refused and returned to the sender. Requests for a
Return Authorization number may be made to our Customer Service Department at 1-888-330-4283.
Repairs and Replacements
A warranty repair of BVE manufactured product includes parts, labor and the return GROUND shipping to
the customer. Repairs made while under warranty are covered for the duration of the valid warranty period.
Non-Warranty repairs receive a “Repair Warranty” of 90 days parts and labor only. Warranties do not
include on-site service. Advance Replacements of items in question may be arranged if the product is
within 30 days of invoice date and is subject to product availability. Advance Replacements must be
secured by the customer with a valid Credit Card or Net30 terms of an account in good standing.
Shipping
Shipping dates are estimates only. Products will be shipped per the designated Shipping Method. Paying
for an accelerated Shipping Method only indicates the product will ship by that method when the product or
repair is available. BVE will not be held responsible to accelerate shipping, discount invoices or
compensate customers for loss of profits, business or goodwill due to back orders, shortages, shipping
complications, damages, product malfunction, labor, construction, nature or delays.
Warranties
All products sold by BVE carry the original manufacturers’ warranty. Warranty begins on the invoice date of
purchase from BVE or an authorized BVE Dealer / Distributor. Warranty may alternately begin on the date
of installation with a valid Installation Completion Form from an authorized BVE Dealer, Distributor or
Installer. Warranties do not cover damage due to abuse, misuse, modification or the result of any third
party. Warranties are not transferable and cover only the original purchaser with a valid invoice.
Manufacturers will, at their option repair or replace equipment, as they deem necessary. Warranties do not
include “on-site” service
BroadcastVision Entertainment : www.broadcastvision.com
Tel (888) 330-4283, Email: [email protected]
Page 4
 Loading...