

Page 1
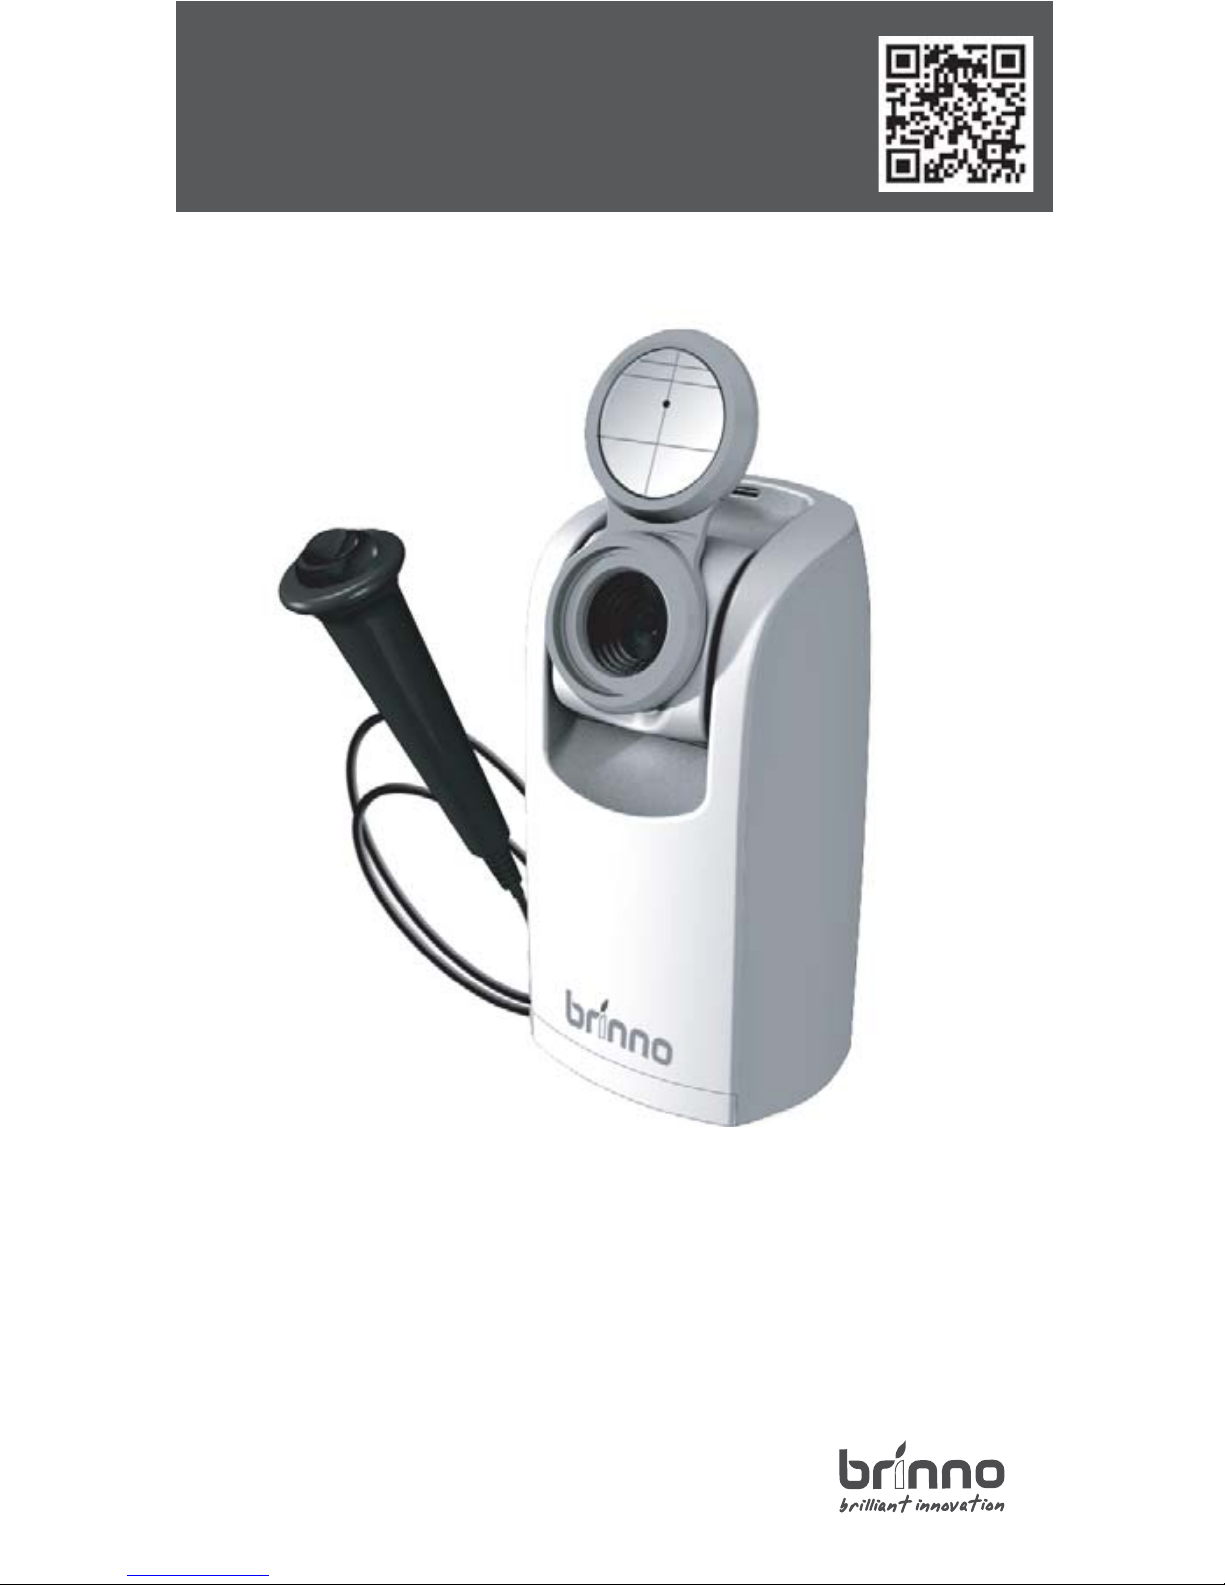
TimeLapse
BFC100- Self-Portrait Camera
BFC100
Quick Guide
w w w . b r i n n o . c o m
Page 2
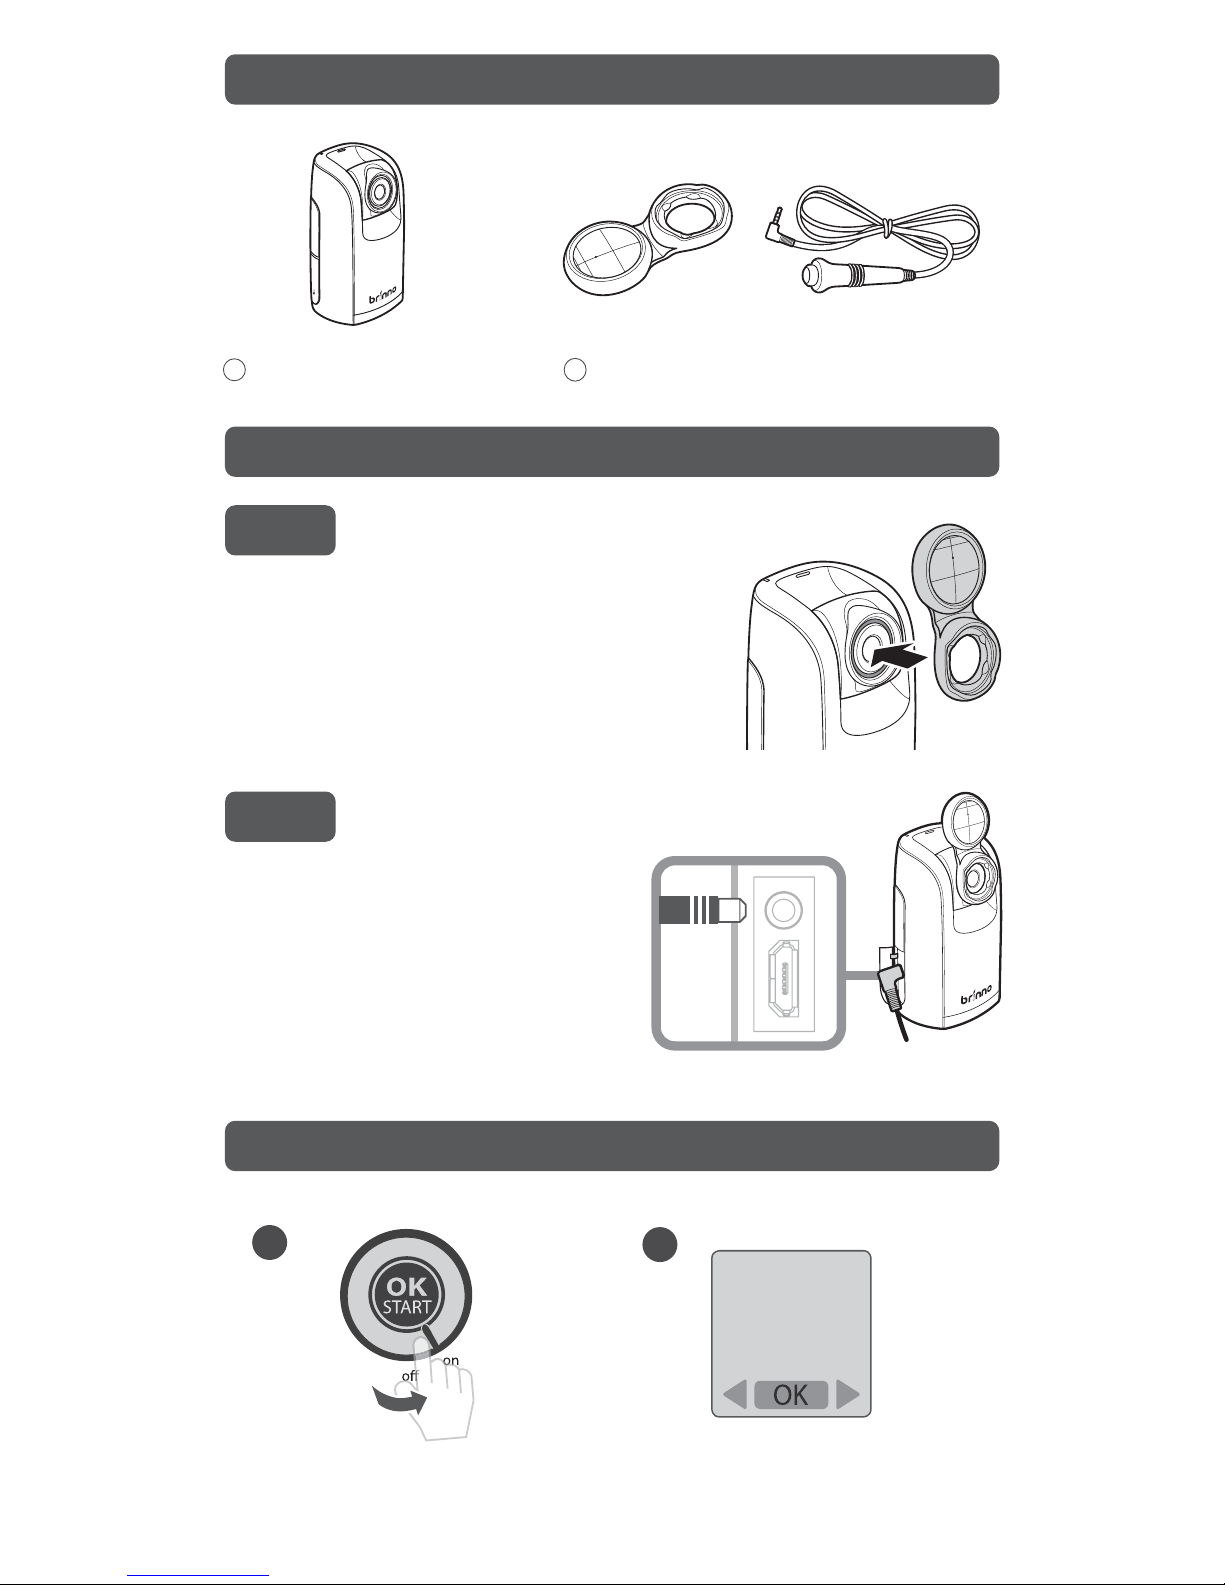
STEP 2.
STEP 1.
Self-Portrait Camera BFC100
Self-Portrait Mirror & Shutter Line
2
TimeLapse Camera
(ATS110)
(TLC200 f1.2)
BFC100 - Installation
STEP 3. Conguring Settings
Install the Self-Portrait Mirror.
Set up screen
2
1
SD Card
Extension Port
Attach the magnetic holder onto the
camera lens ring as shown in the
illustration.
Install the Shutter Line.
1. Switch ON.
Plug the Shutter Line into the
extension port of the camera.
SD Card
SD Card
2. The LCD will display the
Set up screen.
File
StopMotion
File A
File B
1
Page 3
Stop Motion & Output Folder
To record any event that changes over time, it is recommended
to specify the Output Folder (File A /File B / File C / File D).
- Select a dierent folder to store captured shots based on its
category (i.e. "Activities" or "People").
As long as the same folder is being selected, the system will
Continue Saving the recorded shots from the last recorded
image in the folder.
File
StopMotion
File A
File B
File
File C
File D
Shutter
2013/06/13
10:22:24
OK
File D
3. Select Stop Motion or specify the desired Output
Folder.
3
4
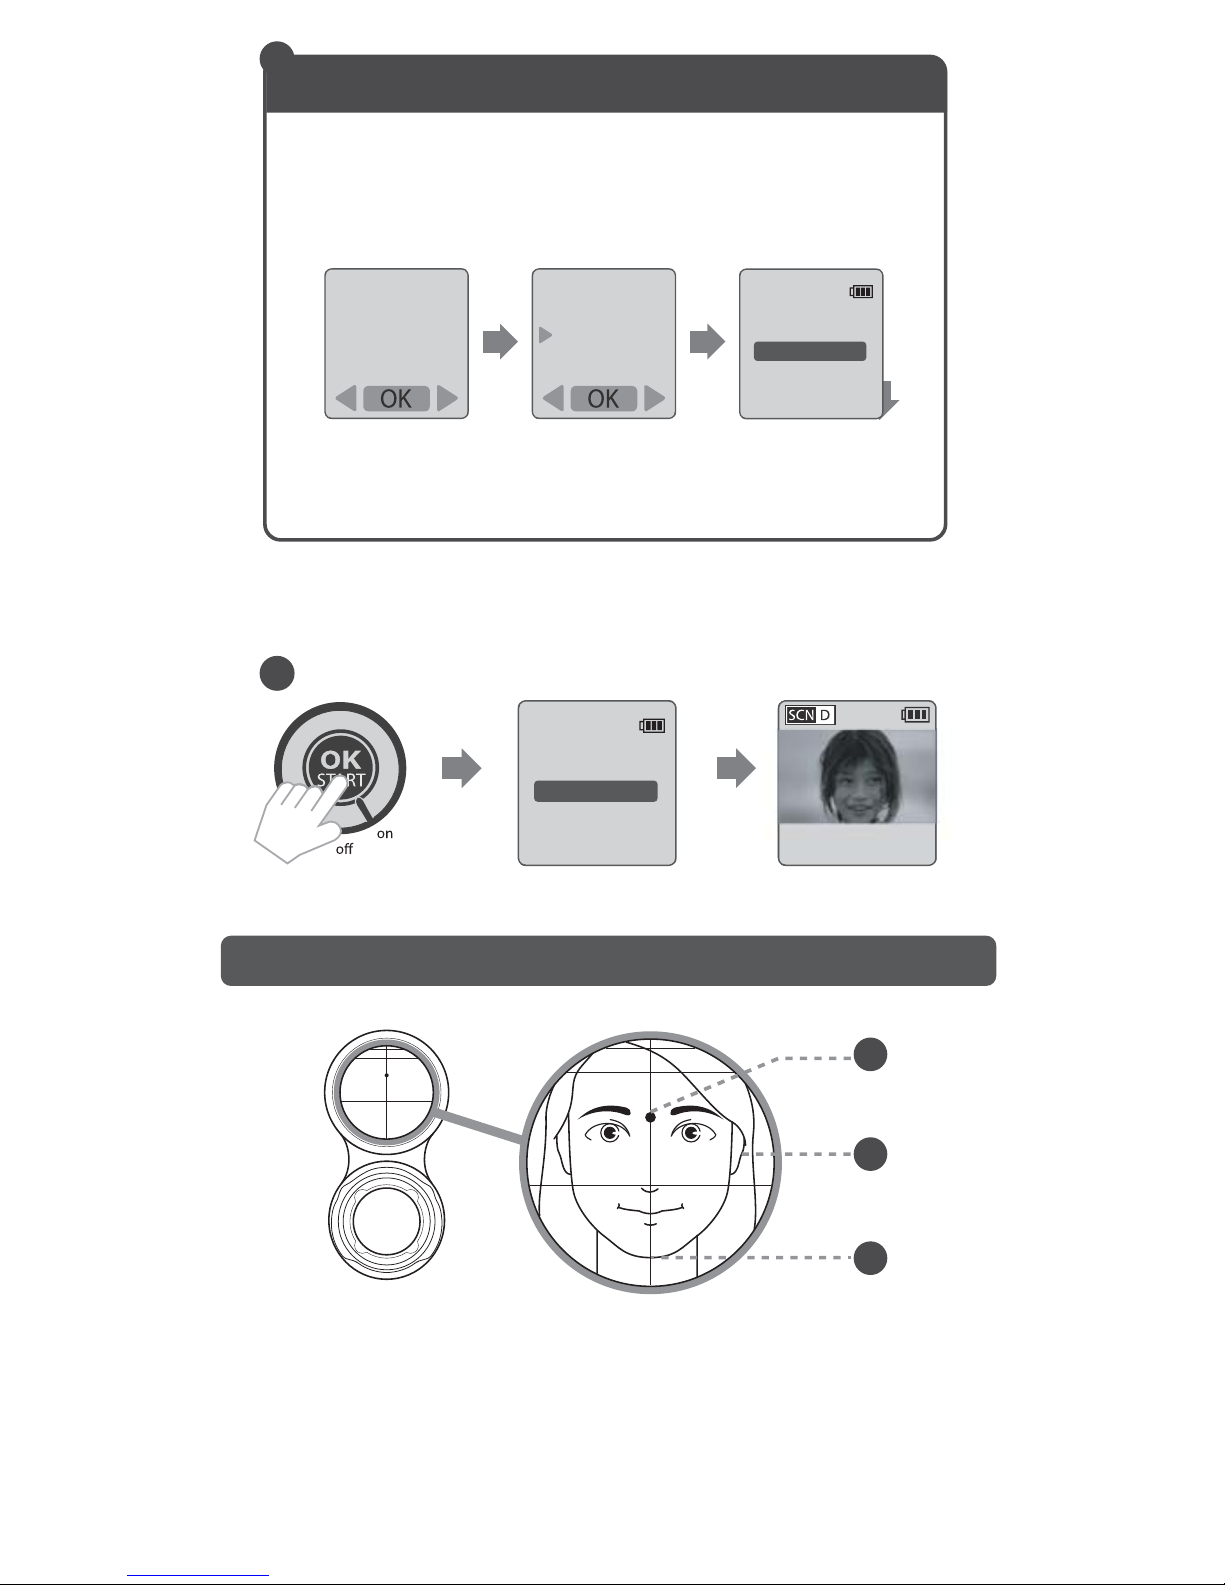
STEP 4. Face Alignment
For Self-Portrait Time Lapse photography, use the self-portrait
mirror to ensure your face position will be at the center of the
captured frame: Look at the Aiming Point (A), place the
Vertical Line (C) at the middle of your face, then align your
mouth or chin to the Horizontal line (B).
A
B
C
4. Press OK to conrm the setting.
Preview screen
Shutter
2013/06/13
10:22:24
OK
File D
Preview screen
GRAB
S
Page 4
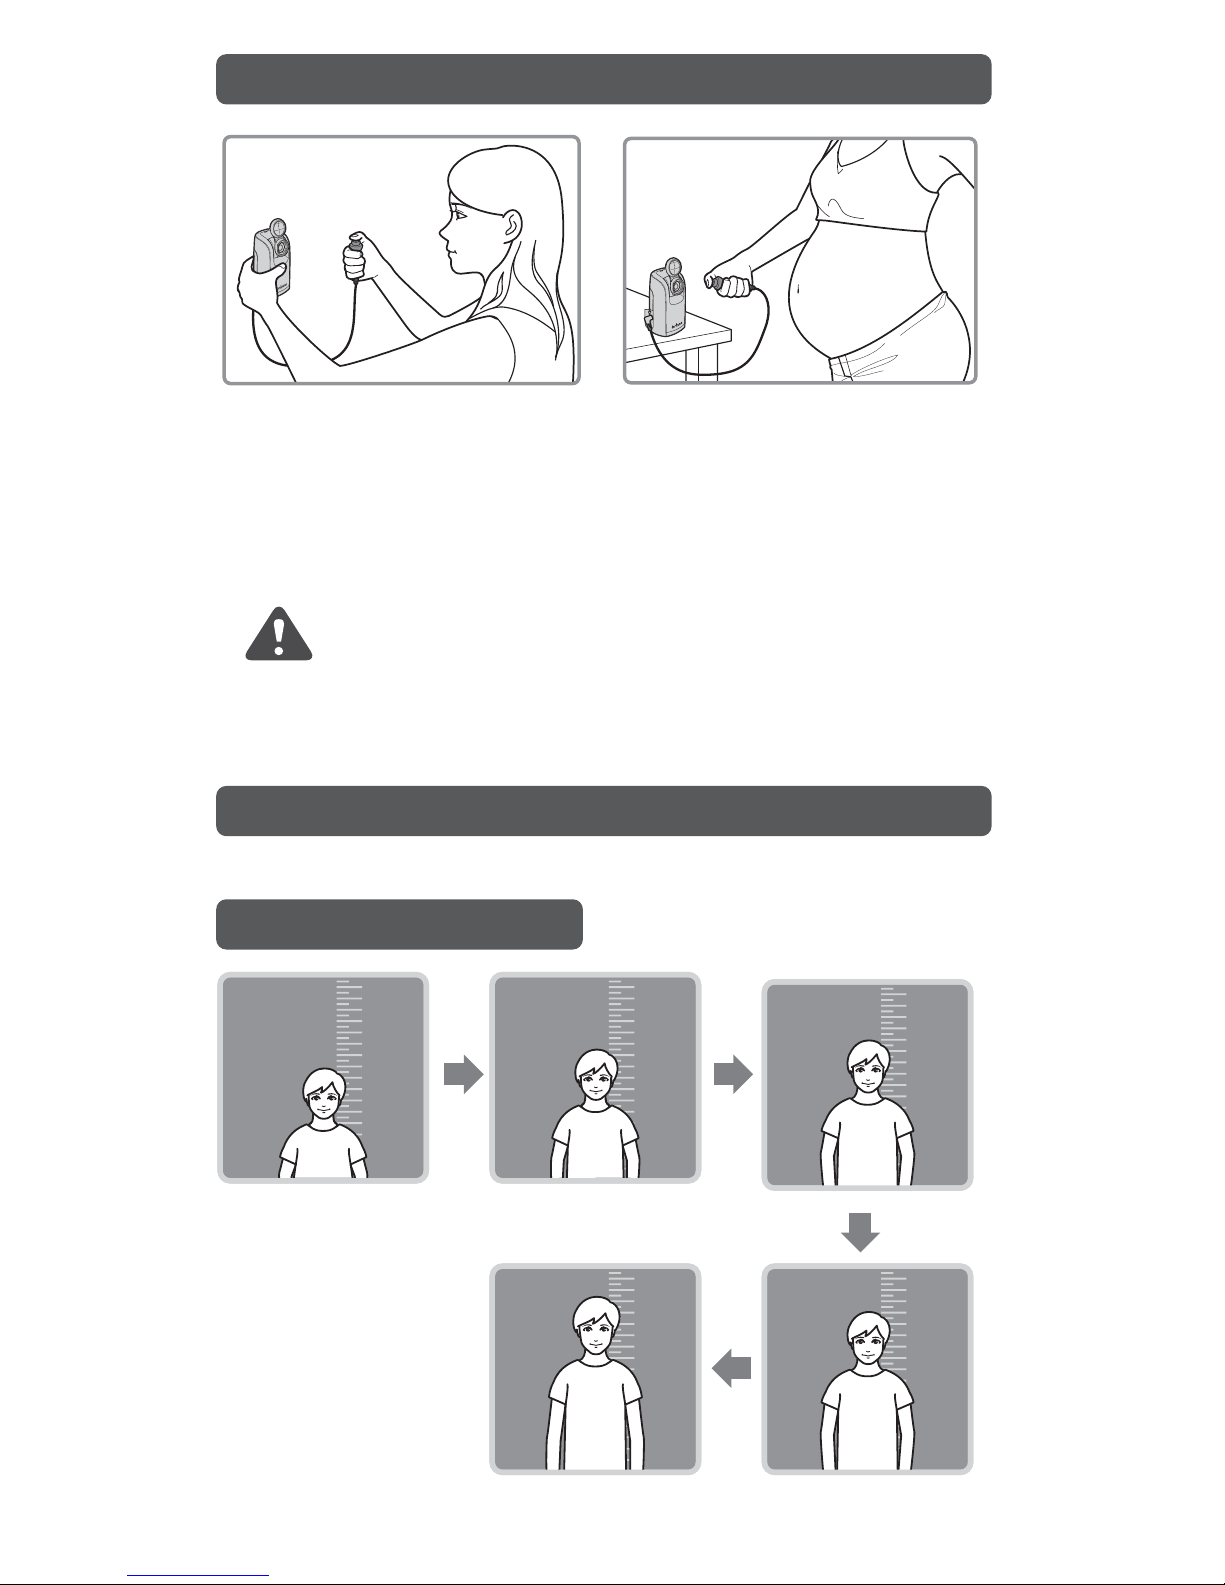
STEP 5. Start Recording
Recording Features
To capture a shot, press the shutter button for 1 second to
snap and wait for 5 seconds before capturing the second shot.
To maintain the same position, remember to keep the same
Capture Distance everytime you capture a shot.
Track your Child’s Growth
SD Card
Extension Port
SD Card
The Red Led indicator blinks when it is recording.
Remain in the same position until the LED indicator
turns Green.
Page 5
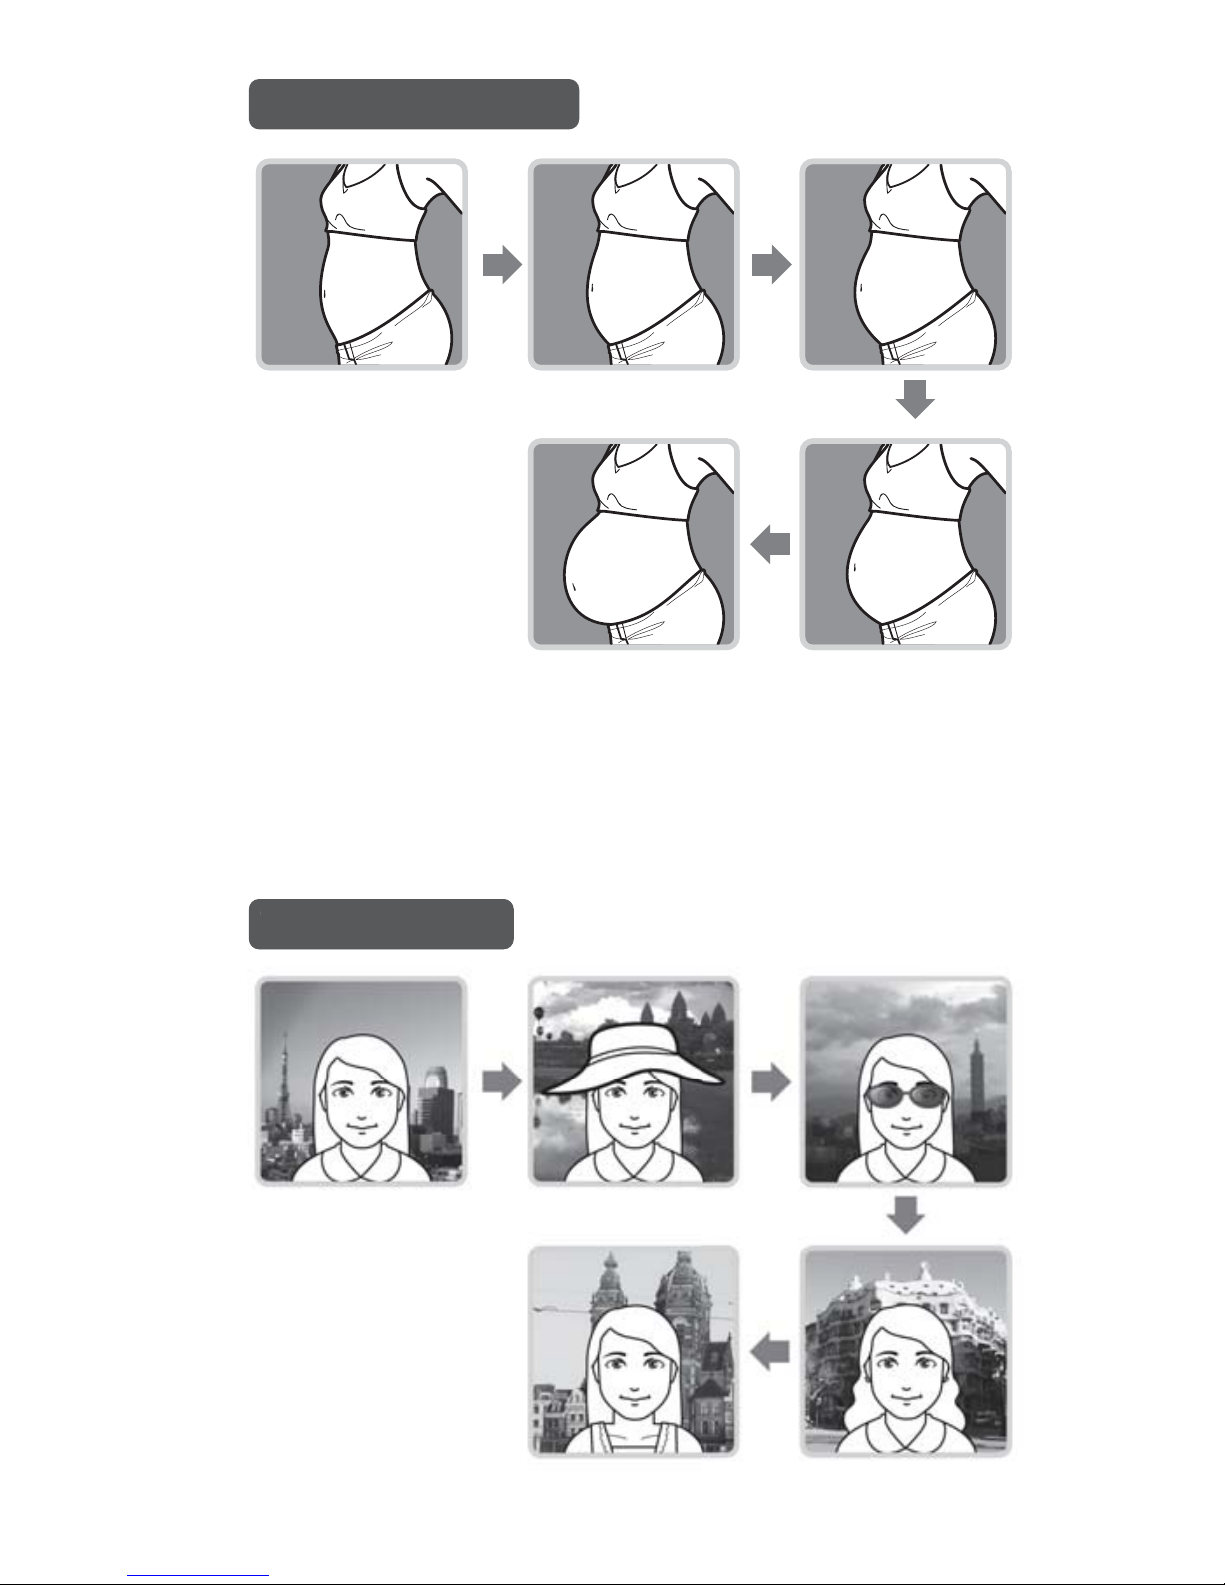
Visual Pregnancy Diary
Traveling JournalTraveling Journa
l
Page 6
7F, No.75, Zhou Zi St., Taipei City11493, Taiwan
Phone: +886-2-8751-0306 Fax: +886-2-8751-0549
[email protected] www.brinno.com
Made in Taiwan
301-0055-00 EN A1
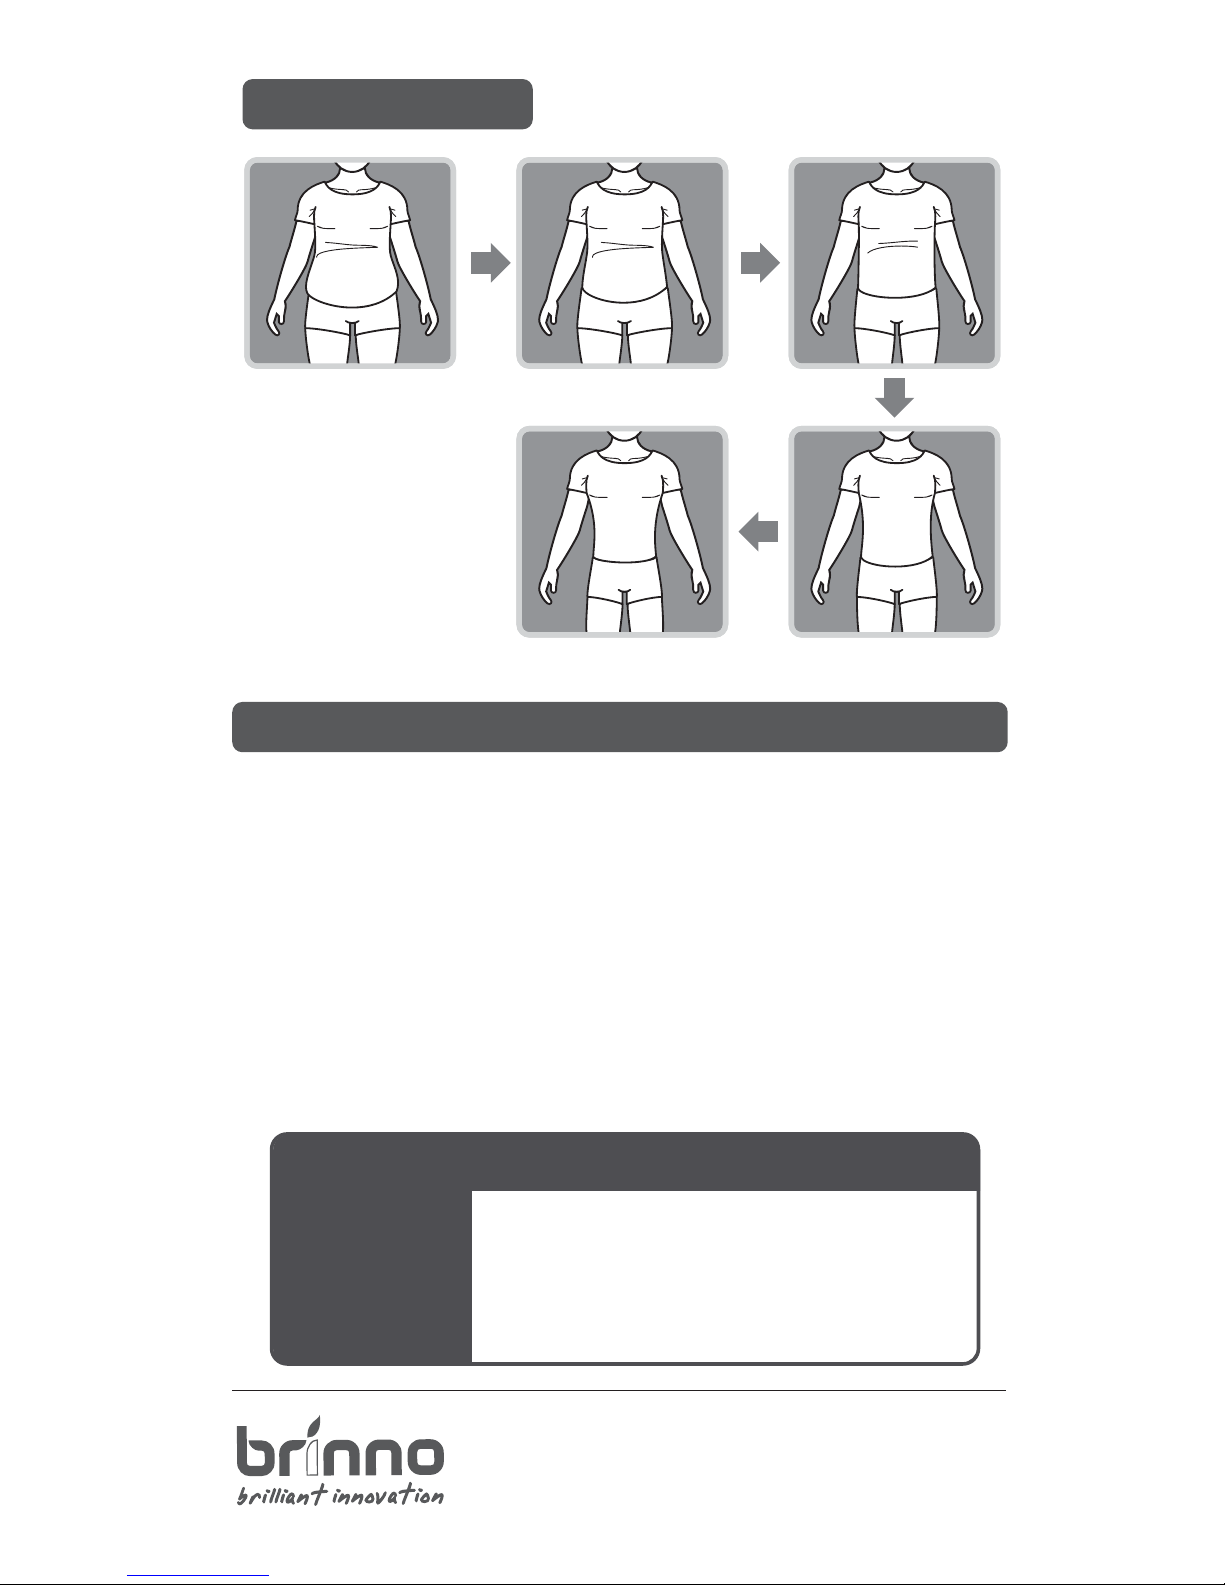
Record Weight Loss
STEP 6. Finish
30 cm (minimum)
Focus Distance
JPEG, 1280x720Image Format
4 AA Batteries/DV IN: 5V (Micro USB connector)Power Source
SD Card (Support up to 32 GB)Memory Storage
Technical Specication
Hold the “OK” button until the LCD light turns on and shows the text
“Processing”, it means the camera is processing le closing. When
completed the processing it will display the text "Ready” This
indicates the recording session is complete.
Remove the SD card from the camera, and insert it into your
computer or laptop to enjoy your amazing Time Lapse Videos!
 Loading...