

Page 1
ATTACHMENT
OPERATOR’S
MANUAL
42” 2-Bin Bagger
Mfg. No. Description
1695287 42” 2-Bin Bagger
1734239
Rev. 00
Rev. Date 01/2007
TP 100-4451-00-AT-SN
2-BIN BAGGER
Page 2

THIS PAGE INTENTIONALLY BLANK
Page 3

1
Safety Rules & Information
General Warnings............................................2
Safety Decals ..................................................2
General Operating Instructions
Before Operation.............................................3
Mowing with the Catcher.................................3
After Operation................................................3
Storing the Grass Catcher...............................3
Initial Installation
Counterweight Installation.....................................4
Hitch Installation....................................................5
Bag Support and Cover Installation.......................6
Bag Installation and Tube Assembly......................7
Chute and Tube Installation...................................8
Normal Removal & Installation
Collector Installation......................................10
Collector Removal.........................................11
NOTE: In these instructions, “left” and “right” are
referred to as seen from the operating position.
Table of Contents
Page 4

2
Safety Rules
& Information
Read these safety rules and follow them closely. Failure to obey these rules could result in loss of control of
unit, severe personal injury or death to you, or bystanders, or damage to property or equipment. The
triangle in text signifies important cautions or warnings which must be followed.
SAFETY DECALS
This unit has been designed and manufactured to
provide you with the safety and reliability you would
expect from an industry leader in outdoor power
equipment manufacturing.
Although reading this manual and the safety instructions
it contains will provide you with the necessary basic
knowledge to operate this equipment safely and
effectively, we have placed several safety labels on the
unit to remind you of this important information while you
are operating your unit.
All DANGER, WARNING, CAUTION and instructional
messages on your rider, attachments and mower should
be carefully read and obeyed. Personal bodily injury can
result when these instructions are not followed. The
information is for your safety and it is important! The
safety decals below are on your product.
If any decals are lost or damaged, replace them at once.
See your local dealer for replacements.
• Know the unit’s controls and how to stop quickly.
READ THE OPERATOR’S MANUALS.
• Read and obey all safety decals.
• Only allow responsible adults, who are familiar with
the instructions, to operate the unit.
• Disengage the PTO. Shut off the engine and wait for
all moving parts to stop before attaching, adjusting,
or disconnecting any part of the collection system.
• Check the collection system to make sure it is bolted
tightly to the unit.
• DO NOT operate the unit without either the entire
grass catcher or the deflector in place.
• Turn off the PTO to disengage the blades when not
mowing.
• DO NOT mow in reverse unless absolutely
necessary. Always look down and behind before
and while travelling in reverse.
• DO NOT turn sharply when travelling alongside a
building or any object. Slow down before turning.
• DO NOT carry passengers.
• When collection system is removed from the mower
deck, the deflector must be properly installed.
• Collector bags are subject to deterioration and wear
during normal use. Inspect the bag periodically for
tears, holes, or weak spots and replace with a new
bag that meets manufacturer’s durability standards.
• If the mower stalls or the collector chute plugs:
1. Disengage the PTO;
2. Stop the engine and remove the key;
3. Set the parking brake, and wait for all moving
parts to stop.
4. Remove the foreign object or clear the chute
with a piece of wood before restarting the engine.
NEVER place hands into COLLECTOR OR
MOWER housing to clear jammed objects.
Blower OR MOWER may rotate when object is
removed.
• For added stability and to prevent tipping or loss of
control:
a. Use reduced speed on uneven ground and
when turning corners.
b. Reduce loads on hillsides. It is recommended
that the collection system be kept only half full
when negotiating any slopes. Start mowing on
slopes when the collection system is empty.
c. Mow up and down the face of slopes; never
across the face of any slope.
• Never operate on slopes greater than 17.6%
(10°).
GENERAL WARNINGS
TP 600-2562-01-AT-SMA
Attachment Decal
These labels are easily applied and will act as a constant
visual reminder to you, and others who may use the
equipment, to follow the safety instructions necessary for
safe, effective operation.
Decal - WARNING
Thrown Objects Hazard
Part Number 1732819
Read and obey all operation and warning decals.
WARNING
Thrown objects hazard
• Objects thrown by the mower can seriously
injure or kill you.
• Do not open the hopper while the mower blades
are turning.
• Do not operate the mower without the complete
catcher in place.
1732819
Page 5
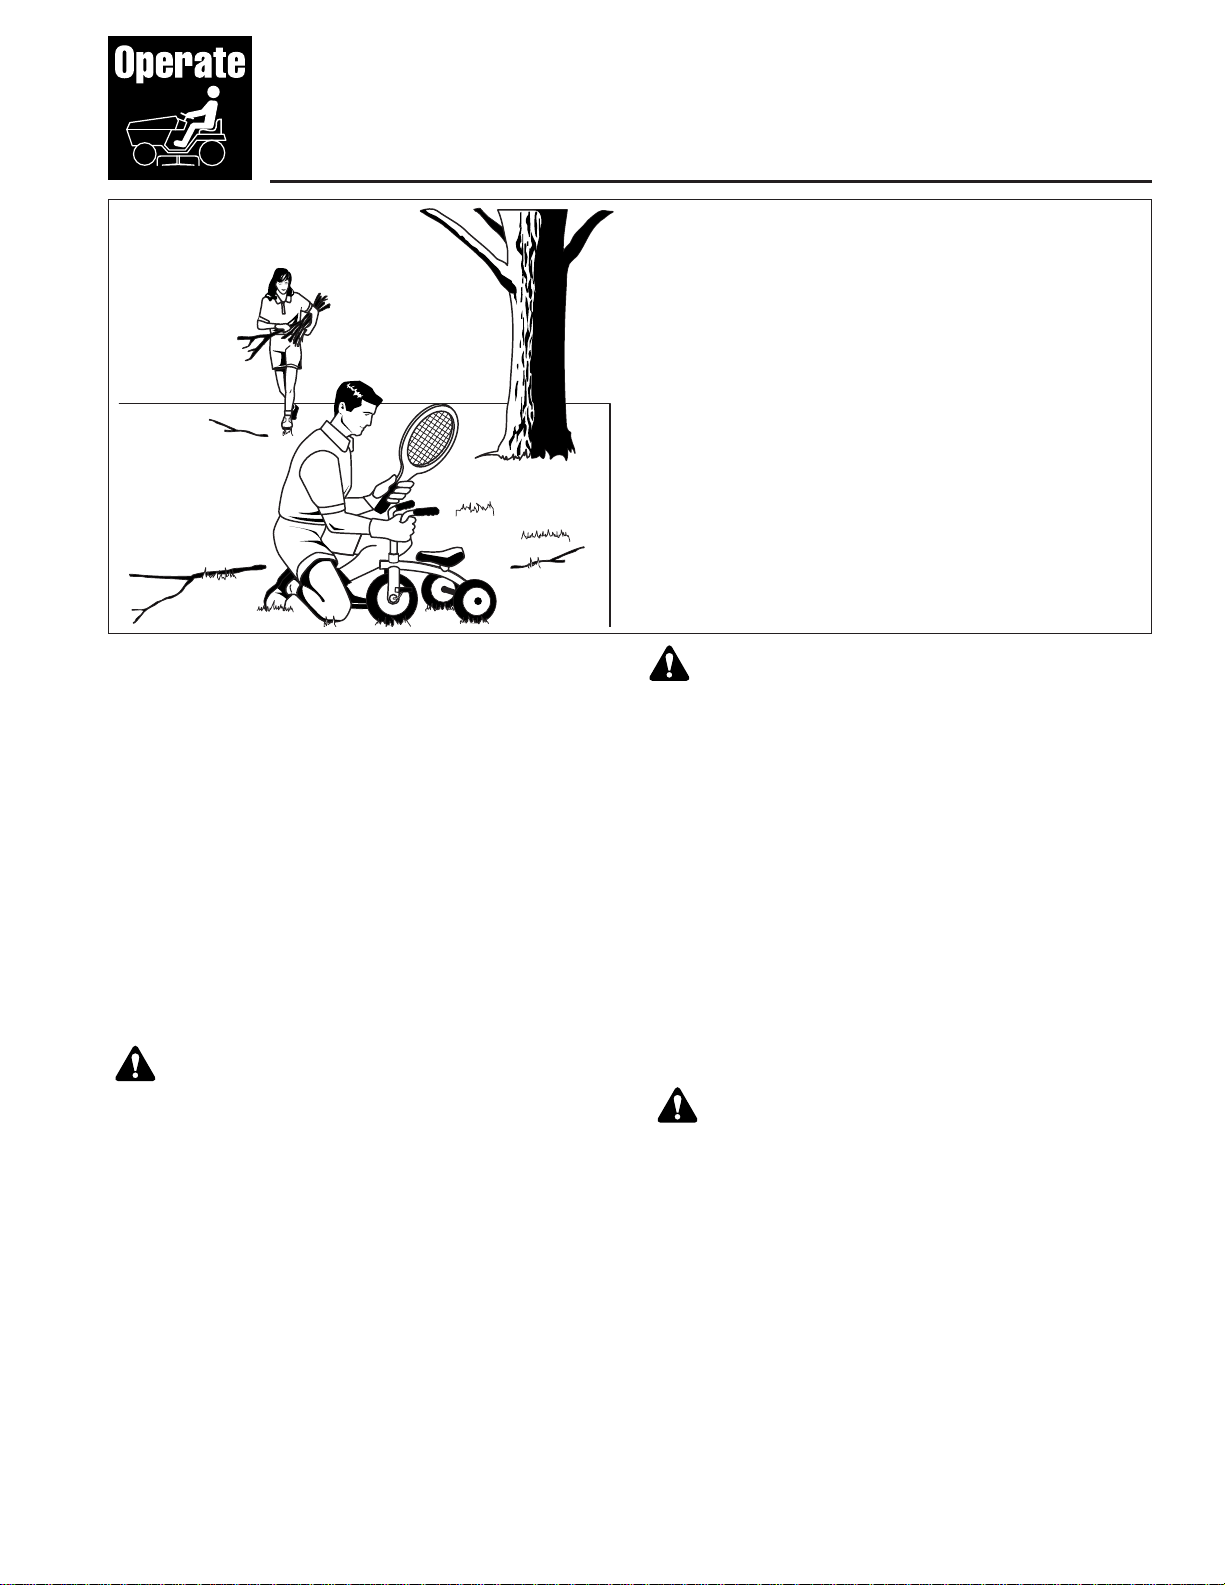
Before Operation
Clear the lawn of all sticks, stones, wire and other debris
which may be caught or thrown by the mower blades.
Check grass condition. If wet, wait until later in the day.
If grass is wet, the grass catcher is likely to become
plugged.
For efficient bagging, air circulation under the
mower deck, through the chute and into the bag is
very important.
For this reason, BEFORE YOU BEGIN MOWING you
should make certain the underside of the mower and
the underside of the catcher lid are free from grass and
debris.
Make sure that there is a snug fit between mower deck,
blower housing, tubes, and grass catcher cover.
Mowing with the Catcher
Always operate with throttle at full speed when mowing.
Grass should be cut often, and not too short. If grass is
too long or lush it may be necessary to keep ground
speed to a minimum or to cut only half the width of the
mower to prevent clogging. If grass is long, operate with
mower in high cutting position for first pass, cutting again
in a lower position on a second pass.
Do not open the cover with mower engaged.
If a large amount of cut grass is spilling out from under
deck, the tube may be plugged or the bags may be full—
discontinue mowing, stop the unit, disengage the PTO,
shut off the engine and then empty the catcher or clear
the tube.
General
Operating Instructions
WARNING
ALWAYS shut off the tractor. Disengage the PTO,
and allow all moving parts to stop BEFORE
disconnecting or clearing tube, or emptying
catcher.
Before leaving the operator’s position for any
reason, engage the parking brake, disengage the
PTO, stop the engine and remove the key.
To reduce fire hazard, keep the engine, rider and
mower free of grass, leaves and excess grease.
Do not stop or park rider over dry leaves, grass or
combustible materials.
Never operate on slopes greater than 17.6% (10°).
After Operation
Remove any debris from the the screen on the underside
of the lid.
The blower housing and tube should be removed for
cleaning.
Inspect the grass bags for wear or damage. Make sure
that there is a snug fit between mower deck, blower
housing, tubes, and grass catcher cover.
Storing The Grass Catcher
Clean the grass catcher thoroughly using a mild
detergent (other products may damage the tube).
Remove any debris from the screen on the underside of
the lid.
If paint has been scratched on metal parts, touch up with
paint, or apply a thin film of oil to prevent corrosion.
Store in a dry area. Dry thoroughly before storing for a
long period of time. Always store away from moisture.
Do not leave grass in bagger containers. Empty
containers after each use and before storing.
Failure to do so may result in spontaneous
combustion which could develop into a fire.
CAUTION
CAUTION
Before you begin operating the unit be certain
you have read all of the safety and operational
information of this instruction sheet, as well as
the Operator’s Manual for the tractor and any
other attachments.
3
Page 6

Initial
Installation
4
WARNING
To avoid serious injury, engage parking brake,
disengage PTO, stop engine, remove key and
disconnect spark plug(s) before attempting to
install, remove or work on the mower.
NOTE: In this manual, “left” and “right” are always defined from
the standpoint of the operator position facing forward from seat.
COUNTERWEIGHT INSTALLATION
1. Slide pins (A, Figure 1) on counterweight (B) into
slots (C) on front footrest support bracket (D).
2. Secure counterweight (B) with pin (E) to front footrest
support (D).
3. Secure pin (E) with safety clip (F).
SAFETY RULES
1. Never operate mower on slopes greater than 10°.
2. Front counter weight is required when ever using rear
mounted grass collection system.
E
B
F
D
Figure 1. Install Counter Weight
A. Slide Pins
B. Counter Weight
C. Pin Slots
D. Front Footrest Support
E. Pin
F. Safety Clip
A
C
Page 7

5
Hitch Installation
HITCH INSTALLATION
Hitch Installation
1. Remove 5/16-16 nut (G, Figure 2) from seat deck
support capscrew (E).
2. Remove 3/8-16 nut (F) from rear debris guard
capscrew (D).
3. Remove 1/2-13 nut (H) from rear of frame (A).
4. Remove 3/8-16 nut (I) from rear transmission
support (J).
5. Attach hitch assembly (B) to frame (A) sliding rear of
hitch flush with frame.
6. Finger tighten 3/8-16 nut (F), 5/16-16 nut (G), 1/2-13
nut (H) and 3/8-16 nut (I).
7. Tighten 3/8-16 nut (F) and 5/16-16 nut (G) first, then
1/2-13 nut (H) and 3/8-16 nut (I).
I
F
G
E
C
B
H
B
A
A
J
Left View Back View
Figure 2. Install Hitch Assembly
A. Frame
B. Hitch Assembly
C. Debris Guard
D. Capscrew, Debris Guard, 3/8-16
E. Capscrew, Seat Deck Support, 5/16-18
F. Nut, Nylock, Flanged 3/8-16
G. Nut, Nylock, Flanged 5/16-16
H. Nut, 1/2-13
I. Nut, 3/8-16
J. Rear Transmission Support
D
Page 8

6
Bag Support and Cover Installation
Figure 3. Install Bag and Cover Support
A. Upright Support
B. Bag and Cover Support
C. Support Mount
D. Mount Pin
E. Retainer Spring
F. Shoulder Rest
G. Shoulder Bolt
E
A
G
B
F
D
C
C
Bag Support Installation
1. Attach the bag and cover support (B, Figure 3) to the
upright support (A) by sliding the support mount (C)
over the upright support (A) until the shoulder rest (F)
makes full contact with the shoulder bolts (G).
2. Insert mount pin (D) through the support mount (C)
and upright support (A) as shown.
3. Secure mount pin (D) with retainer spring (E).
Figure 4. Cover Installation
A. Cover Assembly
B. Bag Support Bracket
C. Cover Hinge Pivots
D. Hinge Pins
E. Retainer Springs
INSTALL COVER
1. Attach cover assembly (A, Figure 4) to bag support
bracket (B) using cover hinge pivots (C). Secure
cover assembly to bag support bracket using hinge
pins (D) and retainer springs (E) as shown.
C
D
D
E
E
B
A
Page 9

7
Bag Installation and Tube Assembly
INSTALL COLLECTOR BAGS
1. Raise the cover (A, Figure 5).
2. Attach collector bags (B) using grass bag hanger (C)
to bag hanger post (D).
A
D
Figure 5. Install Collector Bags
A. Cover
B. Collector Bags
C. Grass Bag Hanger
D. Bag Hanger Post
B
C
B
A
42” Mowers
42” Mowers
CONNECTING UPPER AND MIDDLE TUBE
1. Slide the upper tube (A, Figure 6) over middle tube
(B) and secure together using screw (C).
In upper tube:
- Third hole from end is for 42” mowers
See Figure 6 for hole locations.
C
Figure 6. Middle and Upper Tube Assembly
A. Upper Tube
B. Middle Tube
C. Screw, 1/4 x 3/4
Page 10

8
Chute and Tube Installation
Chute Installation
1. Install 5/16 x 3/4” carriage bolts (D, Figure 7) with
5/16 push nuts (E) to mower deck as shown.
2. Lift discharge deflector(B).
3. Place the holes of the chute (A) onto carriage bolts
(D, installed in step 1), sliding the front edge of the
chute under the hinge bracket.
4. Secure knob (C) onto carriage bolt (D) as shown.
5. Secure wing nut (F) onto carriage bolt (D) as shown.
Figure 7. Install Chute
A. Chute
B. Discharge Deflector
C. Knob
D. Bolt, Carriage, 5/16 x 3/4
E. Nut, Push, 5/16
F. Nut, Wing
A
B
C
E
E
B
D
C
A
B
E
F
D
Figure 8. Connecting Tube Assembly to Lower
Chute and Cover
A. Upper Tube
B. Cover
C. Ridge, Upper Tube
D. Ridge Cutout
E. Lower Chute
F. Strap, Rubber
G. Pin
H. Tube Assembly
CONNECTING TUBE ASSEMBLY TO CHUTE AND COVER
1. Slide the upper tube (A, Figure 8) into cover (B)
aligning ridge (C) with cutout (D) as shown.
2. Slide tube assembly(H) over lower chute (E). Secure
tube assembly (H) to lower chute (E) using strap (F)
and pin (G).
G
H
Page 11

9
THIS PAGE INTENTIONALLY BLANK
Page 12

Normal Installation
& Removal
10
Figure 9. Normal Installation & Removal
A. Hitch Support Assembly
B. Bag and Cover Support Assembly
C. Shoulder Bolt
D. Mount Pin
E. Retainer Spring
F. Hinge Pin
G. Retainer Spring
H. Cover Hinge Pivots
I. Cover
J. Bag
K. Bag Hanger
L. Ridge Cutout
M. Upper Tube
N. Ridge
O. Tube Assembly
P. Rubber Strap
Q. Pin
R. Chute
S. Knob
T. Carriage Bolt
U. Wing Nut
V. Discharge Deflector
W. Carriage Bolt
X. Support Mount
F
C
P
A
T
Q
NORMAL INSTALLATION & REMOVAL
Installation
NOTE: See previous pages for more detailed installation
and operation instructions if necessary.
1. Attach bag and cover support assembly (B, Figure 9)
to hitch support assembly (A) by sliding the support
mount (X) into place until full contact is made with
the shoulder bolts (C).
2. Insert mount pin (D) through support mount (X) and
upright of hitch assembly (A).
3. Secure mount pin (D) with retainer spring (E).
4. Attach cover assembly (I) to bag support assembly
(B) using cover hinges pivots (H). Secure cover
assembly (I) to bag support bracket (B) using hinge
pins (F) and retainer springs (G).
M
N
K
E
B
S
L
5. Raise the cover (I), and attach collector bags (J)
using grass bag hanger (K) to hanger post
(D, Figure 5).
6. Lift discharge deflector (V) up, and Place the holes of
the chute (R) onto carriage bolts (T and W) sliding
the front edge of the chute under the hinge bracket.
7. Secure knob (S) onto carriage bolt (T) as shown.
8. Secure wing nut (U) onto carriage bolt (W) as shown.
9. Slide upper tube (M) into cover (I) aligning ridge (N)
with ridge cutout (L).
10.Slide tube assembly (O) over chute (R)
securing tube assembly (O) to lower chute (R) using
rubber strap (P) on tube assembly (O) to pin (Q) on
chute (R).
R
C
D
I
J
G
F
G
H
U
W
V
X
O
Page 13

Normal Removal
11
Removal
1. Unhook rubber strap (P, Figure 9) from pin (Q), then
remove tube assembly (O) from chute (R) and from
cover (I).
2. Lift cover (I) and remove bags (J) from bag and cover
support assembly (B).
Note: Support the cover during the next step.
3. Remove cover (I) by disconnecting retainer springs
(G), then remove both hinge pins (F).
4. Remove bag and cover support assembly (B) from
hitch assembly (A) by removing retainer spring (E),
then removing mount pin (D).
Note: To prevent loss of pins and retainer springs
re-attach them to the cover, and bag and
cover support assembly.
5. Remove wing nut (U) from carriage bolt (W).
6. Remove knob (S) from carriage bolt (T).
7. Lift up discharge deflector (V)and remove chute (R)
from carriage bolt (T and W).
IMPORTANT: See that discharge deflector (R) returns to
the DOWN position.
WARNING
OPERATION WITHOUT BAGGER
For operation without bagger, the mower discharge
deflector MUST be properly installed in the down
position and retained by the spring latch.
Page 14

Briggs & Stratton Yard Power Products Group
Copyright © 2007 Briggs & Stratton Corporation
Milwaukee, WI USA. All Rights Reserved
MANUFACTURING, INC.
Simplicity Mfg. Inc. 500 N Spring
Street / PO Box 997
Port Washington, WI 53074-0997
www.SimplicityMfg.com
Simplicity Mfg. Inc. - Snapper Products
535 Macon Street
McDonough, GA 30253
www.Snapper.com
 Loading...