

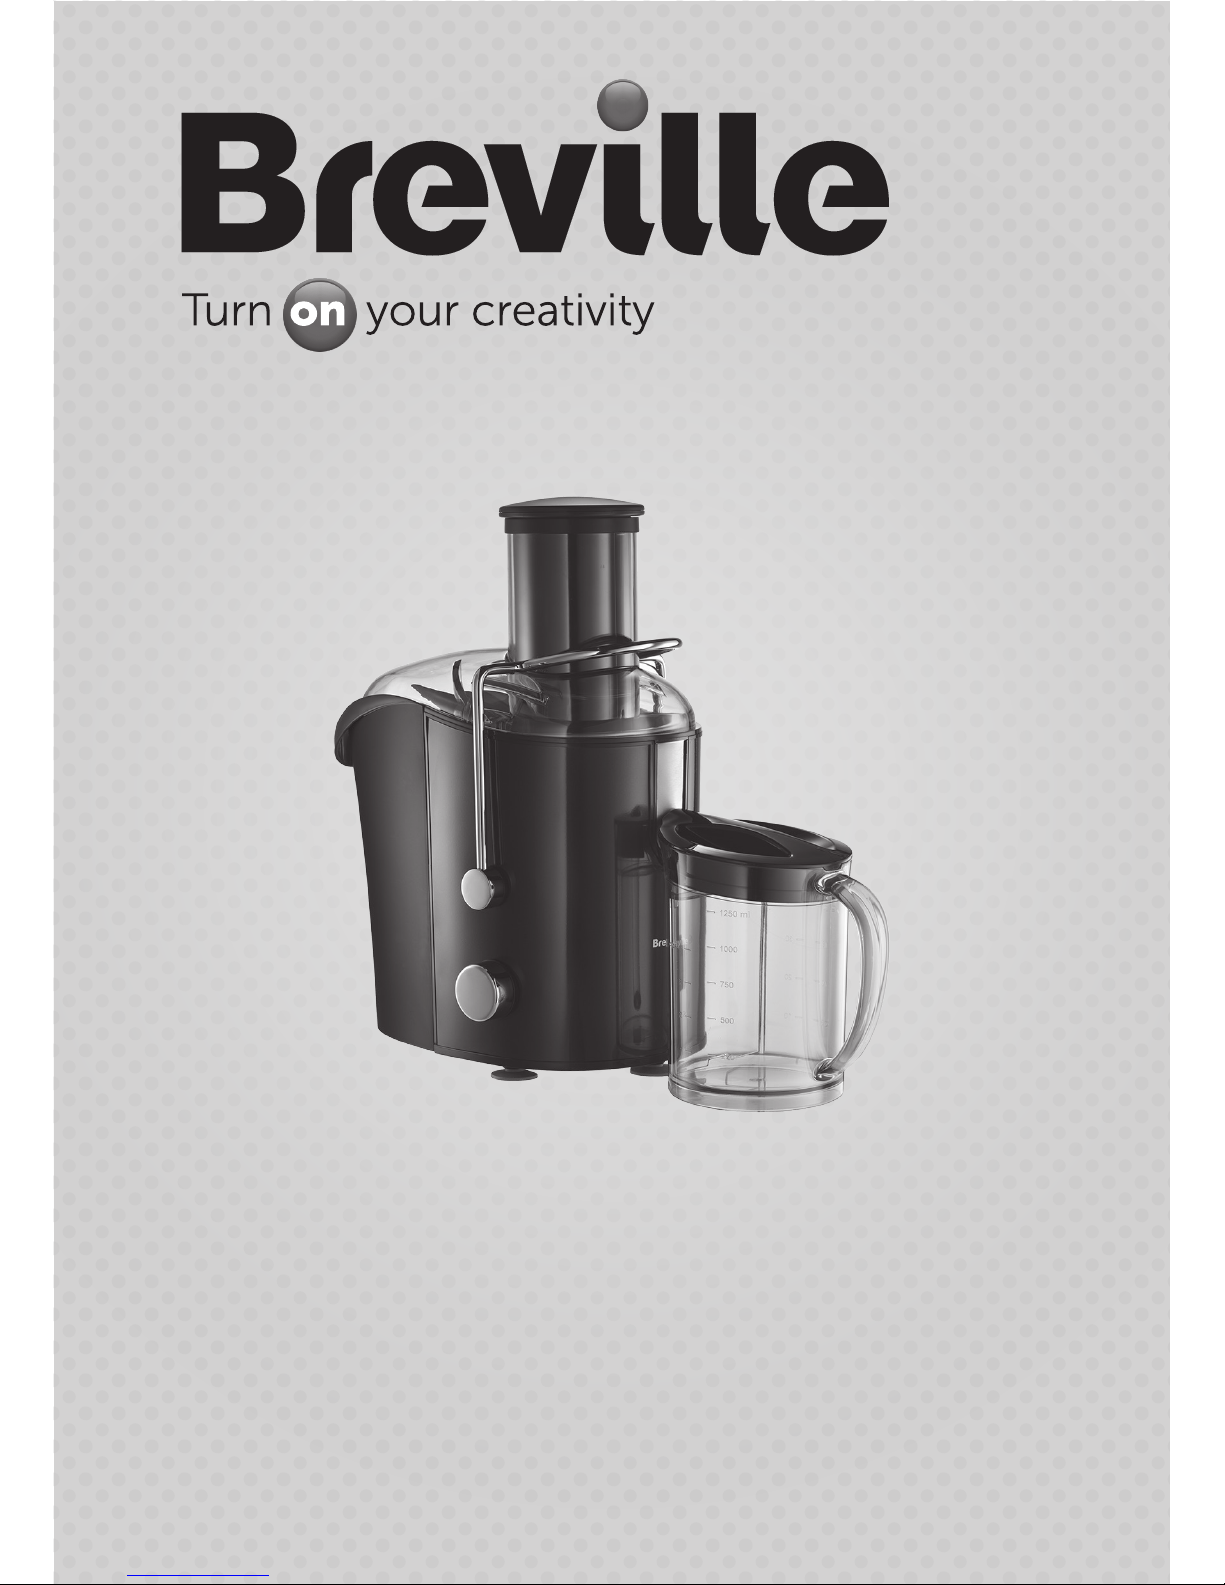
™
pro kitchen
whole fruit juicer
®

2
product safety
READ CAREFULLY AND KEEP FOR FUTURE REFERENCE
This appliance can be used by children aged from 8 years and above and
persons with reduced physical, sensory or mental capabilities or lack of
experience and knowledge if they have been given supervision or instruction
concerning use of the appliance in a safe way and understand the hazards
involved. Children shall not play with the appliance. Cleaning and user
maintenance shall not be made by children without supervision.
Check the sieve for damage every time you use the appliance. Do not use
the appliance if the rotating sieve is damaged.
Always disconnect the appliance from the mains supply socket if it is left
unattended and before assembling, disassembling or cleaning.
If the supply cord is damaged, it must be replaced by the manufacturer, its
service agent or similarly qualied persons in order to avoid a hazard.
! Never use this appliance for anything other than its intended use. This appliance is for
household use only. Do not use this appliance outdoors.
! Always ensure that hands are dry before handling the plug or switching on the
appliance.
! Always use the appliance on a stable, secure, dry and level surface.
! This appliance must not be placed on or near any potentially hot surfaces (such as a
gas or electric hob).
! Never immerse any part of the appliance or power cord and plug in water or any other
liquid.
! Never let the power cord hang over the edge of a work top, touch hot surfaces or
become knotted, trapped or pinched.
! Do not use the appliance if it has been dropped, if there are any visible signs of
damage or if it is leaking.
! 17
! Never use any accessory or attachment not recommended by the manufacturer.
! Switch off the appliance before changing accessories or approaching parts which move
during use.
! Allow moving parts to come to a stop before opening or cleaning.
! Never insert your ngers, utensils or any other object into the feeding tube. Always use
the food pusher.
! Never attempt to remove or replace any part of the appliance whilst it is in operation.

3
Ensure that the appliance is switched off and unplugged from the supply socket
if it is left unattended and before assembling, disassembling or cleaning.
Never immerse any part of the appliance or power cord and plug in water or any
other liquid.
Never use harsh, abrasive or caustic cleaners to clean this appliance.
1. Before using your juicer for the rst time, remove any packaging material and
promotional stickers and labels.
2. Ensure your juicer is switched off and the power cord is unplugged from the mains
supply socket.
3. Wash the bowl, stainless steel sieve, juicer cover, food pusher, pulp container and
juice jug and lid in warm, soapy water using a soft cloth.
4. Rinse and dry thoroughly. The motor base can be wiped with a damp cloth. Dry
thoroughly.
before first use

4
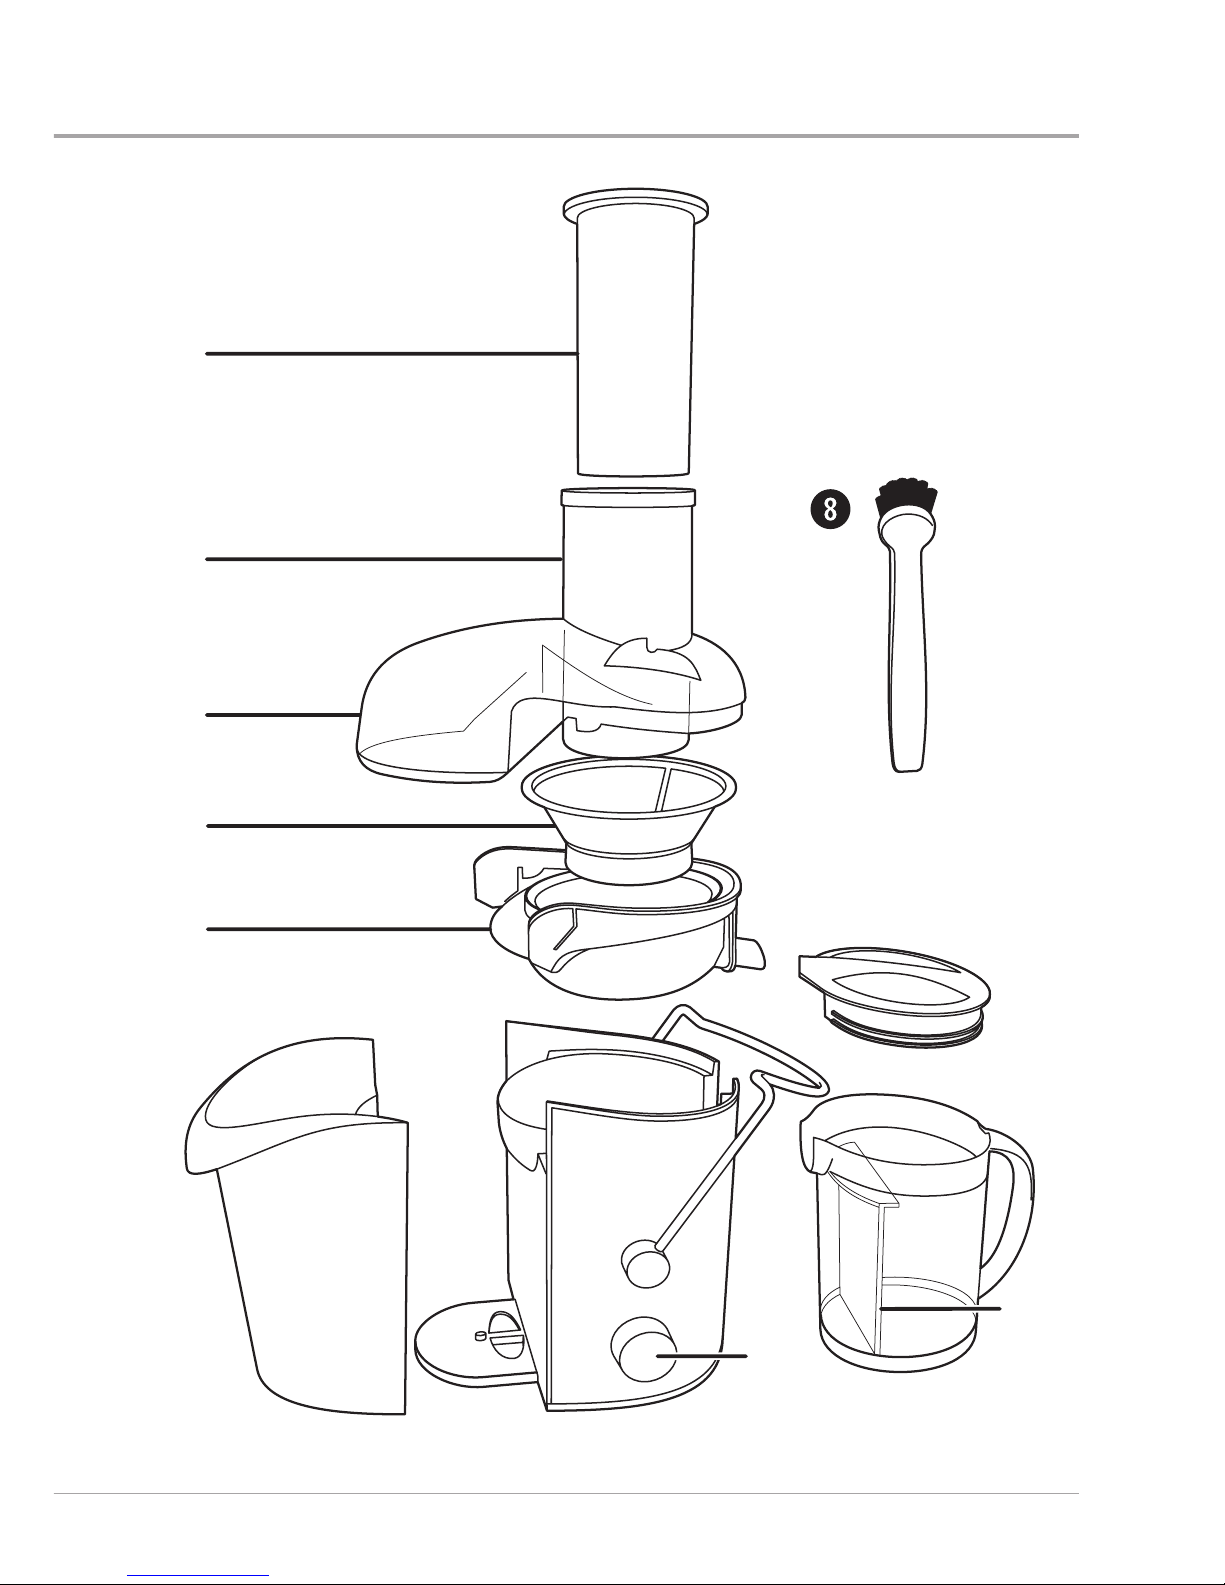
features
1 Food pusher
For safely pushing whole fruit and vegetables into the professional juicer’s feed
chute. Dishwasher safe.
2 Extra wide feed chute
Fits whole apples, carrots, tomatoes and peeled oranges. Makes juicing fruit and
vegetables fast and easy.
3 Juicer cover
Dishwasher safe, durable, clear cover.
4 Stainless steel, micro mesh sieve
Dishwasher safe.
5 Bowl
Dishwasher safe.
6 Large pulp container
Dishwasher safe.
7 Motor base
High performance, 1000W motor.
8 Cleaning brush
For cleaning the stainless steel sieve.
9 Juice jug lid
Dishwasher safe lid for the juice container.
10 Juice jug
Dishwasher safe, 1 litre jug with integrated handle for left or right handed use. Use it
with the lid on to store juice in the refrigerator.
11 Froth separator
For removing the froth from the juice when pouring.
12 3-position switch
This switch controls your juicer’s two speeds and off. Setting 1 (low speed) is for
juicing soft fruits with high water content such as watermelon. Setting 2 (high speed)
is for juicing hard fruits and vegetables. Setting 0 is off.
5
Due to our policy of continuous improvement, the actual product may differ slightly from the one illustrated in these instructions.
q
w
e
r
t
yu
o
a
d
s

6
assembling
Be careful when handling the stainless steel sieve. Do not touch the small sharp
blades inside the sieve.
Place the motor base on a at, dry surface such as your kitchen worktop. Ensure that the
3-position switch is in the off (0) position, then switch the appliance off at the power outlet
and unplug the cord.
1. Fit the bowl onto the motor base. The spout on the lter bowl should be on the same
side of the motor base as the safety locking arm.
2. Gently push the sieve down onto the motor base drive coupling until it clicks into
place. Make sure that the sieve is tted securely inside the bowl and onto the drive
coupling.
3. Place the juicer cover over the bowl. The feed chute should be positioned over the
stainless steel sieve.
4. Pivot the safety locking arm upwards until it engages with the two grooves in the
juicer cover. The safety locking arm should now be vertical and locked into place on
the top of your juicer. If the arm doesn’t t into place easily, don’t force it. Check that
you have tted the juicer cover correctly.
5. Tilt the large pulp container slightly and place it underneath the pulp outlet side of the
juicer cover.
6. Fit the lid onto the juice jug. Position the juice jug over the juice outlet spout on the
right hand side of your juicer.
7. Slide the food pusher into the feed chute. The food pusher has a groove in it which
must be lined up with the protrusion inside the feed tube.
 Loading...