

®
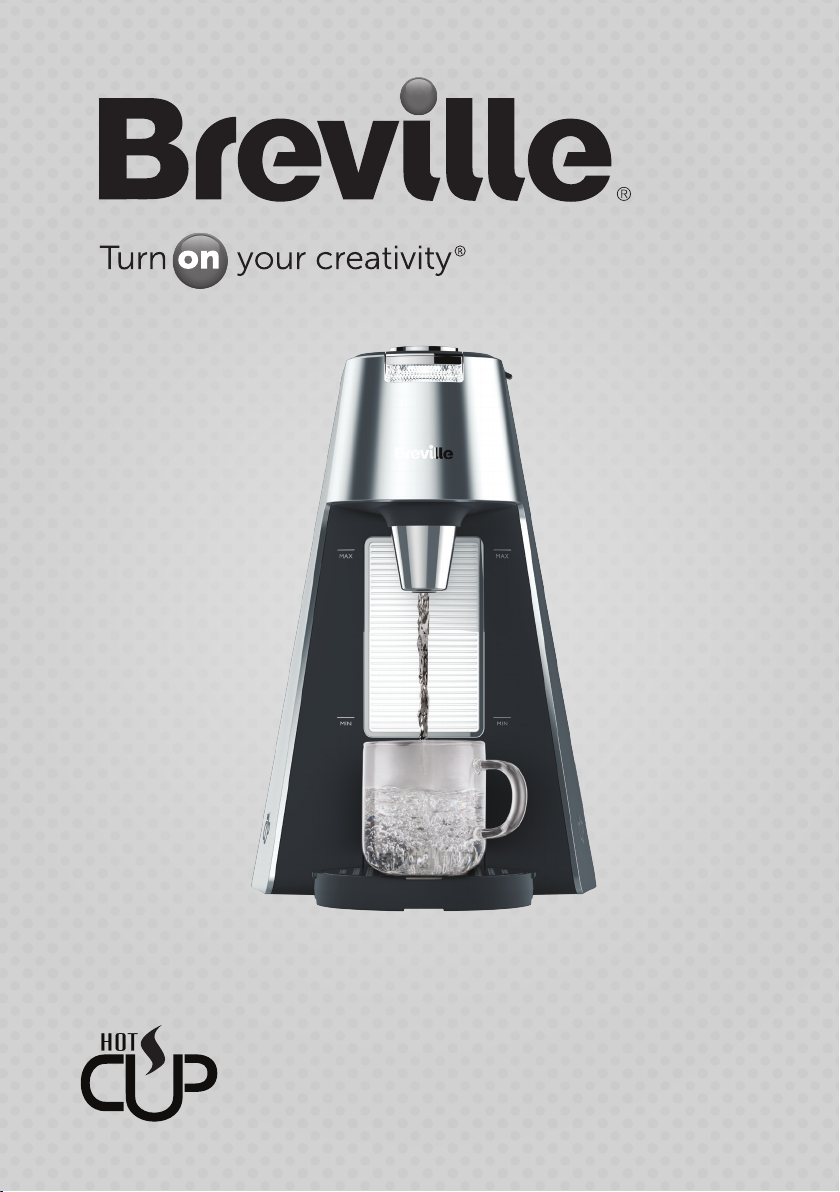
HotCup
™
with variable dispense
Hot water dispenser

product safety
READ CAREFULLY AND KEEP FOR FUTURE REFERENCE
This appliance can be used by children aged from 8 years and
above and persons with reduced physical, sensory or mental
capabilities or lack of experience and knowledge if they have
been given supervision or instruction concerning use of the
appliance in a safe way and understand the hazards involved.
Children shall not play with the appliance. Cleaning and user
maintenance shall not be made by children unless they are
older than 8 and supervised.
Keep the appliance and its cord out of the reach of children
aged less than 8 years.
Never ll the appliance above the MAX marking. If the
appliance is overlled, boiling water may be ejected and the
appliance may overow.
If the supply cord is damaged, it must be replaced by the
manufacturer, its service agent or similarly qualied persons
in order to avoid a hazard.
! This appliance generates heat during use. Adequate precaution must be taken to
prevent the risk of burns, scalds, res or other damage to persons or property caused
by touching the exterior whilst in use or during cooling.
! Never use this appliance for anything other than its intended use. This appliance is for
household use only. Do not use this appliance outdoors.
! Always ensure that hands are dry before handling the plug or switching on the
appliance.
! Always use the appliance on a stable, secure, dry and level surface.
! This appliance must not be placed on or near any potentially hot surfaces (such as a
gas or electric hob).
! Do not use the appliance if it has been dropped, if there are any visible signs of
damage or if it is leaking.
! Ensure the appliance is switched off and unplugged from the supply socket after use
and before cleaning.
! Always allow the appliance to cool before cleaning or storing.
! Never immerse any part of the appliance (excluding the drip tray and stainless steel
drip tray cover) or power cord and plug in water or any other liquid.
! Never let the power cord hang over the edge of a worktop, touch hot surfaces or
become knotted, trapped or pinched.
! Never leave the appliance unattended when in use.
! Beware of steam coming from the spout or lid especially during relling. Never open
the lid during the boiling cycle.
! Never use the appliance without sufcient water in the kettle for it to operate correctly.
! Never allow the appliance to boil dry.
2

parts and features
1. Stop button
2. Start button / Dispensing control
3. Lid
4. Re-set button (rear)
5. Heating chamber
6. Magnetised drip tray plate – allows easy positioning of drip tray
7. Drip tray holder – removable and reversible to hold different cup sizes
8. Drip tray inner
9. Stainless steel drip tray cover
10. Illuminated water reservoir
11. Illuminated dispensing nozzle
o
i
1!
1)
q
w
e
r
t
y
u
Due to our policy of continuous improvement, the actual product may differ slightly from the one illustrated in these instructions.
3

using your HotCup™ water dispenser
Before using your HotCup™ water dispenser for the rst time
• Remove your HotCup™ water dispenser carefully from the box. Remove any
packaging and promotional material and position it on a dry, level, secure work
surface away from the edge.
• Make sure that the re-set button at the rear of the appliance is pressed in.
™
• Follow the instructions below on using your HotCup
rst full tank of boiled water by cycling the appliance. This will remove any residues
that may remain from the manufacturing process.
Using your HotCup™ water dispenser
Always position your HotCup™ water dispenser in such a way that the start
button cannot be accidentally operated especially by children.
™
If water has been left in your HotCup
the water reservoir to the MAX marking and discard all of the water by cycling the
appliance as described below.
1. Lift the lid. Fill the water reservoir with cold water using a suitable jug. The water level
should be between the MIN and MAX markings.
2. Close the lid, then plug your HotCup
3. Position the drip tray according to the height of your cup:
• For a tall cup, place the drip tray in the lower position by guiding it onto the
magnetised plate on the HotCup
• For a shorter cup, turn the drip tray upside down and hook the lip of the tray into
the positioning slot. The magnet will guide the drip tray into the correct position.
4. Place the drip tray inner and the stainless steel drip tray cover onto the drip tray.
5. Position your cup with a tea bag, coffee, sugar, etc. below the dispensing nozzle.
Never operate your HotCup
™
placed below the dispensing nozzle.
6. Turn the dispensing control to the required setting. The control adjusts the quantity
of boiling water dispensed by your HotCup
teacups, set the control towards the setting; for larger cups like coffee mugs, set
the control towards the setting. If you are not sure which setting to use, it’s best to
use a lower setting until you gain experience using your HotCup™ water dispenser.
7. Press the start button. The water reservoir, dispensing nozzle, and the window under
the stop button will light up. If the start button doesn’t start the appliance, check that
the re-set button at the rear of the appliance is pressed in.
8. The selected quantity of boiling water will be dispensed into the cup and then stop.
Alternatively, press the stop button to only dispense the amount of water you require.
Always keep your HotCup
™
water dispenser topped up with water (between the MIN and
MAX markings). That way you’ll ensure that it’s always ready to use and don’t forget,
unlike an ordinary kettle, this will have no effect on the energy your HotCup™ water
dispenser uses.
water dispenser for a number of days, ll
™
water dispenser into a mains supply socket.
™
water dispenser until secured in place.
water dispenser without a cup or suitable container
™
water dispenser. For smaller cups like
water dispenser and discard the
4
 Loading...