

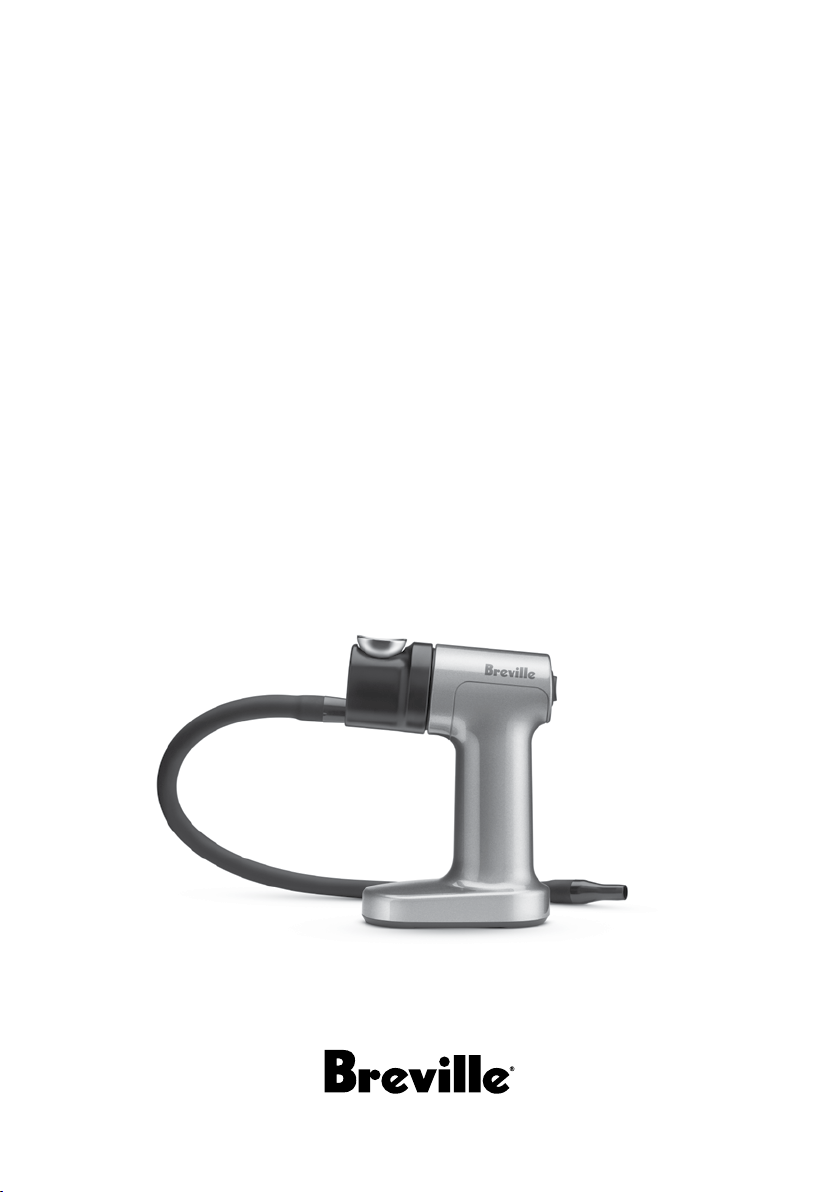
the Smoking Gun
Instruction Book - BSM600
‰

Contents
IMPORTANT
SAFEGUARDS
2 Breville Recommends Safety First
6 Components
7 Assembly
8 Functions
9 Tips
10 Care & Cleaning
11 Troubleshooting
BREVILLE
RECOMMENDS
SAFETY FIRST
At Breville we are very safety
conscious. We design and
manufacture consumer
products with the safety of you,
our valued customer, foremost
in mind. In addition we ask that
you exercise a degree of care
and adhere to the following
precautions.
READ ALL
INSTRUCTIONS BEFORE
USE AND SAVE FOR
FUTURE REFERENCE
• Remove any packaging
material and promotional
labels before using the
‰
Smoking Gun
for the
first time.
• Do not place the Smoking
‰
Gun
near the edge of a
table, counter or bench
top during operation.
Ensure that the surface is
level, clean and free
of water.
• Do not place any part of
‰
the Smoking Gun
in a
gas, electric or microwave
oven or on a hot gas or
electric burner.
• Keep smoking gun
clear of walls, curtains
and other heat or steam
sensitive materials.
Minimum 8 inch distance.
2

• Always ensure the
‰
Smoking Gun
is properly
assembled before use.
Follow the instructions
provided in this book.
• Do not leave the product
unattended when in use.
• Do not touch hot surfaces.
• Do not use harsh
abrasives or caustic
cleaners when cleaning
this product.
• Keep the product clean.
Follow the care and
cleaning instructions
provided in this book.
• This product is not
intended for use by
persons (including
children) with reduced
physical, sensory or
mental capabilities,
or lack of experience
and knowledge, unless
they have been given
supervision or instruction
concerning use of the
product by a person
responsible for their safety.
• This product is intended
for household use only.
Do not use this product
for anything other than its
intended use. Do not use
in moving vehicles
or boats.
• It is recommended to
regularly inspect the
product.
• Any maintenance other
than cleaning should
be performed at an
authorized Breville
Service Center.
• Do not attempt to burn
anything other than
small wood chips, wood
sawdust, dried herbs,
cooking spices, or
tea leaves in the burn
chamber.
• Do not leave the Smoking
‰
Gun
unattended.
3

• Use only in a well
ventilated area; the
burning of wood chips/
dust, dried herbs, cooking
spices, and/or tea
leaves may result in the
emission of combustion
by-products which are
known to cause cancer,
birth defects, and/or
reproductive harm.
• The metal barrel and burn
chamber of the Smoking
‰
Gun
will become very
hot when in use. Allow
device to cool completely
before touching barrel or
burn chamber, cleaning,
or storing.
• Always use the Smoking
‰
Gun
in an upright
position. Heated smoking
materials may fall out
of the burn chamber if
tipped, resulting in a
fire hazard.
• Always empty ash and
burnt material into a
non-flammable receptacle.
• Exercise proper care when
igniting the smoking
materials; improper
ignition of flammable
materials may result in
explosion or fire hazard.
• Always use a match
or lighter to ignite the
materials in the Smoking
‰
Gun
; DO NOT USE a
kitchen torch or other heat
device as the excessive
heat may damage the unit.
• Do not point the Smoking
‰
Gun
at any person or
flammable object.
• Avoid using the Smoking
‰
Gun
in areas where
smoke may activate
smoke alarms or fire
suppression systems.
4

• Never operate the
‰
Smoking Gun
without
the stainless steel mesh
filter in place; burning/
glowing embers may
enter the body damaging
the unit or be ejected
through the nozzle,
creating a fire or burn
hazard.
• Removal or disassembly
of any parts of the
‰
Smoking Gun
other
than the burn chamber;
stainless steel mesh filter,
battery compartment
cover, or batteries may
result in irreparable
damage and void the
warranty.
CALIFORNIA
PROPOSITION 65:
(Applicable to California
residents only).
Combustion of wood or
charcoal products may
contain chemicals known
to the State of California to
cause cancer, birth defects
and/or reproductive harm.
This warning is required
and issued pursuant to
California Health & Safety
Code Section 25249.6.
5
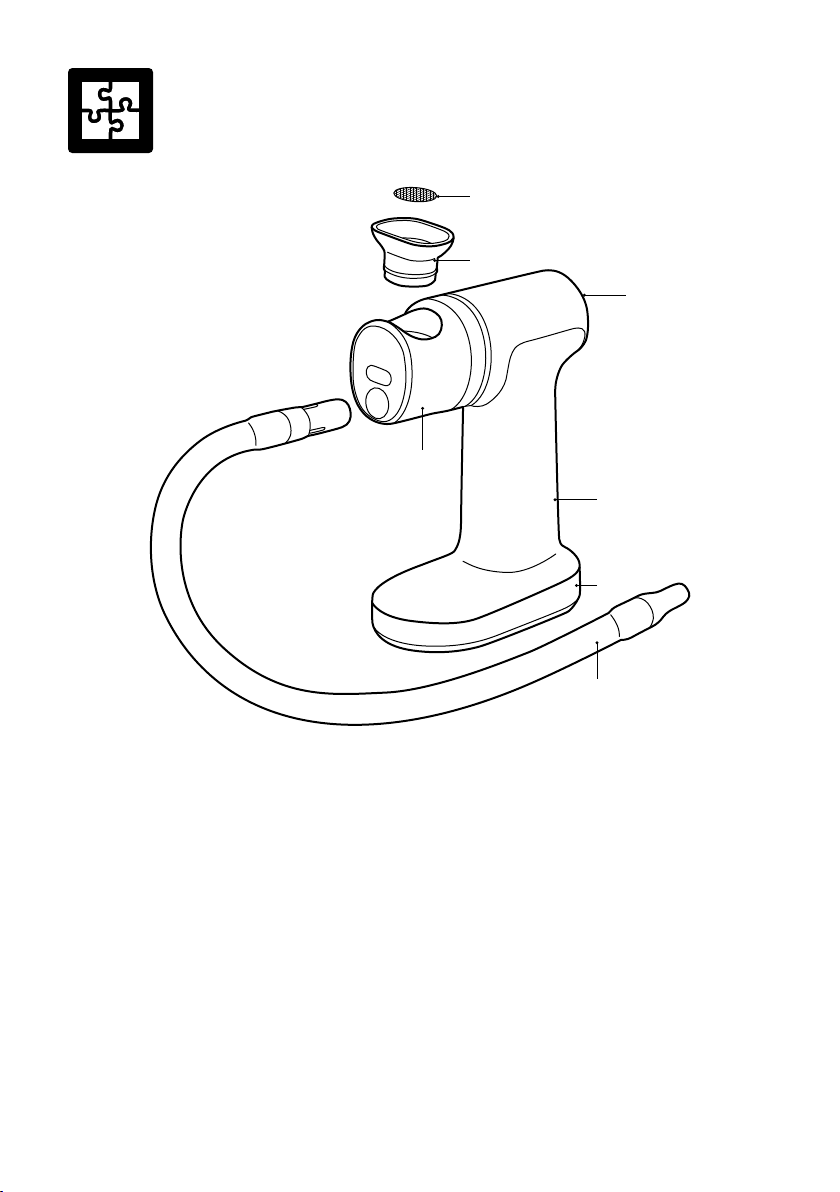
Components
C
B
A
D
G
F
E
A. On/off switch
With dual speed for ignition and slow burn.
B. Removable burn chamber
Easy to tap out ash at the end of burn cycle.
C. Removable mesh filter
Push out with finger to replace.
D. Die-cast barrel
6
E. Silicone hose
F. Robust housing
Integrated base provides stable secure
platform.
G. Battery operated
Uses 4 x AA 1.5V battery.
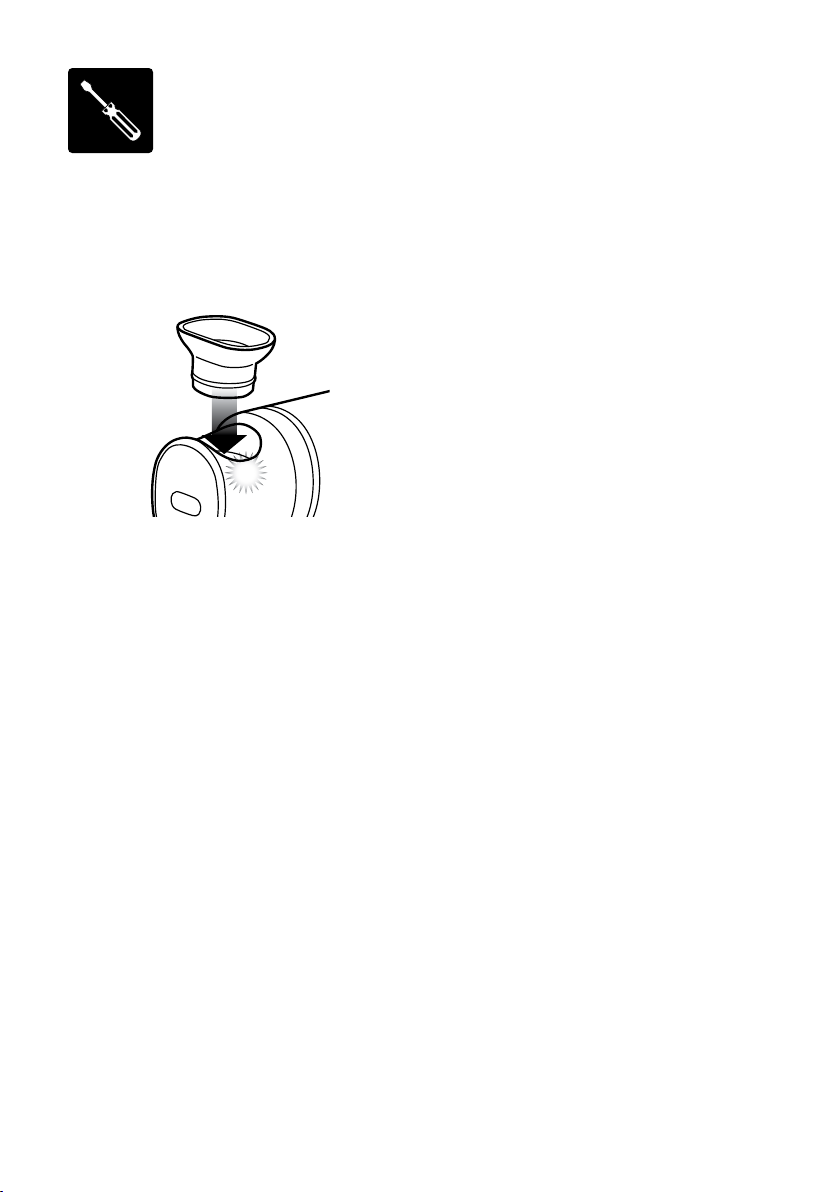
Assembly
1. Place the mesh filter in the top of the burn
chamber and press down with a finger to
seat it into the bottom of the burn chamber.
2. Place the burn chamber into the barrel.
Push down until the spring around the burn
chamber provides a small click sensation.
CLICK
3. Press the larger plastic end on the silicone
hose firmly into the round hole on the front
of the barrel.
BATTERIES
Use 4 x AA (1.5V alkaline) batteries only.
(No rechargeable batteries)
1. Remove battery cover from underside
of unit by sliding clip towards rear and
rotating outwards.
2. Insert batteries into cavity with orientation
to match the outer face of the battery cover.
3. Replace battery cover and press to
snap into place.
7
Functions
BEFORE FIRST USE
Remove any packaging material and
promotional labels from the Smoking Gun
Wipe the burn chamber and mesh filter with a
damp cloth.
OPERATION
1. Place a small amount of wood chips
(or desired smoking materials) into the
burn chamber.
NOTE
Do not overfill the burn chamber.
The wood chips should just cover the mesh
filter area with a thin layer.
2. Press down the power switch located on the
rear of the main unit, to activate the fan at
high speed. This position is designated by
2 lines = on the switch.
–
Low Speed
To smolder the
wood chips and
generate smoke.
3. Use a handheld lighter or match to apply a
flame to the top surface of the wood chips.
Move the flame around to ignite the entire
exposed surface. For best results make sure
the burning area is evenly distributed
or centered.
O
Off
For greater airflow
to assist in initially
igniting wood
chips.
High Speed
‰
.
=
WARNING
• Do not use a kitchen torch or butane torch
style lighter.
• Maintain the presence of the lighter for a
period of time sufficient to start ignition only.
Excessive heat may cause damage to the unit.
4. Once the smoke is seen exiting the end of
the hose, depress the top of the switch to
maintain the fan on low speed (designated
by 1 line – ). Allow the wood chips to
smolder and direct the smoke to where
required (see Tips page 9).
5. When sufficient smoke has been generated
or wood chips are extinguished, return the
switch the central position to turn the fan
off (designated by a circle O).
6. Allow the unit to cool completely after
burning has completed.
7. When cooled completely the burn chamber
can be removed by pulling it free of
the barrel.
NOTE
• Invert the burn chamber and tap on a solid
surface to remove any remaining wood chips
or ash.
• It is recommended to clean the burn chamber
prior to re-assembly.
WARNING
The burn chamber is very hot after use.
Exercise caution.
8
 Loading...