

Breville BSK500XL User Manual

ikon™ Kitchen Scale Balance de cuisine ikonMC BSK500XL
Instruction booklet Manuel d’ instructions

2
CONGRATULATIONS
on the purchase of your new Breville ikon™ Kitchen Scale

1
CONTENTS
2 Breville Recommends Safety First
4 Know Your Breville ikon™ Kitchen scales
7 Operating Your Breville ikon™ Kitchen Sales
11 Care, Cleaning and Storage

2
BREVILLE RECOMMENDS SAFETY FIRST
We at Breville are very safety conscious. We design and manufacture consumer products with the safety of you, our valued customer foremost in
mind. In addition we ask that you exercise a degree of care when using this product and adhere to the following precautions:
IMPORTANT
SAFEGUARDS
Carefully read all instructions before •
operation and save for future reference.
Remove and safely discard any •
packaging material and promotional
stickers and labels before using the
ikon™ kitchen scale for the first time.
To eliminate a choking hazard for young •
children, remove and safely discard the
protective rubber grommets fitted below
the weighing platform.
Do not place the ikon™ kitchen scale •
near the edge of a bench or table.
Always ensure that the surface is level,
clean and free of water, flour, etc.
This scale is a precision instrument. Do •
not dismantle the scale and avoid strong
vibrations and shocks.
Any significant spillage onto the surface •
under or around the appliance, or onto
the appliance itself, should be cleaned
and dried before continuing to use
the appliance.
Do not place the ikon™ kitchen scale •
on or near a hot gas or electric burner,
or where it could touch a heated oven.
Do not place it in direct sunlight.
When moving the scale to a new •
location where the temperature of the
new location differs by more than
50°F (10°C), leave the scale in the new
location for at least 2 hours before
turning it on.
Always remove the battery if the scale •
will not be used within the next
6 months or longer.
Always ensure a 9V alkaline battery is •
properly inserted into the scale before
use. The appliance will not operate
unless properly assembled.
Ensure the temperature probe is •
handled with care because the pointed
end is sharp.
Keep the appliance clean. Refer to care •
and cleaning.
Do not use harsh abrasives or caustic •
cleaners when cleaning this appliance.
Young children should be supervised •
to ensure that they do not play with
this scale.
Any maintenance other than cleaning •
should be performed at an authorised
Breville Service Center.
This scale is for household use only. •
SAVE THESE
INSTRUCTIONS
3
KNOW
your Breville ikon™ Kitchen Scale
4
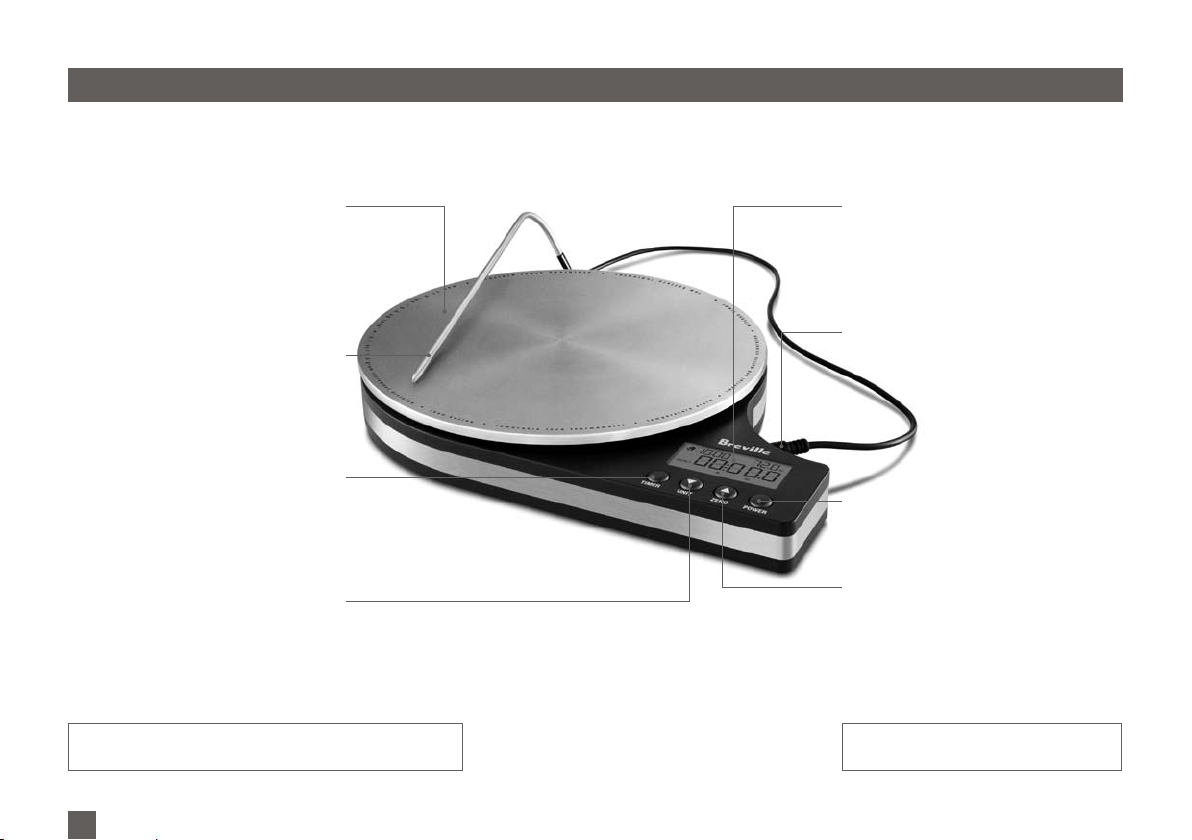
KNOW YOUR BREVILLE ikon™ KITCHEN SCALE
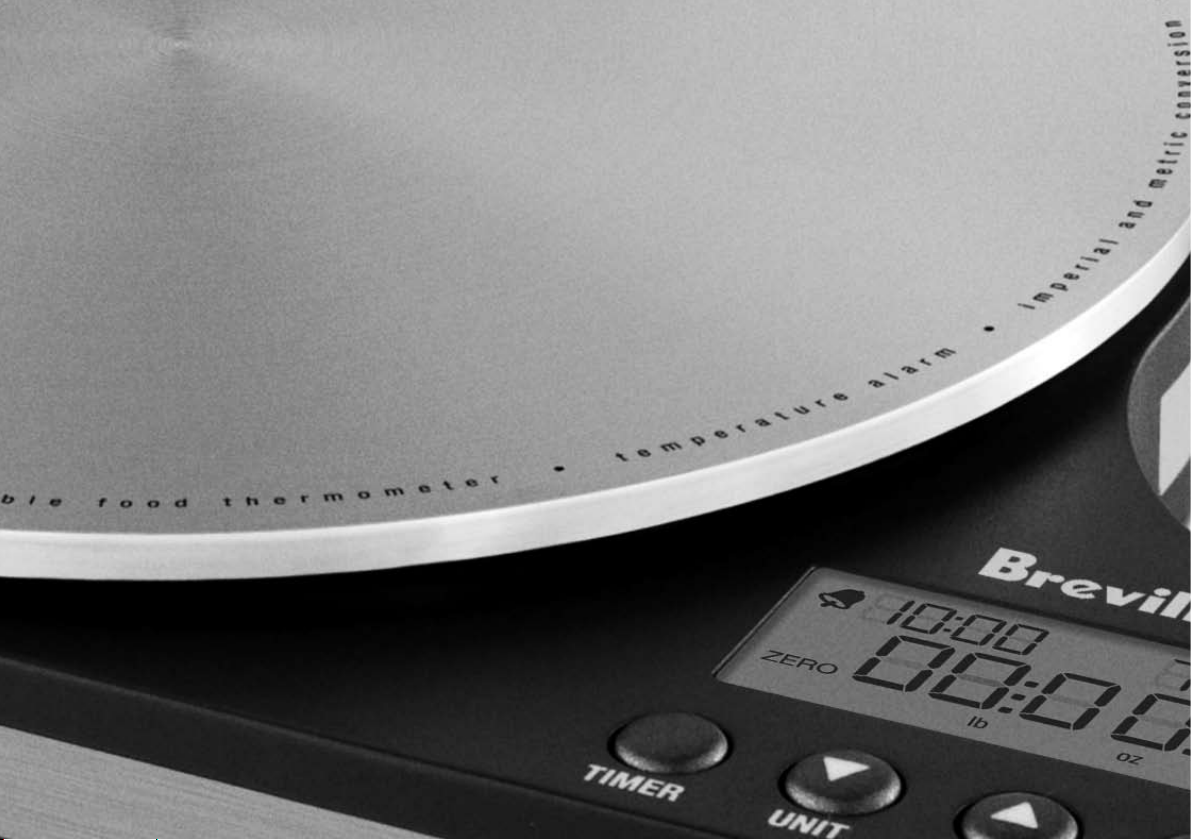
Weighing Platform
hygienic stainless steel platform
Temperature Probe
used to measure the temperature
of food and beverages
Timer
button used to operate the temperature
alarm/kitchen timer on the kitchen scale
Unit
press button to set imperial (oz, lbs) or
metric (g, kg) standard on the kitchen
scale. This button can also be used
to scroll down
Celsius/Fahrenheit conversion table
located on the underside of the unit for your convenience
LCD Screen
easy reading of weight,
temperature and timer with blue backlight
Temperature Probe Socket
temperature probe must be inserted
into the socket for use
Power
press button to turn the kitchen scale on
and off. The kitchen scale will turn itself off
automatically after 2 minutes of non-use
Zero
press button to zero/tare the kitchen scale
and to set temperature alarm/kitchen timer.
This button can also be used to scroll up
9 Volt alkaline Battery
included for your convenience
5
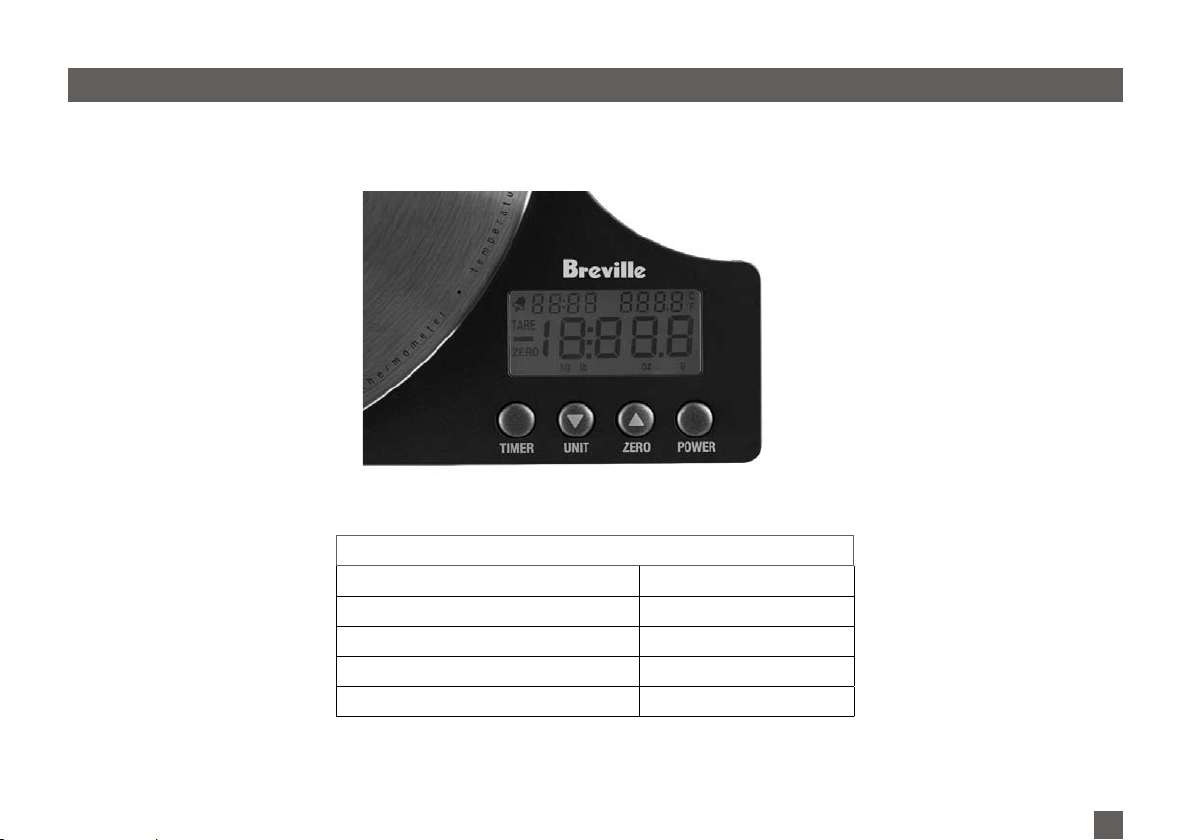
KNOW YOUR BREVILLE ikon™ KITCHEN SCALE
SPECIFICATIONS
Battery Type 1 x 9V Alkaline
Graduation 0.1oz/1g
Scale Maximum Capacity (Zero/Tare) 11Lbs/5Kg
Maximum Timer 99 min 59 sec
Maximum Temperature 302°F/150°C

6
OPERATING
your Breville ikon™ Kitchen Scale
7
OPERATING YOUR BREVILLE ikon™ KITCHEN SCALE
Before first use
Remove and safely discard any packaging
material or promotional labels before using
the appliance for the first time.
Wipe kitchen scale and temperature probe
with a damp cloth then dry thoroughly.
NOTE:
Remove the rubber grommets from
around the stainless steel weighing
platform. These are used to help protect
the weighing platform during transit and
should be removed before first use.
Inserting the battery
1. Open the battery compartment cover
located underneath the kitchen scale
and insert 1 x 9V alkaline battery,
ensuring the polarity of the battery is
correctly aligned. Once the battery
is properly inserted, replace the
compartment cover.
Using your kitchen scale
1. Ensure the kitchen scale is on a dry
level surface for operation.
2. Press the Power button. The kitchen
scale will “beep” once and all functions
will be briefly displayed.
After a few seconds the scale will be
ready for use.
NOTE:
The kitchen scale has a default function
and will remember the last program
used. For example, if metric grams or “g”
was last selected, this will automatically
displayed the next time the kitchen scale
is switched on.
3. Place the item you wish to weigh in the
center of the weighing platform. Record
the weight, then remove item and press
the Power button to OFF. Alternatively, if
you have not finished using the kitchen
scale, follow the directions below for
other functions.
NOTE:
If the kitchen scale is switched on with an
item on the weighing platform, the LCD
screen will show “0”. If the item is removed
the screen will show the weight of the item
with the Minus sign (on the left hand side).
NOTE:
If the weighed items exceed the scale’s
capacity of 11lbs/5kg the error sign, “ER”
will be displayed on the LCD screen.
NOTE:
The batter y low indicator will appear on
the LCD screen should the battery need
replacing. Should this happen the LCD
screen will display the word “LO”.
NOTE:
The kitchen scale will automatically
turn itself off after 2 minutes of not
being used. The LCD screen will not be
illuminated when the kitchen scale is off.
To use the Zero button
To weigh different items consecutively
without removing the items from the
kitchen scale, use the “ZERO” button:
1. Press the Power button. The word
“ZERO” will display lower left side on the
LCD screen.
2. Place item to weigh in the center of the
weighing platform and record the weight.
Press the ZERO button to reset the
weight to “0” before adding the next item.
3. If the combined weight of all the items
weighed is less than 6.75oz/200g,
“ZERO” will appear on the left side of
the LCD screen.
 Loading...