

Instruction Manual
ECO CART L16V/L20V/L30H
16/20/30 Bay Laptop Storage & Recharging Trolley
With Power Management
1 V2 04/12

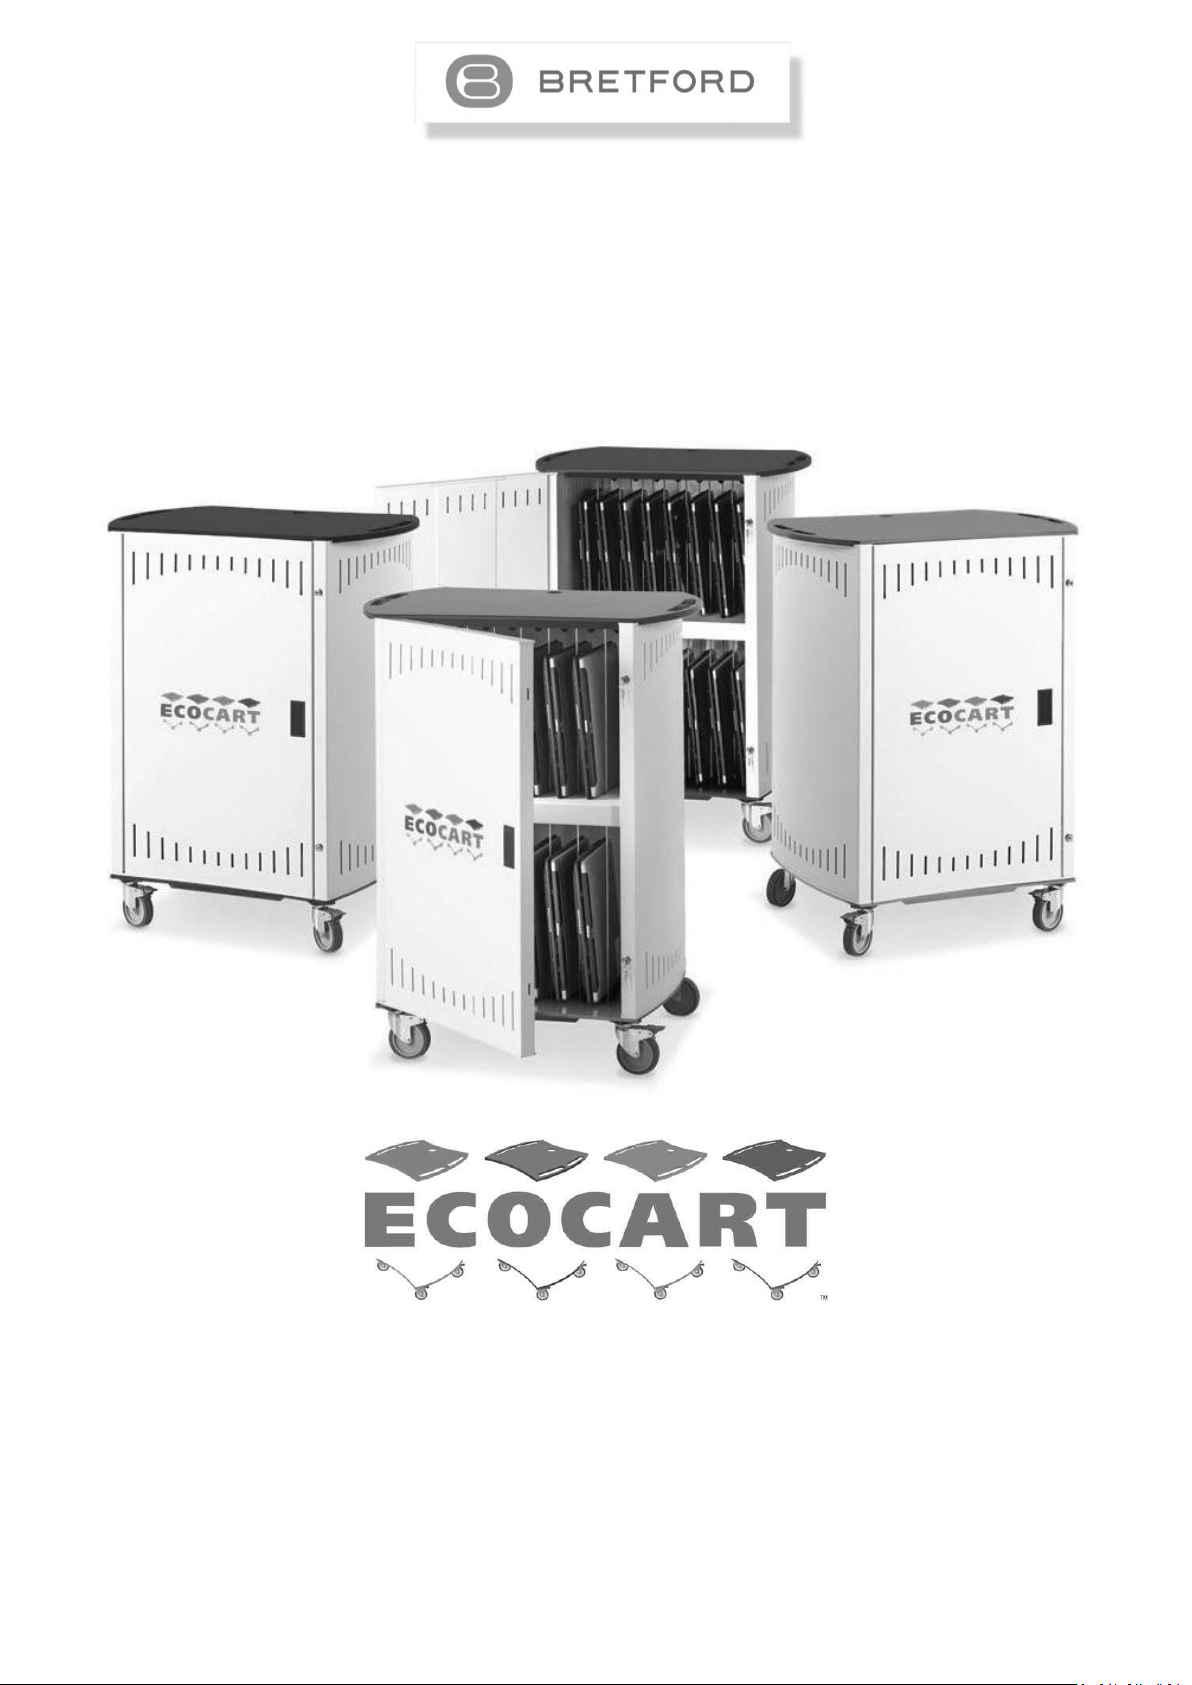
ECO CART L16V
Timer Module
IEC Power Strips
Power Pack Shelf
User Instruction for model ECO CART L16V/L20V/L30H
Before proceeding check the contents and familiarise yourself with the internal layout of the cart.
Contents:-
2 sets x front and rear door keys (located on top of cart).
4 x castors, 16 x bolts, 16 x washers located beneath the middle shelf inside the laptop storage area.
(Applicable to 16V and 20V models only)
IEC adaptor leads - Quantity 16/20/30 x IEC to figure eight and clover leaf connectors located inside the
laptop storage area.
Mains lead = 13amp plug – IEC connector located inside the power and adaptor storage area.
Cart layout:-
Please refer to your model as below:-
2
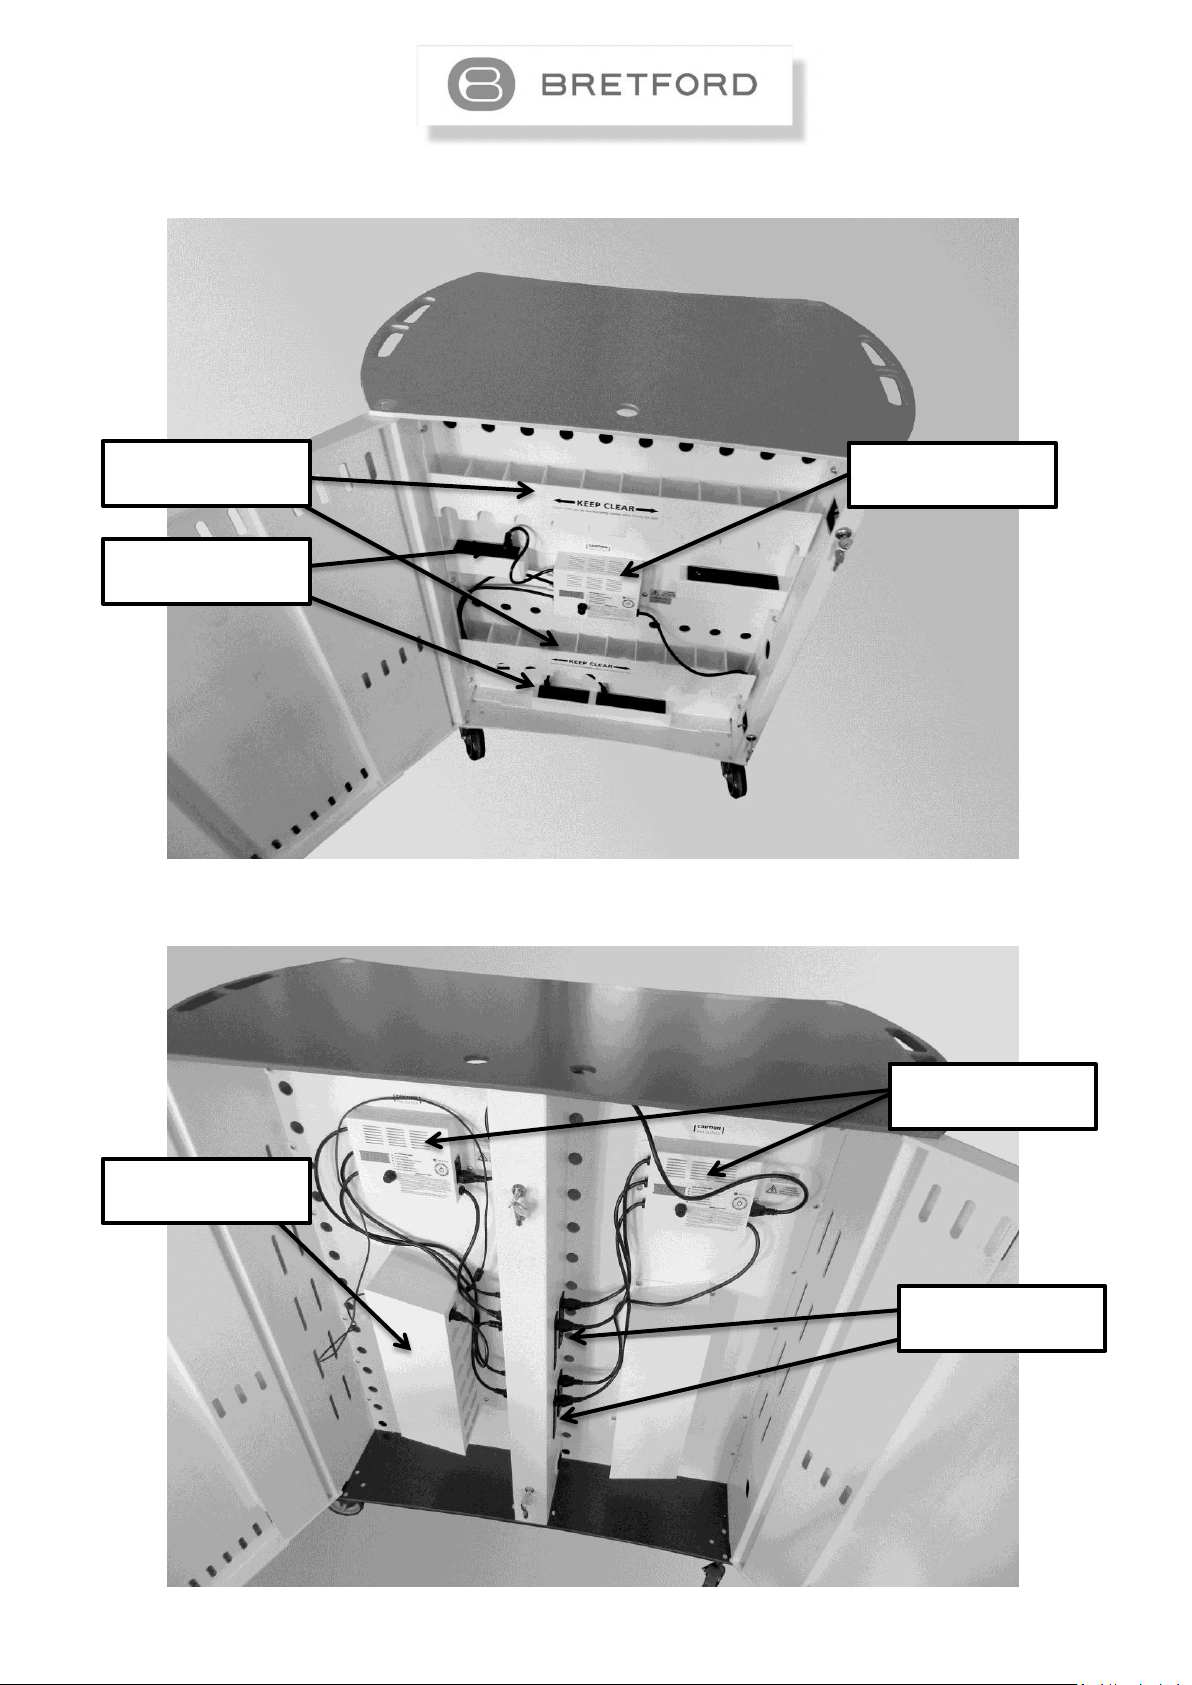
ECO CART L20V
ECO CART L30H
Power Pack Shelf
IEC Power Strips
Timer Module
IEC Power Strips
Power Pack Shelf
Timer Modules
3

The EcoCartTM charging trolley from Bretford is specifically designed for the storage and recharging of up
to laptops. To assemble/configure your new EcoCartTM charging trolley, simply follow the steps below...
DO NOT CONNECT TO THE MAINS SUPPLY UNTIL STEPS 1-3 ARE COMPLETE
Step 1: Fitting the Castors – ECO CART L16V and L20V versions only
(ECO CART L30H model come with the castors already fitted)
PLEASE NOTE: Bretford advise this is a 2 person operation
1. Remove the castor pack from inside the laptop storage area. This will be
strapped to the underneath of the middle laptop shelf
2. Turn the EcoCart
TM
onto its top to reveal the 4 corner castor attachment plates
on the base of the cart.
3. Position the castors above the 4 bolt holes in each corner of the cart, with the 2
locking castors at the front.
4. Place the washer provided over each of the M6 bolts provided, then push
through the castor plate into the bolt holes below.
5. Tighten each bolt using an M10 spanner (not provided), then return the cart to
an upright position
IMPORTANT - Ensure the bolts are fully tightened and the castors are securely fitted before returning the cabinet to an upright
position. It is recommended the bolts are checked at regular intervals to ensure they remain fully tightened.
View our ‘Attaching the castors guide’ at www.eco-carts.co.uk/help.
Step 2: Placing & connecting the power packs
ECO CART L16V & L20V
← ECO CART L16V & L20V Models
Open the rear door to reveal 2 power pack shelves
running along the top and bottom of the cart.
ECO CART L30H Model →
Open the rear doors to reveal the 2 power pack shelves
centred in the left and right hand side compartments of
the trolley below the timer modules, featuring 16
individual compartments in each shelf block.
ECO CART L30H
Remove the mains/3pin plug lead from the laptop power pack and store in a
safe place.
All EcoCartTM models are supplied with either 16/20/30 x IEC to figure of eight
& 16/20/30 x IEC to cloverleaf cables to be connected into the laptop power
pack & the IEC power strips. These will be found in the laptop storage area.
Firstly select the leads with corresponding connector for the power packs
being used in the cart.
IEC
Clover
Leaf
Figure of
Eight
4
 Loading...