

Page 1
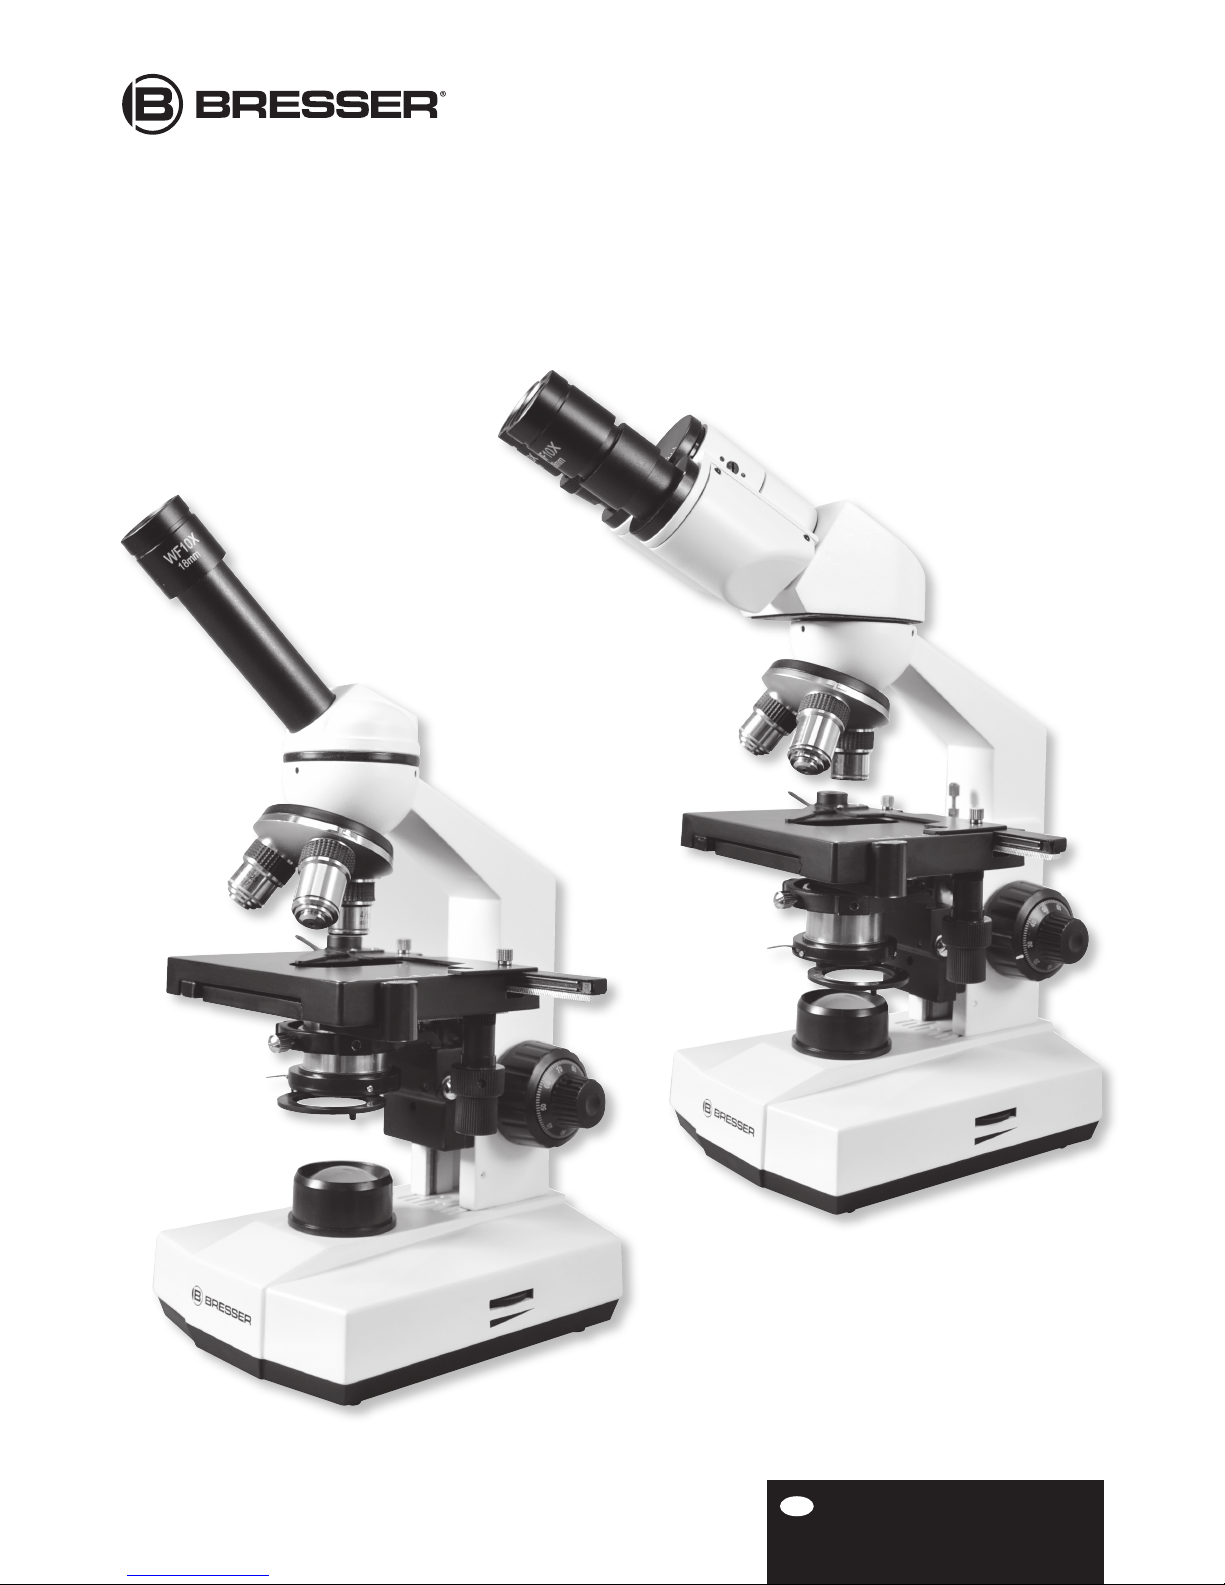
ERUDIT Basic
Art. No.
5102100
5102200
GB
INSTRUCTION MANUAL
Transmitted light Microscope
Page 2
2
Fig. 1
F G H
+
A
C
B
D
E
A
C
B
D
E
Art. No. 5102100 Art. No. 5102200
Page 3
3
Fig. 2
Fig. 4
1(
1*
Fig. 6
G
1%
1^
Fig. 5
1&
1@
Click!
Fig. 3
2!
B
C
D
E
F
G
1!
H
Ij
1@
1&
1)
1!
j
1#
1$
1%
1^
Fig. 7
2)
2@
Art. No.
5102100
Art. No. 5102200
Page 4

4
ABOUT THIS INSTRUCTION MANUAL
These operating instructions are to be considered
a component of the device. Please read the safety
instructions and the operating instructions carefully before
use. Keep these instructions for renewed use at a later
date. When the device is sold or given to someone else, the
instruction manual must be provided to the new owner/
user of the product.
INTENDED USE
This product is intended only for private use.
It was developed for the magnified display of things in
nature.
This device is not intended for use by individuals (including
children) with limited physical, sensory or mental capabilities or those lacking in experience and/or knowledge, unless they are supervised by an individual responsible for
their safety or have received instructions from them regarding the use of the device.
Children must be supervised to ensure that they do not
play with the device.
GENERAL WARNING
RISK OF CHOKING!
Keep packaging material, like plastic bags and rubber
bands, out of the reach of children, as these materials pose
a choking hazard.
RISK of BODILY INJURY!
Contains functional sharp edges and points!
Tools with sharp edges and points are often used when
working with this device. Because there is a risk of
injury from such tools, store this device and all tools and
accessories in a location that is out of the reach of children.
RISK of ELECTRIC SHOCK!
This device contains electronic components that operate
via a power source (batteries). Children should only use
the device under adult supervision. Only use the device as
described in the manual; otherwise, you run the risk of an
electric shock.
Before operating, check the device, cables and
connections for damage. Never use a damaged unit or a
unit with damaged power cables. Damaged parts must be
exchanged immediately by an authorised service centre.
RISK of FIRE/EXPLOSION!
Do not expose the device to high temperatures. Use only
the recommended batteries. Do not short-circuit the device
or batteries, or throw them into a fire. Excessive heat or
improper handling could trigger a short-circuit, a fire or an
explosion.
RISK of PROPERTY DAMAGE!
Protect the device from severe shocks!
The manufacturer is not liable for damage related to
improperly installed batteries!
Do not disassemble the device. In the event of a defect,
please contact your dealer. The dealer will contact the
Service Centre and can send the device in to be repaired,
if necessary.
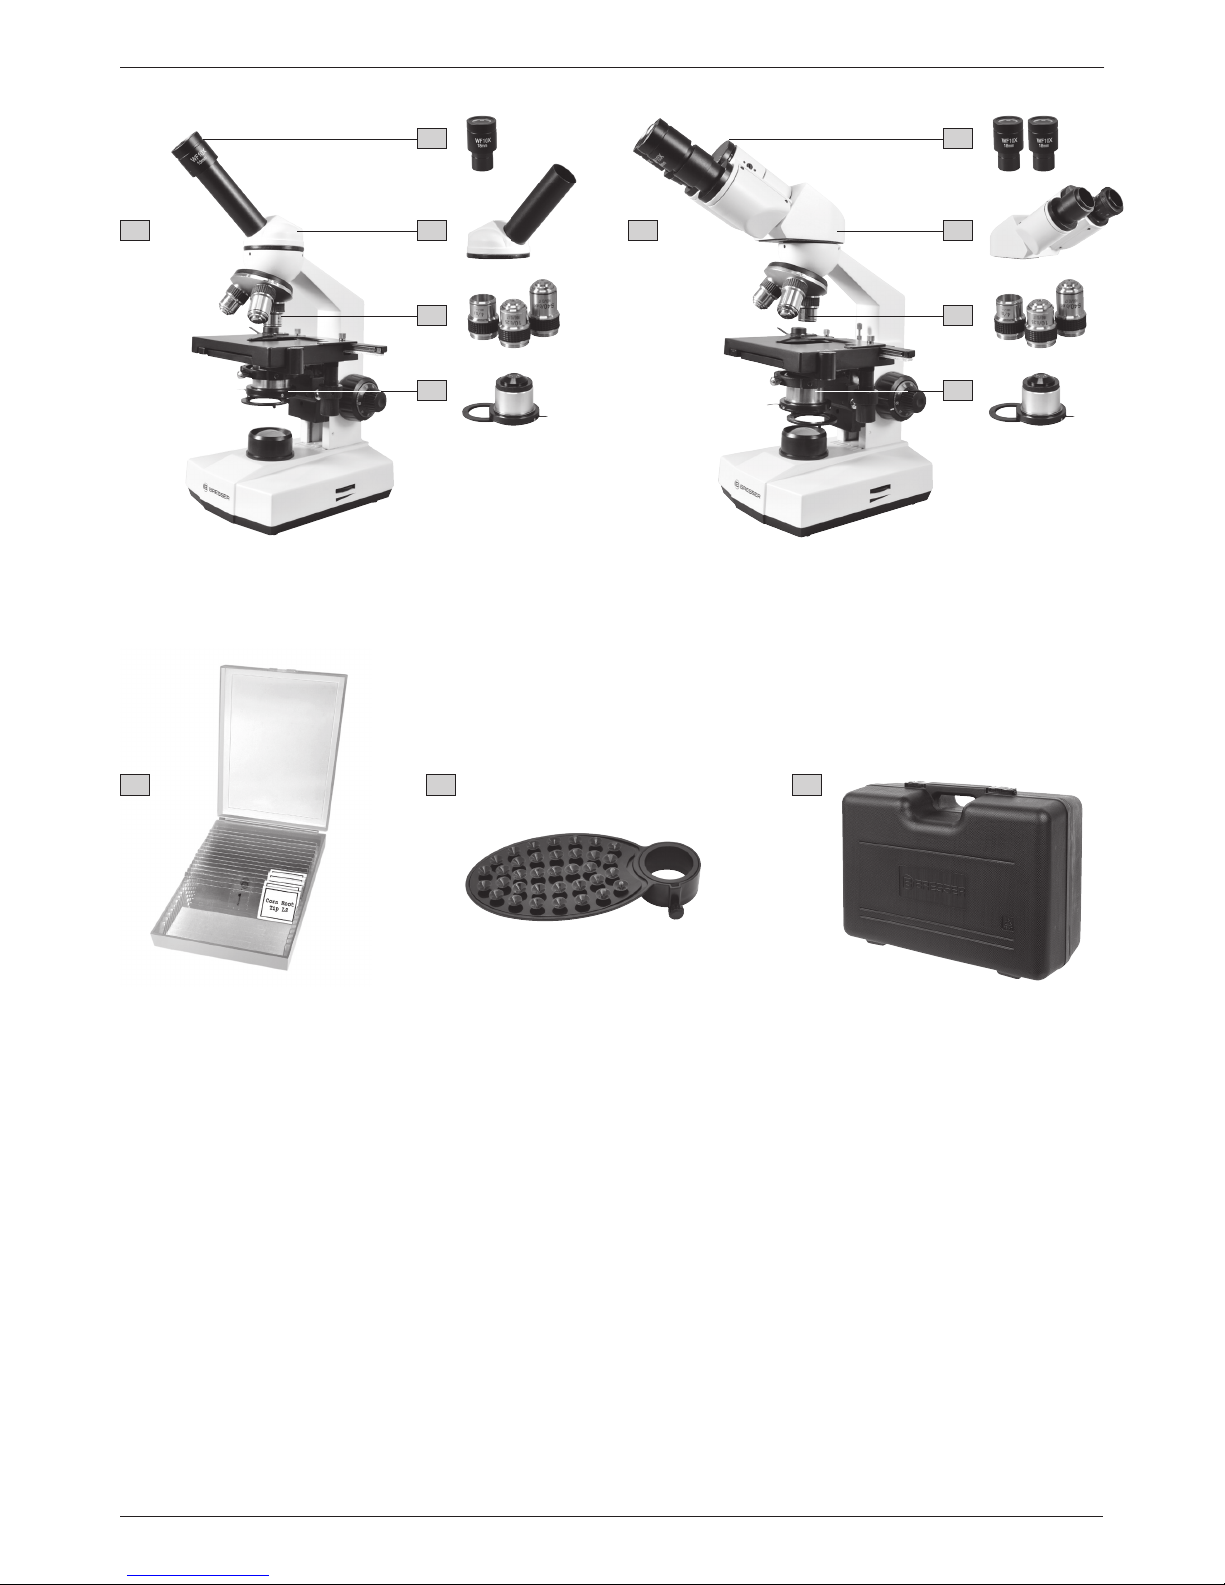
1. PACKAGE CONTENTS (FIG. 1)
(several accessory parts are premounted)
(A) Microscope with
(B) Microscope head
(C) 10x WF eyepiece
(D) Objectives: 4x, 10x, 40x
(E) Condenser
(F) Box with 5 prepared slides, blank slides and cover
glasses
(G) Smartphone holder
(H) Transport case
2.
PARTS OVERVIEW FOR ALL MODELS (FIG. 2)
1 Eyepiece
2 Eyepiece holder
3 Microscope head
4 Objective revolver
5 Objectives (4x, 10x or 40x)
6 Slide clamp
7 Condenser
8 Adjusting lever for iris diaphragm
9 Filter holder
10 Condenser height adjustment
11 Condenser adjustment screws
12 Illumination
13 Coarse-adjusting wheel
14 Fine-adjusting wheel
15 Lengthwise knob of mechanical desk
16 Cross knob of mechanical desk
17 Rotary switch (On/Off switch with dimmer)
18 Battery compartment
19 Locking screw for battery compartment
20 Smartphone holder
only for model Erudit Basic Bino (Fig. 3)
21 Eyepiece tubes with foldable center axis
22 Diopter setting
3. LOCATION
Before you set up the microscope, you must choose a
suitable location.
First you must make sure that your microscope is on a
stable and solid surface.
4. INSERTING BATTERIES (FIG. 4)
The battery compartment (18) is located at the bottom
of the microscope. Loosen the locking screw (19) of the
battery compartment cover. Remove the cover. Insert three
AA type batteries (Mignon LR6). Make sure that the poles
of the batteries are in the correct position as marked on
the inner side of the battery compartment. Re-insert the
battery compartment cover and tighten the locking screw
(19) only hand-tight to avoid any damage to the cover.
You can also use accumulators of the same type instead of
normal batteries. Due to the lower voltage of accumulators,
a lower illumination can occur.
5. ELECTRIC ILLUMINATION (FIG. 5)
The microscope is equipped with a battery-powered LED
Page 5

5
illumination. Therefore the usage with an off-grid power
supply (e.g. outside) is possible.
On/Off switch and dimmer are combined in one rotary
switch (17). To power on the device turn the rotary switch
(17) until you hear a ‚click‘. Starting at this point, the
brightness can be adjusted. Always use a light intensity
that allows for a good illumination of the object.
NOTE!
Do not operate the microscope with maximum brightness
over a longer time. This will reduce the LED lifetime.
The battery runtime is up to 30 hours (at minimum illumination
power).
6. OBSERVATION (FIG. 6)
You begin each observation with the lowest magnification
(eyepiece 10x and objective 4x). So, the object to be viewed
can easy be centred and properly focussed. The higher the
magnification the more light is required for good image
quality. Turn the objective revolver (4) onto the smallest
magnification and insert the 10x eyepiece. Now place a
preparation directly under the objective on the microscope
table and fix it with the slide clamps (6). Move the
preparation on the table with the lengthwise knob (15) and
cross knob (16) of the mechanical desk. look through the
eyepiece (1) and turn the coarse adjustment (13) carefully
until the image becomes visible. The optimal sharpness is
achieved by the fine adjustment (14).
NOTE!
Make sure that you never overtighten the fine adjustment.
7. ADJUSTING THE INTERPUPILLAR
DISTANCE
(only Erudit Basic Bino)
Place the preparation on the mechanical desk and bring
it into the exact focus. Adjust the interpupillar distance by
folding the eyepiece tubes (21) over its center axis at the
microscope head (3) until the right and the left field of view
can be composed to one.
8.
DIOPTER SETTING
(only Erudit Basic Bino)
Place the preparation on the mechanical desk. Turn the
40x objective (5) to the working position. Look through the
right eyepiece with the right eye first. Bring the image into
focus by turning the the coarse and fine focusing knob.
Then look through the left eyepiece with the left eye. Focus
on the image by turning the diopter setting (22).
9. CONDENSER
The condenser (7) is used to properly bundle the light
of the illumination to the viewed object. Turn the height
adjustment knob (10) to adjust the condensor.
Moreover the condenser can be adjusted by its two
adjustment screws (11). Use a small slot screwdriver or
an Allen wrench (depending on the model). Close the iris
diaphragm (8) completely and focus on an object with the
4x objective (5). Turn the height adjustment (10) to move the
condenser (7) downwards until you clearly see the edge of
the aperture. If the light area is not centered, you can adjust
the condenser (7) over the two adjustment screws (11).
When done this, move the condenser (7) back into an optimal
position and re-open the iris diaphragm (8).
10. IRIS DIAPHRAGM
An iris diaphragm (8) is used to enlarge the depth of focus.
The larger the aperture the more light you will get, but with a
minor depth of focus. A partly closed aperture will provide a
better depth of focus but it is therefore neccessary to increase
the lighting.
Do not close the aperture (8) to much when working with
a higher magnification, because of a decreasing image
resolution.
11. FILTER HOLDER
The filter holder (9) can be used for filters with a diameter
of 32 mm and a thickness of approx. 1.5 mm (available
optionally).
12. SMARTPHONE HOLDER (FIG. 7)
Put the Smartphone holder (20) over the eyepiece and fix it
with the knurled screw.
When using a device with binocular head (5102200), install
the holder to the left or right eyepiece.
NOTE!
The suction cups must be free of dust and dirt. It may help
to slightly dampen them.
Make sure that the Smartphone holder is mounted securely
and the Smartphone is firmly fixed on the plate.
Smartphones with a rough surface can not be fixed as
good as that one with flat surfaces. Make sure that it will
not slip down.
Start the camera App on your Smartphone. The camera
lens must be placed directly over the eyepiece to get the
image centered in the middle of the LCD.
It can be neccessary to enlarge the image to the full LCD
size by using the camera zoom. A shadowing at the edges
is possible.
Remove the Smartphone from the holder after use.
13. MAINTENANCE AND STORAGE
Use only the recommended batteries!
Always replace weak or empty batteries with a new,
complete set of batteries at full capacity. Do not use
batteries from different brands or with different capacities.
Remove the batteries from the unit if it has not been used
for a long time.
Do not disassembe the microscope!
Because of being a precise optical instrument, do not
disassemble the microscope casually. That may cause
serious damage to its performance. Do not disassemble
the objectives.
Avoid contamination!
You should make sure that dust or moisture do not come
in contact with your microscope. Avoid putting fingerprints
on any optical surfaces! If dust or dirt nevertheless have
gotten onto your microscope, or the accessories, remove it
as described below.
Page 6

6
Cleaning non-optical parts
Remove batteries from the device before cleaning nonoptical parts (e.g. housing, mechanical desk). Remove dust
and dirt from your microscope or its accessories by using
a soft brush. Clean the soiled area with a soft, lint-free
cloth; the cloth may be moistened with a mild detergent
solution. Be sure that the microscope is dry before using
it. For cleaning the painted parts or plastic components, do
NOT use organic solvents such as alcohol, ether, acetone,
xylene or other thinner etc.!
Cleaning optical parts
In order to enhance the optical quality, the lenses of
eyepieces or objectives are coated. They should not be
wiped because dry dirt or dust may scratch the coating. It
is best to remove the parts to be cleaned from the frame
prior to cleaning. Always blow loose dust away first. Use
lens tissue of good quality or soft fabric moistened with
a small amount of pure alcohol (available in the chemist’s
shop); wipe the lens surface clean.
Being not used
Store the microscope in the transport case when not using
ist and keep it in a dry and fungus-free place. In the case of
non-use for a longer time, you should stow the microscope
and the accessories in their correct containers again. We
suggest the storage of all objectives and eyepieces in a
closed container with drying agent.
Remove the batteries from the unit if it is not used for a
longer time.
Remember:
A well maintained microscope will keep its optical quality
for years and thus maintain its value.
14. INTERESTING FACTS
Aperture:
The numerical Aperture (the unit of measurement for the
resolution factor of the objectives) is engraved beside the
magnification-sign on the objectives.
Calculating the magnification:
Formula:
Eyepiece magnification x Objective magnification = Total
magnification
Example:
10x (Eyepiece) x 10x (Objective) = 100x Total magnification
15. DISPOSAL
Dispose of the packaging materials properly, according
to their type, such as paper or cardboard. Please take
the current legal regulations into account when disposing
of your device. You can get more information on the proper
disposal from your local waste-disposal service or
environmental authority.
Do not dispose of electronic devices in the household
garbage!
As per Directive 2002/96/EC of the European Parliament
on waste electrical and electronic equipment and its
adaptation into German law, used electronic devices must
be collected separately and recycled in an environmentally
friendly manner.
In accordance with the regulations concerning
batteries and rechargeable batteries, disposing of
them in the normal household waste is explicitly forbidden.
Please make sure to dispose of your used batteries as
required by law — at a local collection point or in the retail
market. Disposal in domestic waste violates the Battery
Directive.
Batteries that contain toxins are marked with a sign and a
chemical symbol. "Cd" = cadmium, "Hg" = mercury, "Pb" =
lead.
16. EC DECLARATION OF CONFORMITY
Product type: Transmission-type microscope
Product description: Erudit Basic Mono/Bino
Art. No.: 5102100 / 5102200
Bresser GmbH has issued a "Declaration of Conformity" in
accordance with applicable guidelines and corresponding
standards. This can be viewed any time upon request.
Page 7

7
17. TECHNICAL DATA
Model Erudit Basic Mono
(Art. No. 5102100)
Model Erudit Basic Bino
(Art. No. 5102200)
Microscope head monocular binocular
Mechanical desk with Nonius setting
Eyepiece(s) 1 piece DIN WF 10x 1 pair DIN WF 10x
Objektives 4x / 10x / 40x
Magnication 40x / 100x / 400x
Power supply 4.5V (3 batteries, AA/LR6 type)
Illumination LED* (battery-powered)
* The LED illumination used in this device has a very long lifespan and does not need to be changed. It can not be changed due to technical reasons!
FR
Vous souhaitez un mode d’emploi détaillé pour ce
produit dans une langue spécifique ? Alors consultez
notre site Internet à l’aide du lien suivant (code QR)
pour voir les versions disponibles.
ES
¿Desearía recibir unas instrucciones de uso
completas sobre este producto en un idioma
determinado? Entonces visite nuestra página web
utilizando el siguiente enlace (código QR) para ver
las versiones disponibles.
IT
Desidera ricevere informazioni esaustive su questo
prodotto in una lingua specifica? Venga a visitare il
nostro sito Web al seguente link (codice QR Code)
per conoscere le versioni disponibili.
RU
Вам требуется подробная инструкция на это
изделие на определенном языке? Проверьте
наличие соответствующей версии инструкции,
посетив наш сайт по этой ссылке (QR-код).
www.bresser.de/download/5102100_200
GB
WARRANTY & SERVICE
The regular guarantee period is 2 years and begins on the day of
purchase. To benefit from an extended voluntary guarantee period
as stated on the gift box, registration on our website is required.
You can consult the full guarantee terms as well as information
on extending the guarantee period and details of our services at
www.bresser.de/warranty_terms.
Page 8

Errors and technical changes reserved. Manual_5102100-5102200_Erudit-Basic_en_BRESSER_v012018a
www.bresser.de
Bresser GmbH
Gutenbergstr. 2 · DE-46414 Rhede
Germany
www.bresser.de · service@bresser.de
 Loading...