

READ
& SAVE
THESE
INSTRUCTIONS
I N STA LLATION
OPERATION
INSTRUCTIONS
TCOLS & MATERIALS
r-.:
li-
=
--.,
.
FCTRIC..{L
.-.-...nce
:-=-Jed by a
;::l;:
i-J.:
-
-:
-
--Iu1\
,--.-. ,
assembling
Ber'ore
CONNECTIONS.If
refer to a do-it-yourself wiring handbook or have
quaiified
your
licensed electrician.
as required by electrical code
r*
Lighting fixture,refer to the section titled
you
feel
REQUIRED
you
do not have electrical wirirg
your
fixture
GENERAL
9..{RNING:RISK
.935 HAVE SUPPLY WIRE RATED 6O"C REFER TO SUPPLY
}.IRE
MARKINGS'ON FDOURE.CONSIJLT A
ELECTRICIAN BEFORE
l.To ensure the success
Lnsrucdons and
beginning.
electrical connections must
2.AIl
ordinances,
with methods of
qualified
3.These
box
structulej
4.
Before
the circuit breaker
the
electrical shock.
NOTE:The
thjs manual are
siruadons that may occur
sense.caution,and care
product These factom must be supplied by the
operating
Check
.
Mounting hardware
Lampholder assembly($
'
.
Mounting
.
Shade(s)-not
.
Shade attachment screws
licensed
fixtures
must be directly supported by
starting the
power
off using
important safeguards
the
the contents of &e box. You should receive:
bracket
NOTE:FIRST
you
i If
I
replacing
are
i:-tture, Expose the supply
fixtures are
Some
machi.ne screws(see Fig.2 and 2A) for
rracket.
: ::oplete
.:ck nut.lf
your
If
toms into the mounting bracket and lock into
your
FIRE. MOST DWELLINGS
OF
INSTALLING
QUAUFIED
of the inst.llation. be sure to read these
review the diagrams thoroughll before
National Elecrncal Code Ii
or the
installing eiectrical
electrician
intended to be mounted to an outlet box. The
are
be in accordance
qrrirs
secure ire senices of a
the
instaliation, disconnect the
or by removing rhe fuse
the light switch is not sufficient to
and
not meant to cover all
fixture.
It must be understood that
are factors wihch cannot be built into any
UNPACK
package
provided on all models
(3
for each shade)-not
PREPARE
possible
THE FIXTURE
THE FIXTURE
power
at the fuse
instructions
conditions and
person(s)caring
provided
TURN OFF ELECTRICITY
existing fixture. disconnect
an
wring from
provided
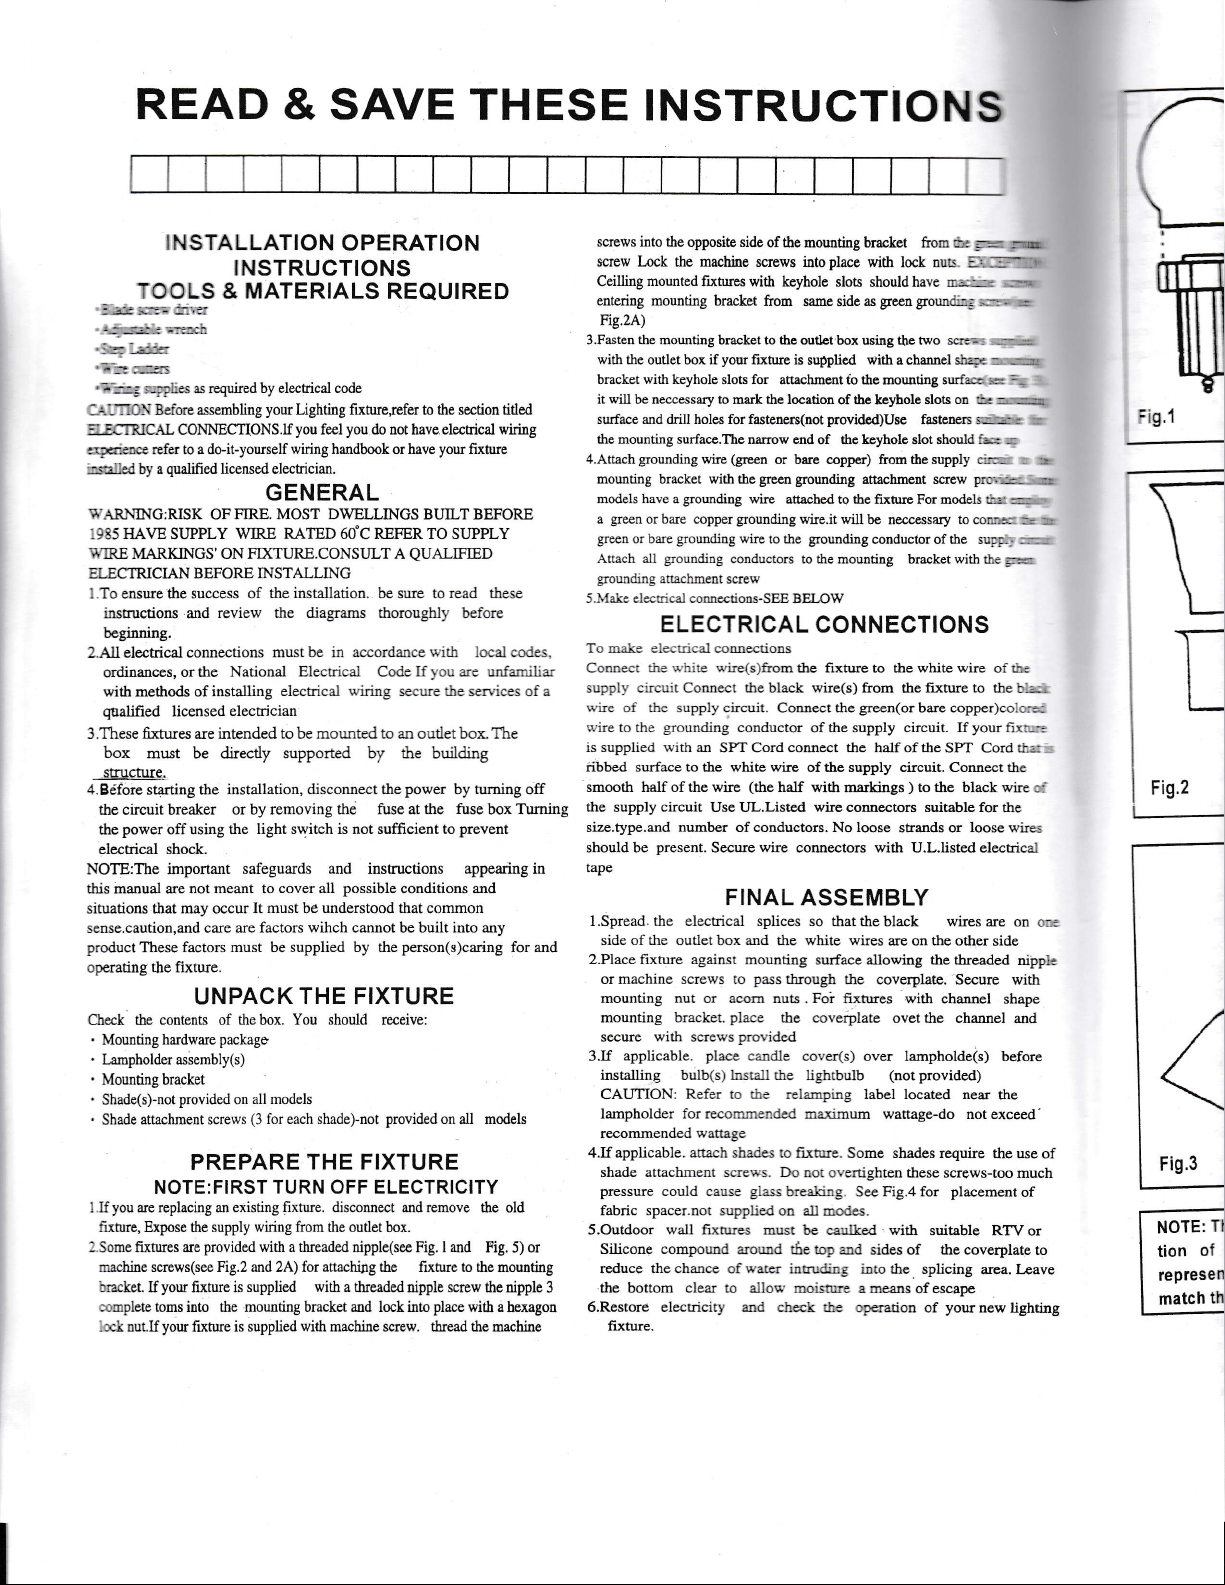
with a threaded nipple(see Fig. I and
supplied with a threaded
fixture is
is supplied with machhe screw. tbread the machine
fxture
the oudet box.
attachipg
and
the fixture to the mounting
nipple
BUILT BEFORE
uith
local ccies.
are unJanlar
1ou
bu:ldLng
by rurning off
prevent
appearing
common
on all models
remove
the old
Fig. 5) or
screw
the nipple
place
with a hexagon
box
Tumiag
in
for and
screws into the
screw Lock the
Ceillingmountedfrxtures
entering mounting bracket
Fig.2A)
3.Fmten
with
the outlet box if
bracket with keyhole slots for
it wiJ.l
surface md drill holc forfasteners(notprovided)Use fastenere s:r: r
mountirg
the
4.Attachgroundingwire(green
mounting bracket with the
models have
green
a
green
Attach al1
grounding
\{a}e
5
To
make
Connect ire
supp11 :ircuit Connect the black wire(s) from
*
ire of the supply circuit.
\.,iretothe groundilg
is supplied rvith m
ribbed surface to the white wite
smooth half of the wire
the
supply
size.type.and
should be
tape
l.Spread.the electrical spLices so thattheblack
side of the outlet box and the white wiles
2.Place fixture against
or machine screws to
mounting
mounting bracket.
secure with screws
3.If applicable.
installing bulb(s) hsujl rhe Iightbulb
CAUTION:
lampholder forrecom:ndeC naumum
recommended
4.If applicable. anach sharies to
shade attachment screqs. Do
pressure
fabric
S.Outdoor wall fixrures must
Silicone compound arould
reduce
3
the bottom clear rc a.ilo* moislure
6.Restore electriciq, and chelk ihe cperacion
fixture.
opposite side
machine screws into place with lock nuc
of the mounting bracket from
with keyhole slots
from samesideasgreengrourlci:.,,:-r:" *l
the
mountirg brrcket to the outlet
be neccessary
or bue copper grounding
or bue
acachment
el*ncal com*tions-SEE BELOW
ELECTRICAL
:le;':ical
circuit
present.
could cause
spacer.not
thechance
your
fixtue is
suppted
to
surface.The narrow end
grounding
a
grouading wbe
grounding
attachment fo the mounting surfa: .
mark the location
of
or bare copper) fromthesupply c-t
green groundiag
wte attached
wire.it wi-Il
grounding
to the
conductors
screw
to the mounting bmcket with rhe
CONNECTIONS
comeclions
*
*'ire(s)fiom
rrte
SPT Cordconnect
Use Ul.Listed wire comtrtors suitable for the
number
of conductors. No loose
Secue
FINAL
nut
or acofir nuts . Foi flrtues with
place
place
Refer
ro
wanage
suppLed on a.ll modes.
ofqarer intr'u.lirE mtothe
the fixtue to the white wire of t:
Comect the
conductor
(the
of
ofthe supply cicuit. Connect the
half with
wire
connectors with U.L.listed electrical
ASSEMBLY
mounting surface aliowing the threaded
pass
through the
rhe coverplate
provided
candle
cove(s)
Ae
relampmg label located near
fr-xture. Some shades requi-re the
ooi orenightenthese screws-toomuch
glass
breahrg
be ca,lked with suitable
rop ald sides of t}Ie coverplate
',tre
shouldhave n-:::. .-.ru
box using
thesupply circuit. Ifyourfir:--:
the two scre: r
with
a chmel
of thc keyhole
the kayhole slot should f:
attachment screw
the
to
fixtue For models r-:
be neccessary
conductor of the suF
the
green(or
the
of the
half
markings
)
strands or
are on the other
coverplate. Secure wrth
ovet
over lampholde(s) before
(not provided)
wattage-do notexceed'
Fig.4
See
a means of escape
r rumn
_-:::
=:
,.
:
l-
--
ri
-
sl-t :
---rL
-
-
-J
slots oD
prc
to
cor; ::
I
-;
i-i:-
..
F
rrl
=:
=-i
fixture to the
bare copper)coir:::
SPT Cord *-::
to the black wire
wiresare on
channel shape
the
channel md
placement
for
b:.
loose u,ire:
side
nippr:
the
use of
of
RTVor
splicing area.I-eave
yournewlighting
of
::
to
:
t:n
|ii
o:.:
!-
W
=
9,1
-Nr
l
L
Fig,2
Tr
NOTE:
of
tion
represen
th
match

oQ
o
The above
NOTE:
your
of
tion
representative
the style
match
diagram
Lighting
new
drawing
your
of
illustrates
and
fixture
the
fixture.
not intended
is
installa'
This
is a
F ig,2A
V/IRE
GROUND
..
'.-
3 ::,: :.'-
:
-
',,
__
_:=,
L
rr.
-!
,"-
r
_:.
(oto,;
\-/
-
-1!rss
-FtNlAi
: :
:
tl-;i
-
5HA;E
WIRE
GROUND
(SUPPLY)
BLACK
(FIX TURE)
'frtryT
HEX
:o rureele
a
t
adlust :-!:'
adjust r._.:"
-'lJ
\ t /-
c:_-UiP
to
Fig.5
E
-

WHTEL
SOCKtrT
WFIEEL
WITE
.-GLASS
SHAD
 Loading...