

Page 1
SERIES 5A AND 5B
INTRINSICALLY SAFE VALVE STATUS MONITOR
Installation, Operation and Maintenance Manual
THE HIGH PERFORMANCE COMPANYBRAY.COM
Page 2

Page 3

Series 5A and Series 5B I.S. Valve Status Monitor
Installation, Operation and Maintenance Manual
Table of Contents
1. Safety Instructions - Definition of Terms . . . . . . . . . . . . . . . . . . . . . . . . . . . . . .2
2. Hazard-Free Use . . . . . . . . . . . . . . . . . . . . . . . . . . . . . . . . . . . . . . . . . .2
3. Qualified Personnel. . . . . . . . . . . . . . . . . . . . . . . . . . . . . . . . . . . . . . . . .2
4. Part Numbering System Reference Chart . . . . . . . . . . . . . . . . . . . . . . . . . . . . . .3
5. Introduction . . . . . . . . . . . . . . . . . . . . . . . . . . . . . . . . . . . . . . . . . . . .3
6. Principle of Operation . . . . . . . . . . . . . . . . . . . . . . . . . . . . . . . . . . . . . . .3
7. Hazardous Locations . . . . . . . . . . . . . . . . . . . . . . . . . . . . . . . . . . . . . . . .4
8. Pre-Installation Storage . . . . . . . . . . . . . . . . . . . . . . . . . . . . . . . . . . . . . . .4
9. Mounting . . . . . . . . . . . . . . . . . . . . . . . . . . . . . . . . . . . . . . . . . . . . .5
9.1 Adjustable Bracket. . . . . . . . . . . . . . . . . . . . . . . . . . . . . . . . . . . . . .5
9.2 Fixed Bracket . . . . . . . . . . . . . . . . . . . . . . . . . . . . . . . . . . . . . . . .6
10. Accessing Internal Components . . . . . . . . . . . . . . . . . . . . . . . . . . . . . . . . . .7
10.1 Cover Removal . . . . . . . . . . . . . . . . . . . . . . . . . . . . . . . . . . . . . .7
10.2 Cover Installation . . . . . . . . . . . . . . . . . . . . . . . . . . . . . . . . . . . . .7
11. Field Wiring . . . . . . . . . . . . . . . . . . . . . . . . . . . . . . . . . . . . . . . . . . . .7
12. Reversal of Visual Indication. . . . . . . . . . . . . . . . . . . . . . . . . . . . . . . . . . . .9
13. Position Adjustment. . . . . . . . . . . . . . . . . . . . . . . . . . . . . . . . . . . . . . .10
14. Troubleshooting Chart . . . . . . . . . . . . . . . . . . . . . . . . . . . . . . . . . . . . . 11
15. Exploded Views . . . . . . . . . . . . . . . . . . . . . . . . . . . . . . . . . . . . . . . . . 12
Exploded View - 5A - Aluminum Trim . . . . . . . . . . . . . . . . . . . . . . . . . . . . . 12
Exploded View - 5A - Resin Trim . . . . . . . . . . . . . . . . . . . . . . . . . . . . . . . . 13
Exploded View - 5B Aluminum Trim . . . . . . . . . . . . . . . . . . . . . . . . . . . . . . 14
Exploded View - 5B Resin Trim . . . . . . . . . . . . . . . . . . . . . . . . . . . . . . . . .15
16. Replacement Parts . . . . . . . . . . . . . . . . . . . . . . . . . . . . . . . . . . . . . . . 16
16.1 Replacement Parts Aluminum Housing . . . . . . . . . . . . . . . . . . . . . . . . . . 16
16.2 Replacement Parts Resin Housing. . . . . . . . . . . . . . . . . . . . . . . . . . . . .16
17. Basic Tools . . . . . . . . . . . . . . . . . . . . . . . . . . . . . . . . . . . . . . . . . . . 16
FOR MORE INFORMATION ON THIS PRODUCT AND OTHER BRAY PRODUCTS
PLEASE VISIT OUR WEBSITE – bray.com
1
Page 4
Series 5A and Series 5B I.S. Valve Status Monitor
Installation, Operation and Maintenance Manual
Read and Follow These Instructions
Save These Instructions
1. Safety Instructions - Definition of Terms
Indicates a potentially hazardous situation which, if not avoided, could result in
death or serious injury.
Indicates a potentially hazardous situation which, if not avoided, may result in
minor or moderate injury.
NOTICE
Used without the safety alert symbol indicates a potential situation which, if not
avoided, may result in an undesirable result or state, including property damage.
2. Hazard-Free Use
This device left the factory in proper condition to
be safely installed and operated in a hazard-free
manner. The notes and warnings in this document
must be observed by the user if this safe condition
is to be maintained and hazard-free operation of
the device assured.
Take all necessary precautions to prevent damage
to the device due to rough handling, impact, or
improper storage. Do not use abrasive compounds
to clean the device, or scrape surfaces with any
objects.
Configuration and setup procedures for this device
are described in this manual. Proper configuration
and setup are required for the safe operation of
this device.
The control system in which this device is installed
must have proper safeguards to prevent injury to
personnel, or damage to equipment, should failure
of system components occur.
3. Qualified Personnel
A qualified person in terms of this document is one
who is familiar with the installation, commissioning
and operation of the device and who has appropriate
qualifications, such as:
• Is trained in the operation and maintenance of
electric equipment and systems in accordance
with established safety practices.
• Is trained or authorized to energize,
de-energize, ground, tag and lock electrical
circuits and equipment in accordance with
established safety practices.
2
• Is trained in the proper use and care of personal
protective equipment (PPE) in accordance with
established safety practices.
• Is trained in first aid.
• In cases where the device is installed in a
potentially explosive (hazardous) location - is
trained in the operation, commissioning,
operation and maintenance of equipment in
hazardous locations.
The VSM must only be installed, commissioned,
operated and repaired by qualified personnel.
All installation, commissioning, operation and
maintenance must be performed under strict
observation of all applicable codes, standards and
safety regulations.
Reference is specifically made here to observe
all applicable safety regulations for electrical
equipment installed in potentially explosive
(hazardous) locations.
Page 5
Series 5A and Series 5B I.S. Valve Status Monitor
Installation, Operation and Maintenance Manual
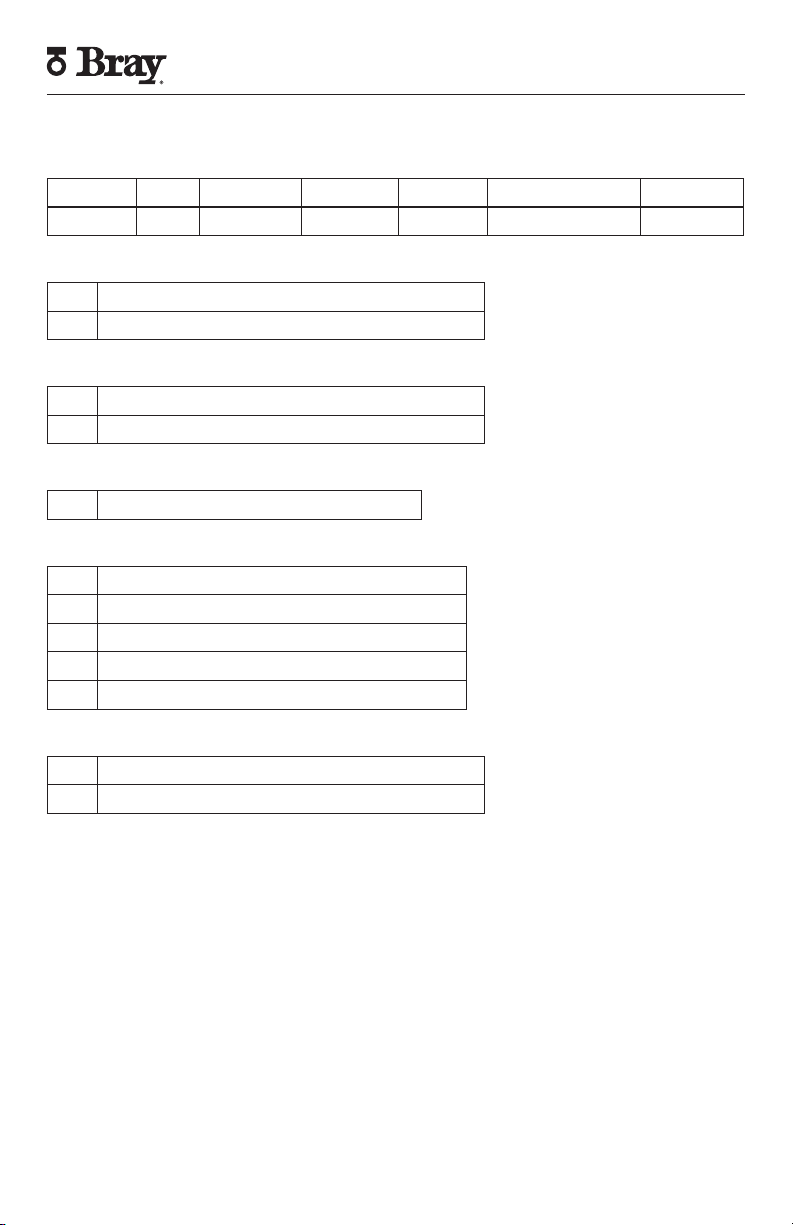
4. Part Numbering System Reference Chart
Series Housing Product Switch Configuration Trim
5X 000 H -126 S C T
5X – Designates Housing Size
5A Type 4,4x, IP 66/67, Max 2 switches
5B Type 4,4x, IP 66/67, Max 6 switches
H – Designates Housing Style
0 Imperial
5 Metric
S – Designates Switch Option
H Intrinsically Safe, 2-wire, Proximity Switch
C – Designates Switch Configuration
2 2 Switches
3 3 Switches, Independent
4 4 Switches, Independent
5 4 Switches (2 Independent, 2 Auxiliary)
6 6 Switches (4 Independent, 2 Auxiliary)
T – Trim
536 Polyester coated aluminum
517 Resin
5. Introduction
The Bray Series 5A and 5B Intrinsically Safe
Valve Status Monitors (VSMs) provide visual and
electrical indication of position of any VDI/VDE
3845 compliant quarter-turn device. The S5A and
S5B I.S. VSMs are designed to operate in multiple
hazardous locations.
6. Principle of Operation
Bray Series 5A and 5B I.S. VSMs are comprised of a
NEMA Type 4/4X, IP66/67 housing (resin housings
are IP66/67/68 (1 meter, 1 hour) with external
position indicator and two conduit entries, cam
shaft with self-locking cams, elevated terminal block,
internal grounding screw, and mounting bracket.
The VSM is coupled to the quarter turn device via the
cam shaft. Rotation of the cam shaft, in turn, drives
switch activation. The angular position in which
the switches activate can be adjusted through the
self-locking cams. Proximity activation of switches
provides electrical feedback of achieved position
through field wiring to a control network.
3
Page 6
Series 5A and Series 5B I.S. Valve Status Monitor
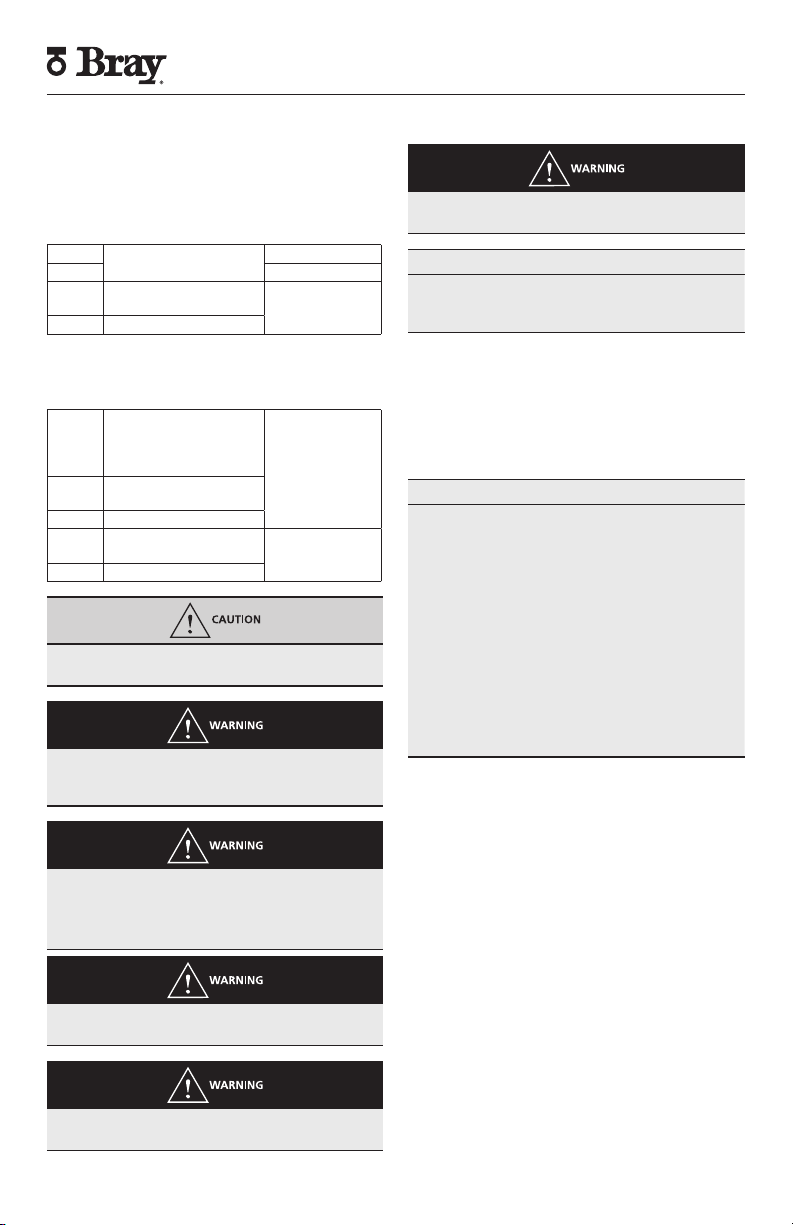
7. Hazardous Locations
The S5A and S5B I.S. (aluminum and resin trims) are
designed and certified to operate in the following
hazardous locations :
ATEX
II 1G Ex ia IIC Ga T6
II 2G Ex ia IIC Gb T6
IECEx IECEx UL 18.0073X
Ambient 1G: -25°C ≤ Ta ≤ 49°C
2G: -25°C ≤ Ta ≤ 65°C
Elevation 2000m max
The S5A (aluminum trim only) and S5B (aluminum
and resin trims) I.S. are also certified to operate in
the following hazardous locations :
NEC 500 Class I Division 1
Groups A, B, C, & D T6
Class II Division 1
Groups E, F, G T85°C
NEC 505 Class I, Zone 0, AEx ia IIC T6
Class I, Zone 1, AEx ia IIC T6
CEC Ex ia IIC Gb T6
Ambient Zone 0: -25°C ≤ Ta ≤ 49°C
Zone 1: -25°C ≤ Ta ≤ 65°C
Elevation 2000m max
For cULus applications, the S5B resin housing is
only intended for use with flexible conduit.
In addition to IO&M Manual instructions, it is
required to follow all instructions specified in
Control Drawing: WD-000393.
DEMKO 18ATEX2062X
E202292 (UL)
Installation, Operation and Maintenance Manual
Substitution of components may impair intrinsic
safety.
NOTICE
The Bray Series 5A and 5B I.S. VSMs are compliant
to the IEC/EN 60079-11 section 6.3.13 dielectric
strength requirement.
8. Pre-Installation Storage
Bray Series 5A and 5B I.S. VSMs are not weatherproof
until properly installed on the quarter-turn device
or prepared for storage. Bray cannot accept
responsibility for deterioration caused on-site once
the cover is removed.
NOTICE
Units are shipped with two screw-in plugs
(aluminum housing) or peel-off decal (resin
housing) to prevent foreign matter from
entering the unit through the conduit openings.
To prevent condensation from forming inside
these units, maintain a near constant external
temperature and store in a well-ventilated, clean,
dry room away from vibration.
Store units on a shelf or wooden pallet in order
to protect against dampness.
Keep units covered to protect against dust and
dirt.
Storage Temperature should be maintained
between -25°C and 65°C.
S5A and S5B I.S. VSMs must be used in
conjunction with a third party approved
barrier that meets conditions specified in
the control drawing: WD-000393.
Enclosure may contain aluminum. Care must be
taken to avoid hazard due to impact or friction
Resin housings pose an electrostatic charging
hazard. See Control Drawing: WD-000393
4
Page 7

Series 5A and Series 5B I.S. Valve Status Monitor
Installation, Operation and Maintenance Manual
9. Mounting
9.1 Adjustable Bracket
Bray's 3 piece adjustable bracket is designed to
mount on both NAMUR 30x80 and 30x130 pads.
Installation is as follows:
1. Disassemble two mounting bracket foot
plates from top plate.
a. Continue to Step 6 if the mounting
bracket top plate was pre-installed.
2. Lightly coat mounting bracket bolt threads
with grease.
3. Place lock washer onto bolts.
4. Place nylon washer in between mounting
bracket and bottom of the VSM.
5. Attach mounting bracket and nylon washers
to the VSM using mounting bracket bolts.
a. Tighten mounting bolts in a cross
pattern to 70.8 in-lbs. [8Nm]
b. Ensure that the bracket remains aligned
with the body of the VSM.
6. Place lock washers on foot plate mounting
bolts.
7. Attach two mounting bracket foot plates to
the quarter-turn device.
a. Tighten mounting bracket foot plates to
44.3 in-lbs. [5Nm]
30 x 130
NAMUR pad
8. Attach coupler or adapter if provided.
9. Adjust the VSM cam shaft to align with the
actuator shaft or coupler.
10. Connect the mounting bracket top plate to
both bracket feet using bolts.
a. Adjust height of the bracket by choosing
mounting hole.
b. Tighten bolts to 44.3 in-lbs. [5Nm]
30 x 80
NAMUR pad
5
Page 8

Series 5A and Series 5B I.S. Valve Status Monitor
9.2 Fixed Bracket
9.2.1 Stainless Steel Bracket
Bray's single piece stainless steel bracket is used for
NAMUR pattern 30 x 80. Installation is as follows:
1. Attach mounting bracket and nylon washers
to the VSM using mounting bracket bolts.
a. Tighten mounting bolts in a cross
pattern to 70.8 in-lbs. [8Nm]
b. Ensure that the bracket remains aligned
with the body of the VSM.
2. Place VSM and bracket assembly on actuator.
Ensure VSM shaft engages with actuator
pinion.
3. Install bracket mounting bolts with lock
washers as seen below.
a. Tighten mounting bracket bolts to
44.3 in-lbs. [5Nm].
9.2.2 Resin Brackets
Bray's single piece resin brackets are available for
NAMUR pattern 30 x 80 and 30 x 130 (based on
actuator selection). Installation is as follows:
1. Attach mounting bracket to the VSM using
mounting bracket bolts.
a. Tighten mounting bolts in a cross
pattern to 35 in-lbs. [4Nm]
b. Ensure that the bracket remains aligned
with the body of the VSM.
2. Place VSM and bracket assembly on actuator.
Ensure VSM shaft engages with actuator
pinion.
3. Install bracket mounting bolts with lock
washers as seen below.
a. Tighten mounting bracket bolts to
35 in-lbs. [4Nm].
Installation, Operation and Maintenance Manual
6
Page 9

Series 5A and Series 5B I.S. Valve Status Monitor
Installation, Operation and Maintenance Manual
10. Accessing Internal
Components
Access to the S5AB internals is done by removing
the cover from the unit. The steps for removal are
as follows:
Do not open when energized or an explosive
atmosphere is present.
10.1 Cover Removal
1. Loosen captive cover bolts. The S5A contains
4 bolts and the S5B contain 6 bolts located
around the perimeter of the unit.
2. Pull the cover up and away from unit. Do not
use a wedge device to remove cover.
X
3. Perform internal adjustment. Reference position
adjustment section.
10.2 Cover Installation
1. Ensure o-ring is seated in the o-ring groove.
2. Press on cover ensuring captive bolts are aligned
with the bolt holes.
3. Tighten cover bolts to 13-18 lb-in [1.5-2.0 Nm]
in a cross pattern.
11. Field Wiring
Bray Series 5A and 5B I.S. are assembled with
numbered terminal blocks on a printed circuit
board designed to conform to Intrinsically Safe
requirements. Bray Series 5A VSMs contain a 4-pole
terminal block, while the Series 5B VSMs contain a
12-pole terminal block. All switches are pre-wired
into the terminal block. Several features have been
designed to help ease field wiring:
• Terminal blocks are angled towards the cover
opening.
• W iring diagram is attached to the inside of cover.
• Two side conduit entries are available for all
models. Additional rear conduit entry available
on S5B resin trim.
Turn off all power and lock out service panel before
installing or modifying any electrical wiring.
Observe all applicable safety regulations for
electrical equipment installed in potentially
explosive (hazardous) locations.
NOTICE
• Do not re-machine the conduit entry threads or
create any new holes in the enclosure.
• Do not remove the screw-in conduit plugs
(aluminum housing) or peel-off decal (resin
housing) until it is time to wire into the unit's
terminal blocks.
• Do not tamper with or modify any exposed
O-rings or gaskets.
• A minimum of 18 AWG wire is recommended
for all field wiring.
• The terminals inside the VSM accept wire sizes
ranging from 14 to 20 AWG.
• The conduit connections must be properly sealed
to maintain the weatherproof integrity of the
VSM enclosure.
7
Page 10

Series 5A and Series 5B I.S. Valve Status Monitor
Bray Series 5A and 5B I.S. VSMs should be wired
as follows:
1. Remove the cover of the VSM.
2. Remove the conduit plugs (aluminum
housing) or peel-off decal (resin housing).
3. Install appropriate cable or conduit fittings
required to meet application needs, weatherproof
requirements, and hazardous location
requirements.
4. Terminate the field wiring per the wiring
diagram attached to the inside of the cover.
5. Tighten wires in terminal block to 3.5 lb-in
[0.4 Nm].
6. Re-attach VSM cover once position
adjustment has been completed.
a. Tighten cover bolts in a cross pattern to
80 lb-in [9 Nm] for aluminum housing
or 17.7 lb-in [2 Nm] for resin housing.
Reference Cover Installation.
Installation, Operation and Maintenance Manual
To ensure intrinsic safe operation, use cable ties
to mount field wiring to the printed circuit board.
NOTICE
Do not use power tools to tighten the cover screws.
If the valve status monitor is mounted
on a vertical pipe, it is recommended
that the unit be positioned with the
conduit entries on the bottom to prevent
condensation from entering through the
conduits.
In all cases, the conduit should be
positioned to prevent drainage into
the valve status monitor. In some cases
the use of an "S" pipe can be used to
prevent water ingress.
Refer to the figures on the right.
Side Conduit Entries
VSM Imperial Metric
S5A 2 x 1/2" NPT 2 x M20
S5B 2 x 3/4" NPT 2 x M25
Rear Conduit Entry (Resin Only)
S5B 1 x 1/2" NPT 1 x M20
8
NOTICE
Page 11

Series 5A and Series 5B I.S. Valve Status Monitor
Installation, Operation and Maintenance Manual
12. Reversal of Visual Indication
Visual indication can be reversed per application
requirements without the need to re-mount the
VSM. This may also be appropriate if the standard
orientation of the VSM is not convenient for the
application such as field wiring entry direction do
not align with conduit entries.
Observe all applicable safety regulations for
electrical equipment installed in potentially
explosive (hazardous) locations when making
modifications to the assembly.
NOTICE
Ensure that open and close cams are properly set
after any modification to visual indication.
Bray Series 5A and 5B I.S. VSM visual indication
can be reversed as follows:
1. Remove all four Indicator dome bolts with
lock washers.
2. Rotate the indicator dome 90° in either
direction.
3. Remount the indicator dome bolts with lock
washers.
a. Tighten bolts in a cross pattern to
13-18 lb-in [1.5-2 Nm] for aluminum
housing or 5.3-7.5 lb-in [0.6-0.85Nm]
for resin housing.
b. Ensure that o-ring is secure in indicator
dome and is not pinched when dome is
re-installed.
NOTE: The indicator dome of the 5A Resin VSM is
part of the cover. Remove the cover for indication
reversal.
1
2
90°
3
9
Page 12

Series 5A and Series 5B I.S. Valve Status Monitor
Installation, Operation and Maintenance Manual
13. Position Adjustment
A single or doubled lobed cam is provided for every
independent/main switch. Double lobed cams are
provided when the switch configuration could
include an auxiliary switch. Double lobed cams
will activate both main and auxiliary switches at
the same time.
Cams are mounted to the indicator shaft, alternating
between red and yellow and are independently
adjustable by hand in 3.6° increments. No special
tools are needed for this adjustment. The self-locking
design ensures that cams will not slip position.
The bottom red cam is intended to indicate the close
position while the bottom yellow cam is intended
to indicate the open position. Both of the switches
associated with these cams are labeled accordingly.
An additional red and yellow cam may be installed
for most switches and can be used for mid-travel
position indication or to provide an additional
auxiliary open and close indication. Mid-travel
switches are unlabeled.
Closed Travel Indication Adjustment
1. Operate the quarter turn device until it
reaches the desired closed position.
2. Pull the bottom red close cam upwards
towards the yellow cam to disengage the
cam from the fixed cam holder.
3. While the cam is disengaged, rotate the cam
to the position that will activate the close
switch.
a. NOTE: Do not attempt to adjust cams
prior to disengaging the cam from the
fixed cam holder.
4. Release the cam and allow the locking spring
to re-engage the cam with the fixed cam
holder.
Open Travel Indication Adjustment
1. Operate the quarter turn device until it
reaches the desired open position.
2. Push the bottom yellow open cam towards
the bottom red cam to disengage the cam
from the fixed cam holder.
3. While the cam is disengaged, rotate the cam
to the position that will activate the open
switch.
a. NOTE: Do not attempt to adjust cams
prior to disengaging the cam from the
fixed cam holder.
4. Release the cam and allow the locking spring
to re-engage the cam with the fixed cam
holder.
Mid-Travel Indication Adjustment
1. Operate the quarter turn device until it
reaches the desired mid-travel position.
2. Disengage the cam from the cam holder.
a. NOTE: Mid-travel cams are disengaged
similarly to the open and close cams.
3. While the cam is disengaged, rotate the cam
to the position that will activate the midtravel switch.
a. NOTE: Do not attempt to adjust cams
prior to disengaging the cam from the
fixed cam holder.
4. Release the cam and allow the locking spring
to re-engage the cam with the fixed cam
holder.
10
Page 13

Series 5A and Series 5B I.S. Valve Status Monitor
Installation, Operation and Maintenance Manual
14. Troubleshooting Chart
Problem Possible Cause Solutions
Signal is not received
Open signal is received
in close position (or vice
versa)
Corrosion inside unit
Visual indication is
opposite of actuator
position
VSM does not rotate
Wiring is not connected inside
VSM
Cams are set outside of actuator
range
Damage to switches Check power ratings of switches
Field wiring is reversed Rewire field wiring
Condensation forming Seal conduit opening
Water leaking in Check all seals and possible water
Visual indication was reversed or
VSM was mounted 90°
Bracket or adapter does not mate
properly with actuator.
Actuator is not moving as commanded
Rewire field wiring and check
applied torque to terminal block
Adjust cam position
versus application
entry through conduit
Reverse visual indication or remount VSM.
Check bracket and adapter for
proper fit and adjust as needed.
Check troubleshooting chart in
actuator IOM. Check field wiring.
11
Page 14

15. Exploded Views
Exploded View - 5A - Aluminum Trim
1
2
3
4
5
Series 5A and Series 5B I.S. Valve Status Monitor
Installation, Operation and Maintenance Manual
6
7
12
Page 15

Exploded View - 5A - Resin Trim
Series 5A and Series 5B I.S. Valve Status Monitor
Installation, Operation and Maintenance Manual
6
3
5
13
Page 16

Exploded View - 5B Aluminum Trim
1
2
Series 5A and Series 5B I.S. Valve Status Monitor
Installation, Operation and Maintenance Manual
3
4
5
6
7
14
Page 17

Exploded View - 5B Resin Trim
1
2
3
4
5
Series 5A and Series 5B I.S. Valve Status Monitor
Installation, Operation and Maintenance Manual
6
15
Page 18

Series 5A and Series 5B I.S. Valve Status Monitor
Installation, Operation and Maintenance Manual
16. Replacement Parts
16.1 Replacement Parts Aluminum Housing
No. Description Imperial Metric
1 Dome Bolts
2 Dome Washer
3 Dome Assembly
4 Dome Gasket
5 Indicator Assembly
6 Cover Bolt
7 Cover Bolt Washer
16.2 Replacement Parts Resin Housing
No. Description Imperial and Metric
1 Dome Bolts
2 Dome Washer
3 Dome Assembly
4 Dome Gasket
5 Indicator Assembly
6 Cover Bolt 5A0000-72102534
*Dome repair kit only for S5B Resin
5B0000-22900536 5B0000-22950536
5B0000-22901536 5B0000-22951536
5B0000-22952536*
17. Basic Tools
Common To All Units
Terminal Connections Screwdriver, ¼” tip flat blade
All switches, terminal strip Screwdriver, No. 1 Phillips
Ground screw Screwdriver, No. 2 Phillips
Imperial Style
Indicator Dome Wrench, 5/16”
Cover Bolt, Aluminum Housing Hex Key, 5/32”
Cover Bolt, Resin Housing Hex Key, 4mm
Conduit Entry – ½” NPT Hex Key, 3/8”
Conduit Entry – ¾” NPT Hex Key, 9/16”
Mounting Bracket Bolts Wrench, 5/16" & 7/16"
Metric Style
Indicator Dome Wrench, 8mm
Cover Bolt Hex Key, 4mm
Conduit Entry – M20 Screwdriver, No. 3 Phillips
Conduit Entry – M25 Screwdriver, No. 3 Phillips
Mounting Bracket Bolts Wrench, 8mm & 10mm
16
Page 19

Series 5A and Series 5B I.S. Valve Status Monitor
Installation, Operation and Maintenance Manual
17
Page 20

THE HIGH PERFORMANCE COMPANY
BRAY INTERNATIONAL
PRIMARY SALES AND SERVICE LOCATIONS
USA
Houston, Texas
AFRICA
Johannesburg
BENELUX
Heerhugowaard
BRAZIL
Paulinia, Sao Paulo
CANADA
Montreal
CHILE
Santiago
FLOW-TEK RITE CORPORATION AMRESIST KUGELHAHN MÜLLER
USA
Houston, Texas
BRAZIL
Paulinia, Sao Paulo VALVTRONIC
CHINA
Hangzhou, Zhejiang
CHINA
Hangzhou, Zhejiang
COLOMBIA
Bogotá
FRANCE
Voiron
GERMANY
Krefeld
INDIA
Chennai
ITALY
Milano
CANADA
Montreal
ARGENTINA
Buenos Aires
MEXICO
Zapopan, Jalisco
MIDDLE EAST
Dubai
PACIFIC
Melbourne, Australia
PERU
Lima
POLAND
O´swi¸ecim
USA
Houston, Texas
RUSSIA
Moscow
SINGAPORE
Ubi Techpark
SOUTH KOREA
Seoul
SOUTHEAST ASIA
Malaysia
UNITED KINGDOM
Glasgow
GERMANY
Krefeld
HEADQUARTERS
Bray International, Inc.
13333 Westland East Blvd.
Houston, Texas 77041
Tel: 281.894.5454
bray.com
All stat ements, technic al information, an d recommendatio ns in
this bulle tin are for gen eral use only. Consul t Bray repres entative s
or factor y for the specific requirements and material s election
for your intended appli cation. The right to change or modif y
produc t design or product wi thout prior notice is reserved.
Patents is sued and applied for worldwide.
Bray® is a registered trademark of BRAY INTERNATIONAL, Inc.
© 2019 Bray Internati onal. All rights reserved.
IOM 5A-5B_I .S. – 7_10_2019
 Loading...