

Page 1
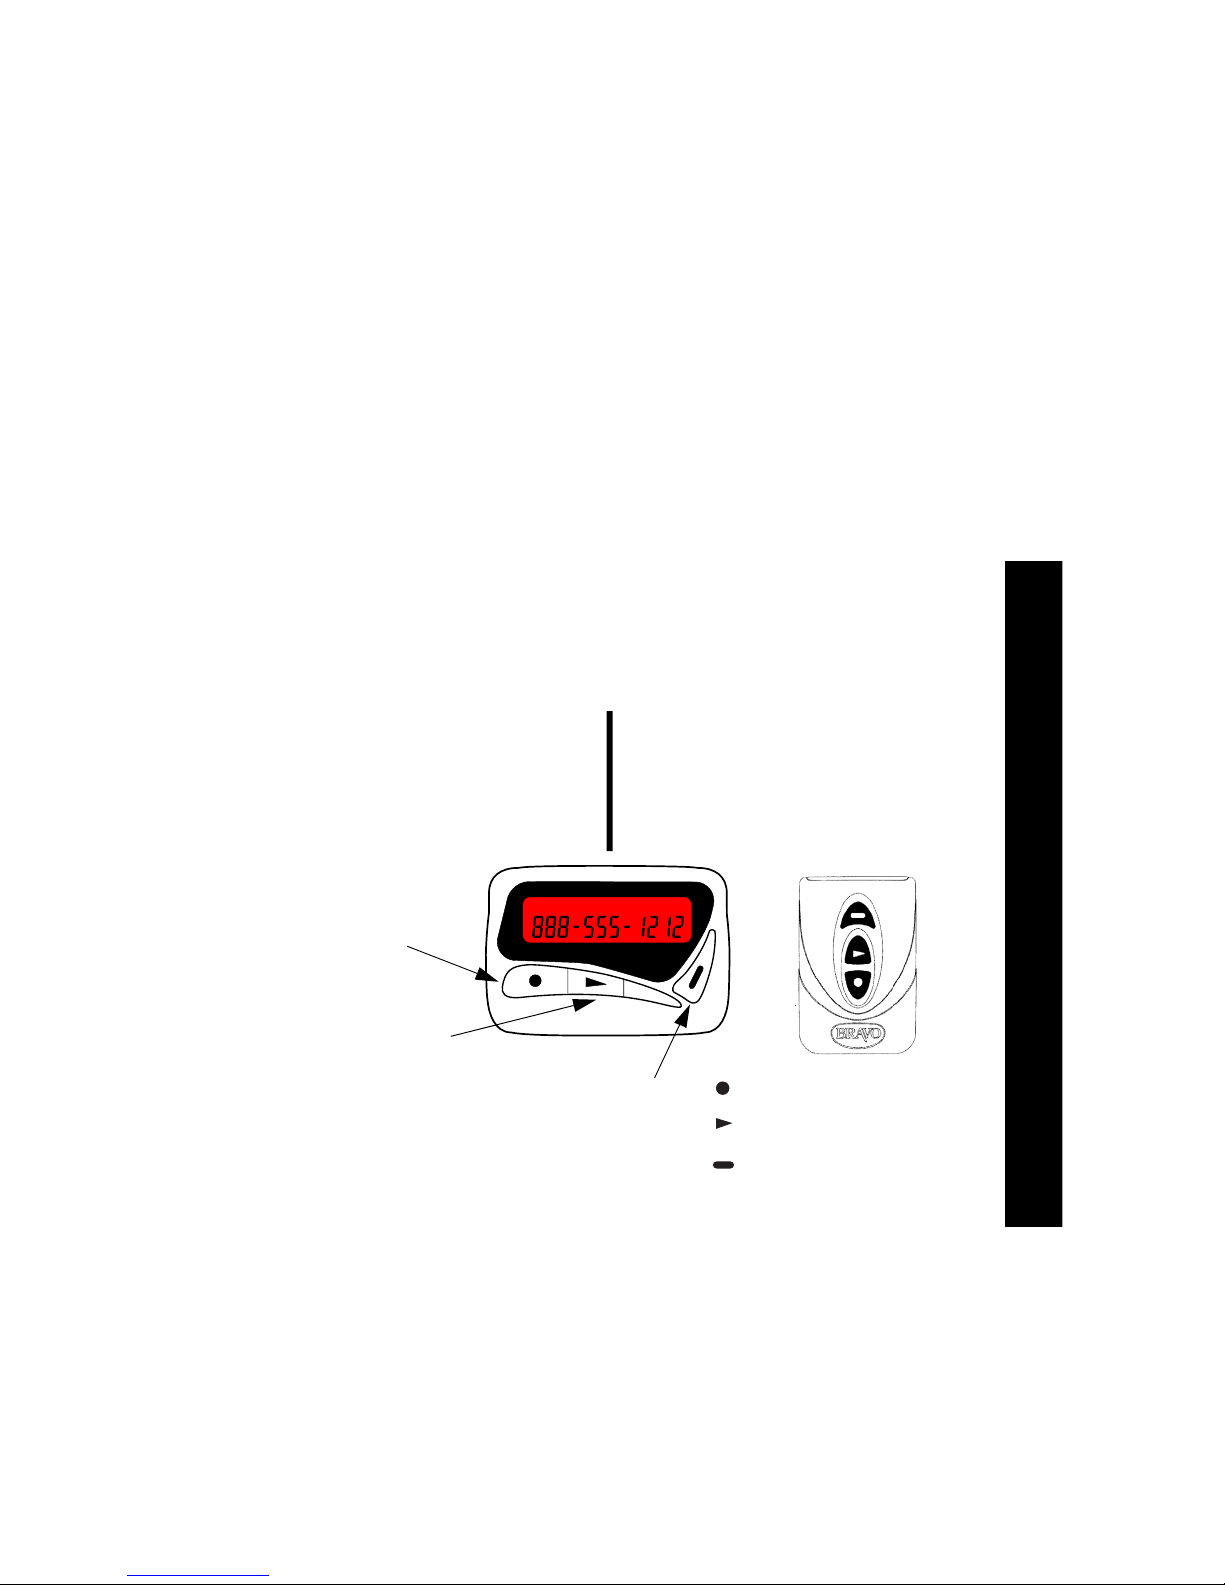
Pager Controls and Indicators
Icons:
#
Alarm is set
+
$
Vibrate mode
(
Musical alert
New message
*
Message is locked
Function - Press
to move between
features and
change values.
&
!
%
)
,
Message continues
Out-Of-Range
Battery Low
Phone Book
Auto On/Off is active
Select/Backlight Press to select
features and turn
backlight on or off.
Read/Escape - Press
to read messages or
return to the Status
screen.
Function:Press to move between
features and change values.
Select/Backlight: Press to select
features and turn on /off the
Read/Escape: Press to read
messages or return to the Status
backlight.
screen.
Introduction
1
Page 2

Contents
Introduction .............................................1
Pager Controls and Indicators ...............1
Getting Started ........................................3
Battery Information.................................3
Installing/Replacing the Battery .............3
Turning Your Pager On..........................4
Turning Your Pager Off..........................4
Turning on the Backlight. ......................4
Pager Tips..............................................4
Personalizing Your Bravo 500 Pager.....5
Time and Date..........................................5
Setting the Time.....................................5
Setting the Date .....................................6
Setting the Alarm ...................................6
Displaying Date or Day of the Week .....7
Setting the Message Alert ......................7
Setting the Reminder Alert.....................7
Messages .................................................8
Reading Messages ................................8
Locking/Unlocking Messages ................8
Storing Individual Messages ..................9
Deleting Messages ................................9
Phone Book........................................... 10
Adding Phone Numbers ...................... 10
Modifying Phone Numbers ................. 11
Browsing Your Phone Book Entries .... 11
Searching Your Phone Book Entries... 12
QuickWords .......................................... 12
Setting the Auto On/Off Times ............ 13
Setting the Countdown Timer ............ 13
Page 3
Getting Started
Battery Information
Your pager uses one AAA-size alkaline battery (do not use carbon zinc batteries).
%
is displayed, the battery is low. Replace the battery.
If
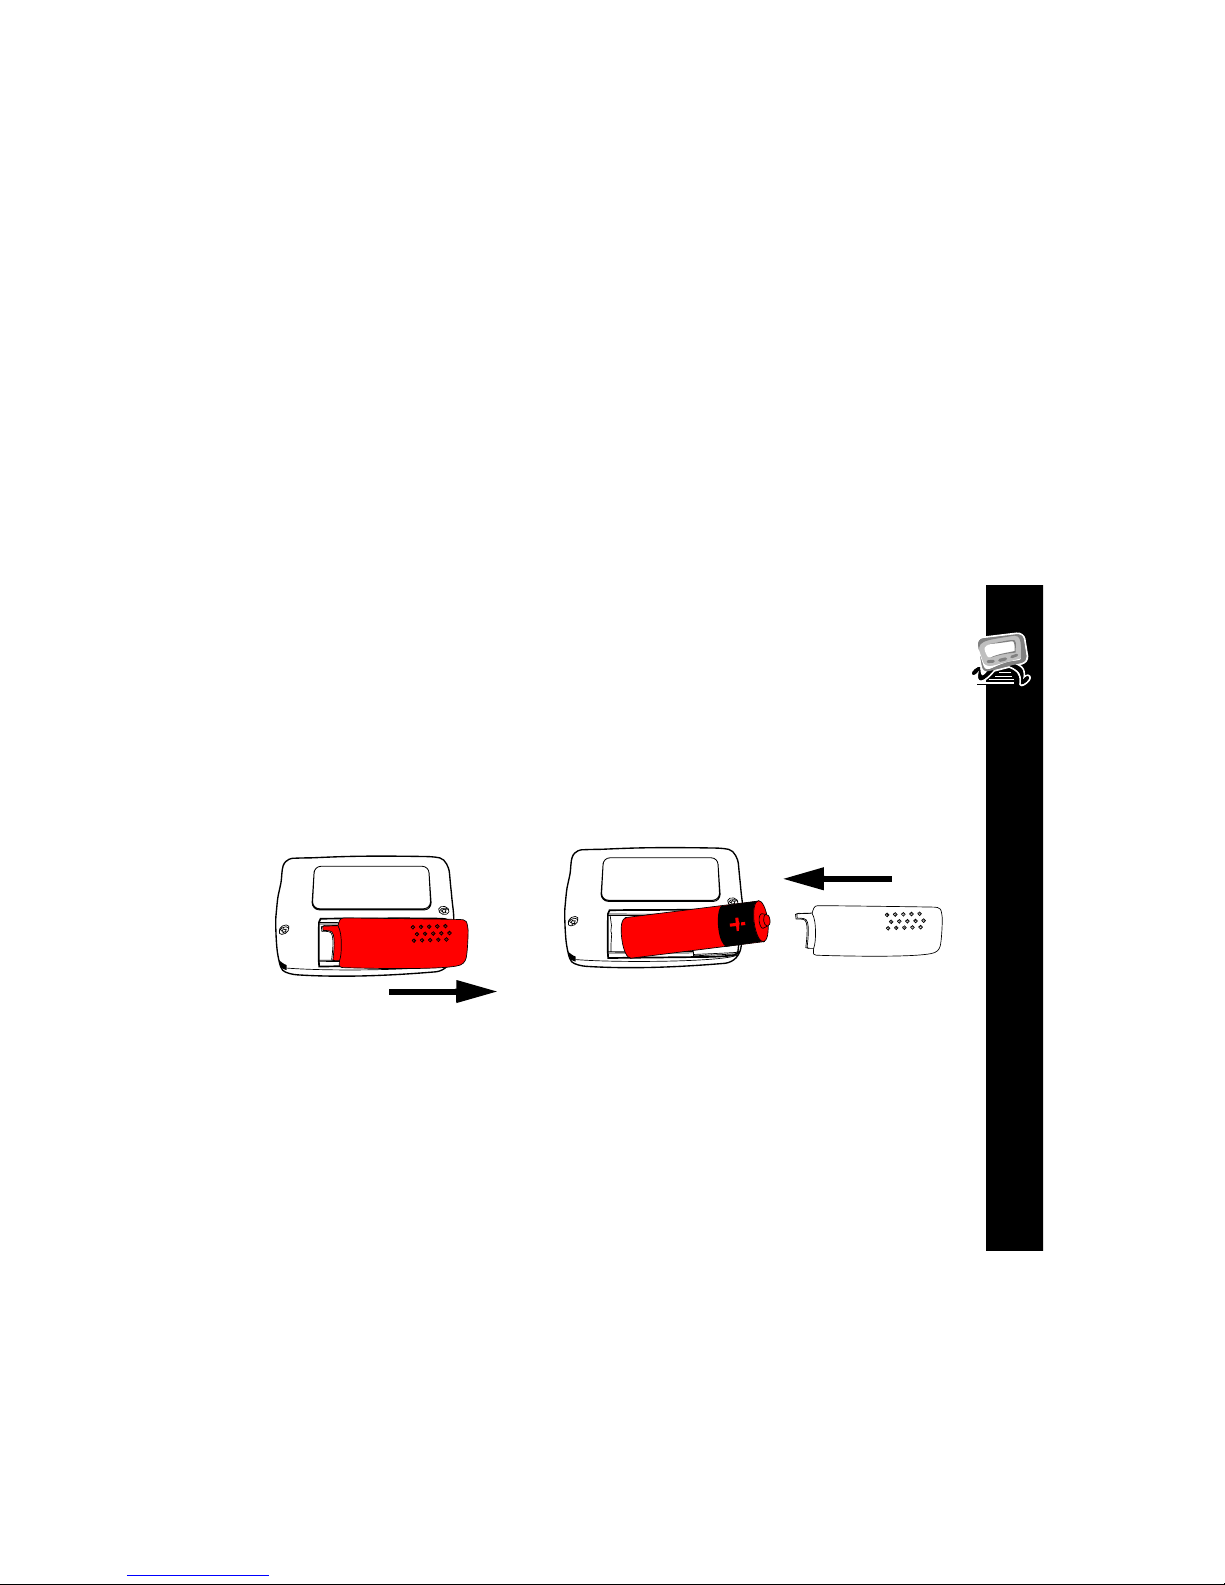
Installing/Replacing the Battery
Note: You only have two minutes to replace the old battery with the new battery.
Otherwise, you may lose all saved settings and pages.
Remove cover
Caution! You must match the (+) and (-) polarity markings. If you insert
the battery backwards, your pager settings (time, date, etc.) will be
erased.
Remove old battery and insert
new battery. Replace cover.
Getting Started
3
Page 4
Turning Your Pager On
Press To Display Description
Turning Your Pager Off
Press To Display Then Press
Turning on the Backlight.
Status Screen The Status screen displays
# (
feb01 12^29p
PAGER OFF
the date and time and
other status indicators.
Getting Started
4
Press To Display Then Press
and hold
Backlight
Automatically turns off.
Pager Tips
1. After 8 seconds of inactivity, the pager returns to the Status screen without
saving the changes.
2. Press and hold
to speed up the scrolling of the character being
changed.
Page 5
Time and Date
5
Personalizing Your Bravo 500 Pager
Press To Display Then Press
to set character
POWER UP SCR
A
to
9
to display Power Up
to go to next character
Repeat Up to 20 characters to save Power Up
Time and Date
Setting the Time
Your pager can be set to a 24-hour format when you buy it, or you can have your
Service Center or service provider change it to a 24-hour format.
Press To Display Then Press
to set the hour
to set minutes
for a.m. or p.m.
Set TiMe
1^
12^
to
^01
^00
to
A
or
P
to display the time
to go to next field
to go to next field
to save
Page 6
Setting the Date
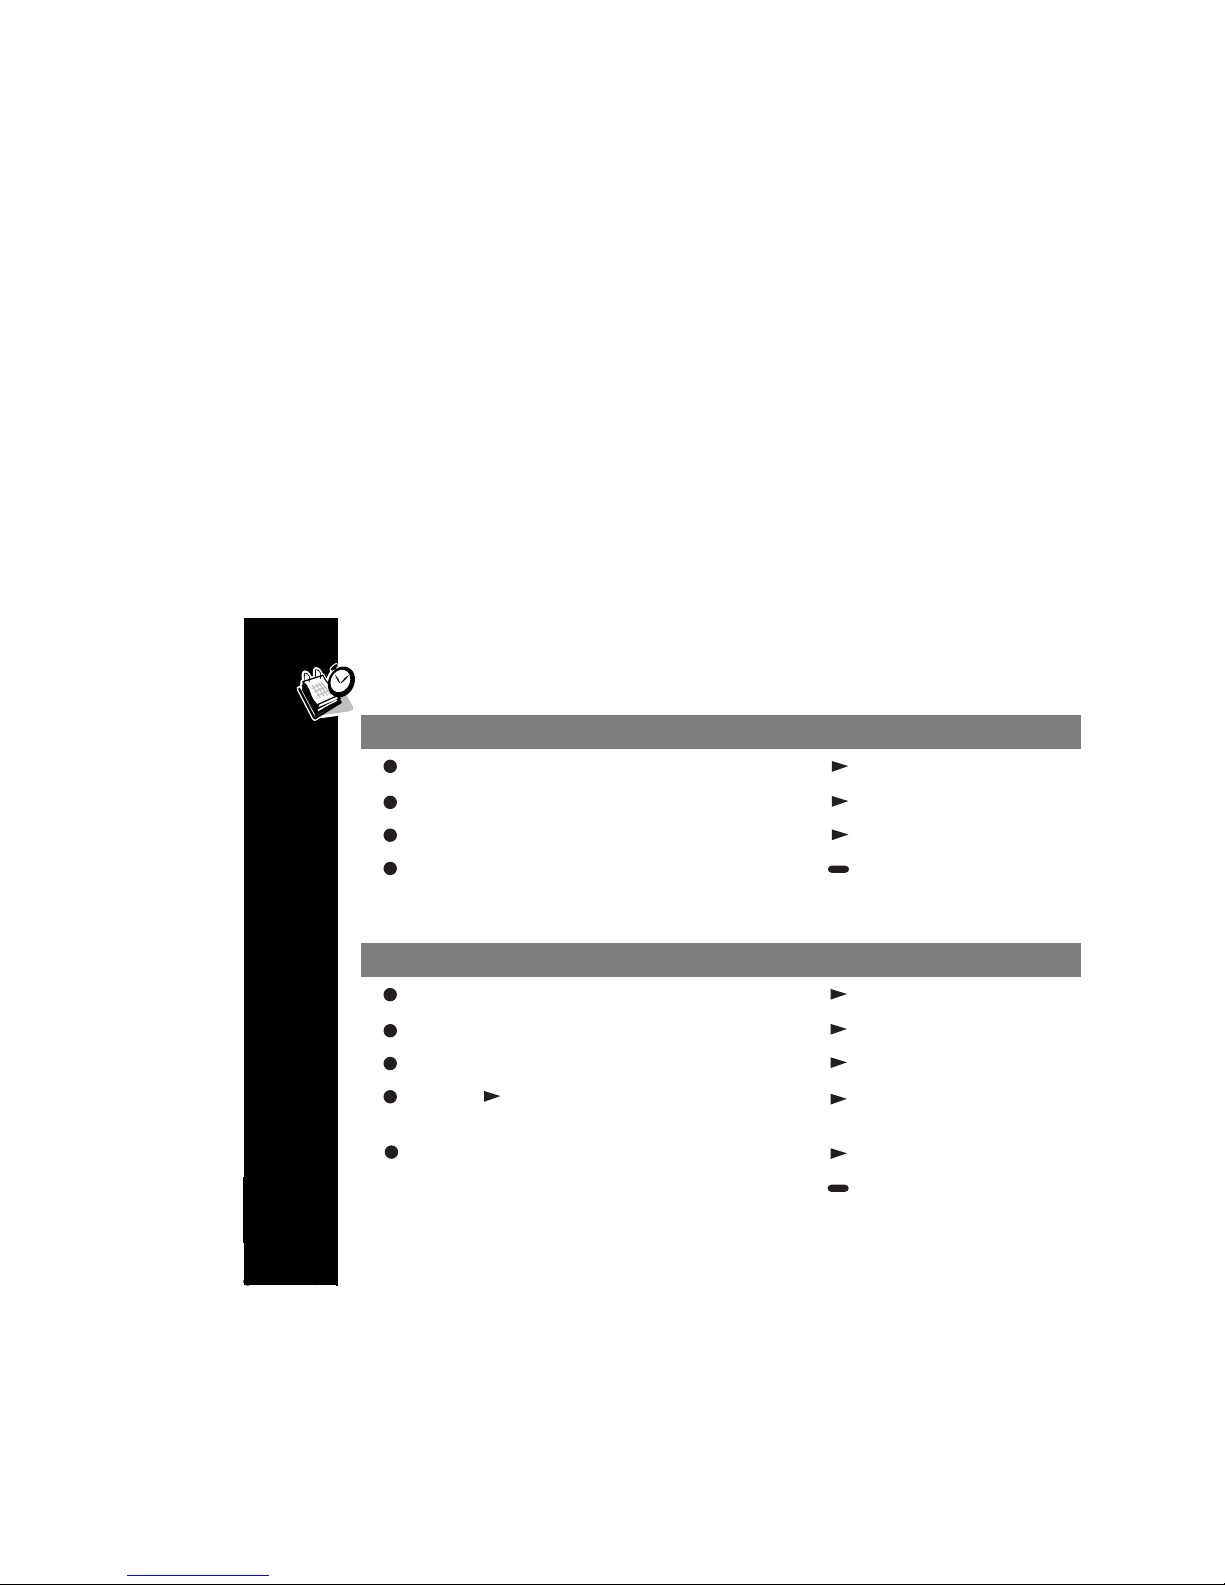
Press To Display Then Press
to set month
to set day
to set year.
Set date
JAN
01
to
to
01
de
31
C
to display the date
to go to next field
to go to next field
to save
Note: When you change the date, the day of the week is automatically updated.
Setting the Alarm
Press To Display Then Press
Time and Date
for alarm type
Set alaRM
ALARM1, 2
OFF,
dLY,
SCH
, or
, or
3
WKL
to display alarm status
to select an alarm
to select alarm type
6
Repeat up to 20 characters to save
and alarm time
[plus month/day if SCH]
A
to
to set character
9
to advance to alarm
prompt message
to go to next character
Page 7
SettingtheMessageAlert
7
Displaying Date or Day of the Week
Press To Display Then Press
to switch between
date & day of the week
JAN01 12^01P
MON 12^01P
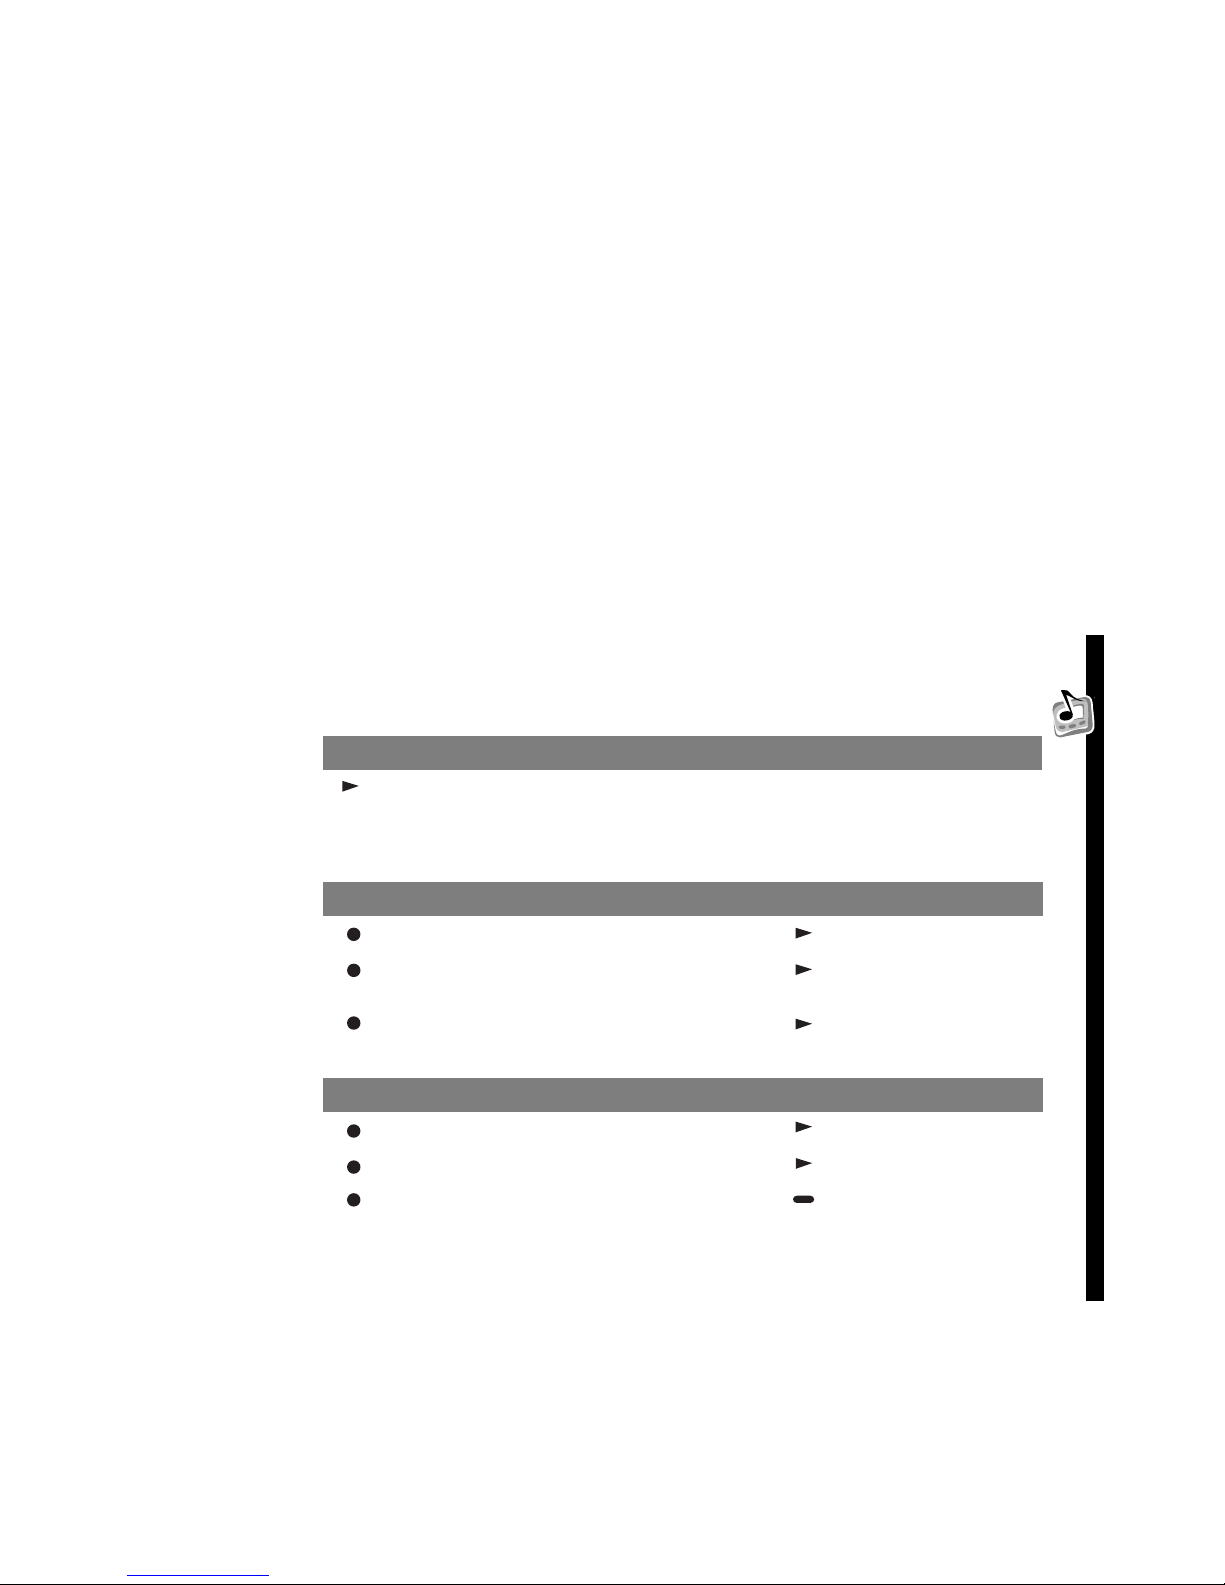
Setting the Message Alert
Press To Display Then Press
SEt ALERt
or
to display alert type
VIBRATE, Audible
No Alert
Audible
if
ALERt 1
Setting the Reminder Alert
Press To Display Then Press
SET REMINdER
01
to
,
to
ALERt 12
REM ON
60
(minutes) to save
to select alert type
to select alert tone
to activate
to display setting
Page 8
Messages
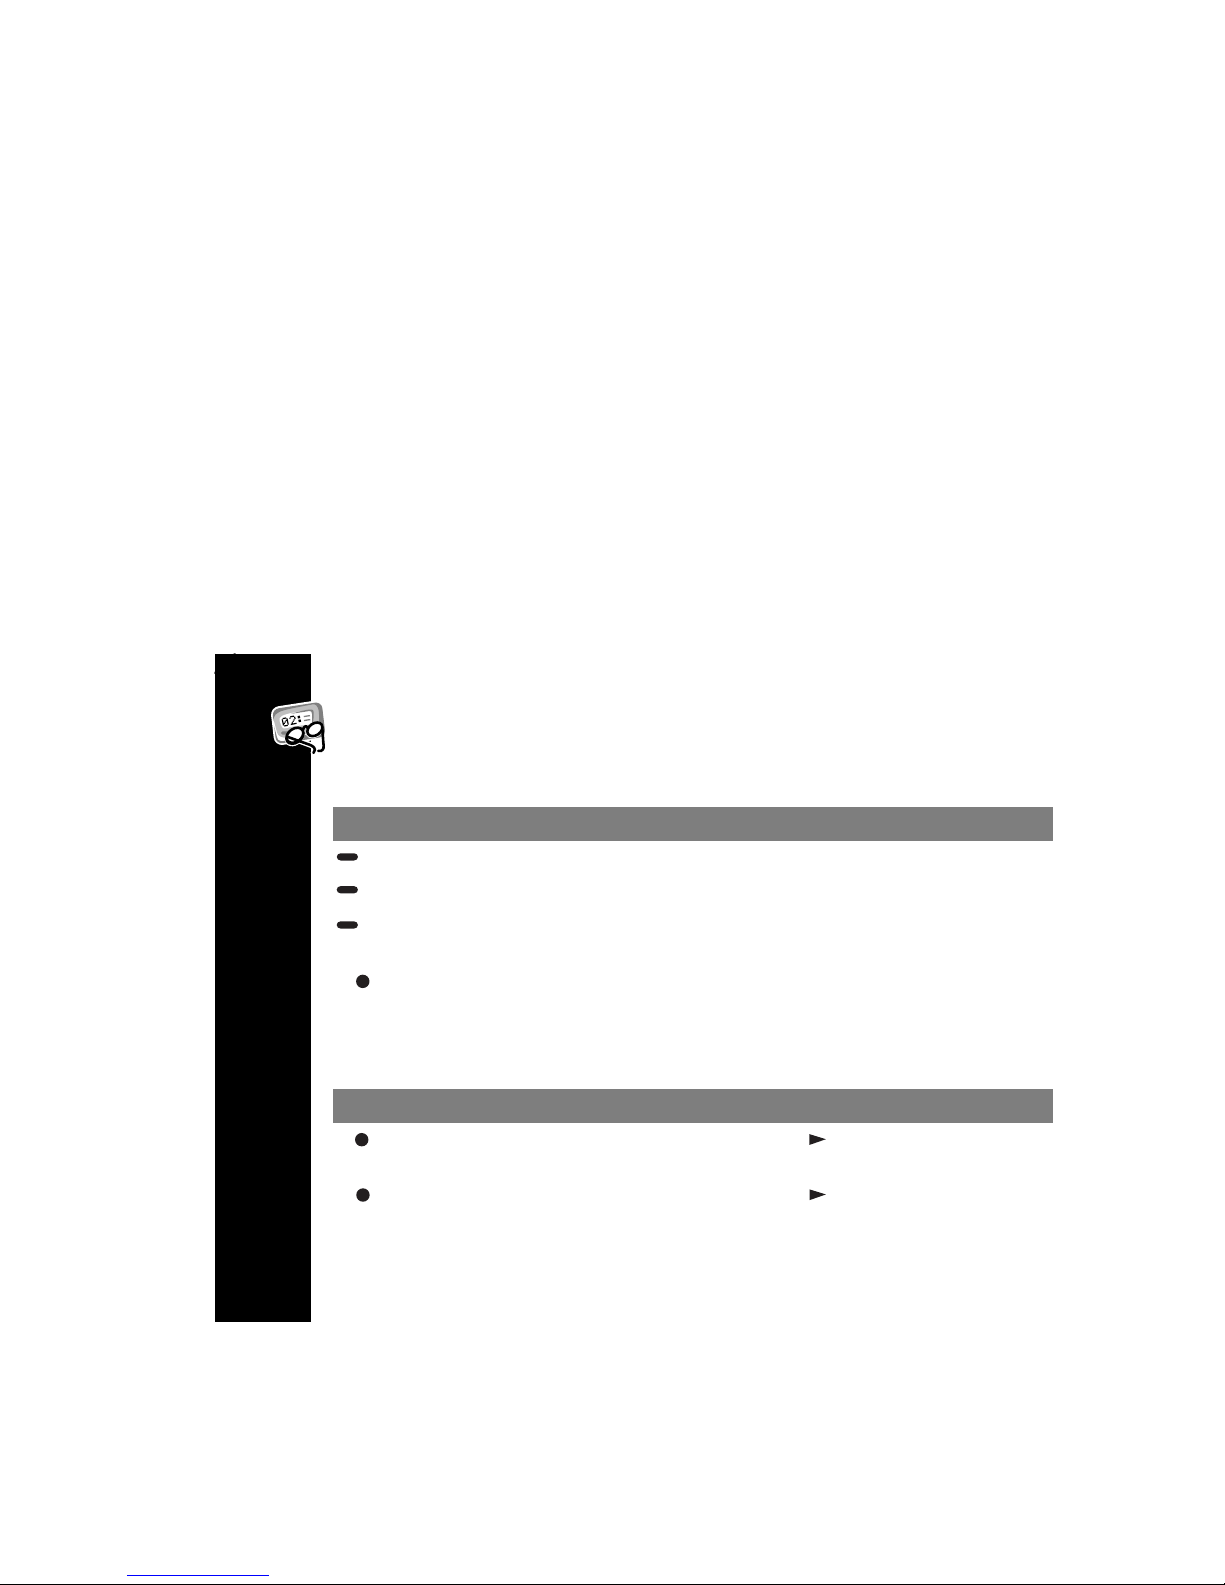
Your pager can store up to 20 personal messages and 5 maildrop messages.
Reading Messages
Press To Display Description
2 pages
123-4567
[01]-a
next message
Locking/Unlocking Messages
Messages
You can lock up to ten messages to protect them.
Note: You cannot lock maildrop messages.
Press To Display Then Press
with unlocked
loCK
message displayed
with locked
unloCK
message displayed
8
Number of messages
First Numerical message
Number in brackets and
address (usually A).
to lock the message
to unlock the message
Page 9
Messages
9
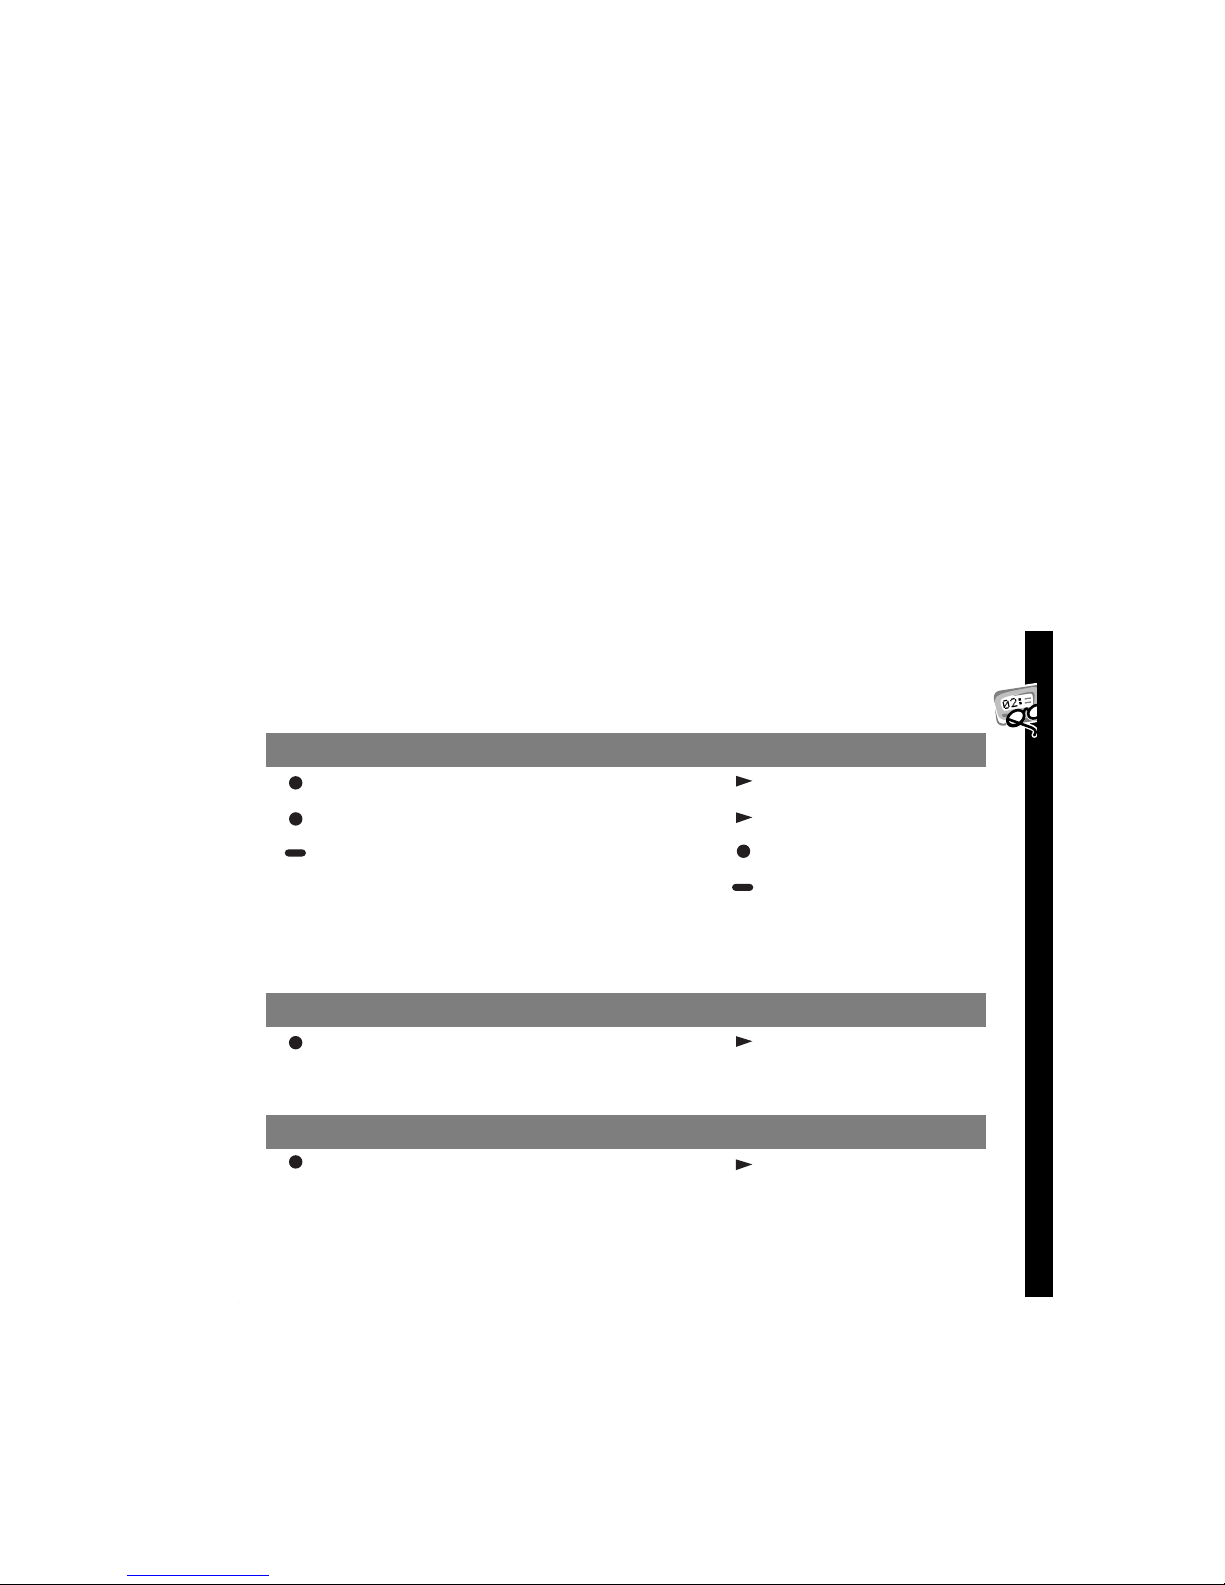
Storing Individual Messages
Press To Display Then Press
to set character
to save name
SAVE dir
A
to
Id MELOdY
z
to display
to go to next character
to select music alert
to save
Deleting Messages
Note: Messages must be unlocked before they can be deleted.
Deleting a Maildrop Message
Press To Display Then Press
with maildrop
message displayed
delete mail
to delete maildrop
message
Deleting an Individual Message
Press To Display Then Press
delete MSG
to delete message
NM
prompt
Page 10
Deleting All Messages
Press To Display Then Press
screen displayed
Phone Book
You may store telephone numbers for up to 12 people and assign one of the 9
alert tones to each entry.
Adding Phone Numbers
Phone Book
Repeat Desired alert to assign alert and exit
10
with Status
delete all
to delete all unlocked
messages
Press To Display Then Press
tel dIR
Add dIR
to display phone book
to display NM prompt
and Full Name to save & display
and Phone Number to save & display
Id MELOdY
123456789
to hear alert
1
TEL-
Page 11
Modifying Phone Numbers
Press To Display Then Press
Desired phone book entry to edit
tel dIR
Modify dIR
to display phone book
to display first entry
and Correct Name to save & display
and Correct Phone Number to save & display
123456789
to save changes
Browsing Your Phone Book Entries
Press To Display Then Press
tel dIR
browse
Each phone book entry to view entry
TEL-
Id MELOdY
to select music alert
Phone Book
to display phone book
to display first entry
11
Page 12
12
Searching Your Phone Book Entries
Press To Display Then Press
and
tel dIR
searCh
First Few Characters to jump to matching entry
to display phone book
to activate search
Note: If there are no phone book entries that match the search characters, the
message
NO SUCH NAME
is displayed.
QuickWords
QuickWords are short text messages that can be displayed when you are paged
(see table below for code; asterisk plus number).
QuickWords
QuickWord Code Message QuickWord Code Message
*0 RUNNING LATE *5 CALL HOME
*1 ON MY WAY *6 WHERE ARE U
*2 PICK ME UP *7 MEET YOU AT
*3 I AM HOME *8 I LOVE YOU
*4 COME HOME *9 HAPPY B-DAY
Page 13
Setting the Auto On/Off Times
You can set your pager to turn OFF at one time and come back ON at a later
time.
Press To Display Then Press
SET AUtO
auto on
to activate
to display OFF time
and Auto Off time to go to Auto On
and Auto On time to save
Setting the Countdown Timer
Press To Display Then Press
dOWN tiMER
ON
and To set the time in hours,
minutes, and seconds
Note: To display the countdown timer instead of the Status screen, press and
hold for 2 seconds. Press to return to the Status screen.
to display choices
to select Timer ON
to save
Setting the Auto On/Off Times
13
Page 14

 Loading...