

BRAUN PHOTO TECHNIK MAVERICK Instruction Manual

MAVERICK
USER MANUAL
ABOUT
This manual can only be a reference. It is subject to changes and modifications due to constant
development. We wish you lots of impressive and beautiful outdoor memories.
PRECAUTIONS
The electromagnetic field of particular frequencies may affect picture and sound. If data
transmission is interrupted or failed due to static discharge or electromagnetic fields, please
restart the app or disconnect and reconnect USB/AV/HDMI.
Do not store the product in dusty areas to avoid damages to its components.
Do not attempt to open the casing for own repairs.
Do not use harsh chemicals, cleaning solvents or strong detergents to clean the product, only use
a damp soft cloth.
WARNING
To reduce the risk of fire, explosion or electric shock, the camera shall not be exposed to
excessive heat or water (the camera is NOT waterproof).
Do not disassemble the product. This may cause electric shock or equipment damage. It will also
void your warranty.
Operating Environment
The camera is designed for use in temperatures ranging from 0°C to 45°C (32°F to 113°F).
Do not use the camera in the following conditions:
> Damp or dusty places
> High-temperature or direct sunlight
> Very low temperatures
> Strong vibrations
Preparations
1. Charging the Camera
1.1 Connect the USB cable to the USB port (16) of the camera and to your charger.
1.2 Connect the wall or car adapter to power source and start charging, the Status indicator (8)
lights up green. After the camera is fully charged, the light will turn off automatically.
2. Formatting the Camera
2.1 Open the USB cover (12) and insert a compatible microSD/SDHC card in the card slot. Ensure
that the logo is facing up. Handle with care, not to damage the memory card.
2.2 Press the Power button (2) to switch the camera on; the Status indicator (8) lights up red.
2.3 Format the SD/SDHC card for initial use by pressing the Formatting button (4).
3. Resetting the Camera
Reset the camera to default settings by pressing the Reset button (1). After switching on
again all functions should be back to normal.
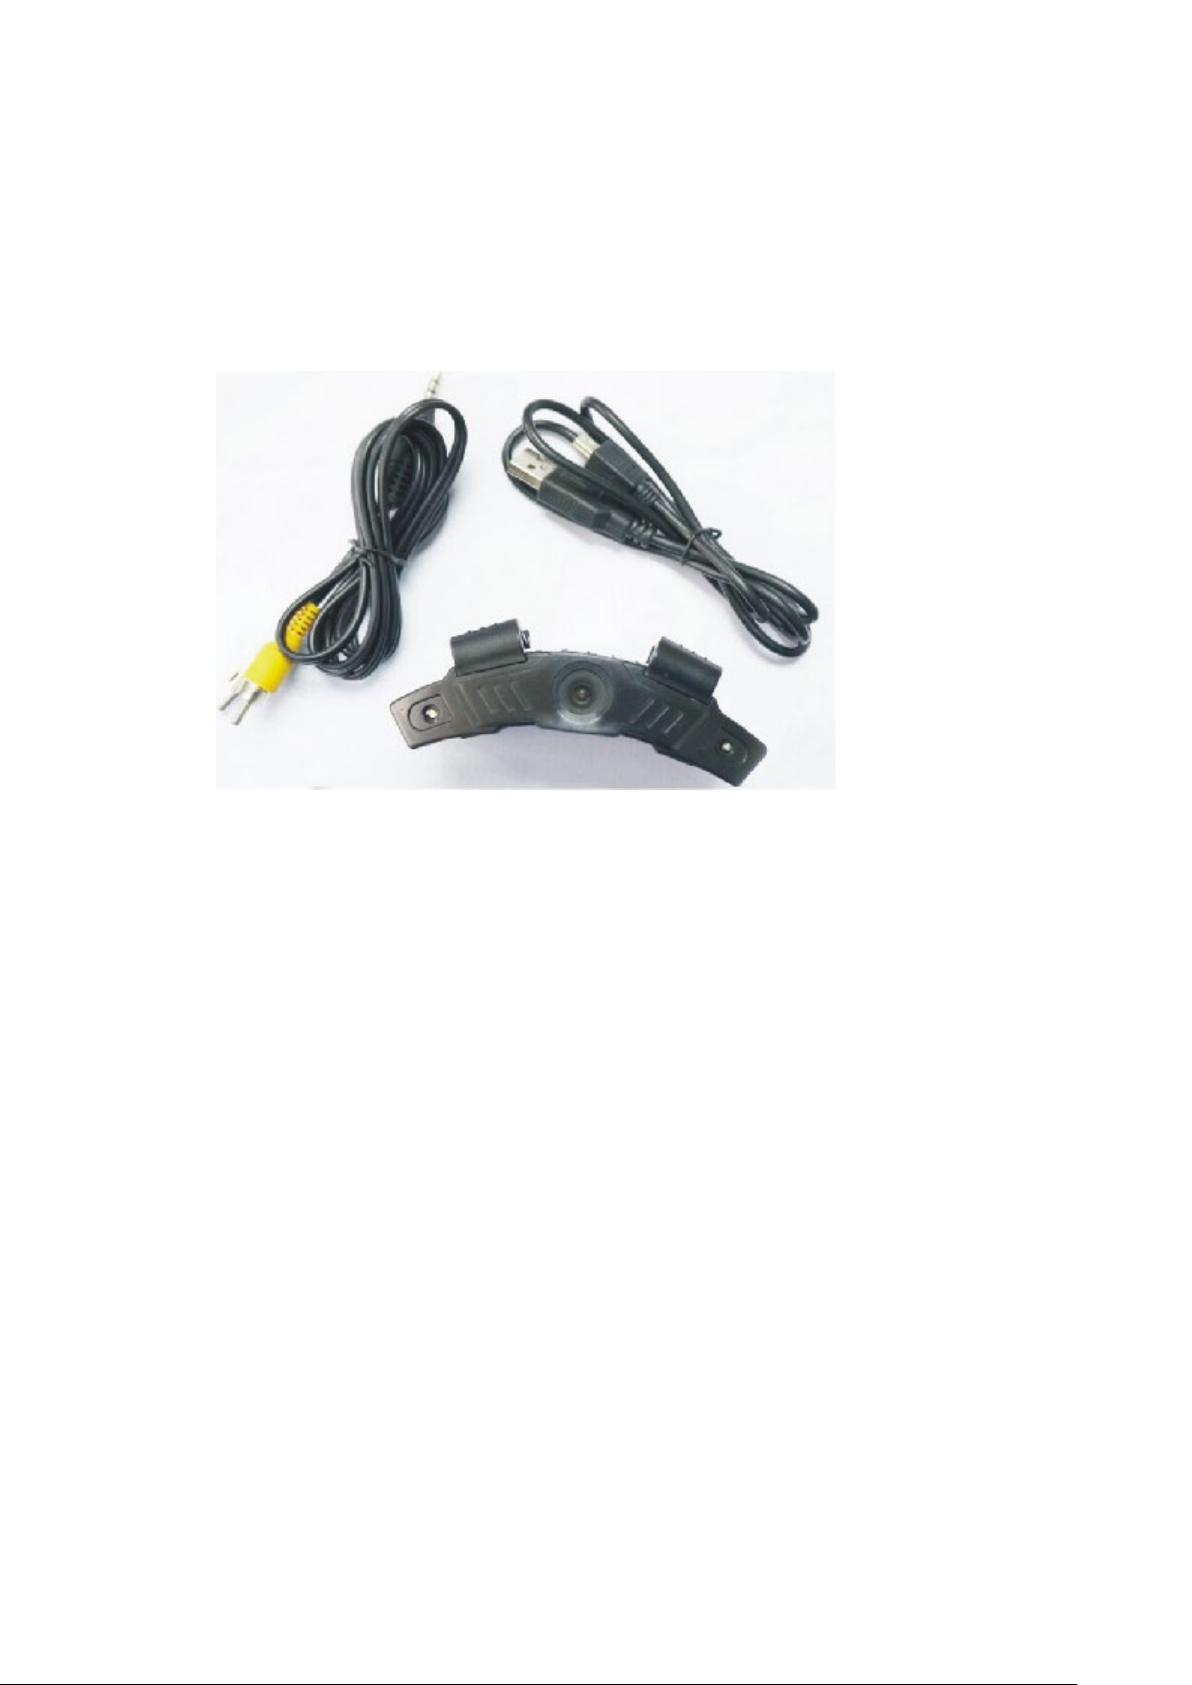
4. In the box
1 Camera
1 AV cable
1 USB cable
1 User manual
5. Adjusting Date/Time
5.1 Switch the camera on and connect via AV or HDMI cable to your TV.
5.2 Press and hold the Power button (2) to enter the Date/Time menu.
5.3 Press the Photo/Video recording button (3) to toggle between Date and Time.
5.4 Press the Power button (2) to set date and time (year: 2010 - 2030). Exit the menu by
selecting “Yes/No” option. Select “Yes ” to confirm, or select “No” to cancel the setting and
return to the preview mode.
6. Switching Operating Mode
Video Mode
This camera has three operating modes: Video, Photo and Playback.
6.1 Switch the camera on and press the Mode button (7) to scroll to Video mode. Press the
Photo/Video recording button (3) to start recording; the Status indicator will flash red during
recording.
6.2 Press the Photo/Video recording button again to stop recording.
Photo Mode
6.3 Switch the camera on and press the Mode button (7) to scroll to Photo mode. Press the
 Loading...