

Page 1

FPE-AT
User Instructions
branach.com
sales@branach.com
Page 2
2
These user instructions cover the following
Branach products classified as for Professional use
according to EN131-7:2013;
FPE-AT 0.9 to 2.0 All Terrain Platform Ladders
The owner of this platform ladder must ensure that
these instructions are available to the user of the
platform ladder.
User Instructions
1. Before Use
i. Ensure that you are fit enough to use a Branach
safety step platform ladder.
ii. Visually check the platform ladder, is not
damaged and is safe to use at the start of each
working day.
iii. For professional and domestic users, regular
periodic inspection is required.
iv. Ensure platform ladder is suitable for the task.
v. Do not use a damaged platform ladder.
vi. Before using the platform ladder, the user should
make themselves aware of the working at height
regulations applicable to their location and
working environment.
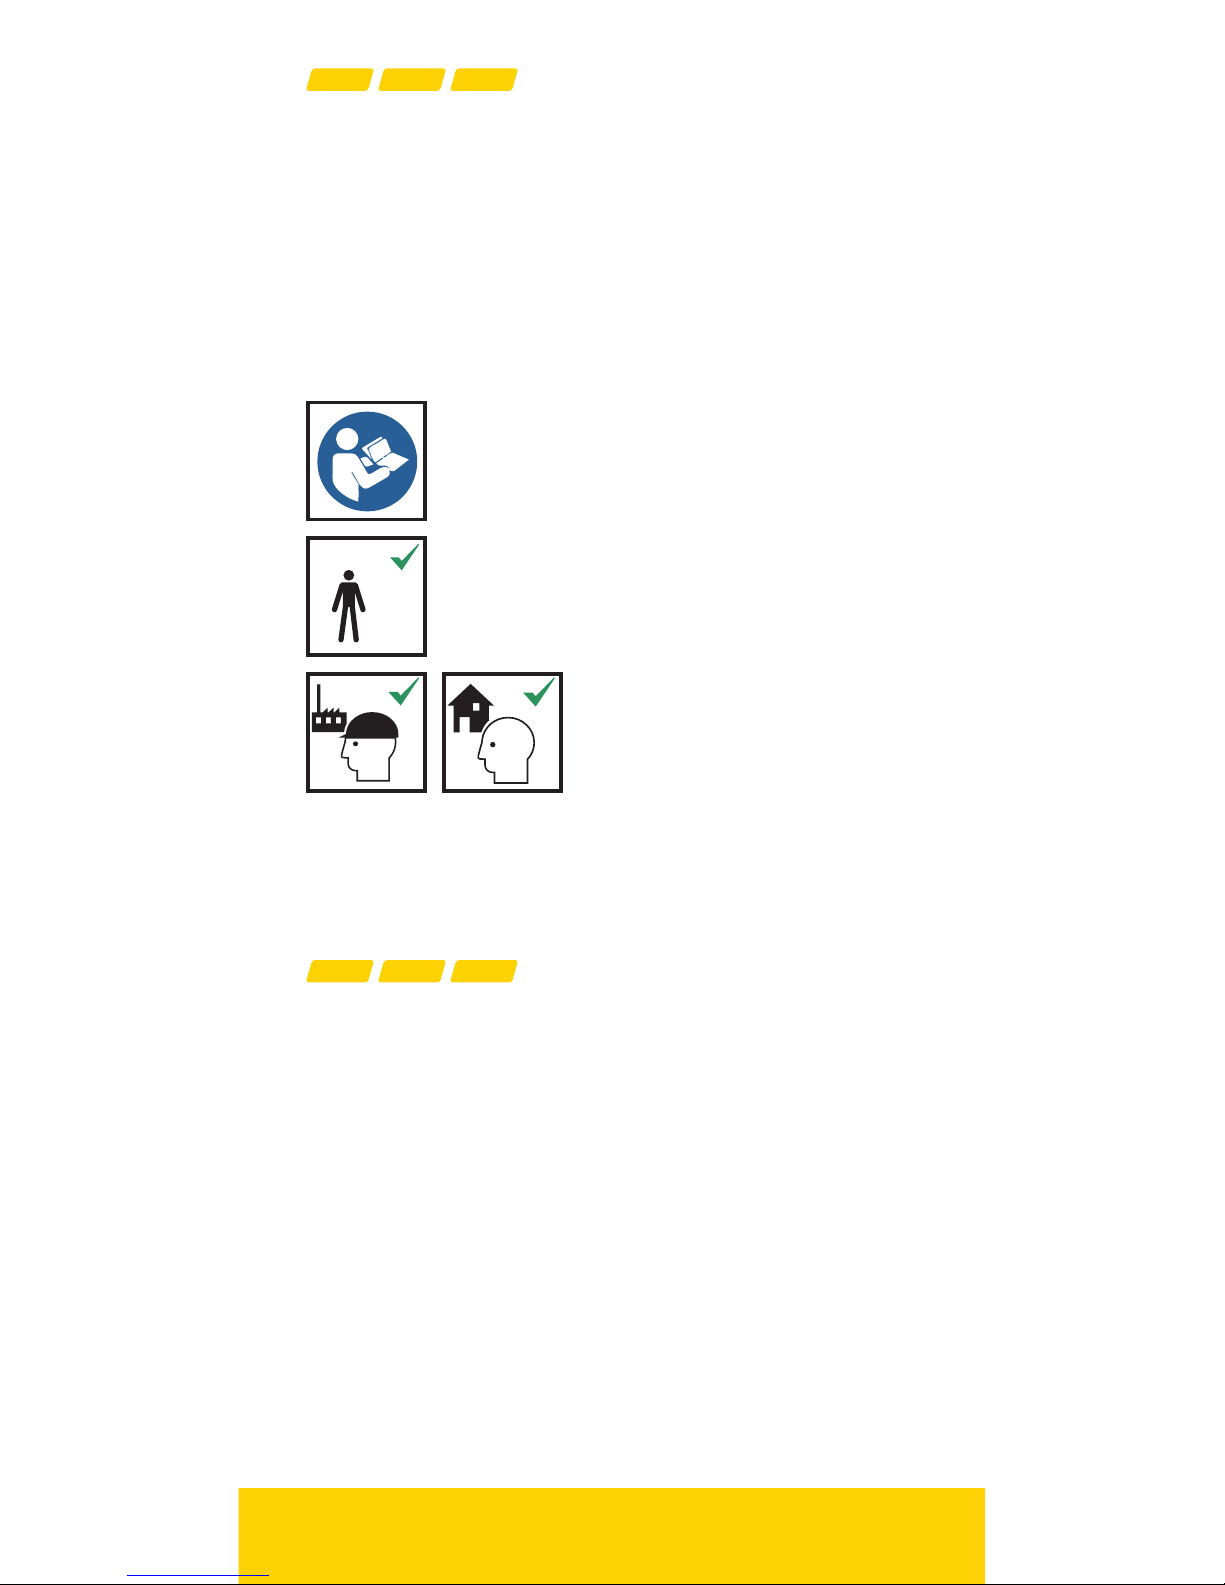
The user of the platform ladder must
refer to this instruction manual before
using the platform ladder.
max. 1
Indicates the maximum number of users
allowed.
The platform ladder is
suitable for Professional Use
and Domestic Use.
This equipment should only be used by trained
and competent person, otherwise the user should
be under the direct supervision of a trained and
competent person.
Page 3

3
■ Cracked or damaged
Fiberglass Rails
■ Damaged or missing
Steps
■ Damaged Feet
■ Damaged Rope
■ Check all brackets,
rivets and bolts are
inplace
■ Check platform
ladder deck is
operating freely
■ Check that the
entire platform
ladder is free from
contaminants such
asdirt, oil, grease,
paint, etc.
■ Check the platform
ladder inspection
date has not been
passed
■ Check rear safety
rail is operating
correctly
2. Inspecting the Branach
Product Before Use
DO NOT USE THE PLATFORM LADDER
IF ALL ITEMS HAVE NOT PASSED THE
INSPECTION PROCESS
i. Inspect the platform ladder after
delivery.
ii. Before every use visually check the
platform is not damaged and is safe
to use. If damaged, do not use.
iii. The following items should be
inspected as a minimum before
using the system each day or
after the platform is dropped or
isimpacted.
Page 4

4
3. Platform Ladder System
Guidelines
i. The platform ladder shall be fully extended with
the rungs or treads level with the ground.
ii. The platform ladder must be erected on a firm,
unmovable surface with a maximum gradient
of15°.
iii. When positioning the platform ladder, take into
account the risk of collision with the platform
ladder, e.g. from pedestrians, vehicles or doors.
iv. Identify any electrical risks in the work area, such
as overhead lines or other exposed electrical
equipment.
v. The platform ladder should be stood on both feet;
not supported on the rungs or steps.
vi. Platform ladders shall not be positioned on
slippery surfaces (such as ice, shiny surfaces
or significantly contaminated solid surfaces)
unless additional eective measures are taken to
prevent the platform ladder slipping or ensuring
contaminated surfaces are suciently clean.
vii. It is recommended that the platform ladder is
positioned at the correct working angle.
ii. System must always be deployed completely
before use.
iii. Deck must engage to rung.
iv. TerrainMaster legs must always be deployed
to their widest position allowing for 300mm +/-
15mm step height to ground.
v. Before doing any work from the platform the
rear safety rail must be engaged.
max.
150
kg
i. The maximum total load for the
platform ladder is 150kg, including
tools and equipment
4. Positioning the Platform
Ladder
Page 5

5
■ Do not exceed the maximum total load for the
platform ladder. Refer to the platform label.
■ Do not overreach; both feet on the deck throughout
the task.
■ Always use with TerrainMaster feet in an
openedposition.
■ Be especially cautious of wind when outside.
■ Use non-conductive platform ladders for
unavoidable live electrical work.
■ Take precautions against children playing on the
platform ladder.
■ Face the platform ladder when ascending
anddescending.
■ Keep a secure grip on the platform ladder when
ascending and descending.
■ At all times maintain 3 points of contact.
■ Wear suitable foot wear when climbing a
platformladder.
■ Avoid excessive side loadings e.g. drilling brick
andconcrete.
■ Do not spend long periods on a platform ladder
without breaks (fatigue is a serious risk).
■ Equipment carried while using a platform ladder
should be light and easy to handle.
■ Do not move platform ladder when standing
onit.
■ Do not move platform ladder from top.
5. Using the Platform Ladder
Page 6

6
5. Using the Platform Ladder
(continued)
Do not use the platform ladder on
an unfirm or unstable base. Do not
exceed the level the TerrainMaster can
operate in (15° slope). Use the built-in
level bubble or spirit level to ensure
the platform ladder steps are level. If
you are not sure, STOP. DO NOT RISK
YOURSAFETY.
Do not overreach. Keep both feet on the
deck throughout the task.
OIL 0H
2
Do not erect platform ladder on heavily
contaminated ground.
To ensure a level surface, use the
bubble level in the TerrainMaster base..
Platform ladders with steps shall be
used so that the steps are in a level
horizontal position.
Ensure the deck has fully engaged the
rung when lowering deck into position.
Page 7

7
FPE-AT Setup
Ladder Glossary
A
Stiles
B
Rungs
C
Feet
D
Platform Deck
E
Platform Hooks
F
Platform
Kickboard
G
Handrail
H
Brackets
I
Rods and Struts
J
Spacer
K
Step Plates
L
Rear Step
M
Level Bubble
C
A
H
E
D
L
K
G
B
I
F
J
M
Page 8

8
6. Initial Set Up
Take platform from vehicle and lay on the ground.
7. TerrainMaster Deployment
Slide the leg-lock latch towards the outside
oftheplatform ladder.
1 2
Page 9

9
8. Extend TerrainMaster
i. Extend the TerrainMaster legs to their
widestsetting.
ii. Depress the front and rear leg buttons to
extend the leg.
iii. Check that the lock buttons re-engage in
theextended leg position.
1 2
Page 10

Notes:
• Final adjustments to
TerrainMaster will be
made once ladder is
erected.
• Final result should be
300mm +/- 15mm step
height from the ground.
• Screw turn wheel needs
to be wound back to
original position to lock
the legs closed during
storage.
10
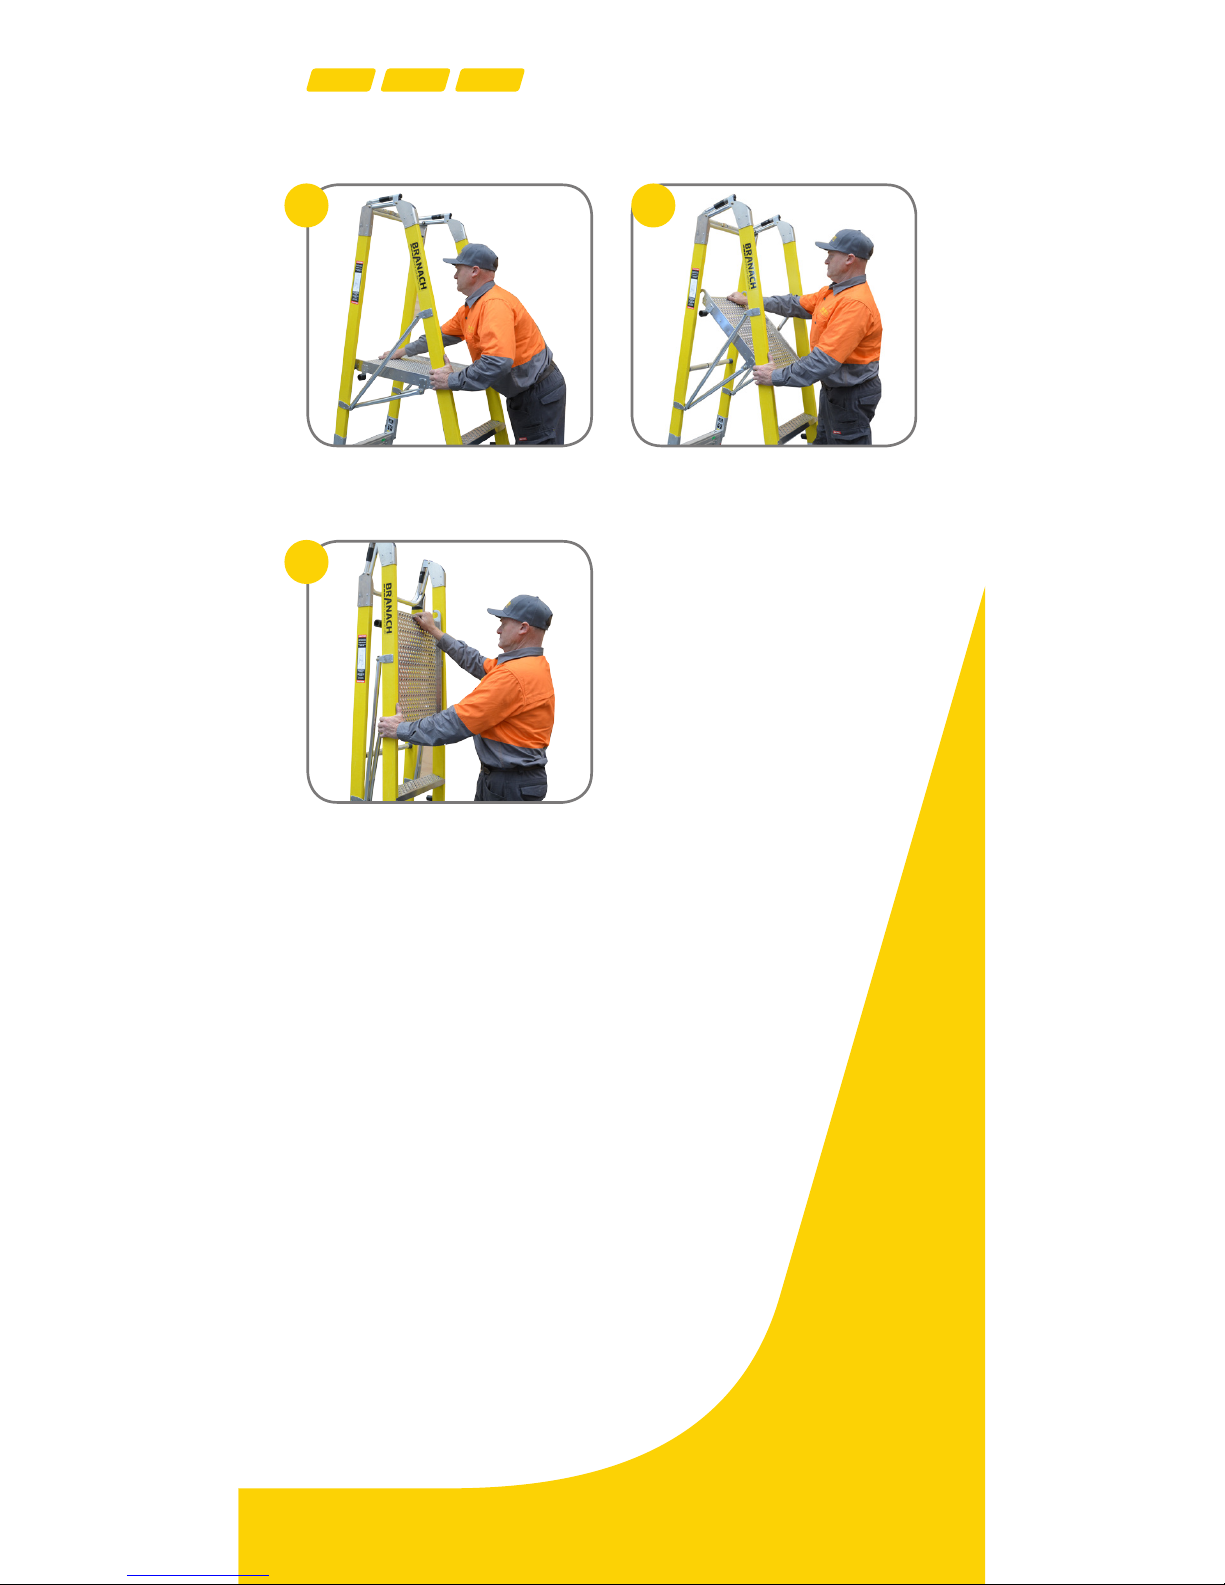
9. Opening Platform Ladder
Hold platform ladder upright
facing the deck.
Push deck forward and allow
platform ladder tomove
Place one hand on deck top
and other on step cover.
Push platform ladder deck
firmly down to engage hooks.
2
4
1
3
10. Levelling
i. Adjust the TerrainMaster step height to be
similar to step distance.
ii. Un-weight the TerrainMaster leg to remove any
spring tension.
iii. Wind the leg adjuster wheel until 2.5 cm
(approximately) gap is formed between the latch
and the adjuster wheel.
Page 11

11
11. Check Incline & Step Height
21
300mm
+/-15mm
Use level bubble to
ensure platform ladder
is at correct angle,
and level to terrain
accordingly. Adjust
TerrainMaster wheels
toensure platform
ladder level.
Ensure there is a
300mm +/-15mm step
from ground to first
rung.
Page 12

12
Slide and separate catch.
Lower arms.
Lift arms upwards.
Re-engage Latch.
2
4
1
3
12. Position Platform Ladder
i. Before standing platform ladder up check
forhazards.
ii. Stand platform ladder up as per instructions.
iii. Level the platform ladder to the final work
position.
13. Rear Safety Rail Operation
Always use rear safety rail when working from
platform ladder.
Page 13
13
14. Closing Platform Ladder
Hold rear deck and
raise upwards.
Pull deck forward allowing
sections toclose.
Pull deck upwards and
let platform come back
toupright.
21
3
Page 14

14
15. Storage / Care
i. It is recommended that platform ladders be
stored away from direct sunlight, excessive
heat, dampness or exposure to the elements.
ii. Store the platform ladder in a safe place where
it cannot be damaged by vehicles, heavy
objects or contaminants.
iii. Store the platform ladder so it does not become
a trip hazard or obstruction.
iv. Store the platform ladder securely so that it
cannot fall and injure people.
v. When storing platform ladders, give
consideration for preventing use by criminals
for gaining unauthorised access and ensure
children and the general public cannot climb
the platform ladder.
vi. Repairs and maintenance shall be carried out
by a competent person who has been qualified
by Branach and shall be in accordance with
Branach’s instructions and procedures. Only
use Branach recommended components and
fasteners.
Page 15

15
Summary
Ensure work area is safe
Stable
TerrainMaster
Level
Use level bubble
Enclosed
Rear Safety Rail
Inspect
Before Use
Page 16

16
MANUFACTURED BY
Branach Manufacturing Pty Ltd
a 1/991 Mountain Highway,
Boronia, Victoria 3155, Australia
w branach.com
EUROPEAN SUPPORT
Branach Europe AS
a Morsoegade 4
DK-6700 Esbjerg, Denmark
w branach.com
 Loading...