

Page 1
WARNING
Installations may be performed at different times of construction by different individuals.
For this reason, this manual should be left on-site with the facility or maintenance manager.
Read this entire installation manual to ensure proper installation, then file these
instructions with the owner or maintenance department.
Flush all the water supply lines before making connections, then make sure the water
supply is turned off before beginning installation.
Pressurized plumbing fixtures must be installed in accordance with manufacturer’s
recommendations. The supply piping to these devices must be securely anchored to the
building structure to prevent the installed device from unnecessary movement when
operated by the user. Use extreme caution when installing the device to prevent damage to
the exposed significant surface.
Compliance and conformity to local codes and ordinances is the responsibility of the
installer.
Product warranties may be found under “Product Information” on our web site at
www.bradleycorp.com.
S53-303
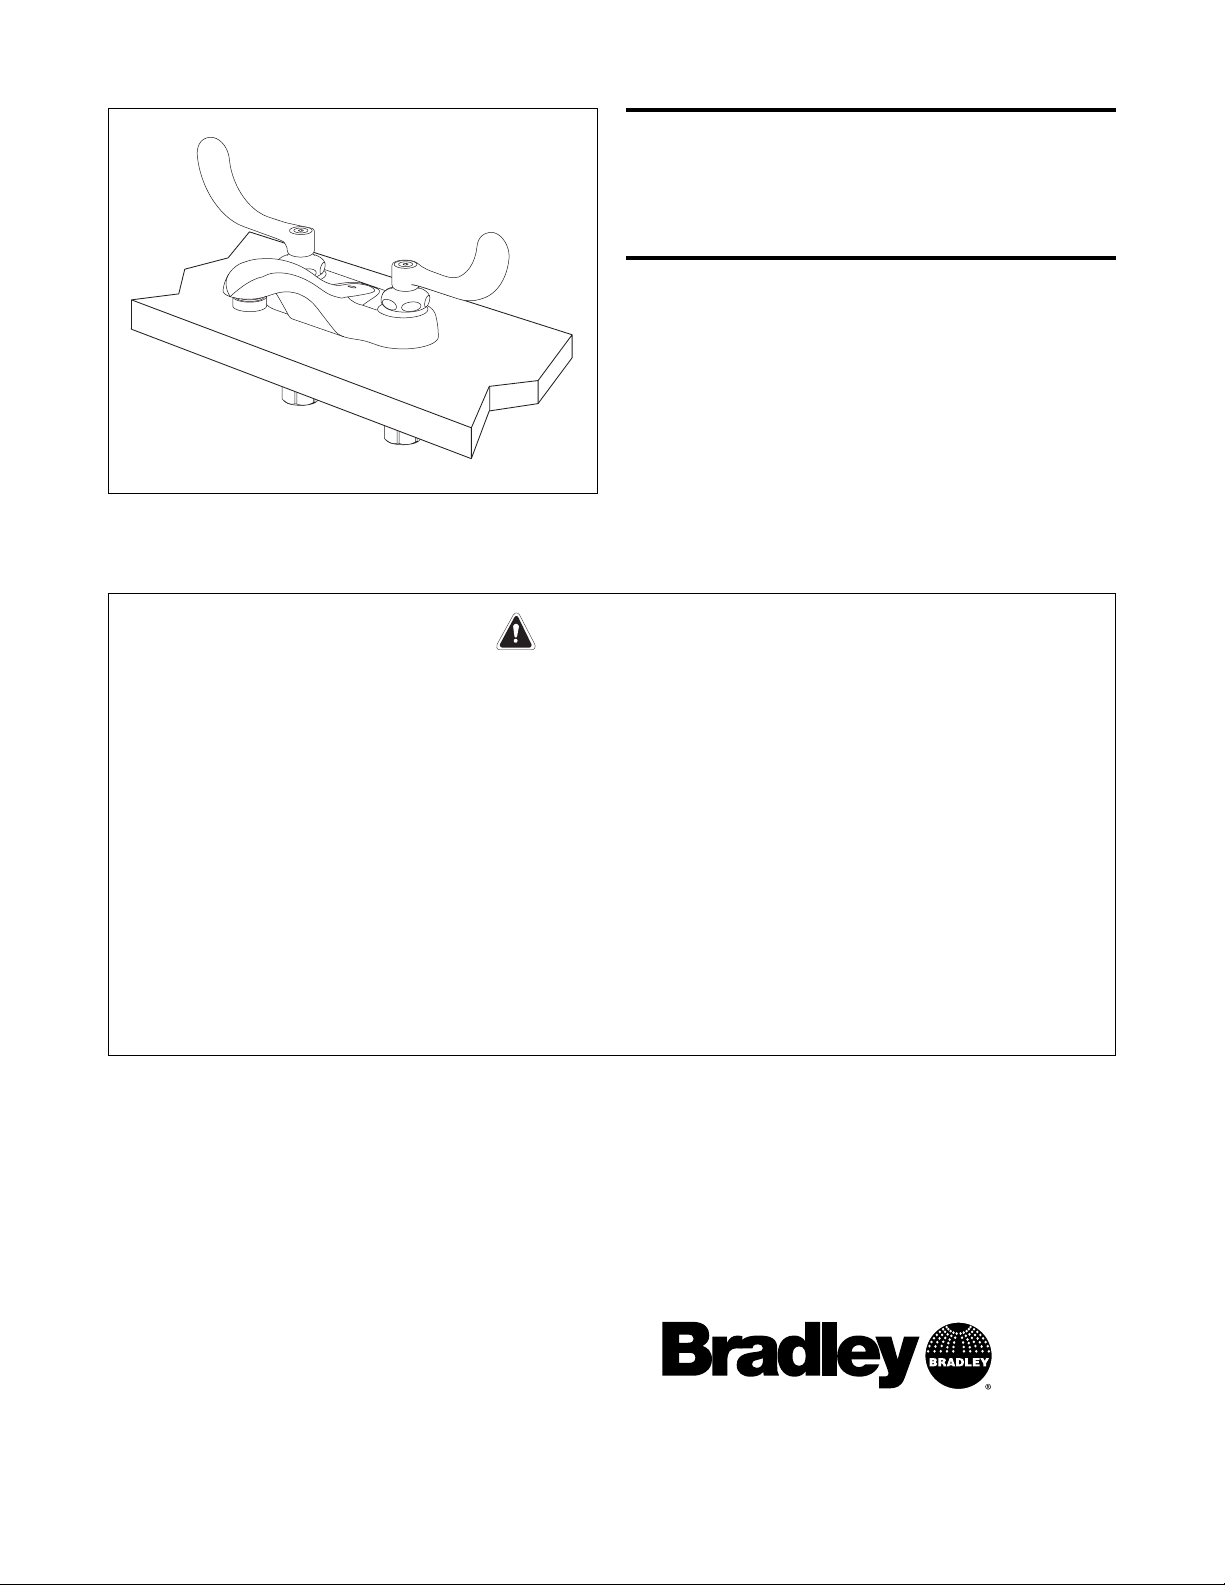
Aerada 90-80 Series
Wristblade Faucet
Installation
Instructions
215-1566; EN 04-217
© 2004 Bradley Corporation
Page 1 of 3 9/14/04
P.O. Box 309, Menomonee Falls, WI 53052-0309
Phone: 1-800-BRADLEY FAX: (262) 251-5817
http://www.bradleycorp.com
Page 2

Aerada 90-80 Series Wristblade Faucet Installation Instructions
2 9/14/04 Bradley Corporation • 215-1566; EN 04-217
Table of Contents
Faucet Components . . . . . . . . . . . . . . . . . . . . . . . . . . . . . . . . . . . . . . . . .2
Supplies Required for Installation . . . . . . . . . . . . . . . . . . . . . . . . . . . . . .2
Faucet Installation . . . . . . . . . . . . . . . . . . . . . . . . . . . . . . . . . . . . . . . . . .3
Quarter-Turn Cartridge Installation . . . . . . . . . . . . . . . . . . . . . . . . . . . . .3
Components for Aerada 90-80 Series Faucet (4" centerset)
Carefully separate all parts from packaging and check each part with the illustrations below. Make sure
all parts are accounted for before discarding any packaging material. If any parts are missing, do not
attempt to install your Bradley Faucet until you obtain the missing parts.
Supplies Required for Installation:
• Teflon Tape
• 1/2" NPT water inlet supply
• Pipe fittings
RED WASHER
SCREW
BLUE WASHER
LEFT HAND
QUARTER-TURN
CARTRIDGE
(HOT WATER)
VANDAL-RESISTANT
AERATOR
(269-1816)
WITH SPANNER WRENCH
WRISTBLADE
HANDLE
CAP NUT
RIGHT HAND
QUARTER-TURN
CARTRIDGE
(COLD WATER)
BODY
NYLON WASHER
BASIN COCK WASHER
NUT
NUT
Page 3

3
Installation Instructions Aerada 90-80 Series Wristblade Faucet
Bradley Corporation • 215-1566; EN 04-217 9/14/04
Faucet Installation
1. Apply putty or a rubber washer to the underside of the
faucet body to ensure a good seal and level
installation.
2. Place the faucet body shanks through the holes in the
deck and secure the faucet to the deck with the
mounting hardware supplied.
3. Connect the water supply lines.
NOTE: For installation of the quarter-turn cartridges,
refer to the instructions below.
4. After cartridge installation is complete, remove the
aerator and flush the water supply lines (for
approximately one minute) to remove any debris that
may have accumulated during installation.
Quarter-Turn Cartridge
Installation
NOTE: Always place a new cartridge in the closed
position when installing into the valve body.
NOTE: Cartridges are stamped “LH” to designate left
hand and “RH” to designate right hand.
RIGHT HAND CARTRIDGE
1. Insert the cartridge into the valve body and push until it
“seats.”
2. Attach the cap nut and tighten hand-tight. Attach the
handle.
3. Holding the handle in the “closed” position, fully tighten
the cap nut to 15–25 FT. LB. torque.
LEFT HAND CARTRIDGE
1. Insert the cartridge into the valve body and push until it
“seats.”
2. Attach the cap nut and tighten hand-tight. Attach the
handle.
3. Holding the handle in the “open” position, fully tighten
the cap nut to 15–25 FT. LB. torque.
4. Return the handle to the “closed position” and check
handle alignment. Adjust if necessary.
HANDLE
PARTS
NOTE:
Handle shown in
"closed" position.
CAP NUT
LEFT HAND
QUARTER-TURN
CARTRIDGE
BODY
AERATOR
MOUNTING
HARDWARE
RIGHT HAND
QUARTER-TURN
CARTRIDGE
 Loading...