

Page 1

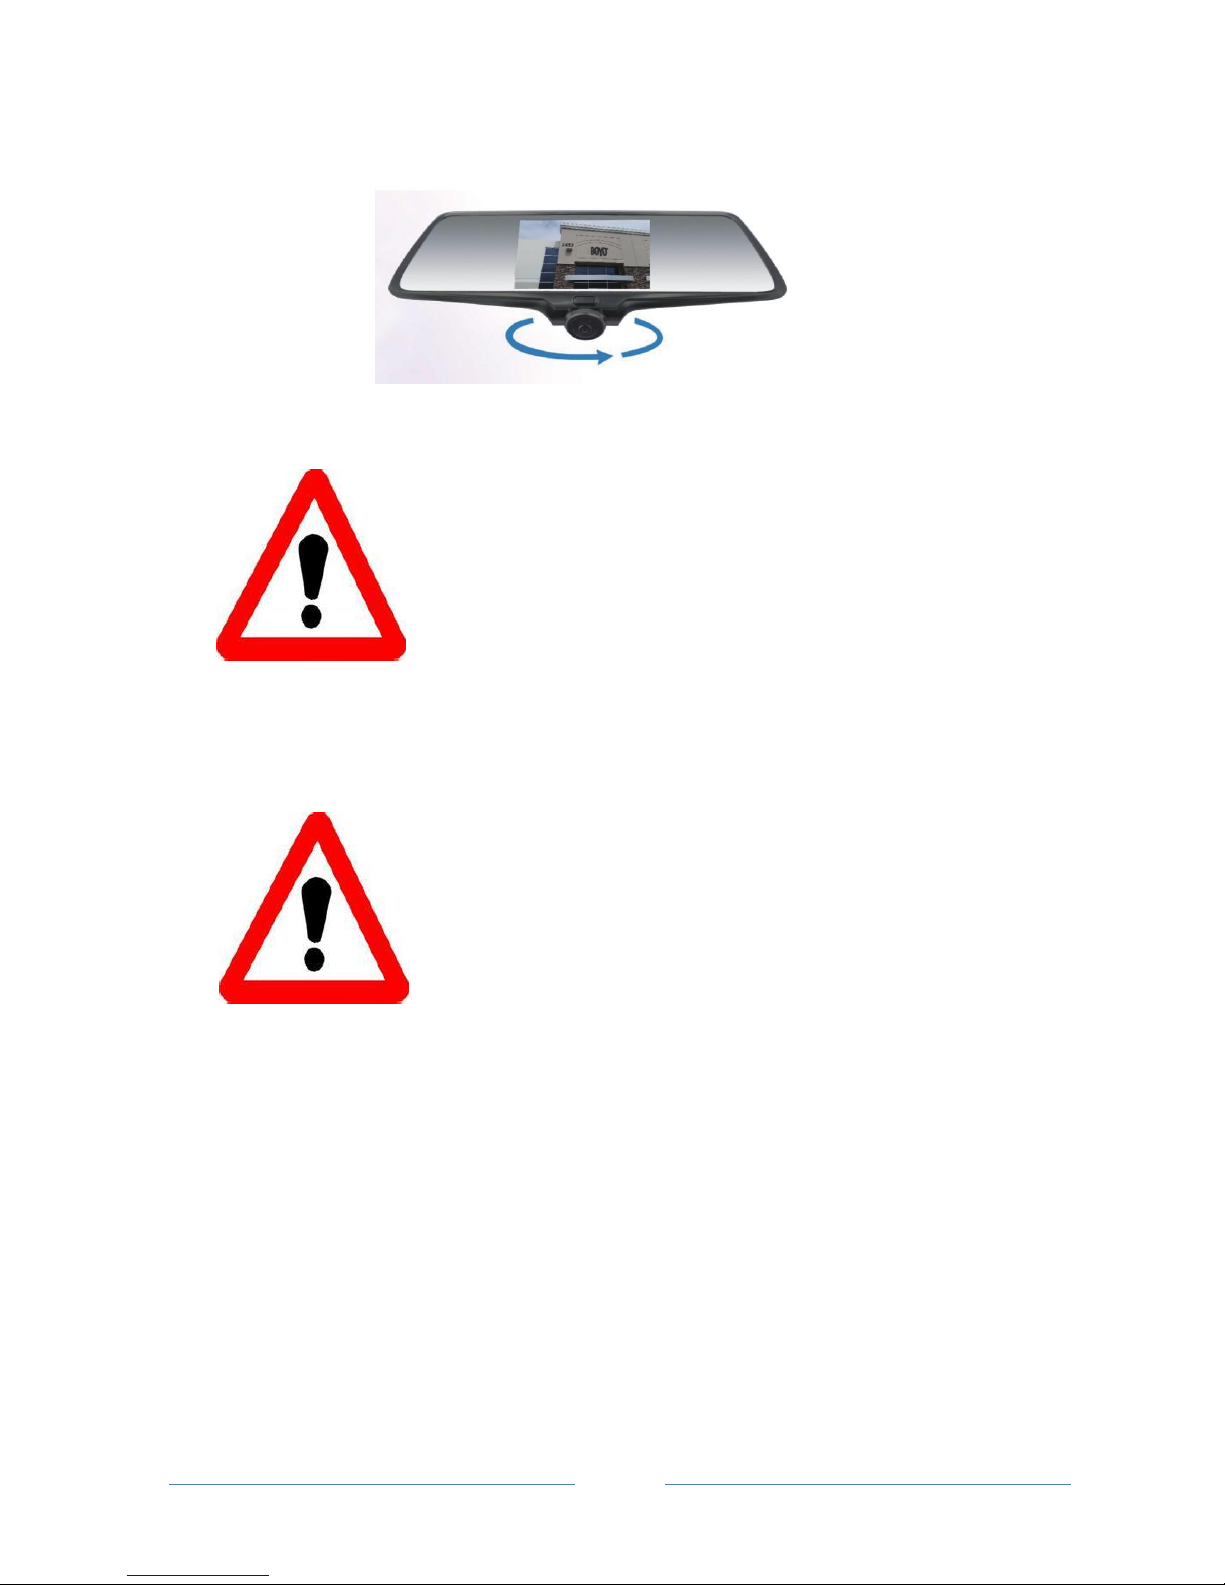
Rear View Mirror Monitor DVR with 360°camera
(VTR50M)
User Manual
Page 2

- 1 -
Owner’s Manual
1. Contents
2. Before Use
3. Product Introduction
4. Installation Steps
5. Function Introduction
6. Device Specifications
VTR50M
7. Trouble Shooting
Page 3
- 2 -
Before Use
1.1 Attention
Please read the complete Owner’s Manual before operating the device in order to avoid bodily harm
or improper operations caused by this device.
For safety, please do not operate
1.2 Operating Environment
Please do not expose this device to rain or an excessively damp environment, this device does not have water
resistant protection.
Please do not expose this device to an excessively dusty environment, to avoid the dust contamination on
the camera lens and other components.
Please dispose of this device properly. This device contains batteries, avoid disposing into a fire to avoid any possible
explosion.
device while driving
this
.
Page 4
- 3 -
1.3 Power Harness
Please use the provided POWER harness, do not use any other POWER harness otherwise it may damage the unit.
1.4 TF Card
This device supports TF cards 8 GB to 32 GB, High Speed Class 6 to Class 10.
Product Introduction
① Display Screen / Touch Panel; display video and operating interface via touch control
②Power Button: Short press to turn on/off screen; Long press for 2 sec for power on or power off.
③Camera: Captures videos and still images
④TF card slot: for TF card to store videos and still images
⑤AV Input: To add an optional camera for 2 channel recording, connect reverse trigger wire for back up camera
⑥USB connector: To power device and charge internal battery
⑦RESET Switch: Reset if the device is locked up
Installation Steps
1. Vehicle ignition in the off position.
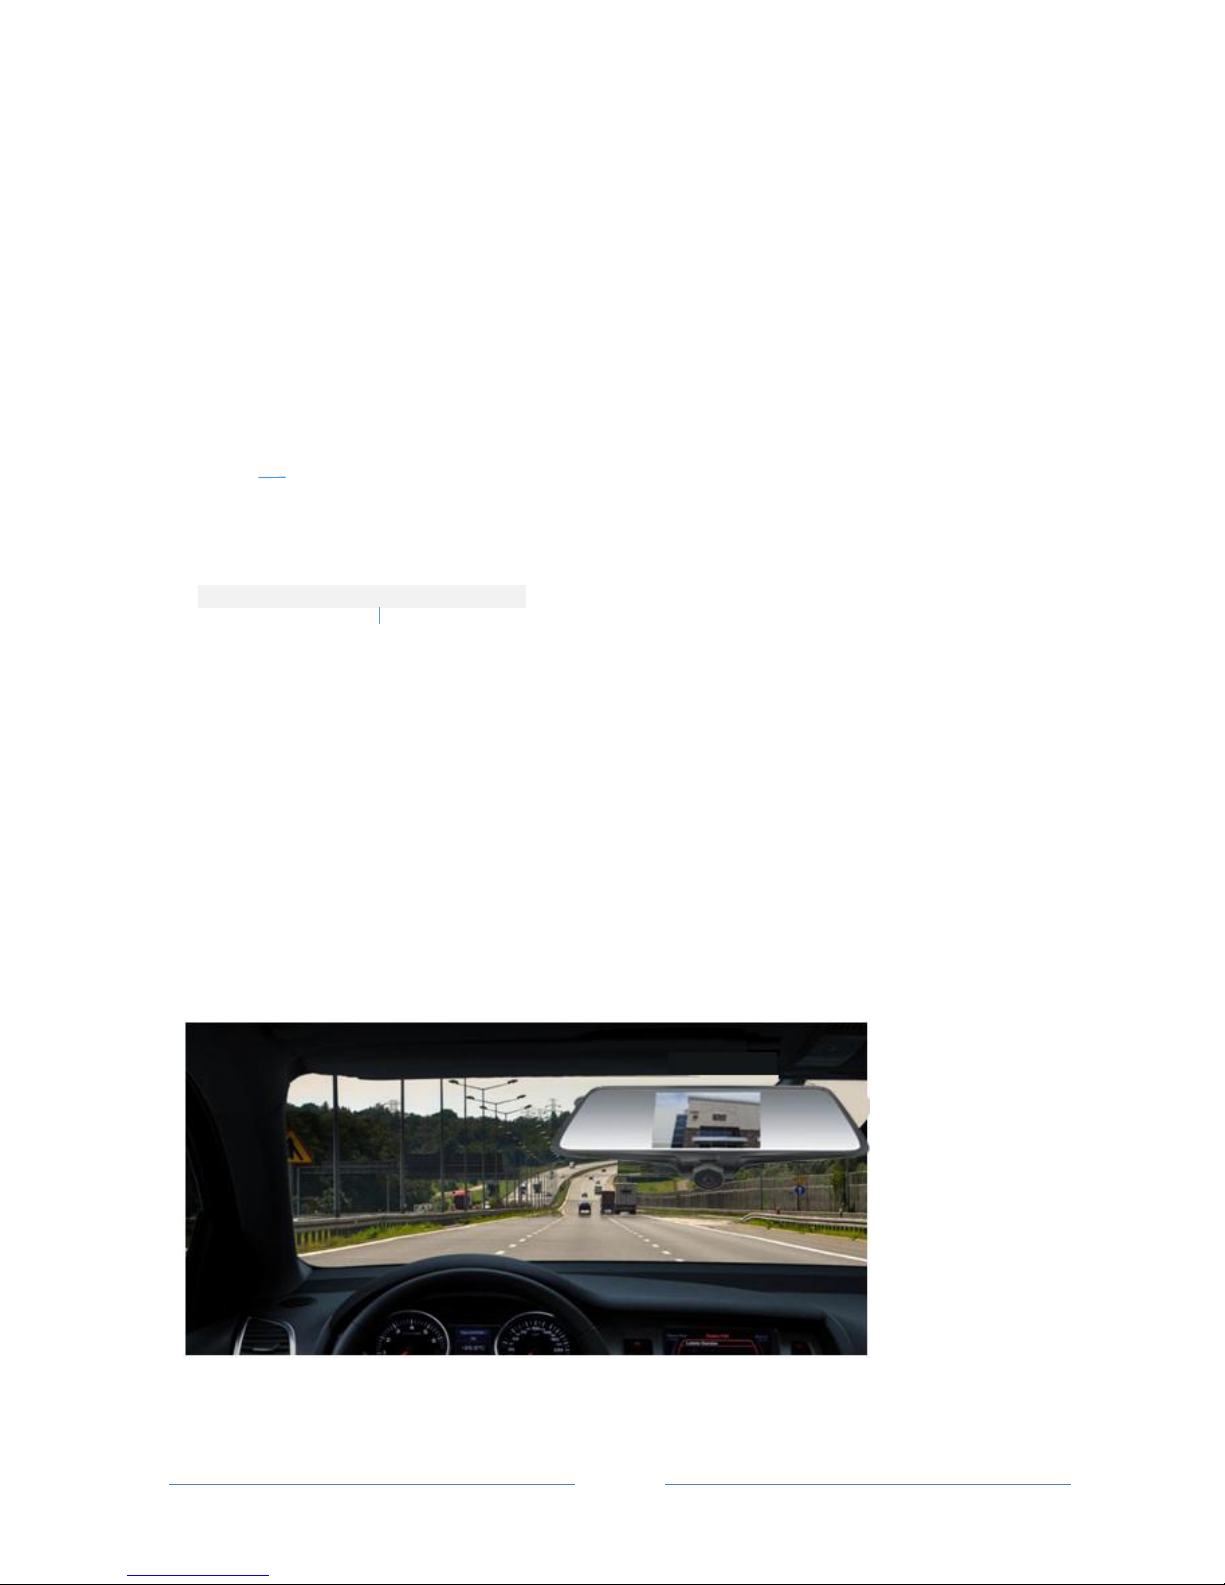
2. Attach device to existing vehicle rear view mirror with provided rubber straps.
3. Plug in USB power harness into device. Route and conceal the power harness along the vehicle headliner, A pillar
and dash.
4. USB to Hardwire Option 1 - connect the red wire (ACC) of the power harness to the fuse box +12vdc ignition switch
on, the black wire connect to chassis ground.
5. USB to Cig Plug Option 2 – Plug in USB power harness into device. Route and conceal the power harness along the
vehicle headliner, A pillar and dash to vehicle Cig Lighter socket and plug in.
6. Installation complete. TEST all functions
1 Installation image1
Page 5
- 4 -
2 Installation image 2
Functions
4.1 Operation and Sleep Mode
4.1.1 Startup & Shutdown
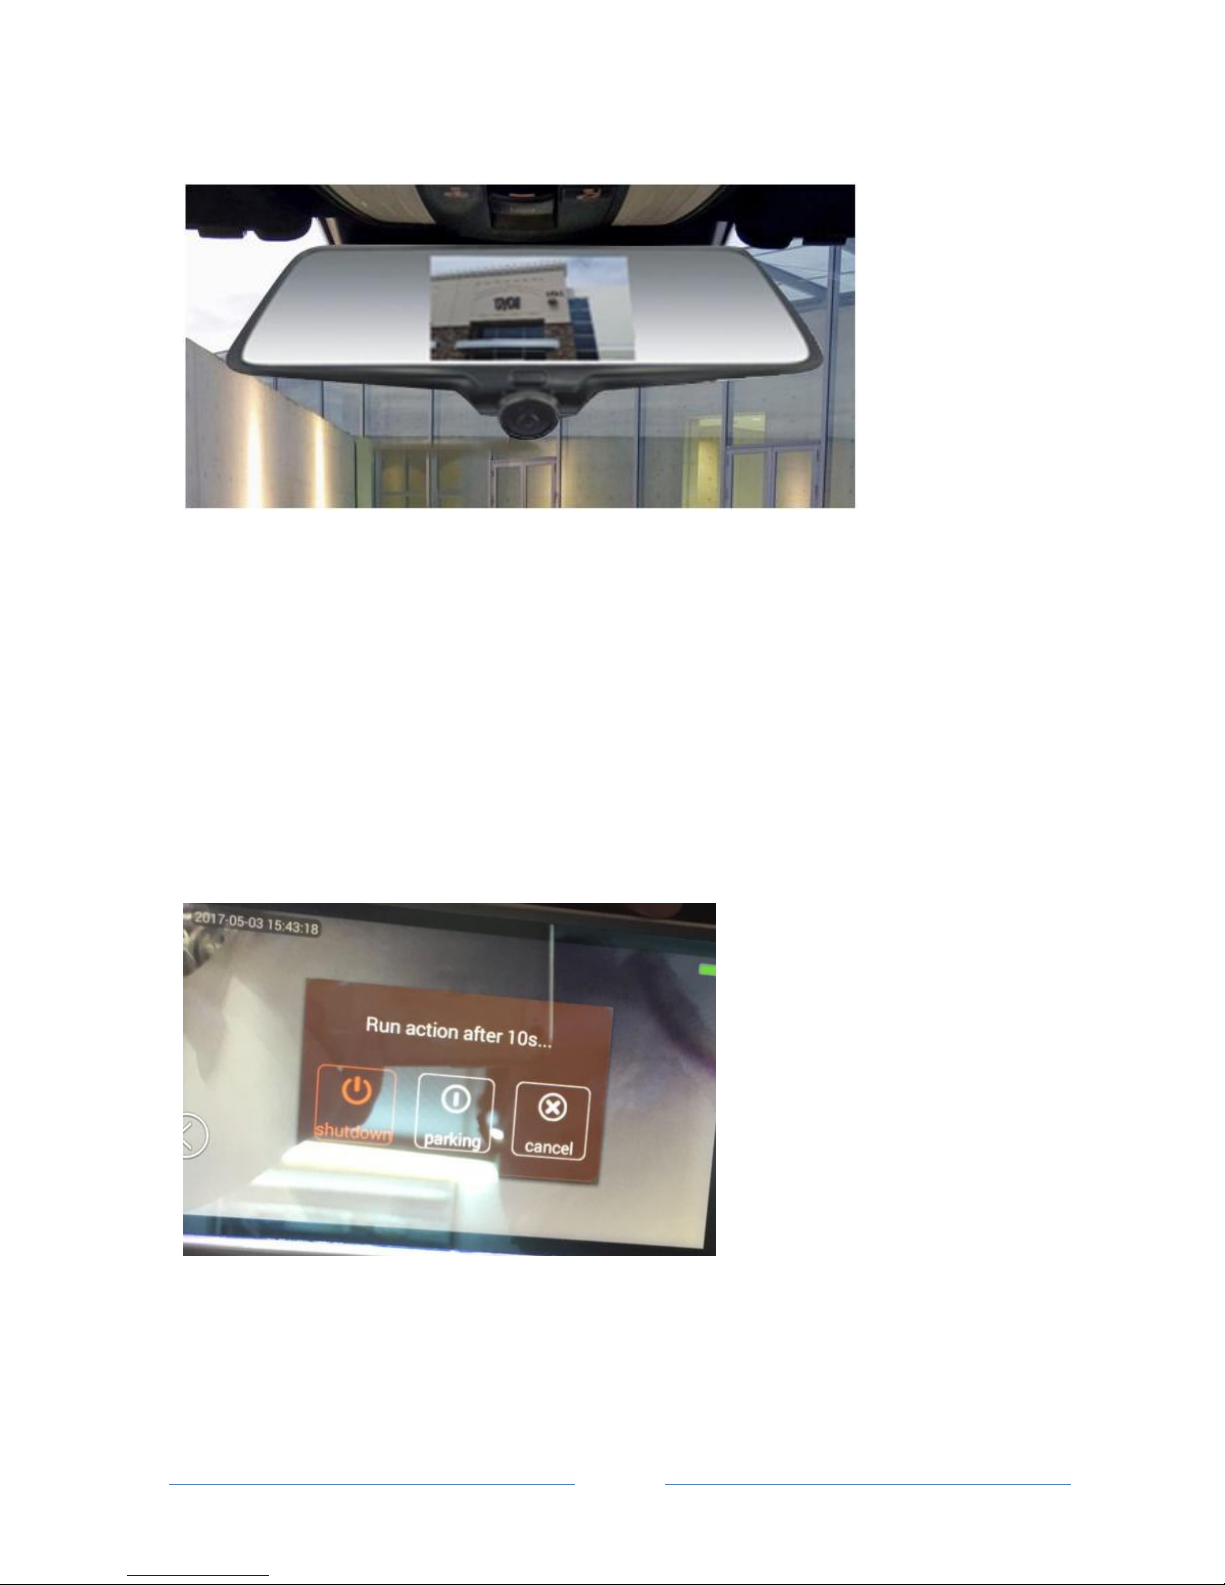
When the vehicle ignition switch (ACC) is on, the device will be automatically turned on. When the vehicle ignition
switch (ACC) is switched off, the device will automatically display “shutdown”, “parking” and “cancel” menu option as
shown in the picture 4.1.2 below. To manually turn off the device with ignition switch on long press the device power
button for 2 sec to power off, long press power button for 2 sec to power back on.
4.1.2 Parking Monitor Mode
When the vehicle ignition switch (ACC) is turned off or a car charger is unplugged, the device will automatically display
“shutdown”, “parking” and “cancel” menu option as shown in the picture above. When you select “parking” option, it
will be entered into parking monitor mode.
Page 6
- 5 -
When the device detects an impact or a collision, the device will wake up and start recording.
NOTES: Parking Monitor Mode works properly if the dash cam is hardwired to a constant power source.
4.2 Interface operation
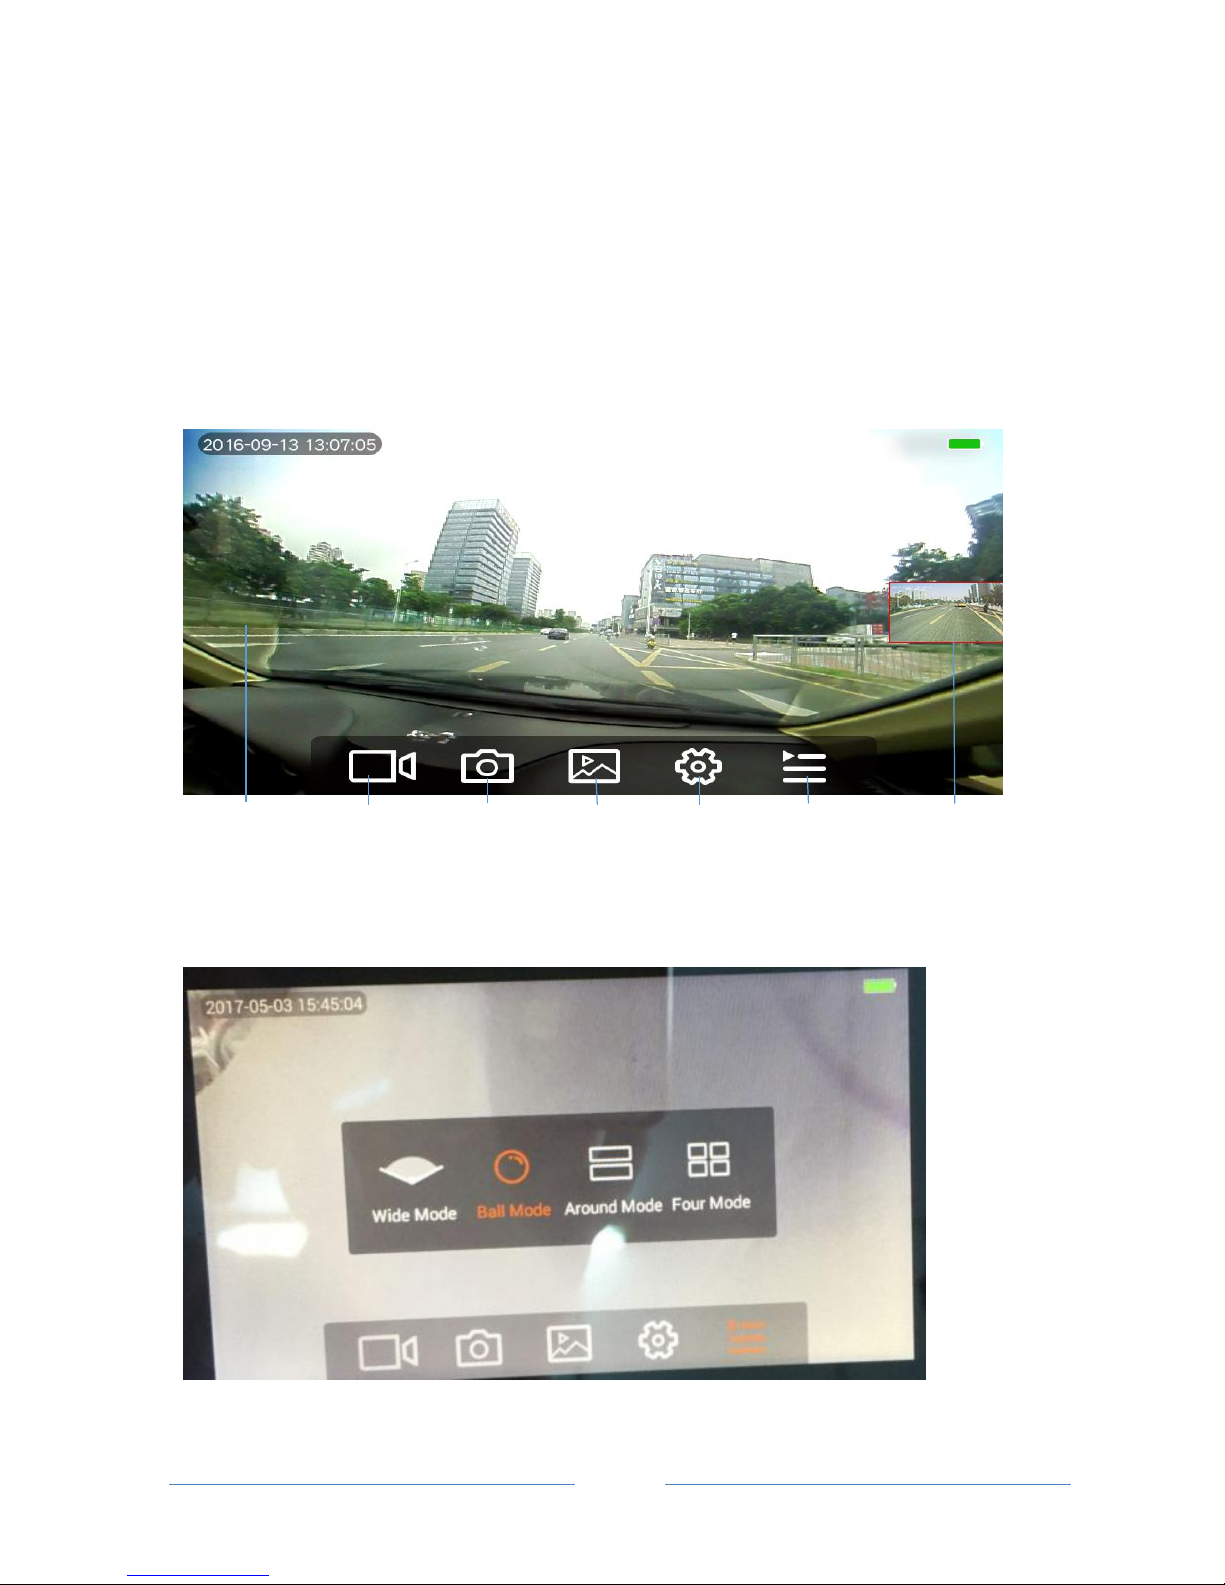
4.2.1 Interface operation preview
4.2.2 The video interface preview and operation
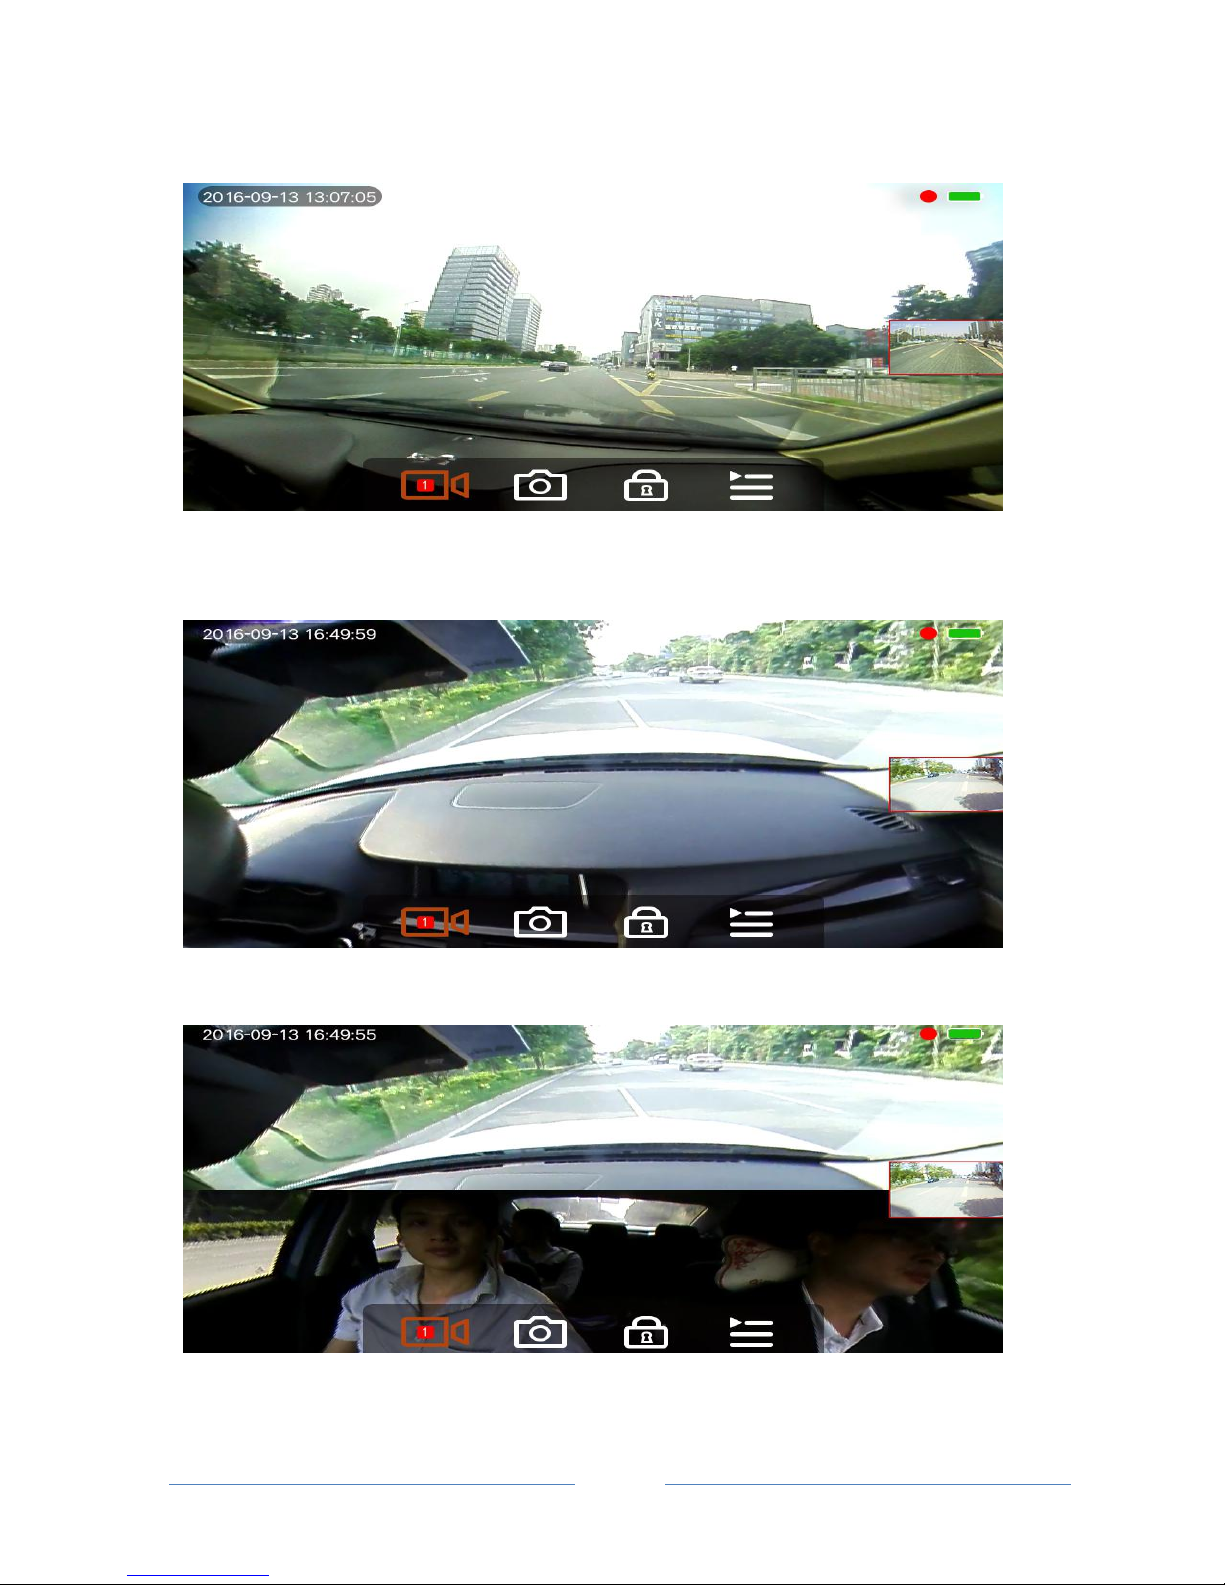
4.2.2.1 The video switch mode
Page 7
- 6 -
4.2.2.2 Wide-angle mode (Wide Mode)
4.2.2.3 Spherical mode (Ball Mode)
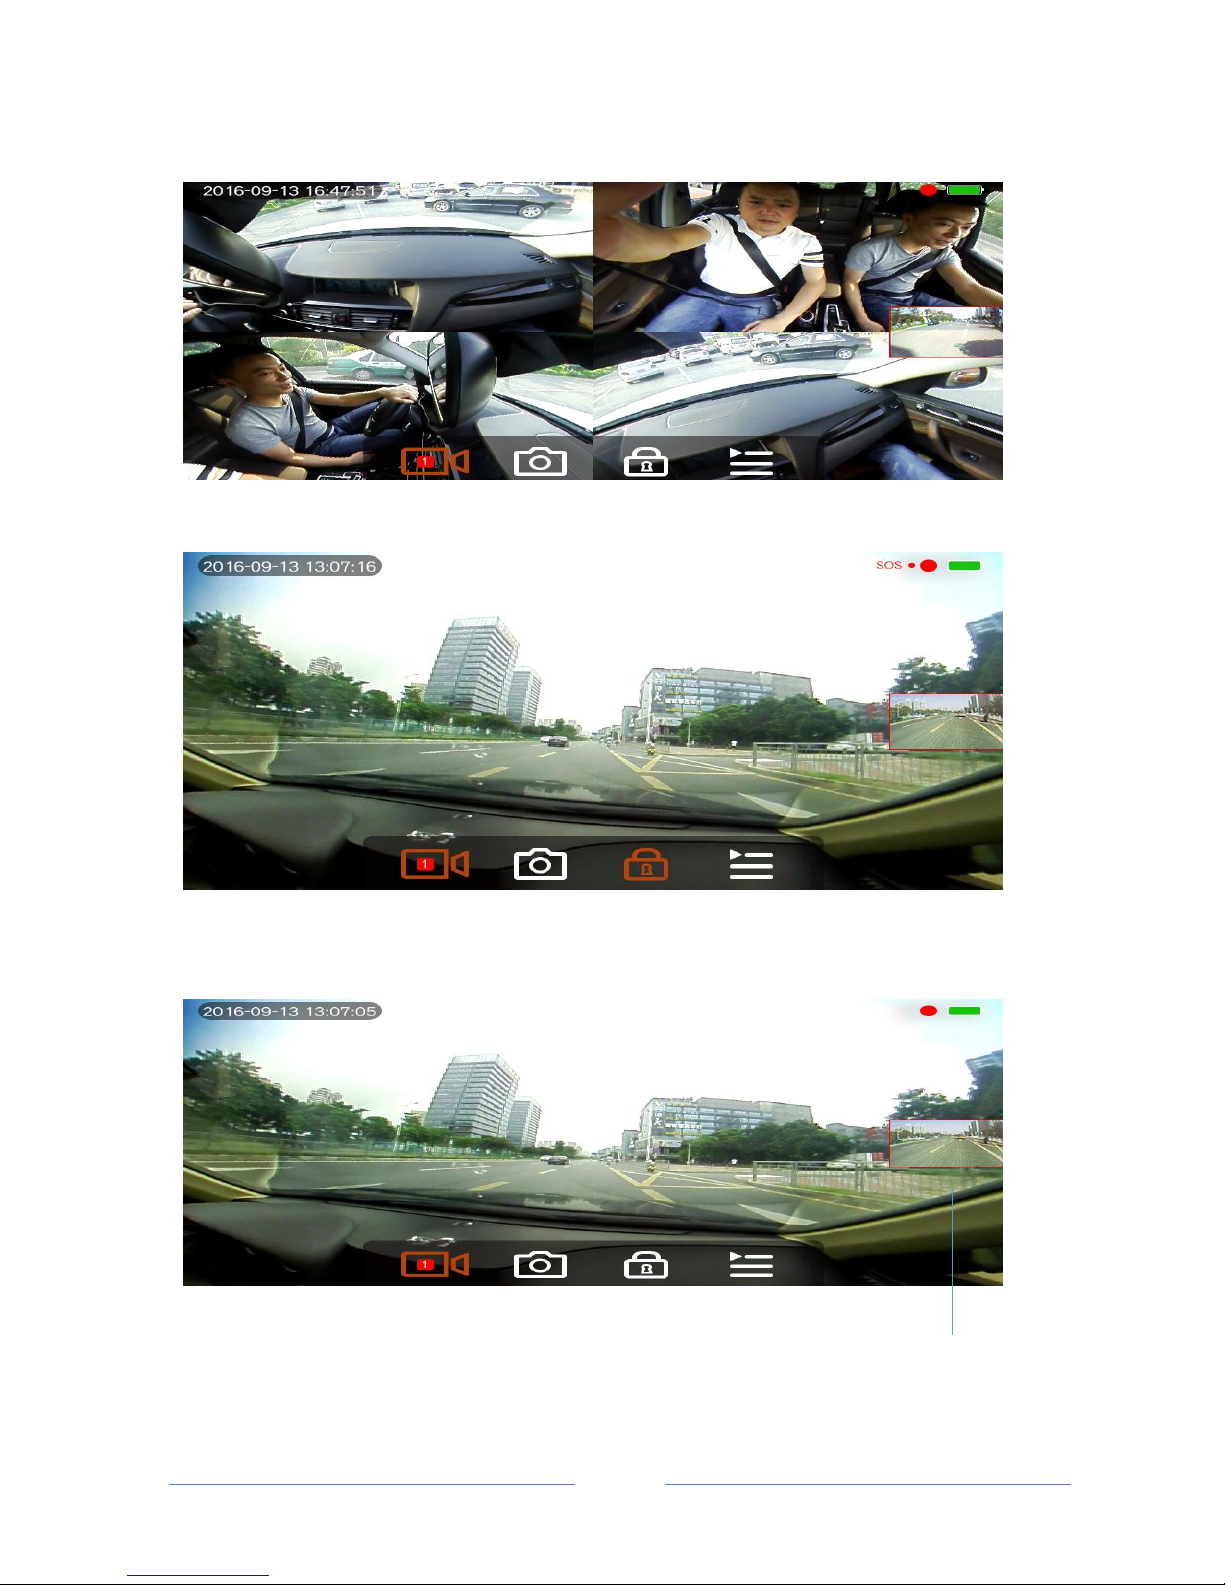
4.2.2.4 Front and rear mode (Around Mode)
Page 8
- 7 -
4.2.2.5 Multi-window mode (Four Mode)
4.2.2.6 Video recording in case of any impact or collision in lock mode
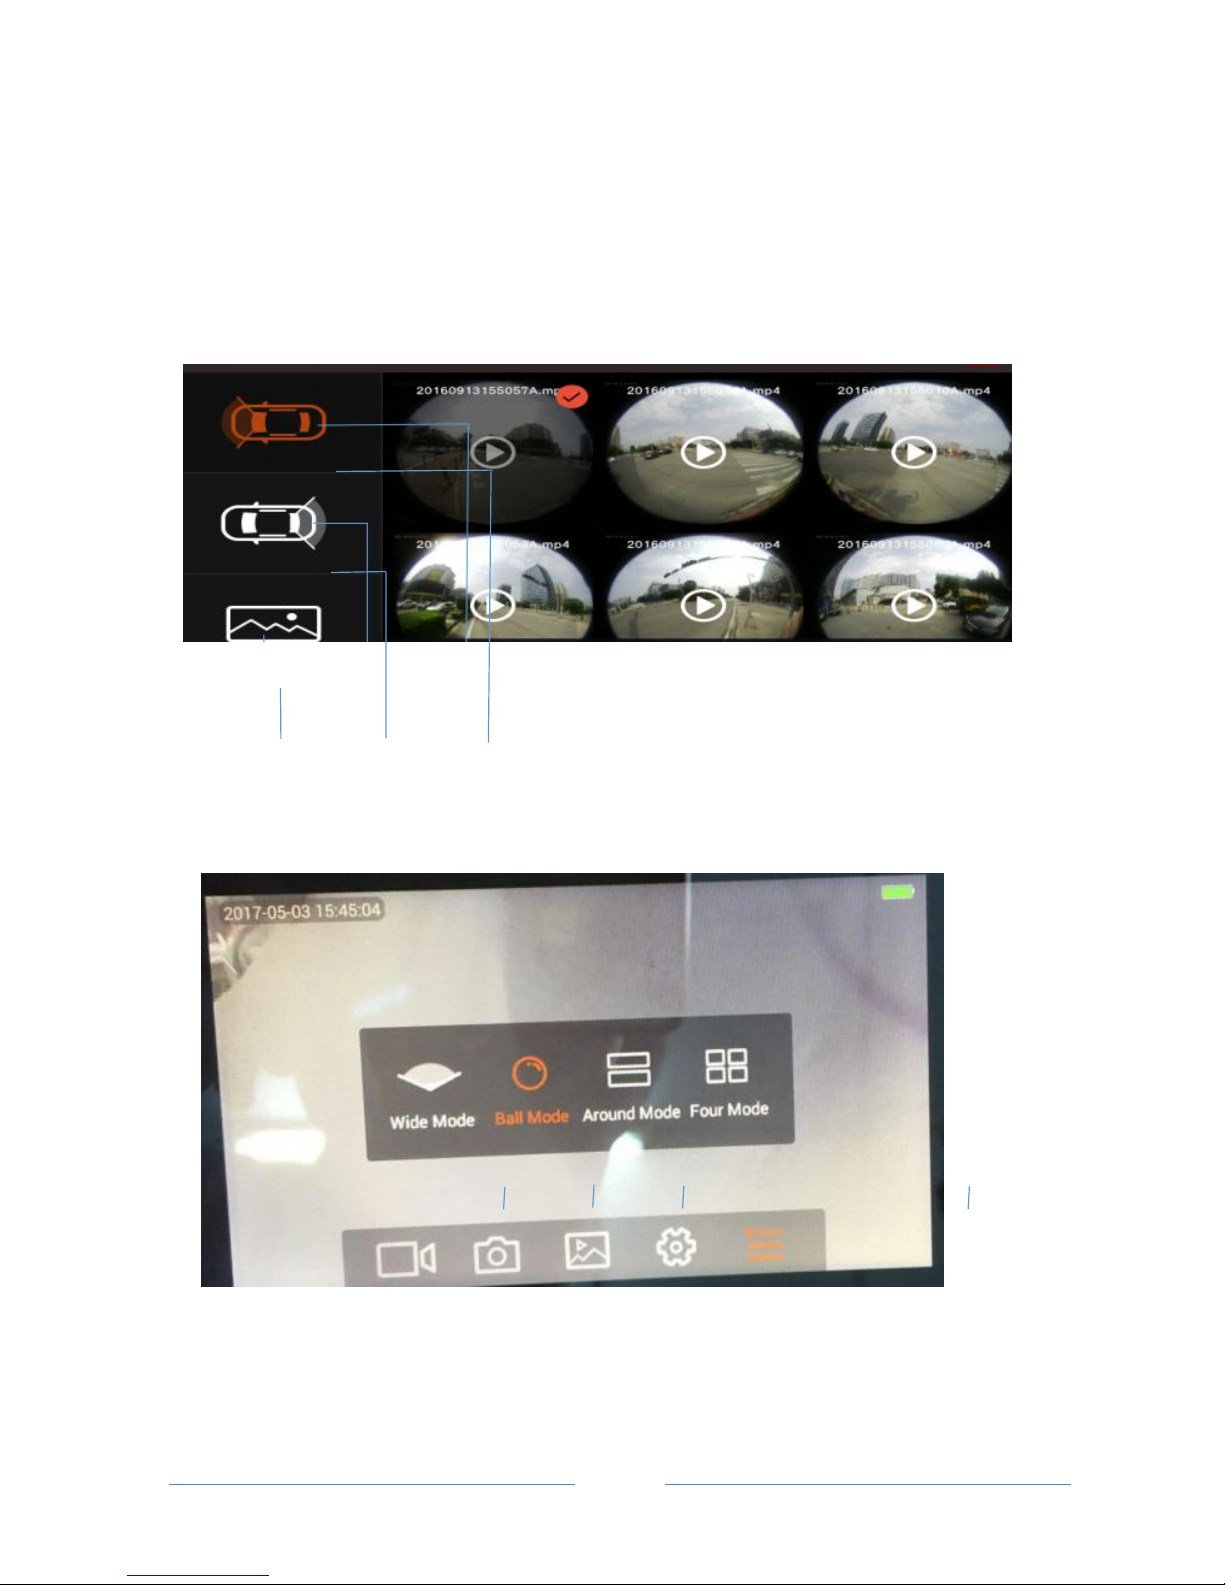
4.2.2.7 The display of rear view camera video images in Picture in Picture mode
Page 9
- 8 -
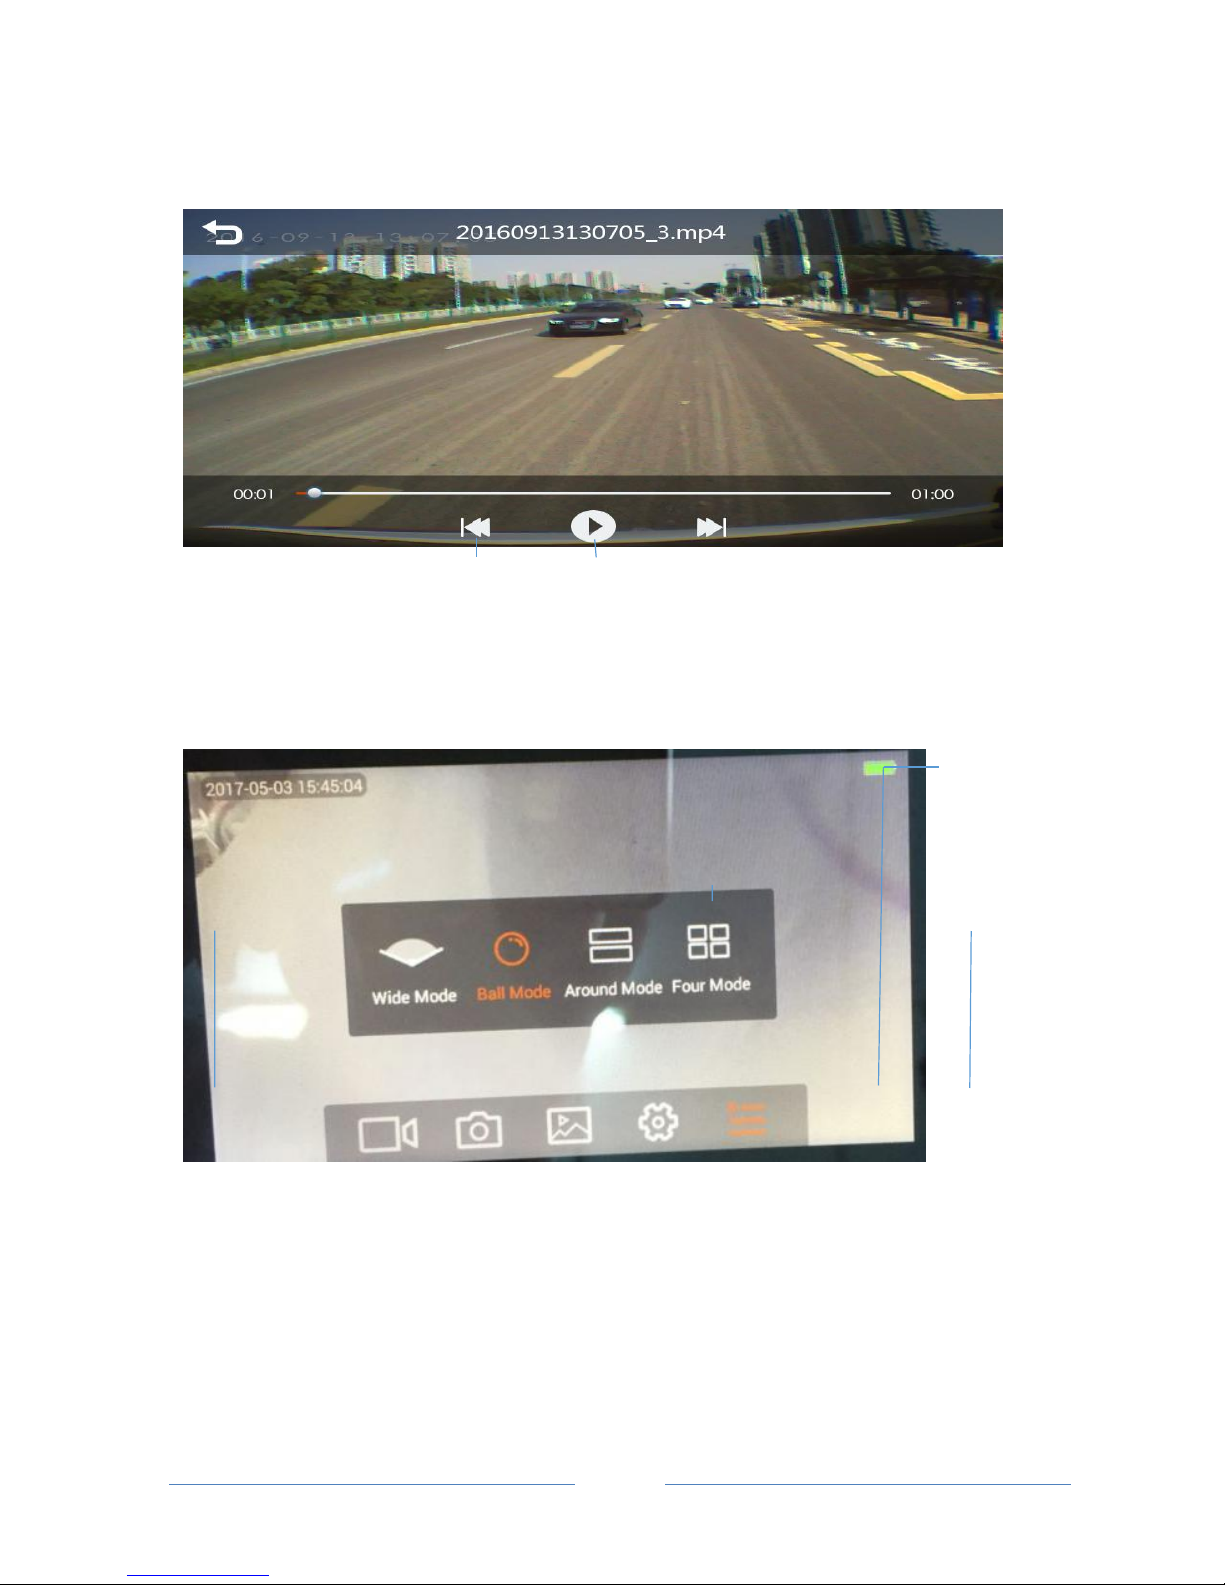
4.2.3 Video and Photo Playback Mode
The unit stores video and photos on its micro SD Card. They can be reviewed and played back
through Playback Mode.
4.2.3.1 Video and Photo Playback File Menu
4.2.3.2 Front camera video recording playback and mode switching
Page 10
- 9 -
4.2.3.3 Rear camera video playback
4.2.3.4 Picture play-back and playback mode switching
Page 11
- 10 -
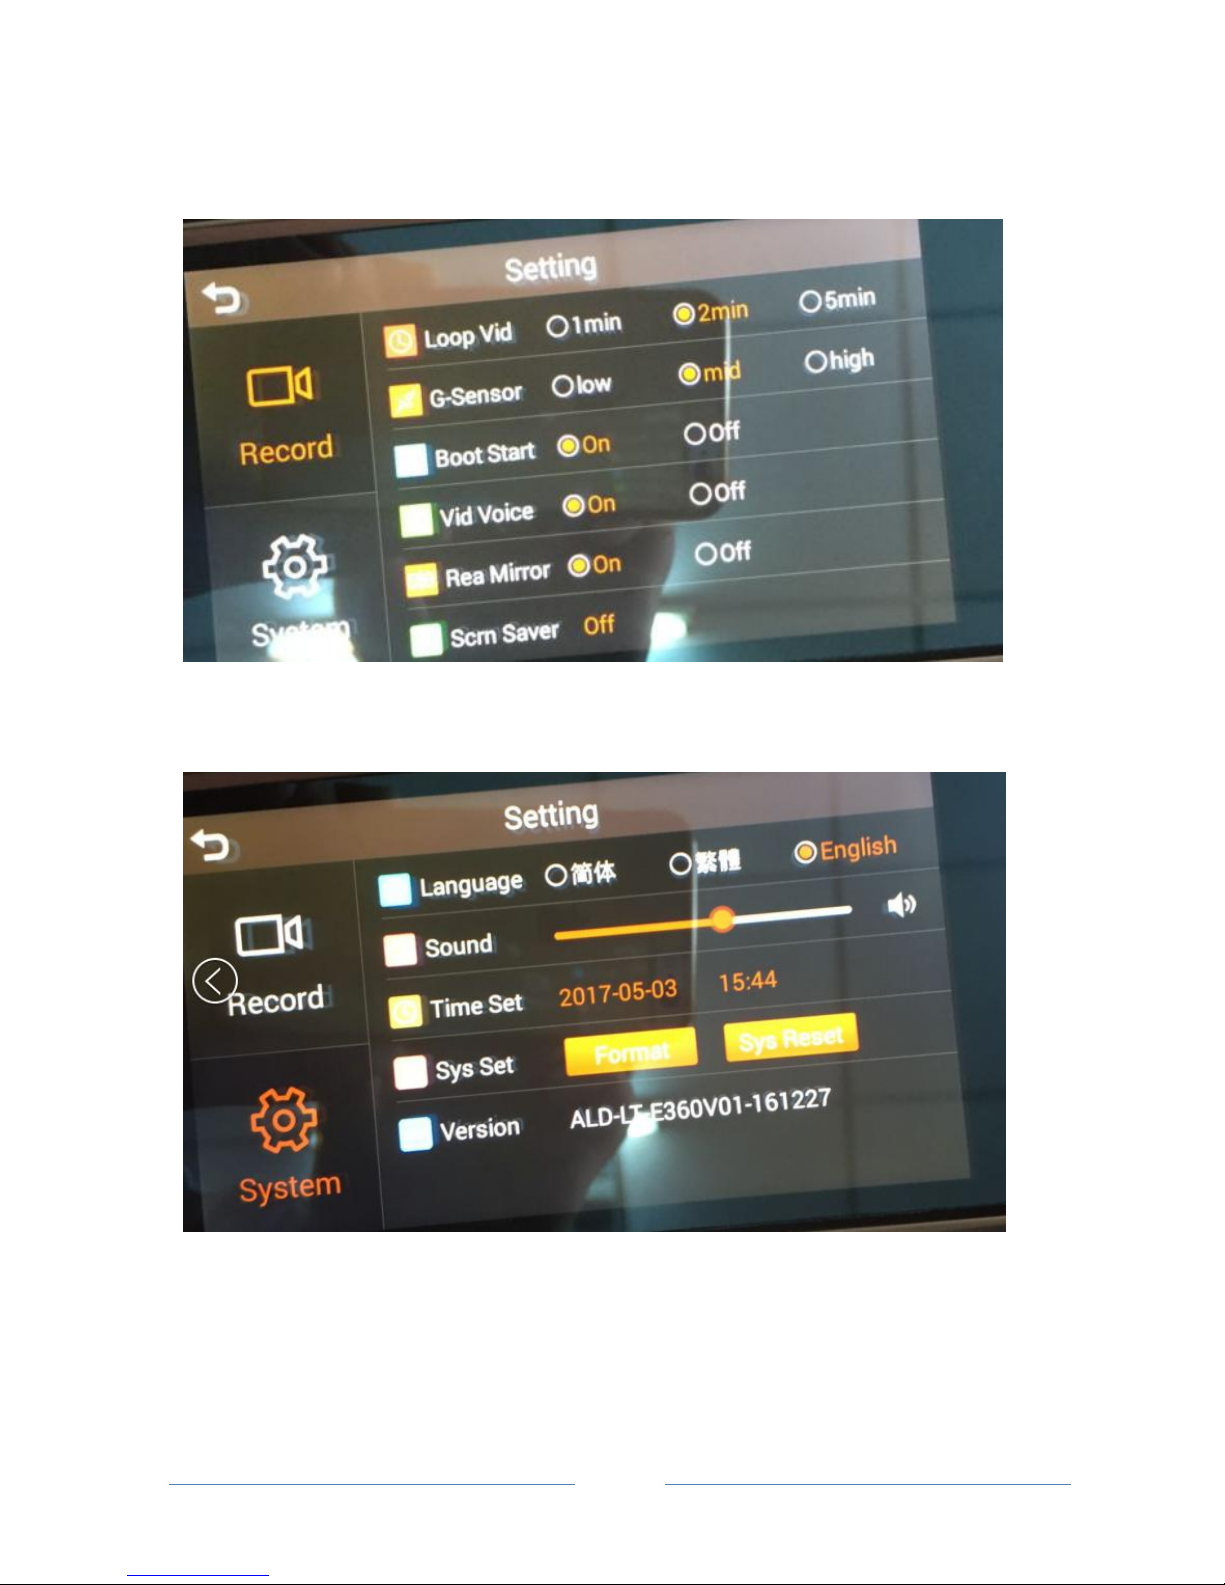
4.2.4 Settings
4.2.4.1 Video Settings
4.2.4.2 System Settings
Page 12
- 11 -
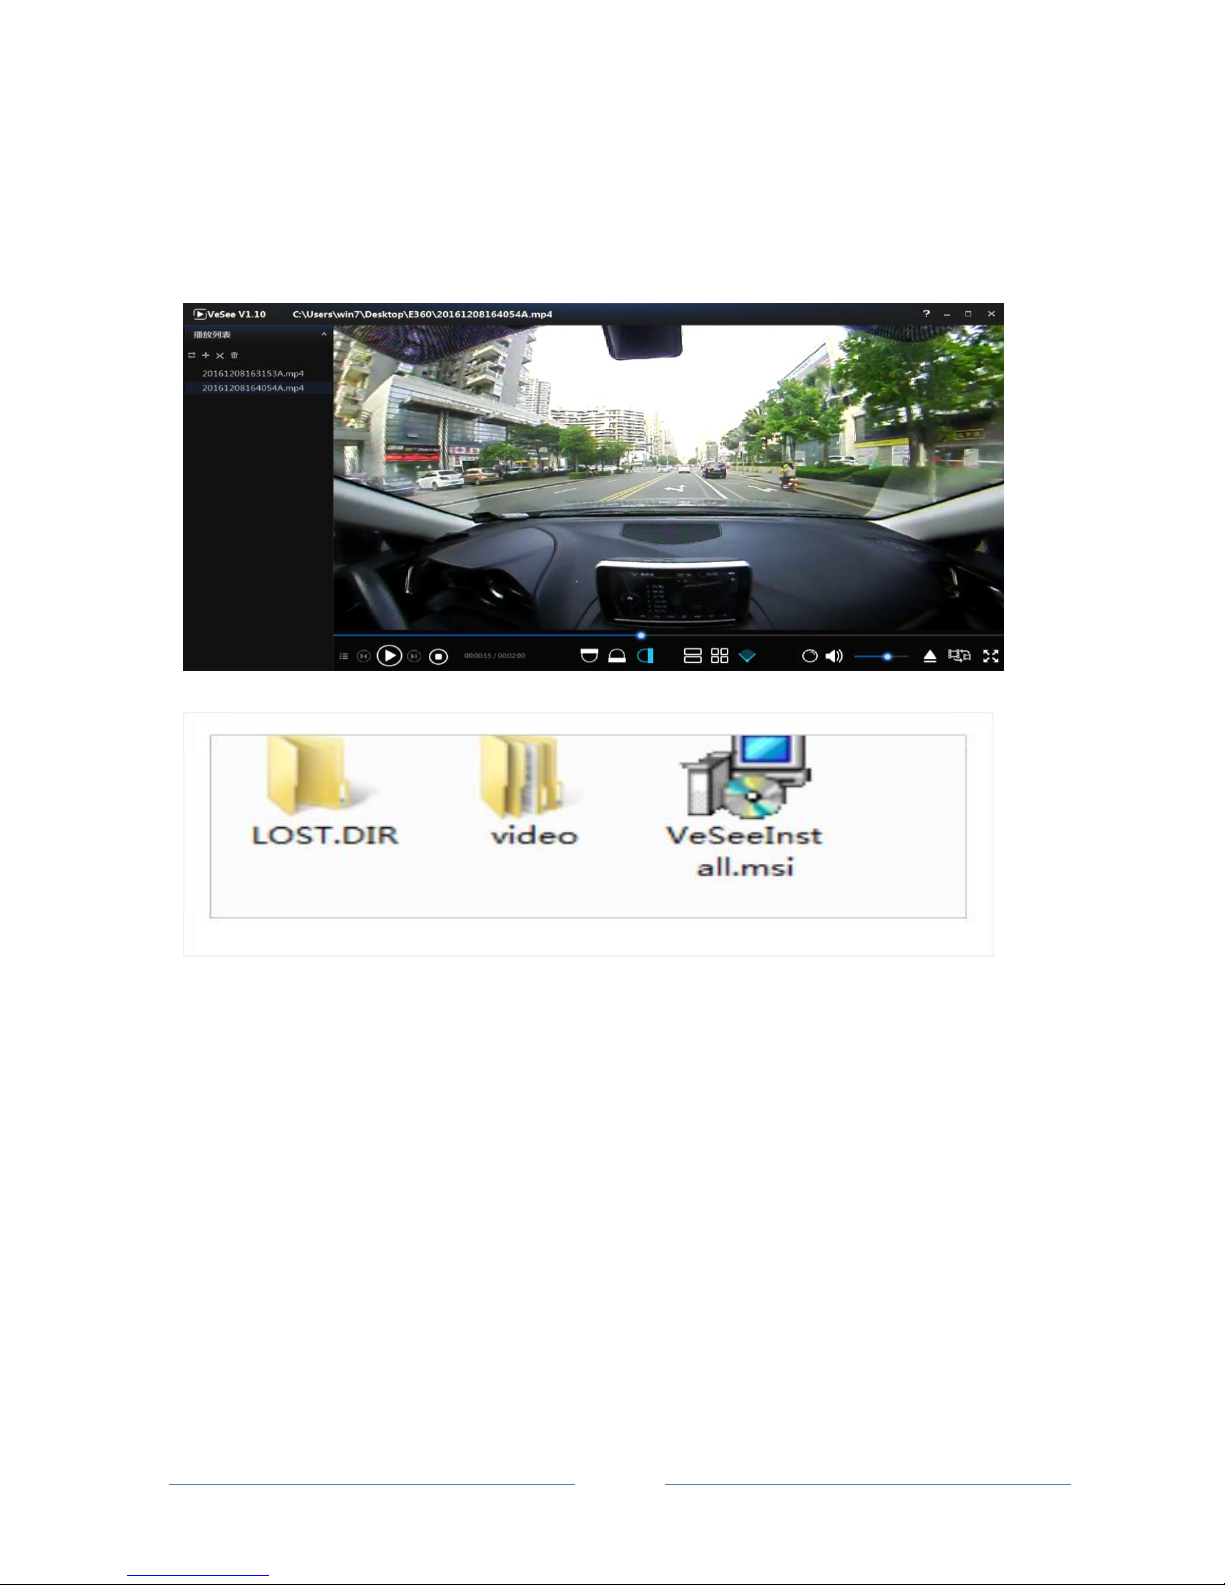
4.3 Download VeSee Player and Installation
Take out TF memory card and insert it into PC SD Card slot. Locate a file called “VeSeeInstall.msi” and install its
application by double clicking it.
Page 13

- 12 -
4.4 Device Specifications
Specifications
Parking Monitoring
Supported
Loop Video
Supported
Video Format
MP4
Photo Format
JPEG
Camera Pixel
3 Million Pixels
Camera Angle
Horizontal 360 Degree
Display Screen
4 inch 480x800
Touch Screen
5 Points Touch Control
Storage
Supports 8GB-32GB, Class 6 & Above
Loudspeaker
4Ω2W
Microphone
-38dB
Collision lock
Supported
Low-voltage protection
Supported
High-voltage protection
Supported
Supply reverse connect protection
Supported
Short-circuit protection
Supported
USB
Mini USB 2.0
Operating voltage range
DC 10.5V-16V/4.4V-5.8V
Operating environment temperature
-4° F - 149° F / -20° C - 65° C
Storage environment temperature
-40° F - 185° F / -40° C - 85° C
Page 14

- 13 -
4.5 Trouble shooting
Problem
Cause
Solution
Device will not
power up
Cig Lighter plug charger is damaged
or the fuse is blown.
No power from vehicle Cig lighter
socket
1. Inspect Lighter Plug Charger for damage, if no damage check
if fuse is blown, replace fuse if needed.
2. If no power from vehicle cigarette lighter socket. Inspect
the fuse and replace if needed
The power harness is disconnect or
not connected properly
1. Check the power harness IGN ACC(red)and Ground(black
)
connections.
2. Confirm proper connection with a volt meter. Confirm
connection of cable to the device.
System failure
Press the power button for about 10 seconds to reset and
restart the device
Screen not
responding or
frozen
System failure
1. With a paper clip or pin, momentarily press the reset button
of the back of device to reboot the operating system.
2. Press the power button for about 10 seconds to reset and
restart the device.
With ignition on
the device will
not turn on
automatically
car charger is damaged or
insufficient power(cell selection)
1. First check-out car charger, if no damage using the car
charger to supply power to battery of device
2. The battery has been damaged, need to replace the battery
The power line BATT+/ACC
connect error
Check whether power line BATT+/ACC wiring connection
accurately and successfully connect
Video freeze on
HD
TF card read-write speed too slow
Please use a TF card Class 6 or above
No voice when
playback
“Vid Voice” is set to “off”
Open “Settings” Set “Vid Voice” to “on”
The system volume is too low
Increasing the system volume
Cannot record
video
No TF card
Insert the TF card
Unable to loop
video
Too many video files locked
Delete the video files you don’t need
Screen is too dark
Brightness is set low
Adjust brightness in settings
If the device doesn’t work under the normal operating conditions, please review the following for your reference; if the
problem cannot be resolved, please contact customer service.
Page 15

- 14 -
Packing List
360° Camera/Rear View Mirror Monitor DVR x 1
12 FT USB to Cigarette Lighter Plug Power Harness
(Cig Plug has USB socket) x 1
10 FT USB to Hardwire Power Harness x 1
Mirror Mounting Straps x 2
Rear View Camera with 20ft AV input Cable×1
16GB Micro SD Card
User Manual
Warranty Card
Registration Card
Page 16

Vision Tech America, Inc.
1452 E. Valencia Dr.,
Fullerton, CA 92831
Tel: 888-941-3060
For technical support contact 888-941-3060 or email
[email protected] WWW.VISIONTECHAMERICA.COM
 Loading...