

Page 1
8.Acc essor ie s
1. Remo te cont ro l 1PC
2. Powe r cable 1 PC
3. User m anual 1 PC
4. Wa rranty c ar d 1PC
5. Produc t r egist ra tion car d 1PC
6. U shaped b ra cket 1P C
7. Sun shi el d 1PC
8. Allen Wrench 1PC
For tec hni cal sup por t conta ct 88 8- 941 -3060 o r ema il info @vi siont ech ameri ca. co m
WWW.VI SIONT EC HAM ER ICA.C OM
VTM7012FHD
5
Page 2

1.Fun ction And Us age Of Pr oduct s
Product function
1. Size: 7 inch HD LCD monitor
2. Screen Ratio: 16:9 wide screen
3. Resolution: 1024x600
4. 3 channel HD video input, supporting 720P@25/30, 720P@50/60, 1080P@25/30
5. Supporting 3 triggers
6. System: PAL/NTSC auto switchable
7. Power supply: DC 12V-24V
8. Mirror image can be set for each channel
9. Reverse time delay can be set
10.Screen display menu and remote control
Product usage
This monitor uses high-resolution TFT LCD screen, easy to install, simple connection,
no radiation, low power consumption, flicker-free, gorgeous and vivid color, small and
exquisite outlook. It can be widely used in various cars, buses, trucks or special vehicles.
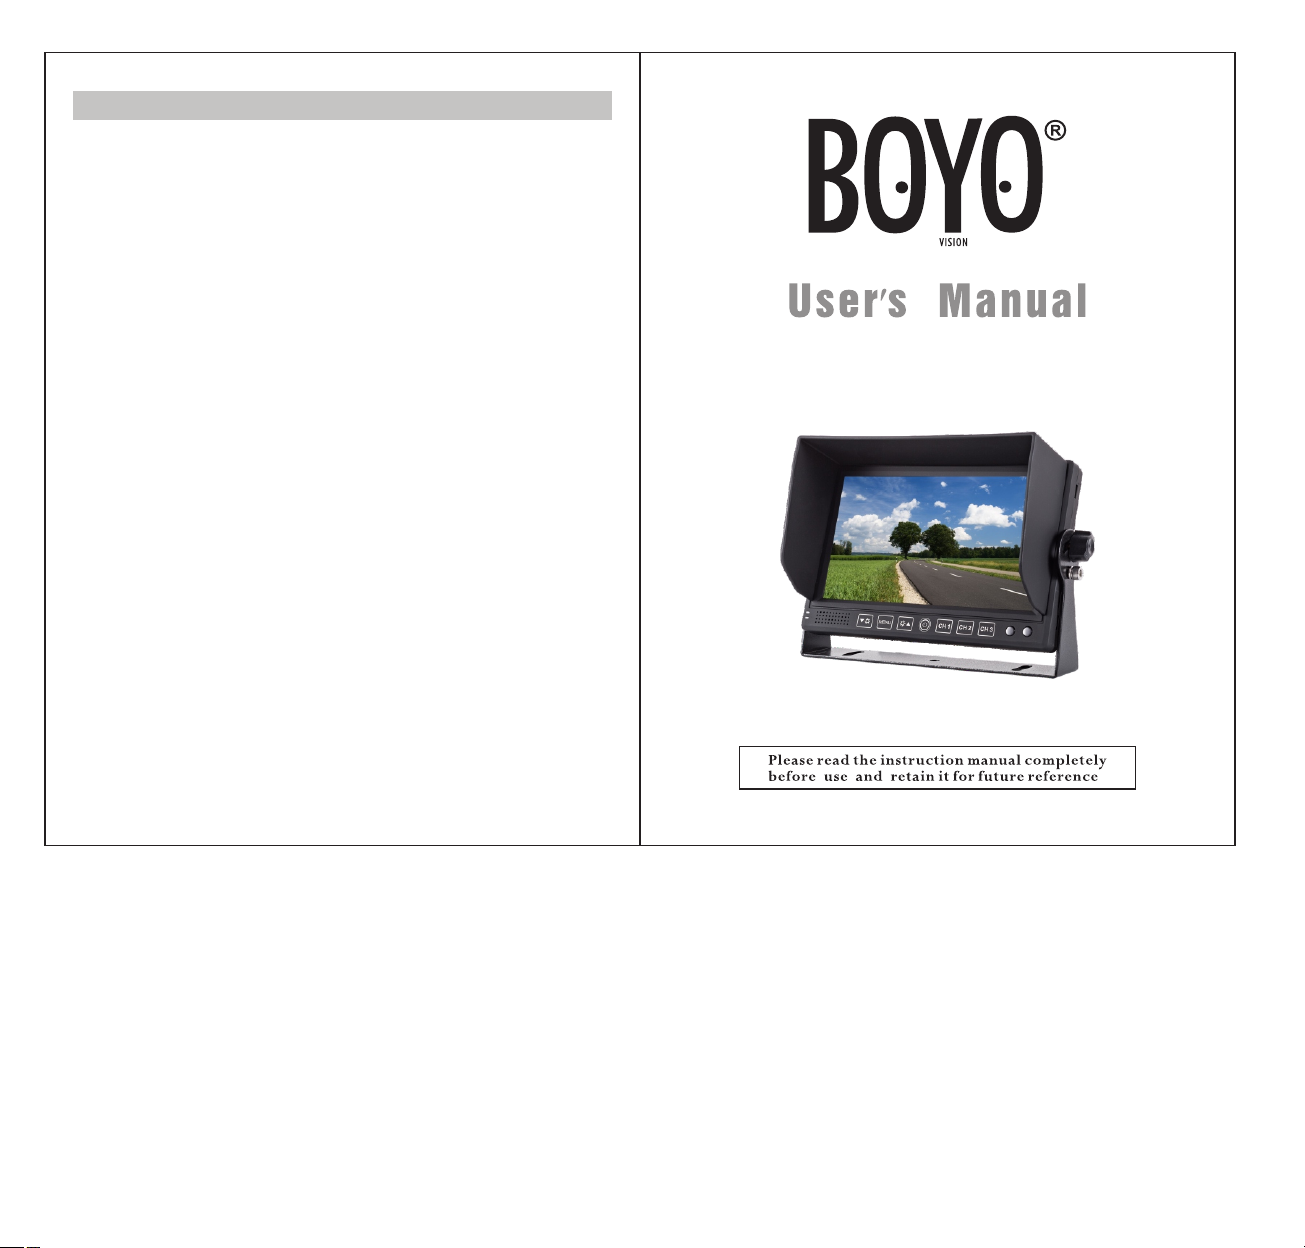
2.Fro nt She ll Ins tr uctio n
Panel o perat in g ins tr uctio ns
1. Negative decrease
9
2. Menu
3. Positive increase
4. Power
5. CH 1
6. CH 2
7. CH 3
8. R/C window
9. Bracket knobs
1 2 3 4 5 6 7 8
Back s hell i ns truct ion
1. Tail ca ble
2. Back s plint
12
3.Ele ctric al C onn ec tion In struc tions
1
1. Blue 1 3P Powe r line in terfa ce
2. Yellow RC A fe ma le con necto r:
CH1 vid eo sign al i nput(AH D1);
3. Yellow RC A fe ma le con necto r:
CH2 vid eo sign al i nput(AH D2);
4. Yellow RC A fe ma le con necto r: CH3 vi deo sig na l inp ut ( AHD3) ;
5. Brow n elect ro nic wir e: Trigg er and sw itch to C H1 vide o si gnal;
6. Blue e lectr on ic wire : Trigge r and swi tch to CH 2 video s ig nal;
7. Gray e lectr on ic wire : Trigge r and swi tch to CH 3 video s ig nal;
8. Blac k elect ro nic wir e: grou nd wire ( GND)
9. Red el ectro ni c wire: c onnec t 12 to 24V D C power s upply
2
3
4
5
6
7
8
9
1 2
Page 3
4.Rem ote Co nt rol
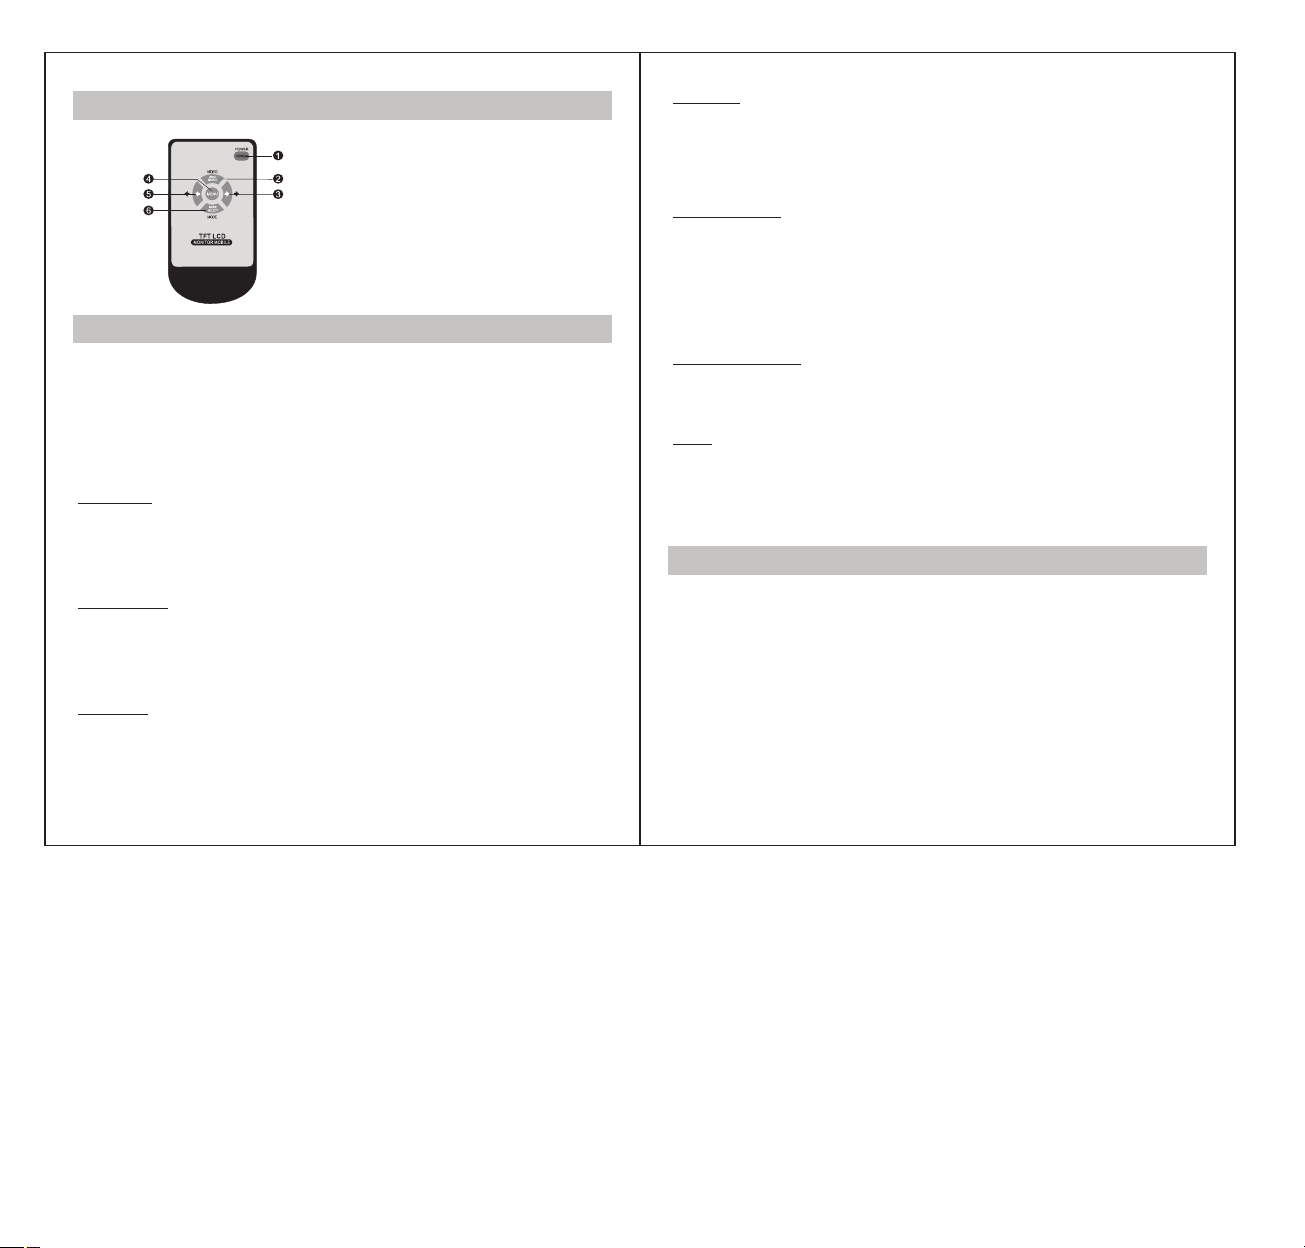
1. Power
2. CH1/CH2/CH3 change
3. Up
4. Menu
5. Down
6. Mode selection
5.The M enu Set up I nst ru ction s
This machine can be set various parameters such as analog, setting method is as
follows: In the state of startup ,press the “MENU” button on the remote control or on
the front panel to bring up a MENU of operating, then we can set the parameters
such as brightness, contrast ratio, saturation, language, Reversing delay, turn over,
reset.etc. press the “MENU” button on the remote control or on the front panel to
proceed next MENU selection, then press the LEFT and RIGHT arrow key on the
panel or on the remote control to adjust specific numerical value.
Brightness
Press the “MENU” button to switch to brightness options, then press the LEFT and
RIGHT arrow key on the panel or on the remote control to adjust the brightness of screen,
the brightness value can be set varies from 0-100,Save the settings as soon as retreating
from menu.
Contrast ratio
Press the “MENU” button to switch to contrast ratio options, then press LEFT and RIGHT
arrow key on the panel or on the remote control to adjust the contrast ratio of screen, the
value of contrast ratio can be set varies from 0-100, Save the Settings as soon as retreating
from menu.
Saturation
Press the “MENU” button to switch to saturation options, then press the LEFT and RIGHT
arrow key on the panel or on the remote control to adjust the saturation of screen, the
value of saturation can be set varies from 0-100, Save the Settings as soon as retreating
from menu.
Language
Press the “MENU” button to switch to language options, then press LEFT and RIGHT
arrow key on the panel or on the remote control to adjust the language, the system can
be set Chinese or English two kind of language, save the Settings as soon as retreating
from menu. The system default is English.
Reversing delay
Press the “MENU” button to switch to language options, then press LEFT and RIGHT
arrow key on the panel or on the remote control to adjust the delay time which can be
set 0 to 15 seconds, when the system setup 0 seconds delay, it returns the current state
directly after trigger finished; when the system setup 3 seconds delay, it returns the
current state after system delay 3 seconds, save the settings as soon as retreating
from menu. The system default is 0 second.
Turn over of screen
Press the “MENU” button to switch to turn over options, then press LEFT and RIGHT
arrow key on the panel or on the remote control to set turn over up-side down.
Reset
Press the “MENU” button to switch to reset options, then press LEFT and RIGHT arrow
key on the panel or on the remote control to adjust system parameters, the setup only
suit for resetting brightness, contrast ratio, saturation, other parameters should reset
hand.
7.Per forma nc e Index
1. Powe r suppl y: D C 12V-24 V
2. Maxi mum cur re nt: <50 0mA
3. Syst em: PAL/ NTSC
4. Scre en rati o: 1 6:9
5. Reso lutio n: 1 024x6 00
6. Wo rk ing tem perat ure: -2 0 °C ~70 °C
7. Stor age tem pe ratur e: -30 °C ~8 0 °C
3 4
 Loading...