

Page 1
X35 Console (v 4.02) Quick Reference Guide X35 Console (v 4.02) Quick Reference Guide
1. Specific Seeding Scenario Setup
1.
Go to Settings page (wrench icon
in bottom left corner).
2. Select appropriate tank grouping
(how the tanks are actually interconnected together) - go to Implement
/Seeder/Granular/T
ank Grouping.
Console Toolbar
The lower Console Toolbar can be accessed
by swiping up from the bottom of the
screen. It will pop up on the bottom of the
screen with the available functions.
Quick Help
Question mark button on the
Console Toolbar toggles on/off
help mode. While in the help mode
a blue question mark is displayed
beside each icon on the screen.
To see
description for icon touch blue question
mark beside it.
To continue to work turn off
help mode.
Initial One-Time Setup
Select wrench icon to go to Settings page.
1. Change units settings - go to User/
Units.
2.
Enable Auto Section Control (ASC)
if using coverage map to turn seeder
on/of
f. Go to System/Features/
Implement. Also enable Area Counters
to record treated areas for each tank.
3.
GPS settings (if used) - go to System/
GPS, enter appropriate GPS settings to
get GPS signal into X35 console.
Note: GPS is the pr
eferred ground speed
source to achieve the best accuracy.
4.
Create your specific tractor profile - go
to Vehicle/New and follow prompts.
5.
Create your specific airseeder tank and
drill profile - go to Implement/New/
Factory and follow prompts. Select
Apollo for ECU type.
6.
Detect ECU’s following the procedure
in the X35 manual (Section 6.3.2
- ECU Manage).
7. Verify geometry for each boom. Go to
Implement/Geometry.
2. Calibration
1. Engage airseeder fan hydraulics.
2. Open Configuration panel.
3. Enter speed that you will be seeding
at, this will ensure that calibration is
performed at seeding speed.
4.
Enter Calibration mode and follow
the prompts on the screen to perform
a calibration for all the enabled tanks,
refer to Section 8.4 - Calibration in the
X35 Operator
B) START
CALIBRATION
WIZARD
SELECT
GROUPING
P/N 0252-92-03
Assy P/N 0252-93-01
Important:
Granular Fertilizer & NH3/
Liquid boom geometry and section widths
are preset as a MRB layout. If that is not
the case adjust geometry and section widths
of booms accordingly
. Also all boom
geometry is set as the latest configurations
coming from the factory so should be
verified for older units.
8. If using sectional control, set on/off times
for section valves for each boom. Go to
Implement/Section Contr
ol/Timing.
(T
ime from section valve to the ground).
9. Set up the in-cab & on frame switchbox.
Go to Implement/Keypad. Pick the ID
for the respective keypad.
10.
Set the on/off sequence time for each
tank. Go to Implement/Seeder/Granular
Tank. (For non-sectional it is time from
the meter to the ground, for sectional it is
time from the meter to the section valve).
1
1. For each tank select metering auger type
(stamped on the end of the shaft: 1X
- single flight, 2X - double flight, HX
- high output, LO - low output) - go to
Implement /Seeder/Granular/Drive
Setup.
12. Enable drill control (if installed)
- go to
Implement/Seeder/Drill Control.
13. Enable blockage monitoring (if installed)
- go to Implement/Seeder/Accessories/
Blocked Head.
14. Enable brakes (if installed) - go to
Implement/Seeder/Accessories/Brake
Contr
ol.
15. Configure weigh system (if installed)
- go to Implement/Seeder/Weigh Scales
16. Select speed source that will be used - go
to Implement /Seeder/Speed Source.
17.
Enter new products - go to Product/
Granular or Liquid, select New Product
and follow prompts.
Note: above are basic settings to be able to
seed. For special customized features refer
to supplied Operator
’s Manuals.
Page
1
TOOLBAR
Page 2
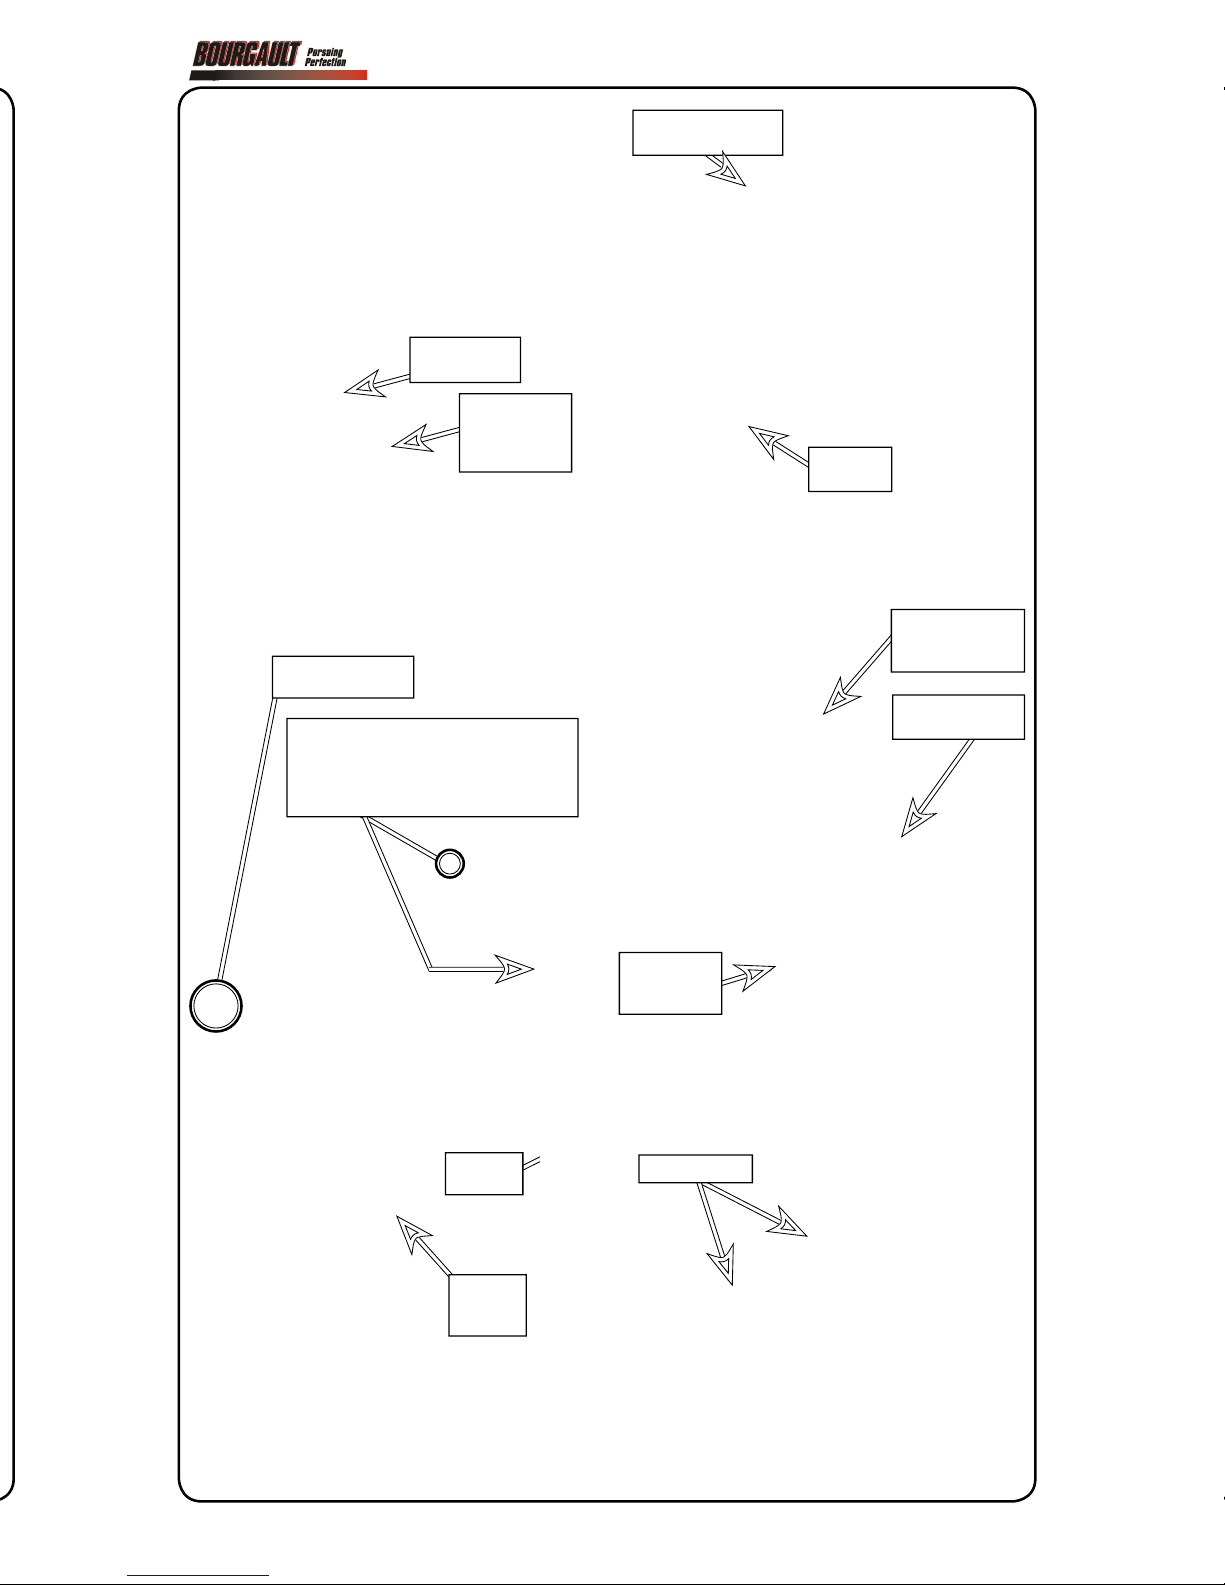
A) SELECT SEEDER
CONTROLLER ICON
B) SWITCH TO FULL SCREEN :
- TOUCH ICON IN THE CORNER
OR
- PRESS, HOLD & DRAG MINI-VIEW WINDOW
T
O THE RIGHT
A) SELECT
TANK
B) SELECT
PRODUCT
BUTTON
A) ENTER RATE
C) SELECT “PRODUCT
NAME” BUTTON
D) SELECT
PRODUCT
A) SELECT THIS
BUTTON TO OPEN
FILL TANK WINDOW
B) ENTER WEIGHT
HERE IF KNOWN
C) FILL TO
THEORETICAL
VALUE
ENABLE/
DISBALE HERE
SET TO
APPROPRIATE
DISTRIBUTION
LINE
3. Ensure all tanks are assigned to the correct boom (i.e. the distribution line the
product is going down).
Also disable
any tanks that aren’t being used - go to
Implement /Seeder/Granular/Tank.
4.
Go to Operation page (running
man icon on left of screen).
5.
Open Seeder Controller.
6. Select product.
7. Press Tank Fill tab and on the next
window either enter weight if known or
fill to theoretical full value.
8.
Enter rate.
9. Set up all enabled tanks using steps 6
through 8.
Page 2
Page 3
2. Calibration
1. Engage airseeder fan hydraulics.
2. Open Configuration panel.
3. Enter speed that you will be seeding
at, this will ensure that calibration is
performed at seeding speed.
4.
Enter Calibration mode and follow
the prompts on the screen to perform
a calibration for all the enabled tanks,
refer to Section 8.4 - Calibration in the
X35 Operator
’s Manual for calibrating.
3. Creating Field & Job
(units with GPS only)
If using GPS, Field and Job must be
created before seeding.
1.
Open Guidance.
2. Create new Field.
3. Create new Job.
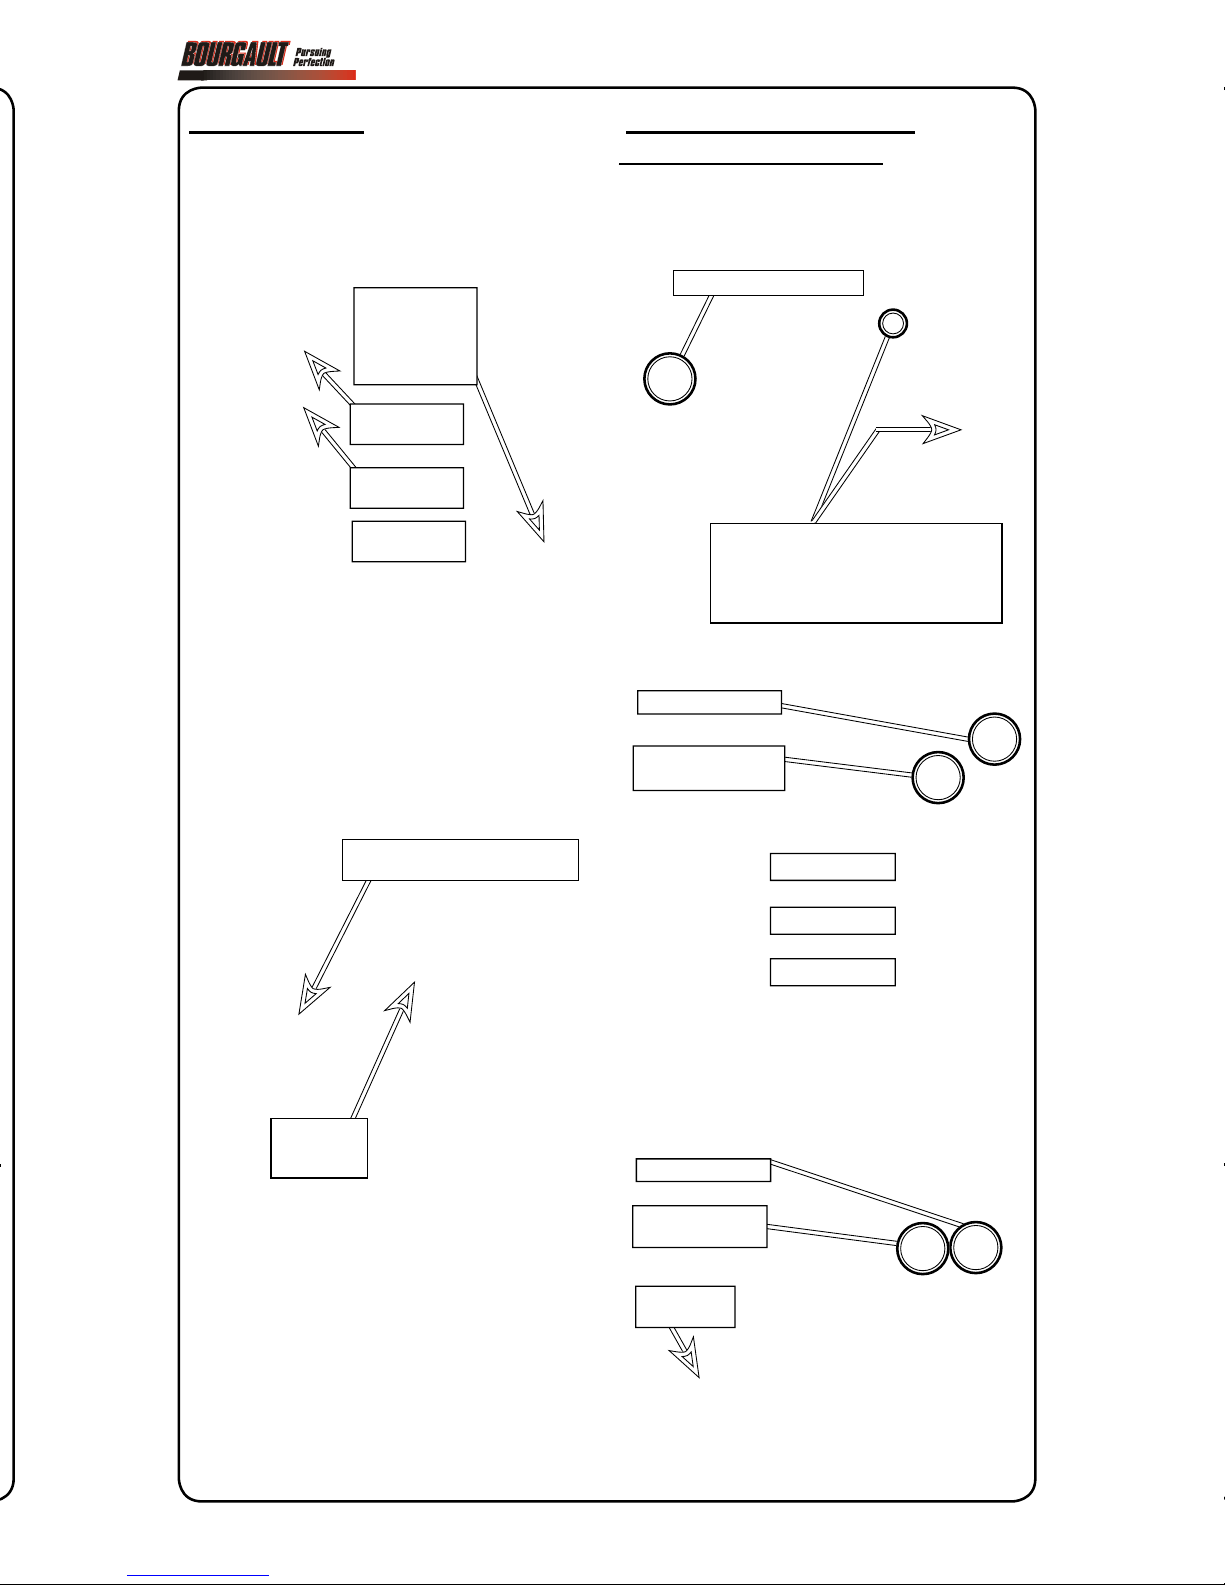
A) SELECT GUIDANCE ICON
B) SWITCH TO FULL SCREEN :
- TOUCH ICON IN THE CORNER
OR
- PRESS, HOLD & DRAG MINI-VIEW WINDOW
T
O THE RIGHT
A) SELECT TO OPEN CALIBRATION
METHOD WINDOW
B) START
CALIBRATION
WIZARD
A) SELECT
CONFIGURATION
BUTTON TO OPEN
CONFIGURATION
PANEL
B) SELECT
MANUAL SPEED
C) ENTER
SPEED VALUE
D) DESELECT
MANUAL SPEED
Page
3
A) OPEN FIELD MENU
B) OPEN NEW FIELD
WINDOW
C) ENTER CLIENT
D) ENTER FARM
E) ENTER FIELD
A) OPEN JOB MENU
B) OPEN NEW JOB
WINDOW
C) ENTER JOB
NAME
Page 4
X35 Console (v 4.02) Quick Reference Guide X35 Console (v 4.02) Quick Reference Guide
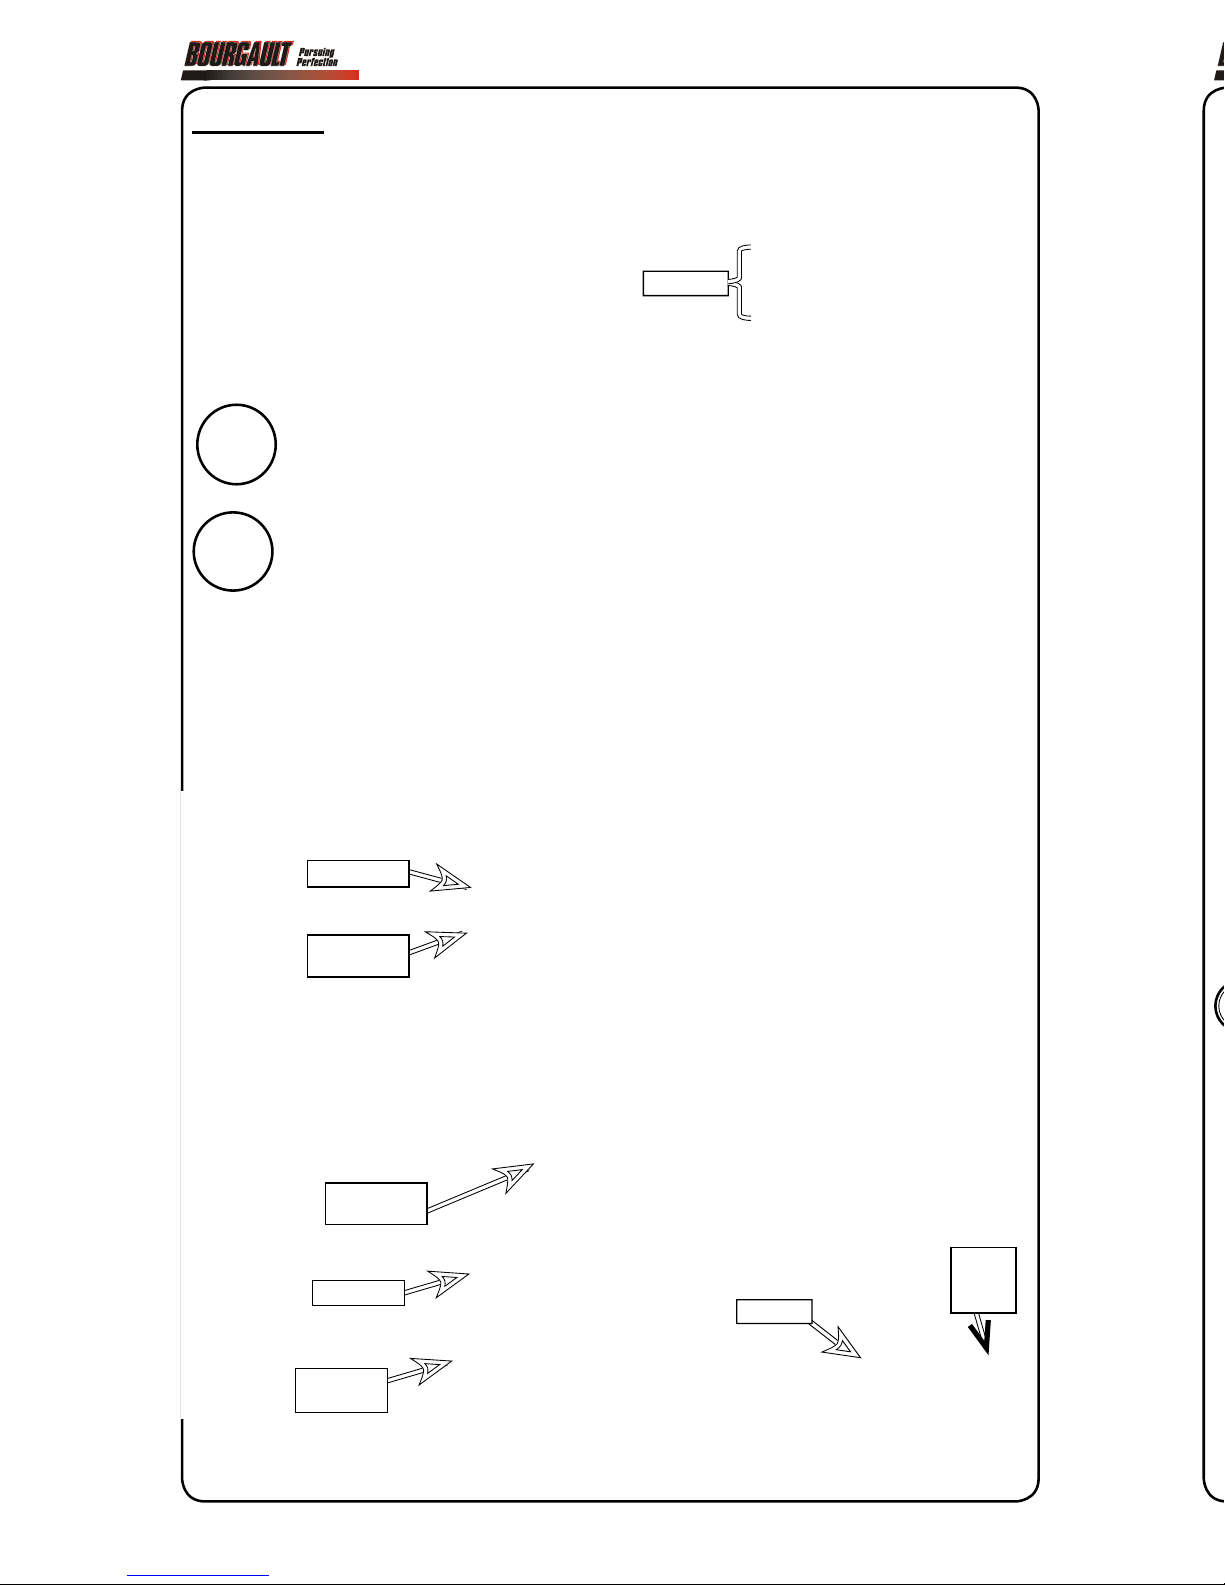
When the Master Switch is
turned on and the unit is seeding
the icon will be green.
When the Master Switch is
turned on but something is stopping the meters from turning the
icon will be yellow
. (e.g. ASC
over coverage, tanks switched off, etc.)
If the Master Switch icon is red
it means something is not ready
preventing you from starting to
seed. Press the icon to bring up a
Status menu displaying what is preventing
seeding.
4. Seeding
If the Master Switch icon is
white it means the system is
ready to seed.
Start moving and turn Tank switches and Master switch ON to begin seeding (using
cabin switchbox or on screen switches).
Note: All the screens might not look exactly the same as shown depending on how the
monitor is setup and what airseeder configuration is being used.
APPLIED RATE
WEIGHT
REMAINING
TANK SWITCH
ICON
MASTER
SWITCH
ICON
FAN SPEED
APPLIED
RATE
A) SELECT SEEDER
CONTROLLER ICON
B) SWITCH TO FULL SCREEN :
- TOUCH ICON IN THE CORNER
OR
- PRESS, HOLD & DRAG MINI-VIEW WINDOW
T
NOT READY
Page
4
SPEED
3. Ensure all tanks are assigned to the cor-
rect boom (i.e. the distribution line the
product is going down).
any tanks that aren’t being used - go to
Implement /Seeder/Granular/Tank.
4.
Go to Operation page (running
man icon on left of screen).
5.
Open Seeder Controller.
6. Select product.
Page 5
X35 Console (v 4.02) Quick Reference Guide X35 Console (v 4.02) Quick Reference Guide
Page 5 Page 7
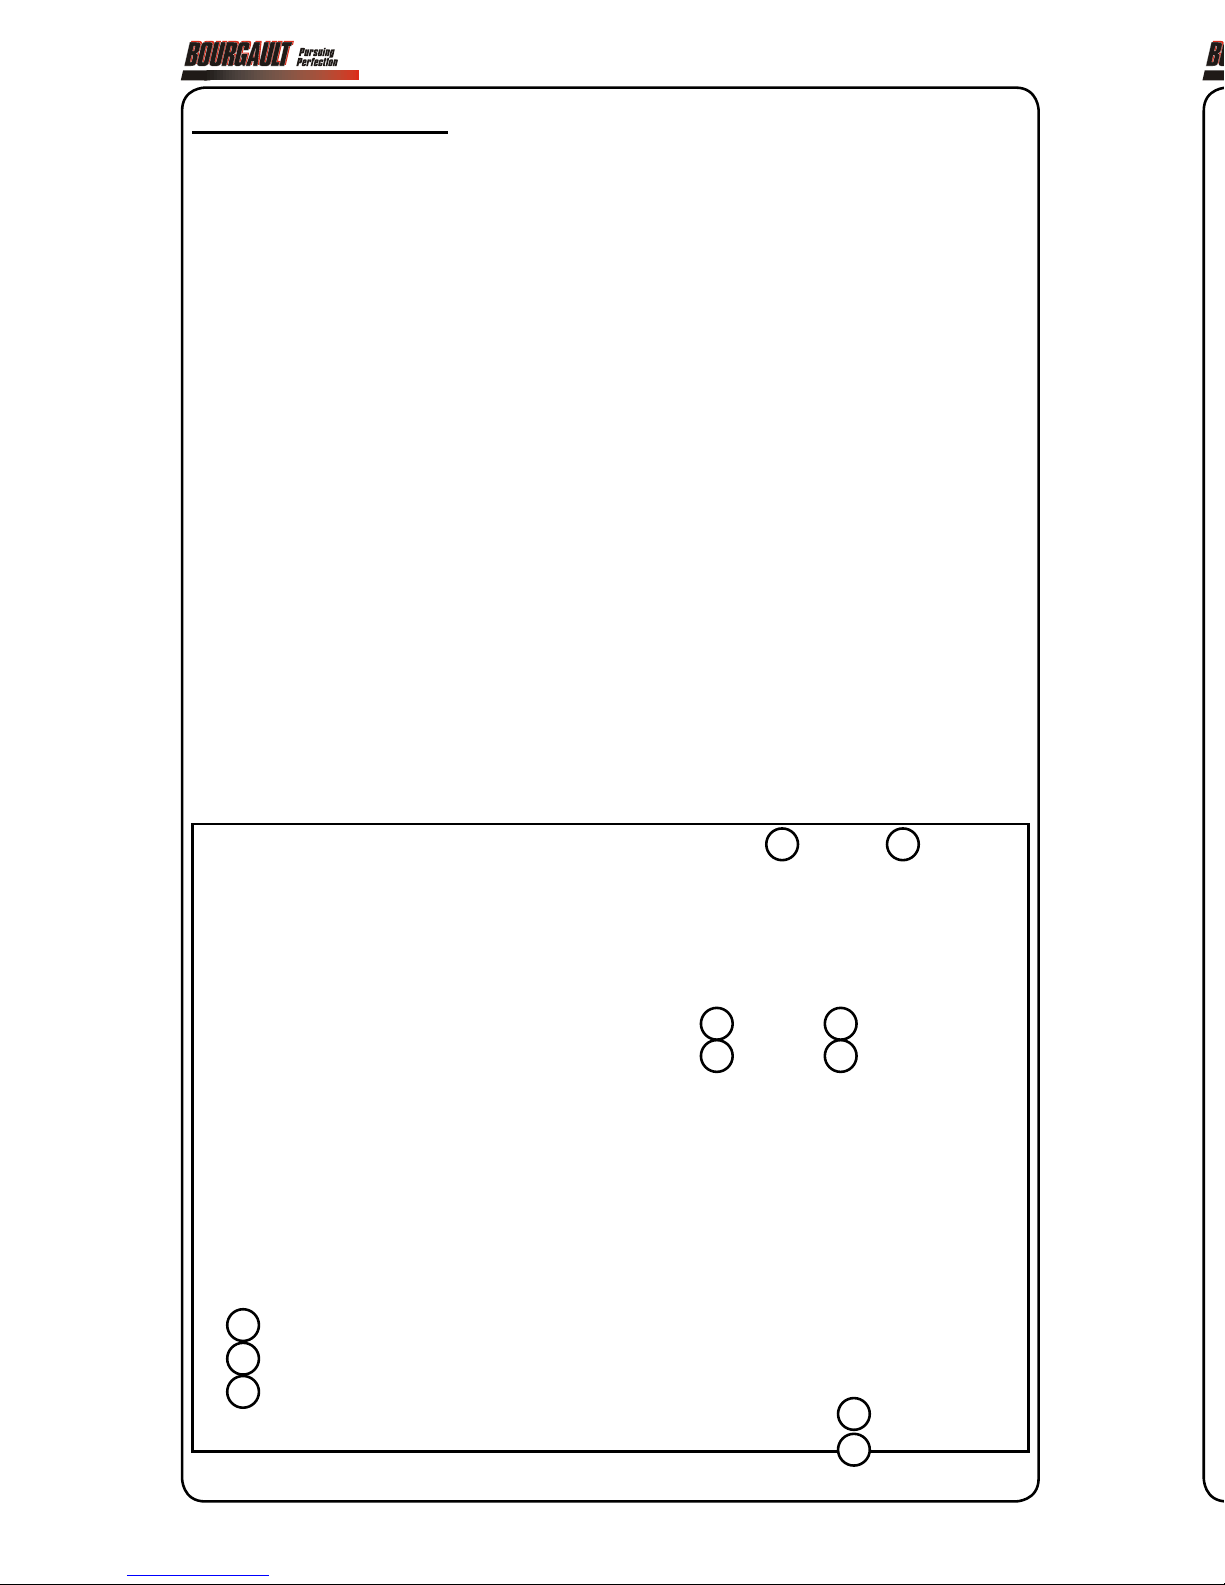
5. Area Terminology
A - Area Worked - Displays the calculated
area that the boom has covered including any overlapped area and is based on
GPS painted area.
-
Displayed on the dashboard for the
current boom displayed on the guidance screen.
-
Also displayed on the job statistics
mini-view with a tab to change
between booms.
-
Appears for each layer in the job
report. The Applied Rate layers for
each tank account for the on time of
the tanks so may dif
fer slightly from
the Coverage Map layers for each
boom.
The Area Worked is based on GPS painted
a
rea and takes into account curves and turns
so is the most accurate representation of the
area that the product has been applied over!
Older software used to display Covered
Area
which did not account for overlap so
was not an accurate representation of the
area that product was actually applied over!
B - Boundary Area - Displays the calcu-
lated area within the boundary when
created and is based on GPS.
C -
Area Remaining - Displays the calcu-
lated area remaining unpainted within
the boundary when created and is based
on GPS.
D -
Treated Area - Displays the calculated
area each tank has applied product over
based on the width of the boom and the
distance travelled based on speed and
time.
-
Displayed on the job area counters
and implement area counters for
each tank in the seeder controller
screen.
-
Appears for the summary of each
tank at the end of the job report.
T
reated Area in the Job Area Counter
should be close to Area Worked but will
differ due to calculation not being as accurate as GPS (if certain tanks are switched
of
f for extended periods then it would dif-
fer more substantially).
If using manual speed or wheel speed and
they are slightly out the
Treated Area will
become less accurate.
A
B
C
D D
G
H
E E
A
C
Page 6
Page 6Page 8
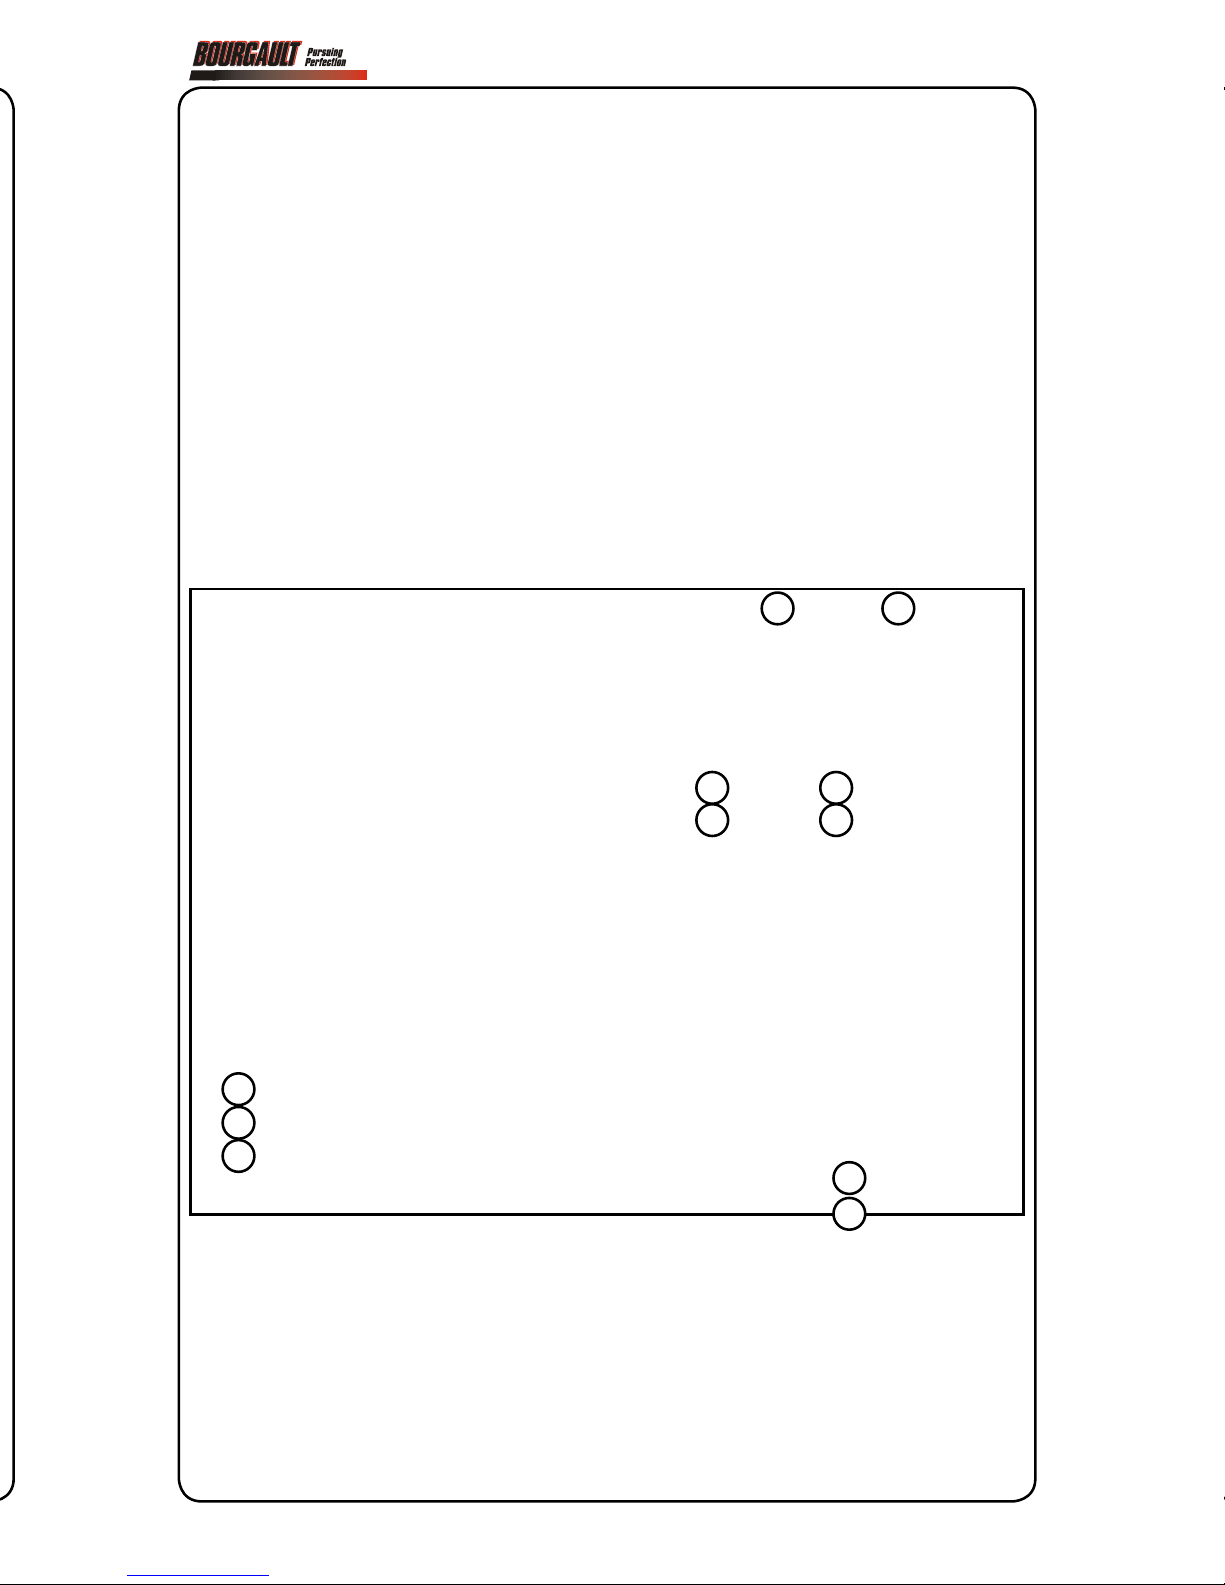
E - ASC Savings - Displays the calculated
percent savings in area of a sectional
boom compared to the area that would
have been applied if it were a full width
boom.
F
- Full Area - Displays the calculated
area that would have been applied if the
boom was full width.
-
Appears for the summary of each
tank at the end of the job report.
A
B
C
D D
G
H
E E
A
C
G - Job Area Counter - Area counting
will accumulate per job and will always
be reset when a new job is created or it
can be reset manually
.
H - Implement Area Counter - Area
counting will accumulate until the
implement is changed or it can be reset
manually
.
Either Job Area Counter or Implement Area
Counter can be enabled individually or
both at the same time.
 Loading...